Yard projects

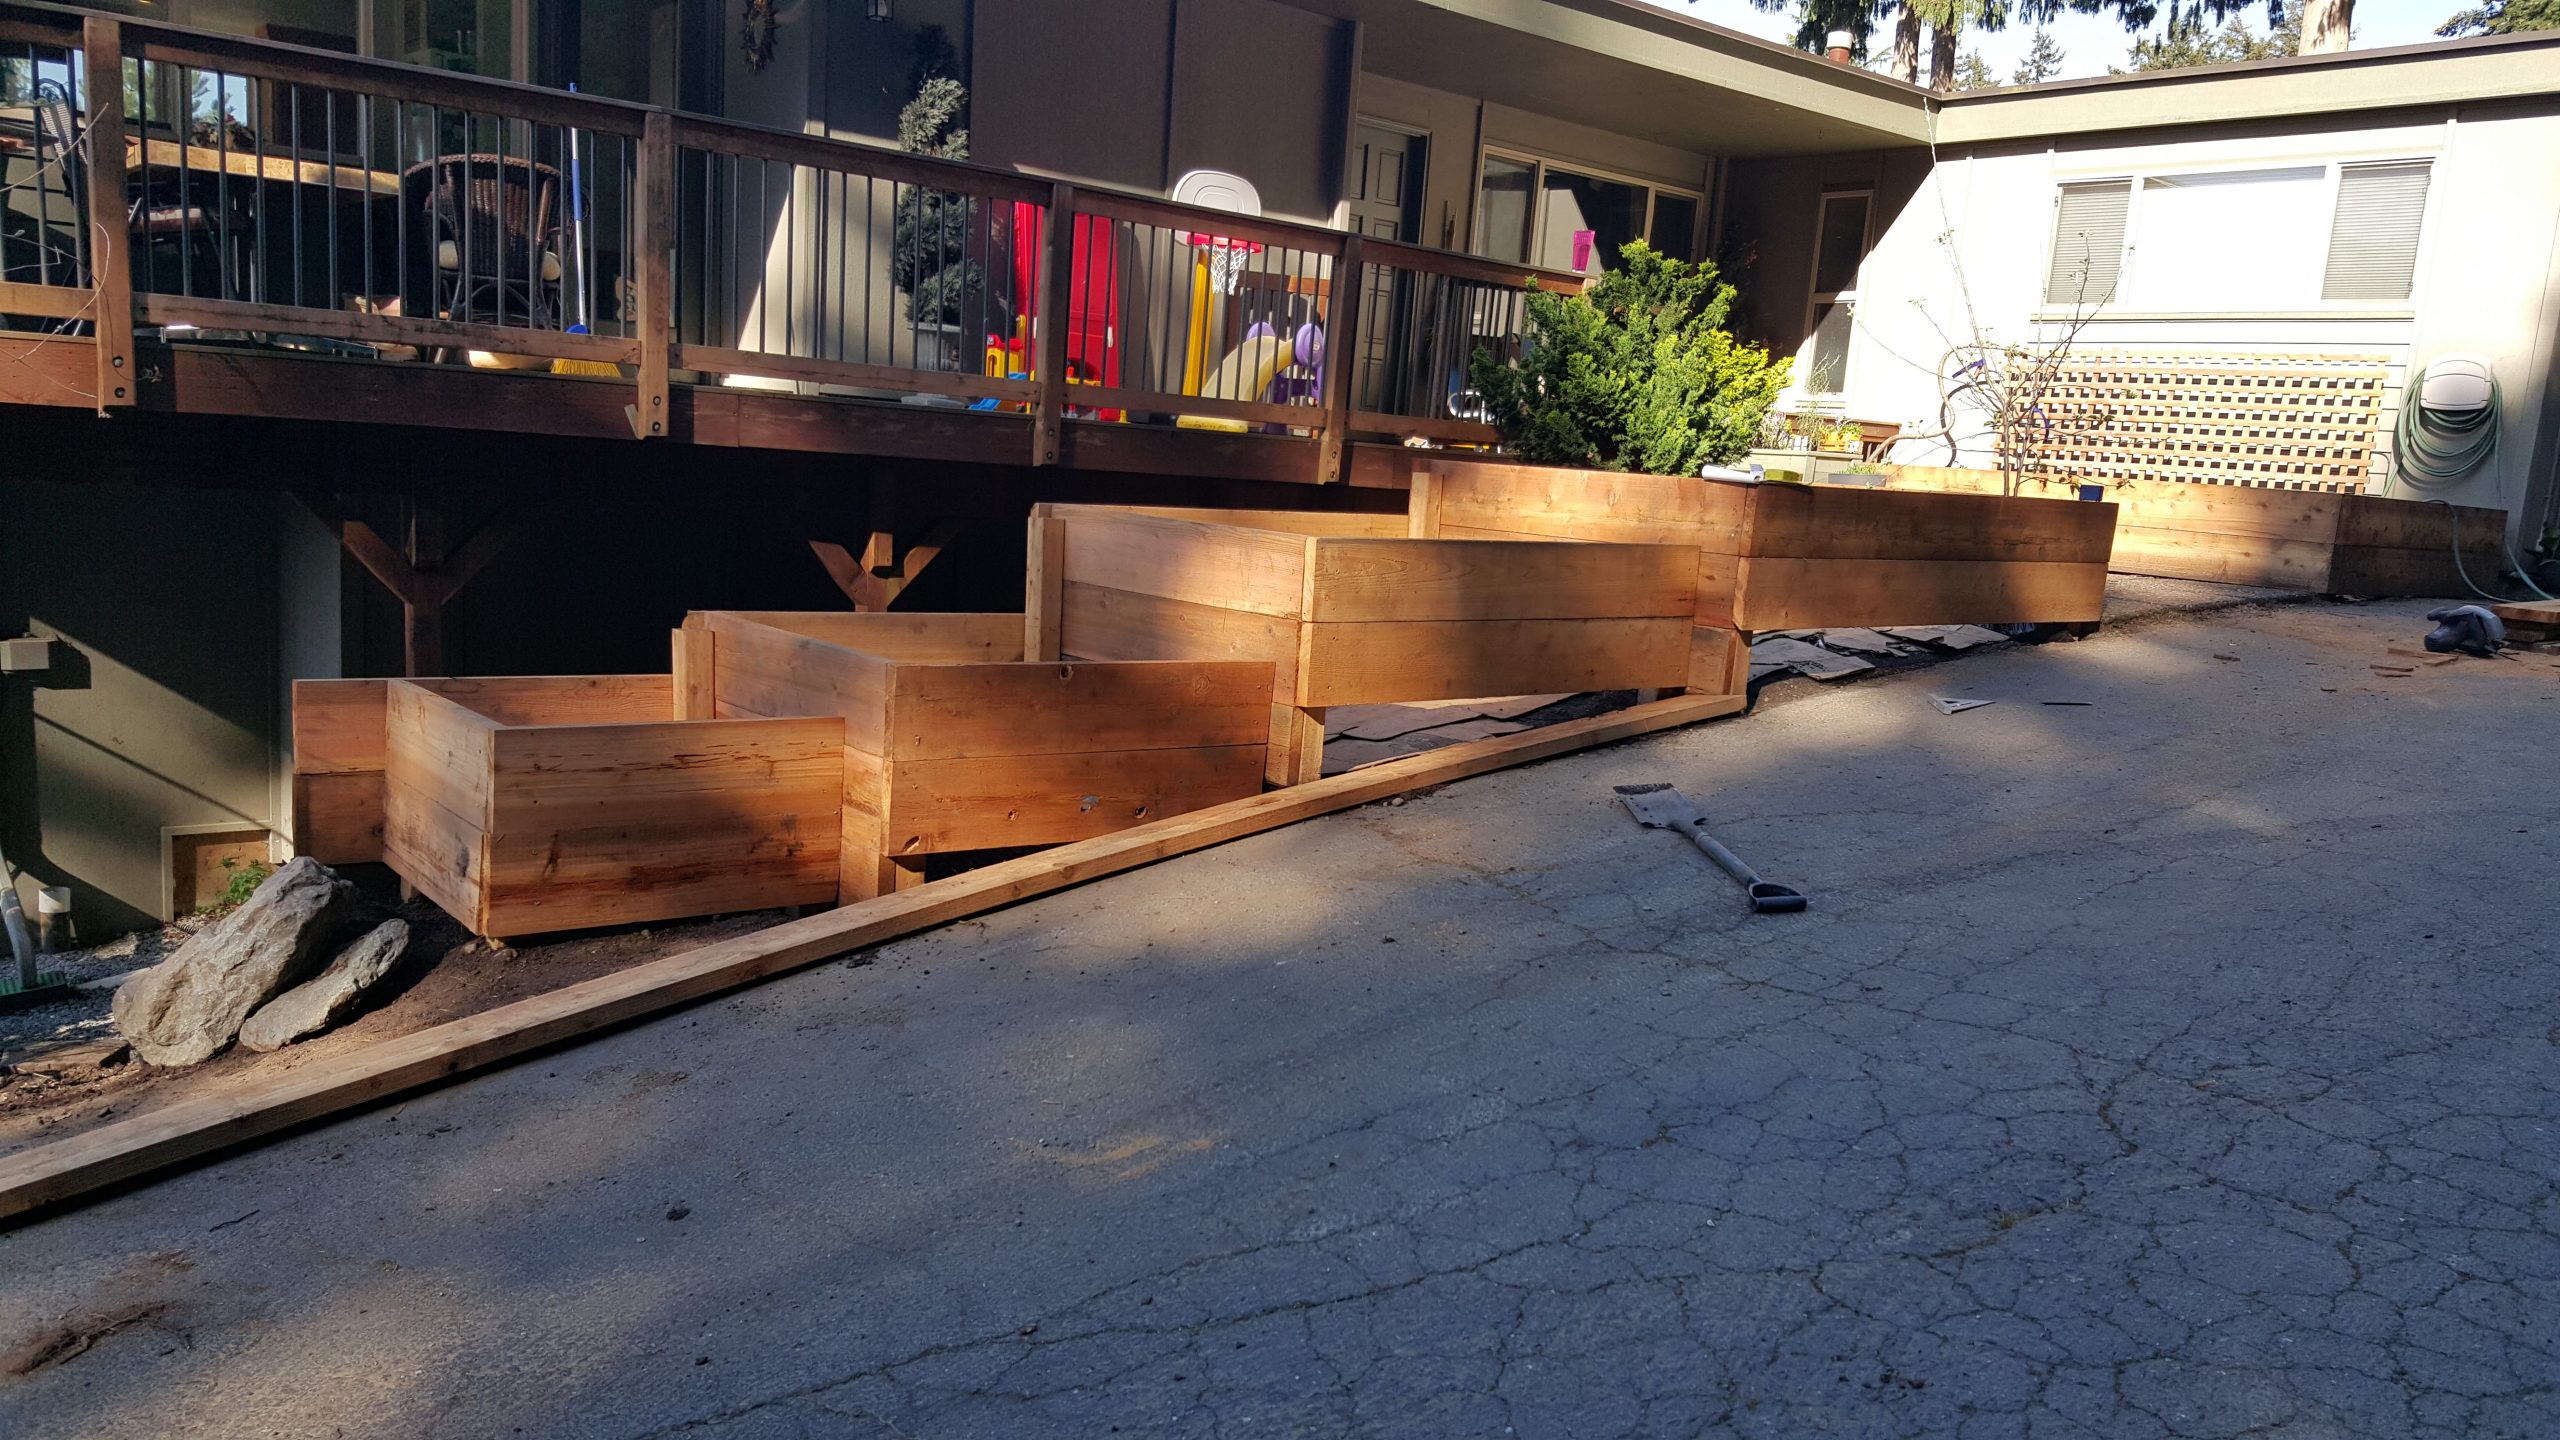
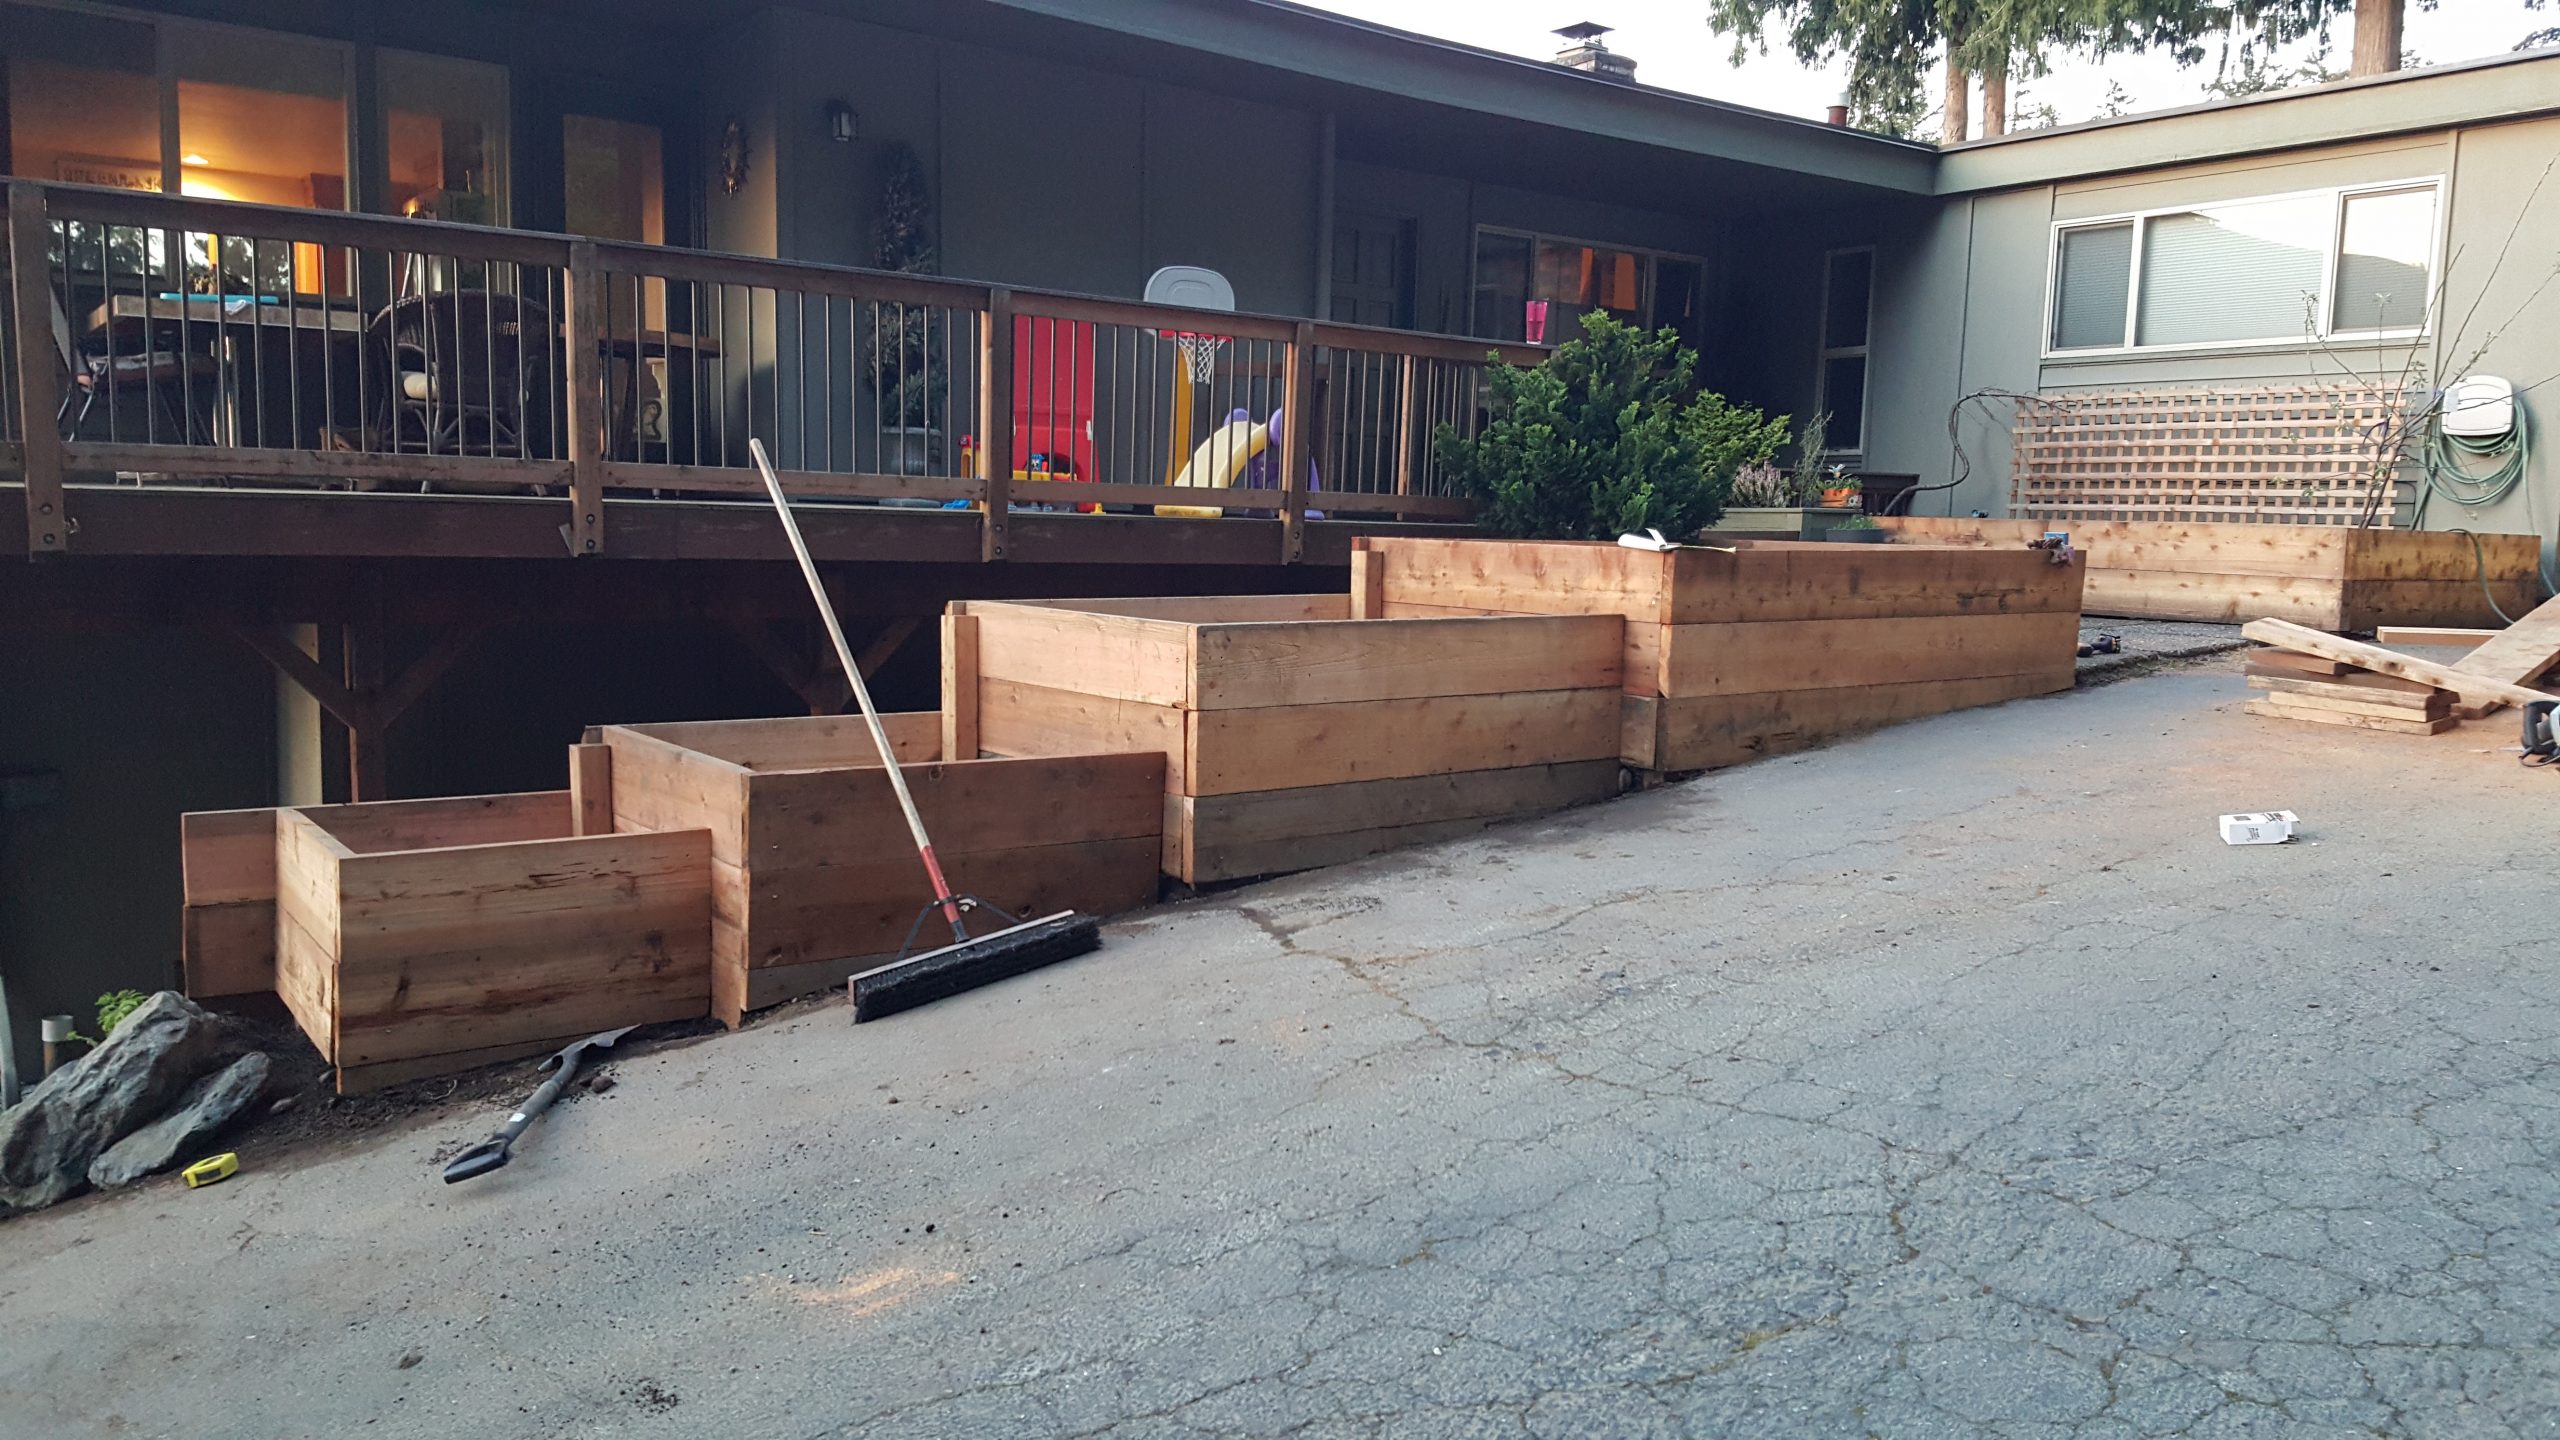
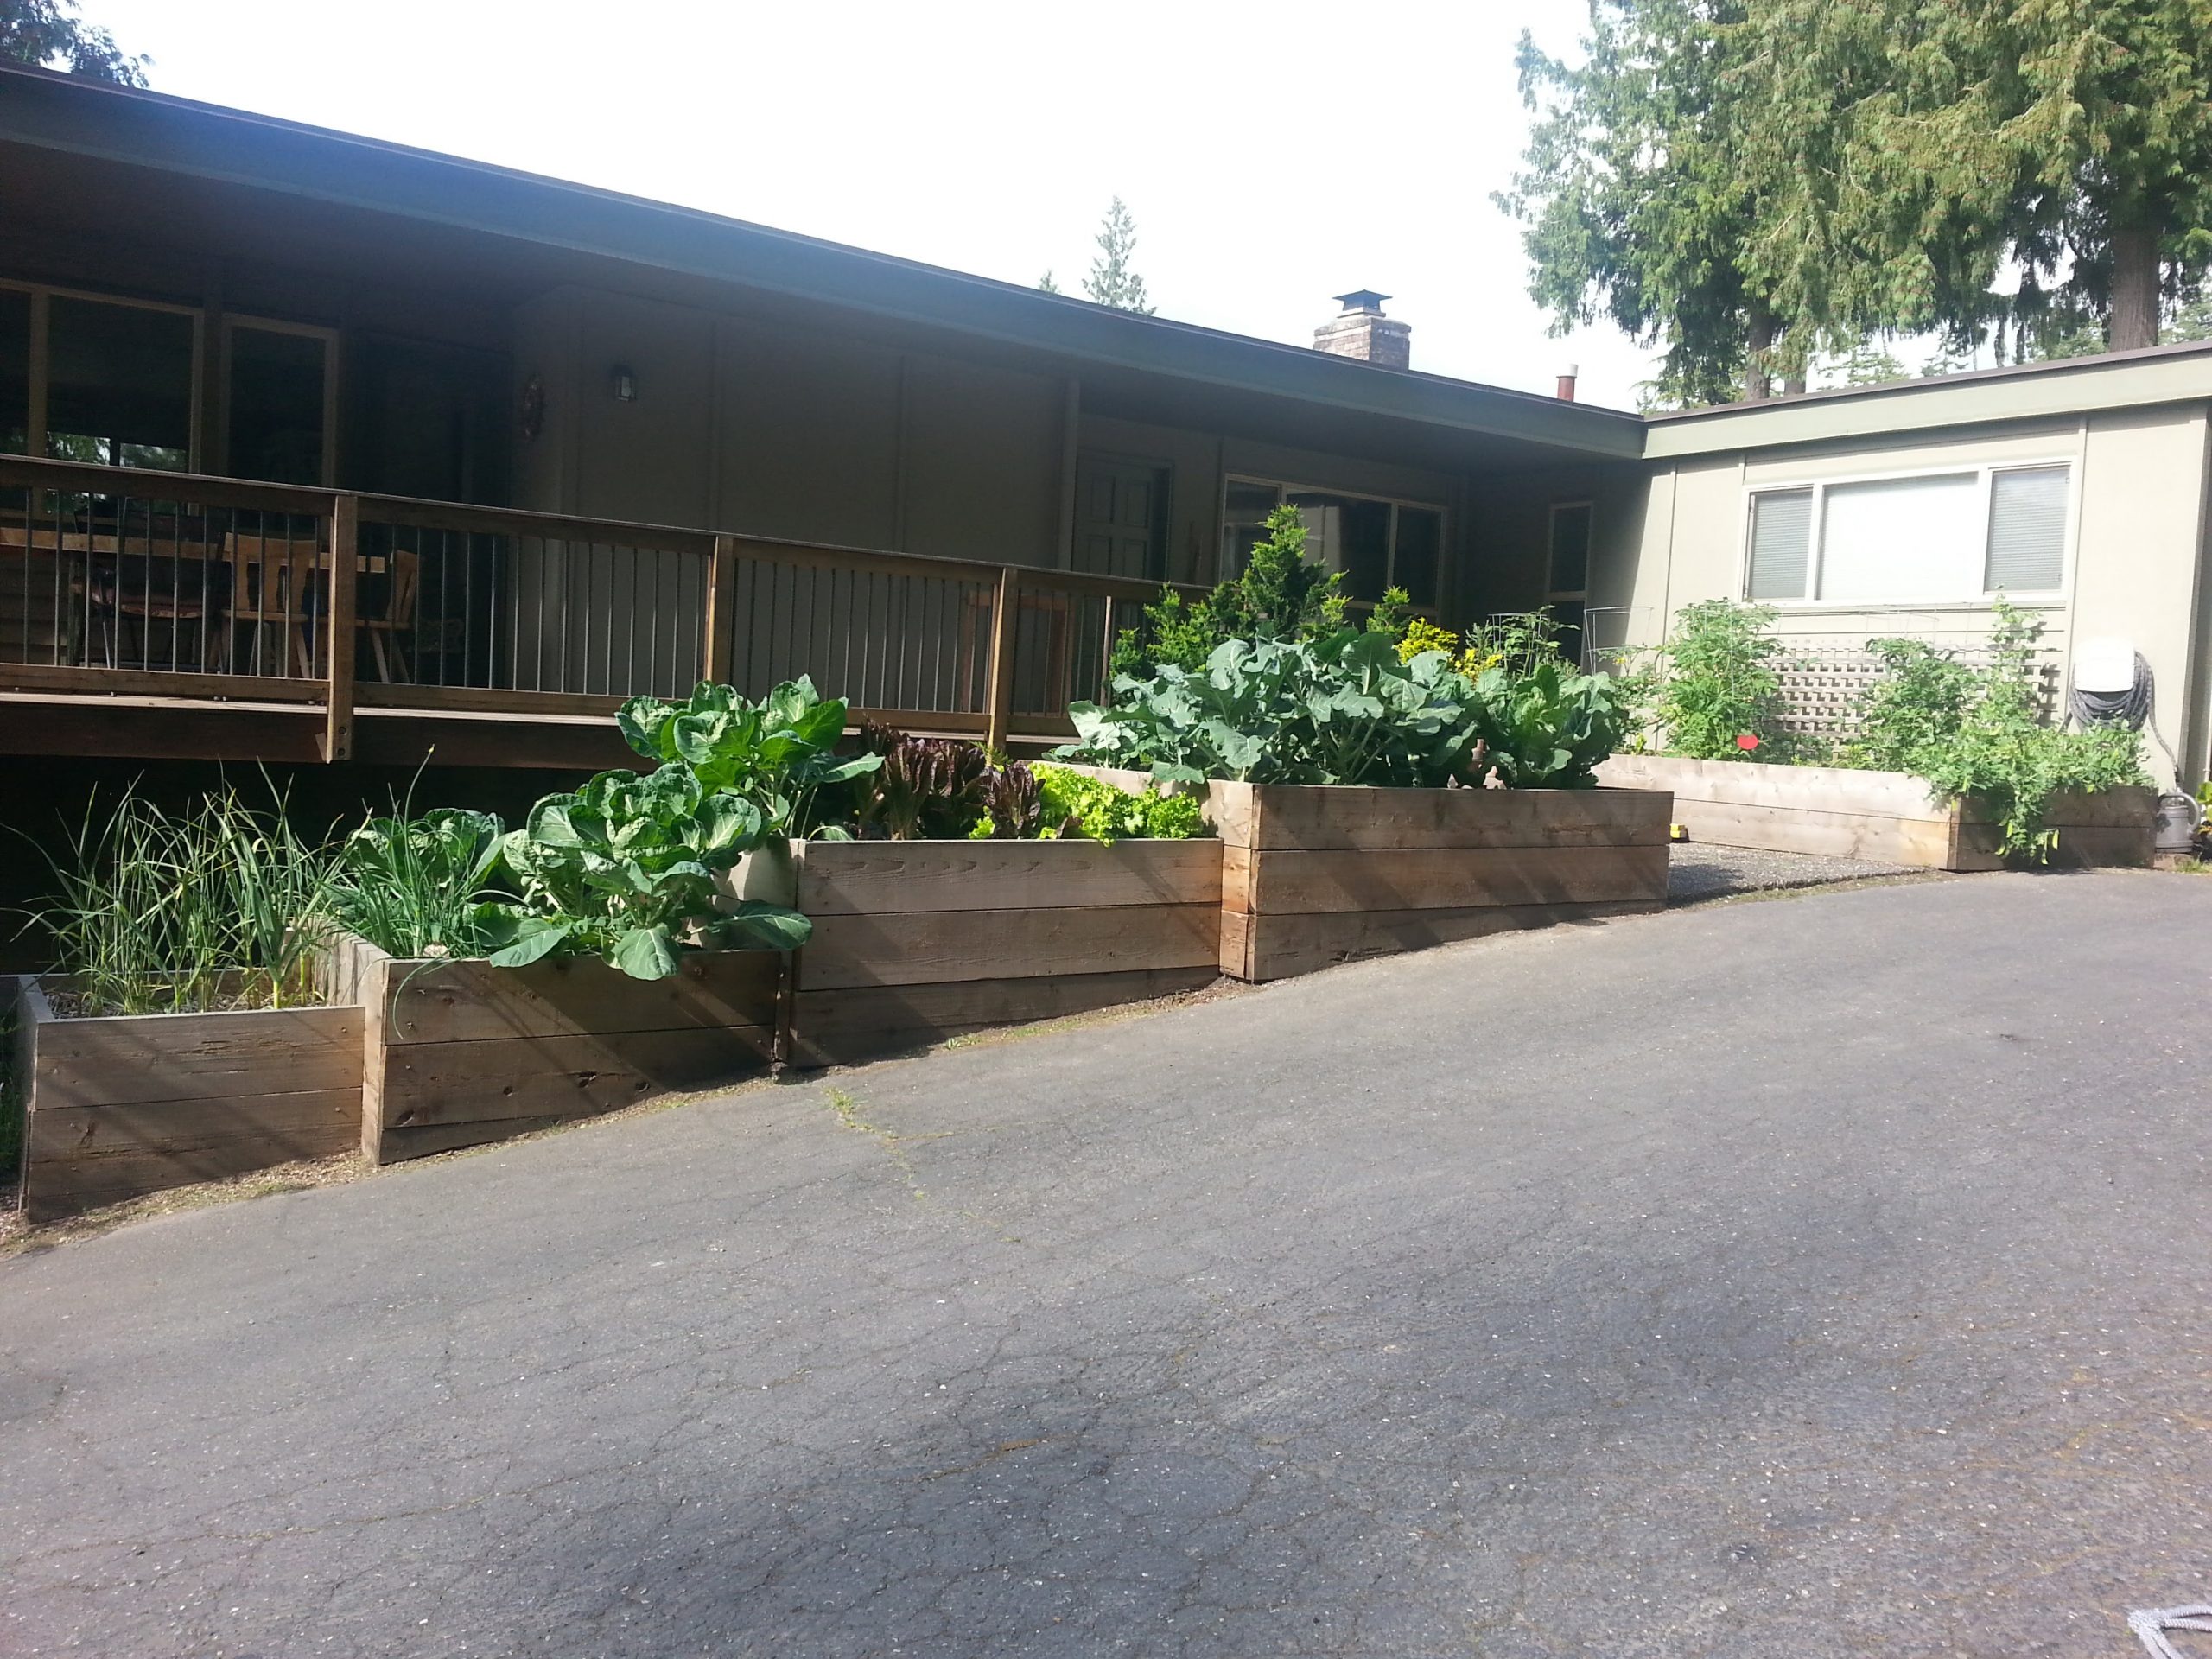
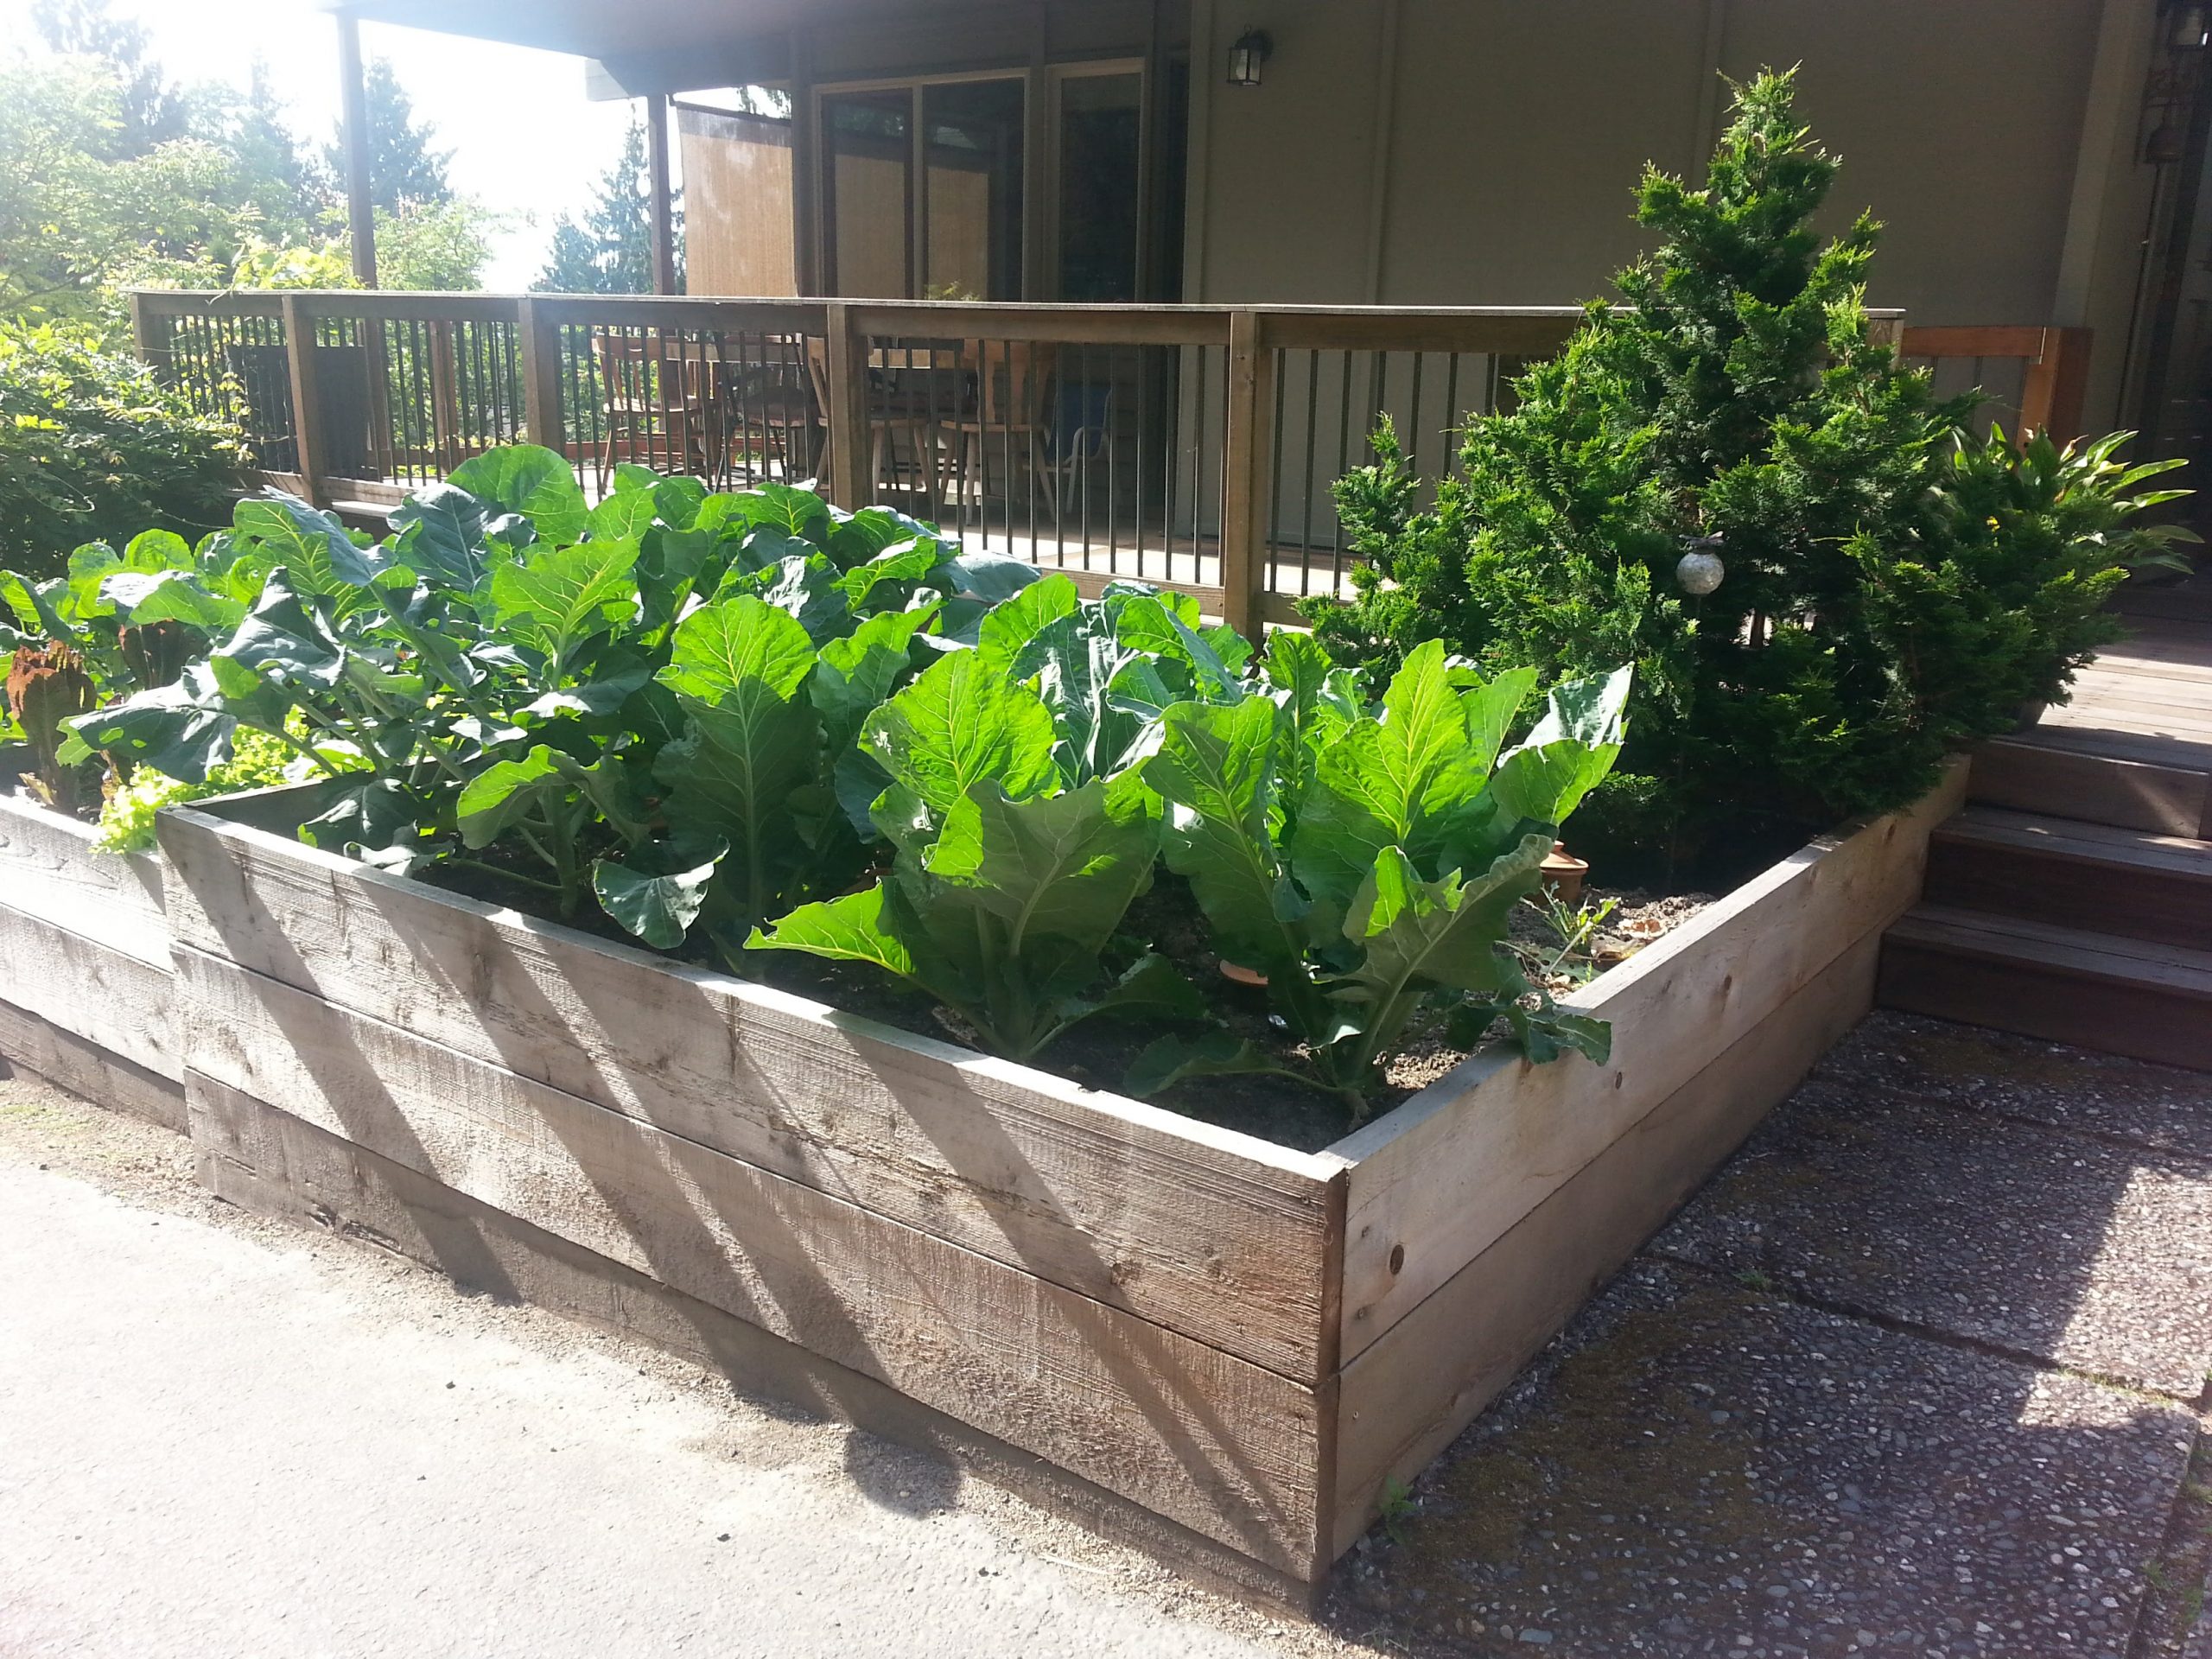
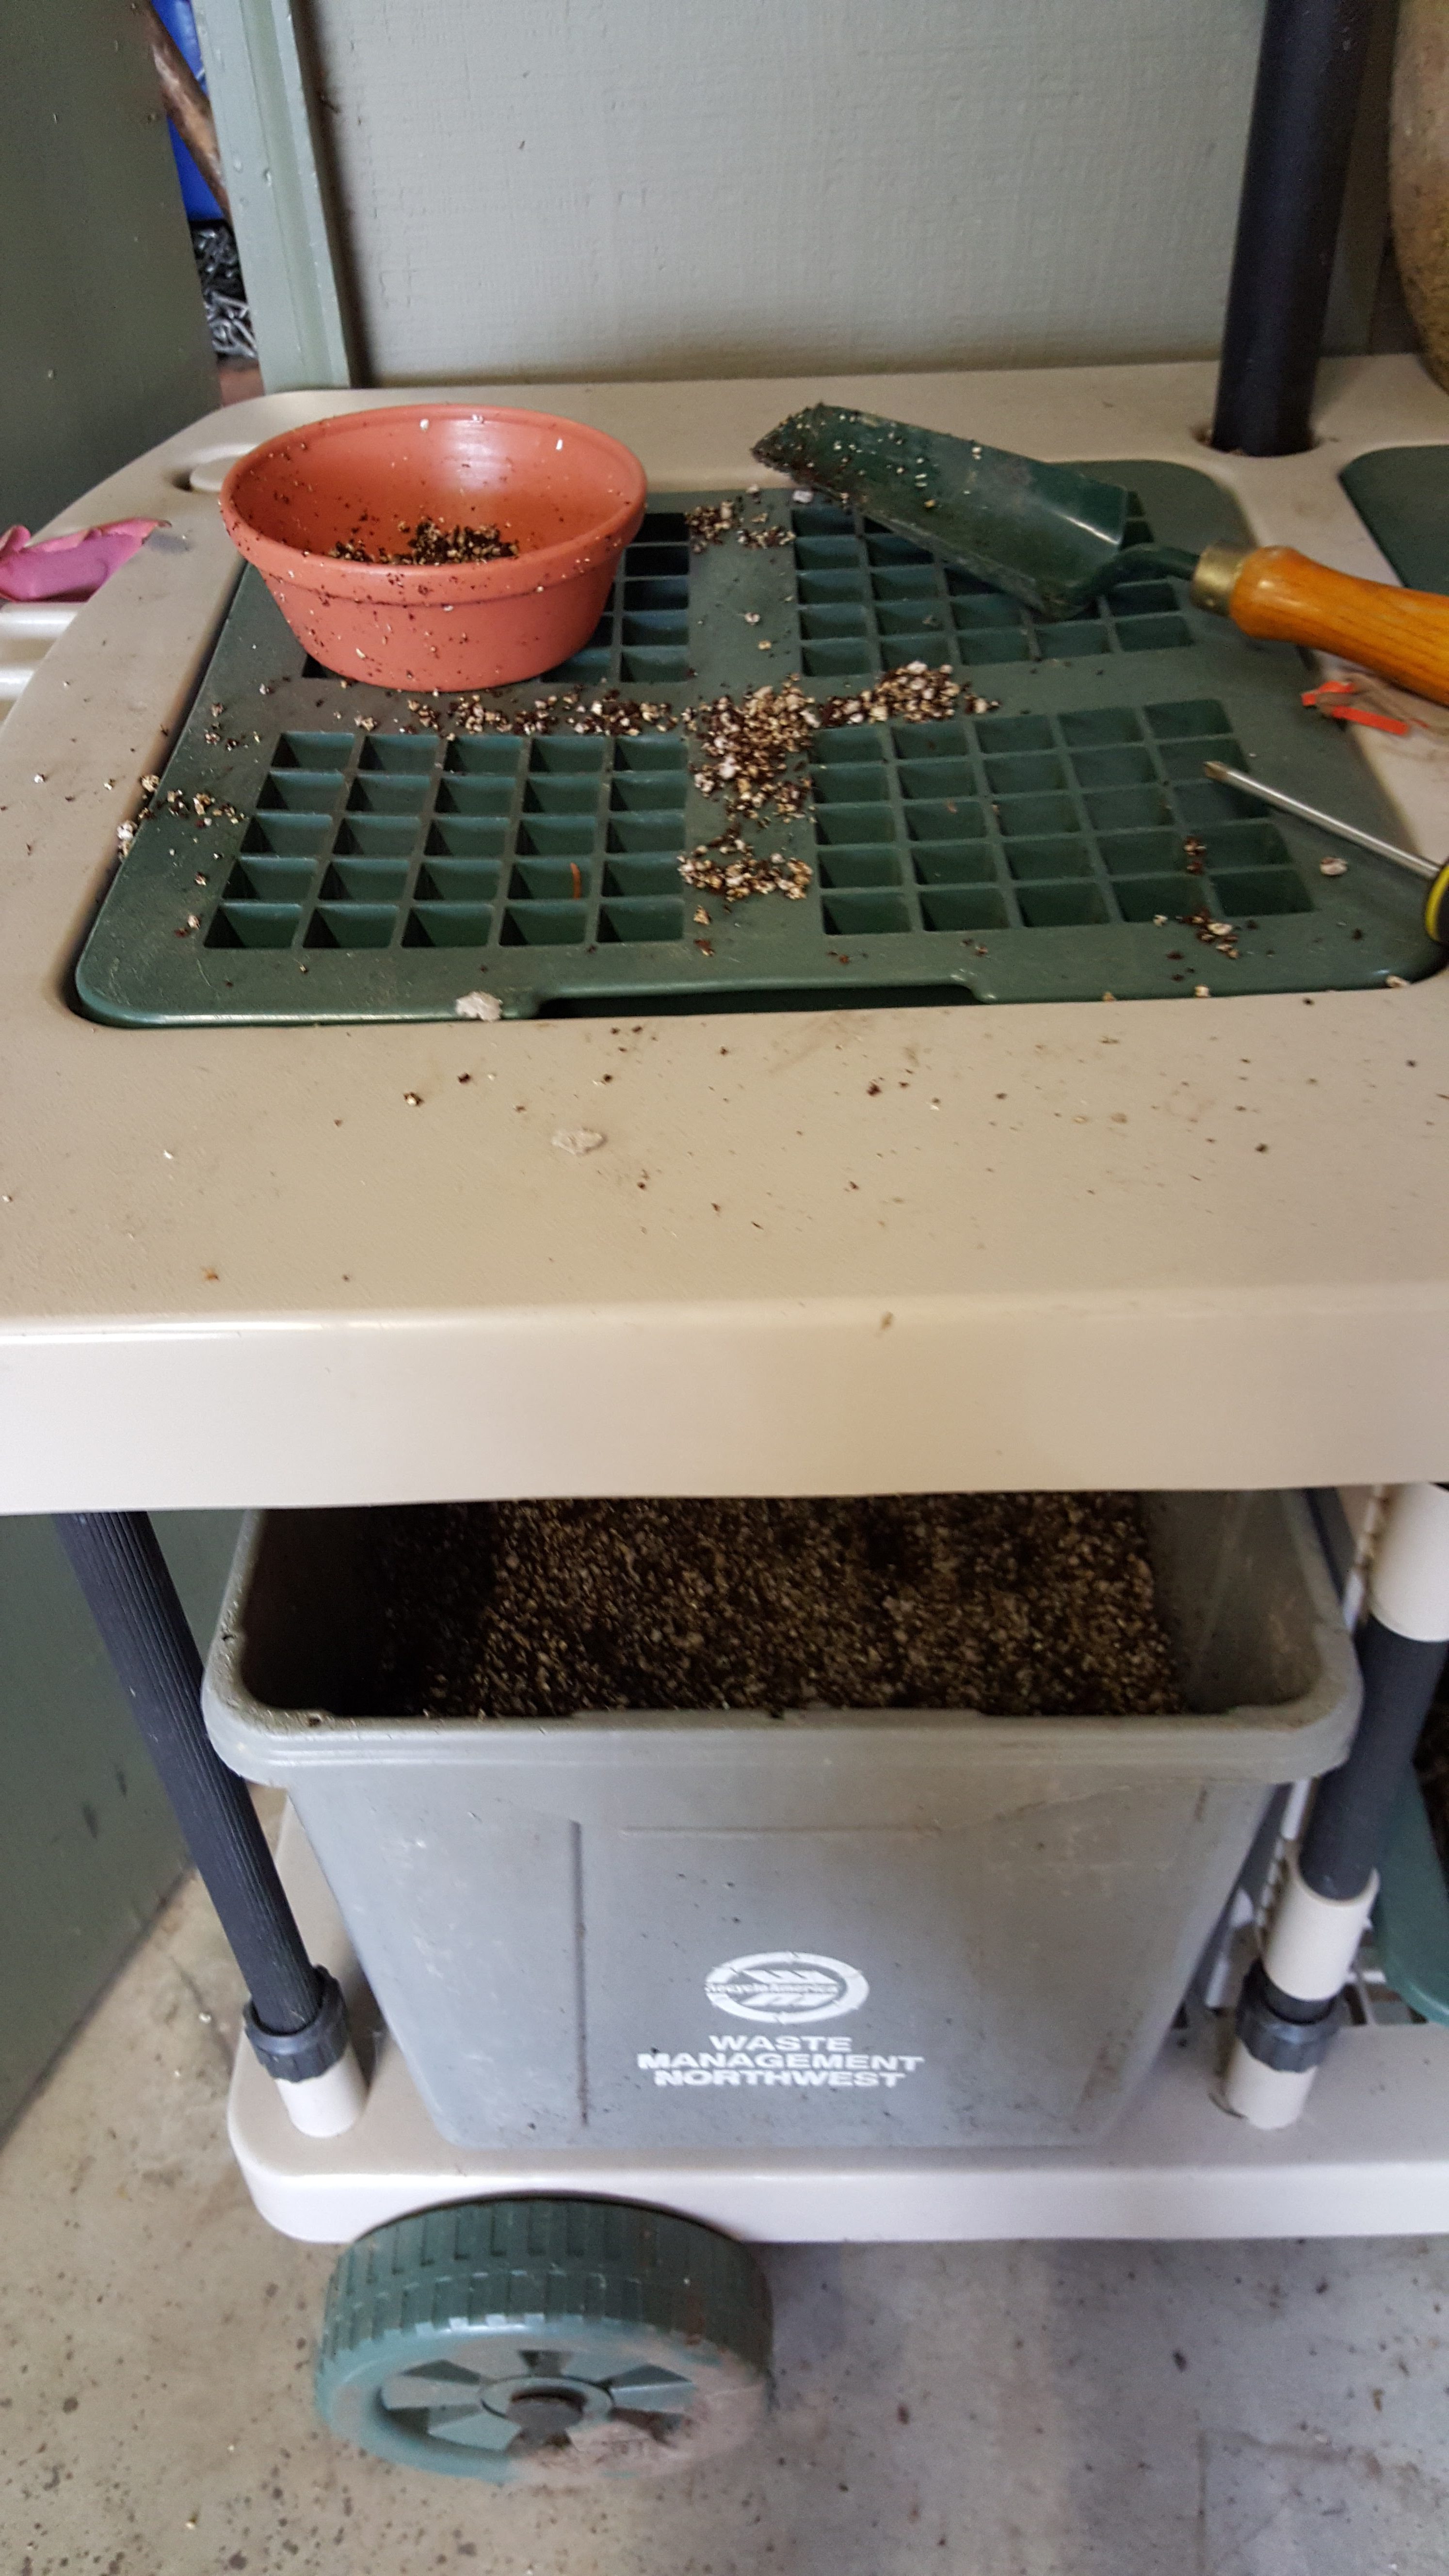
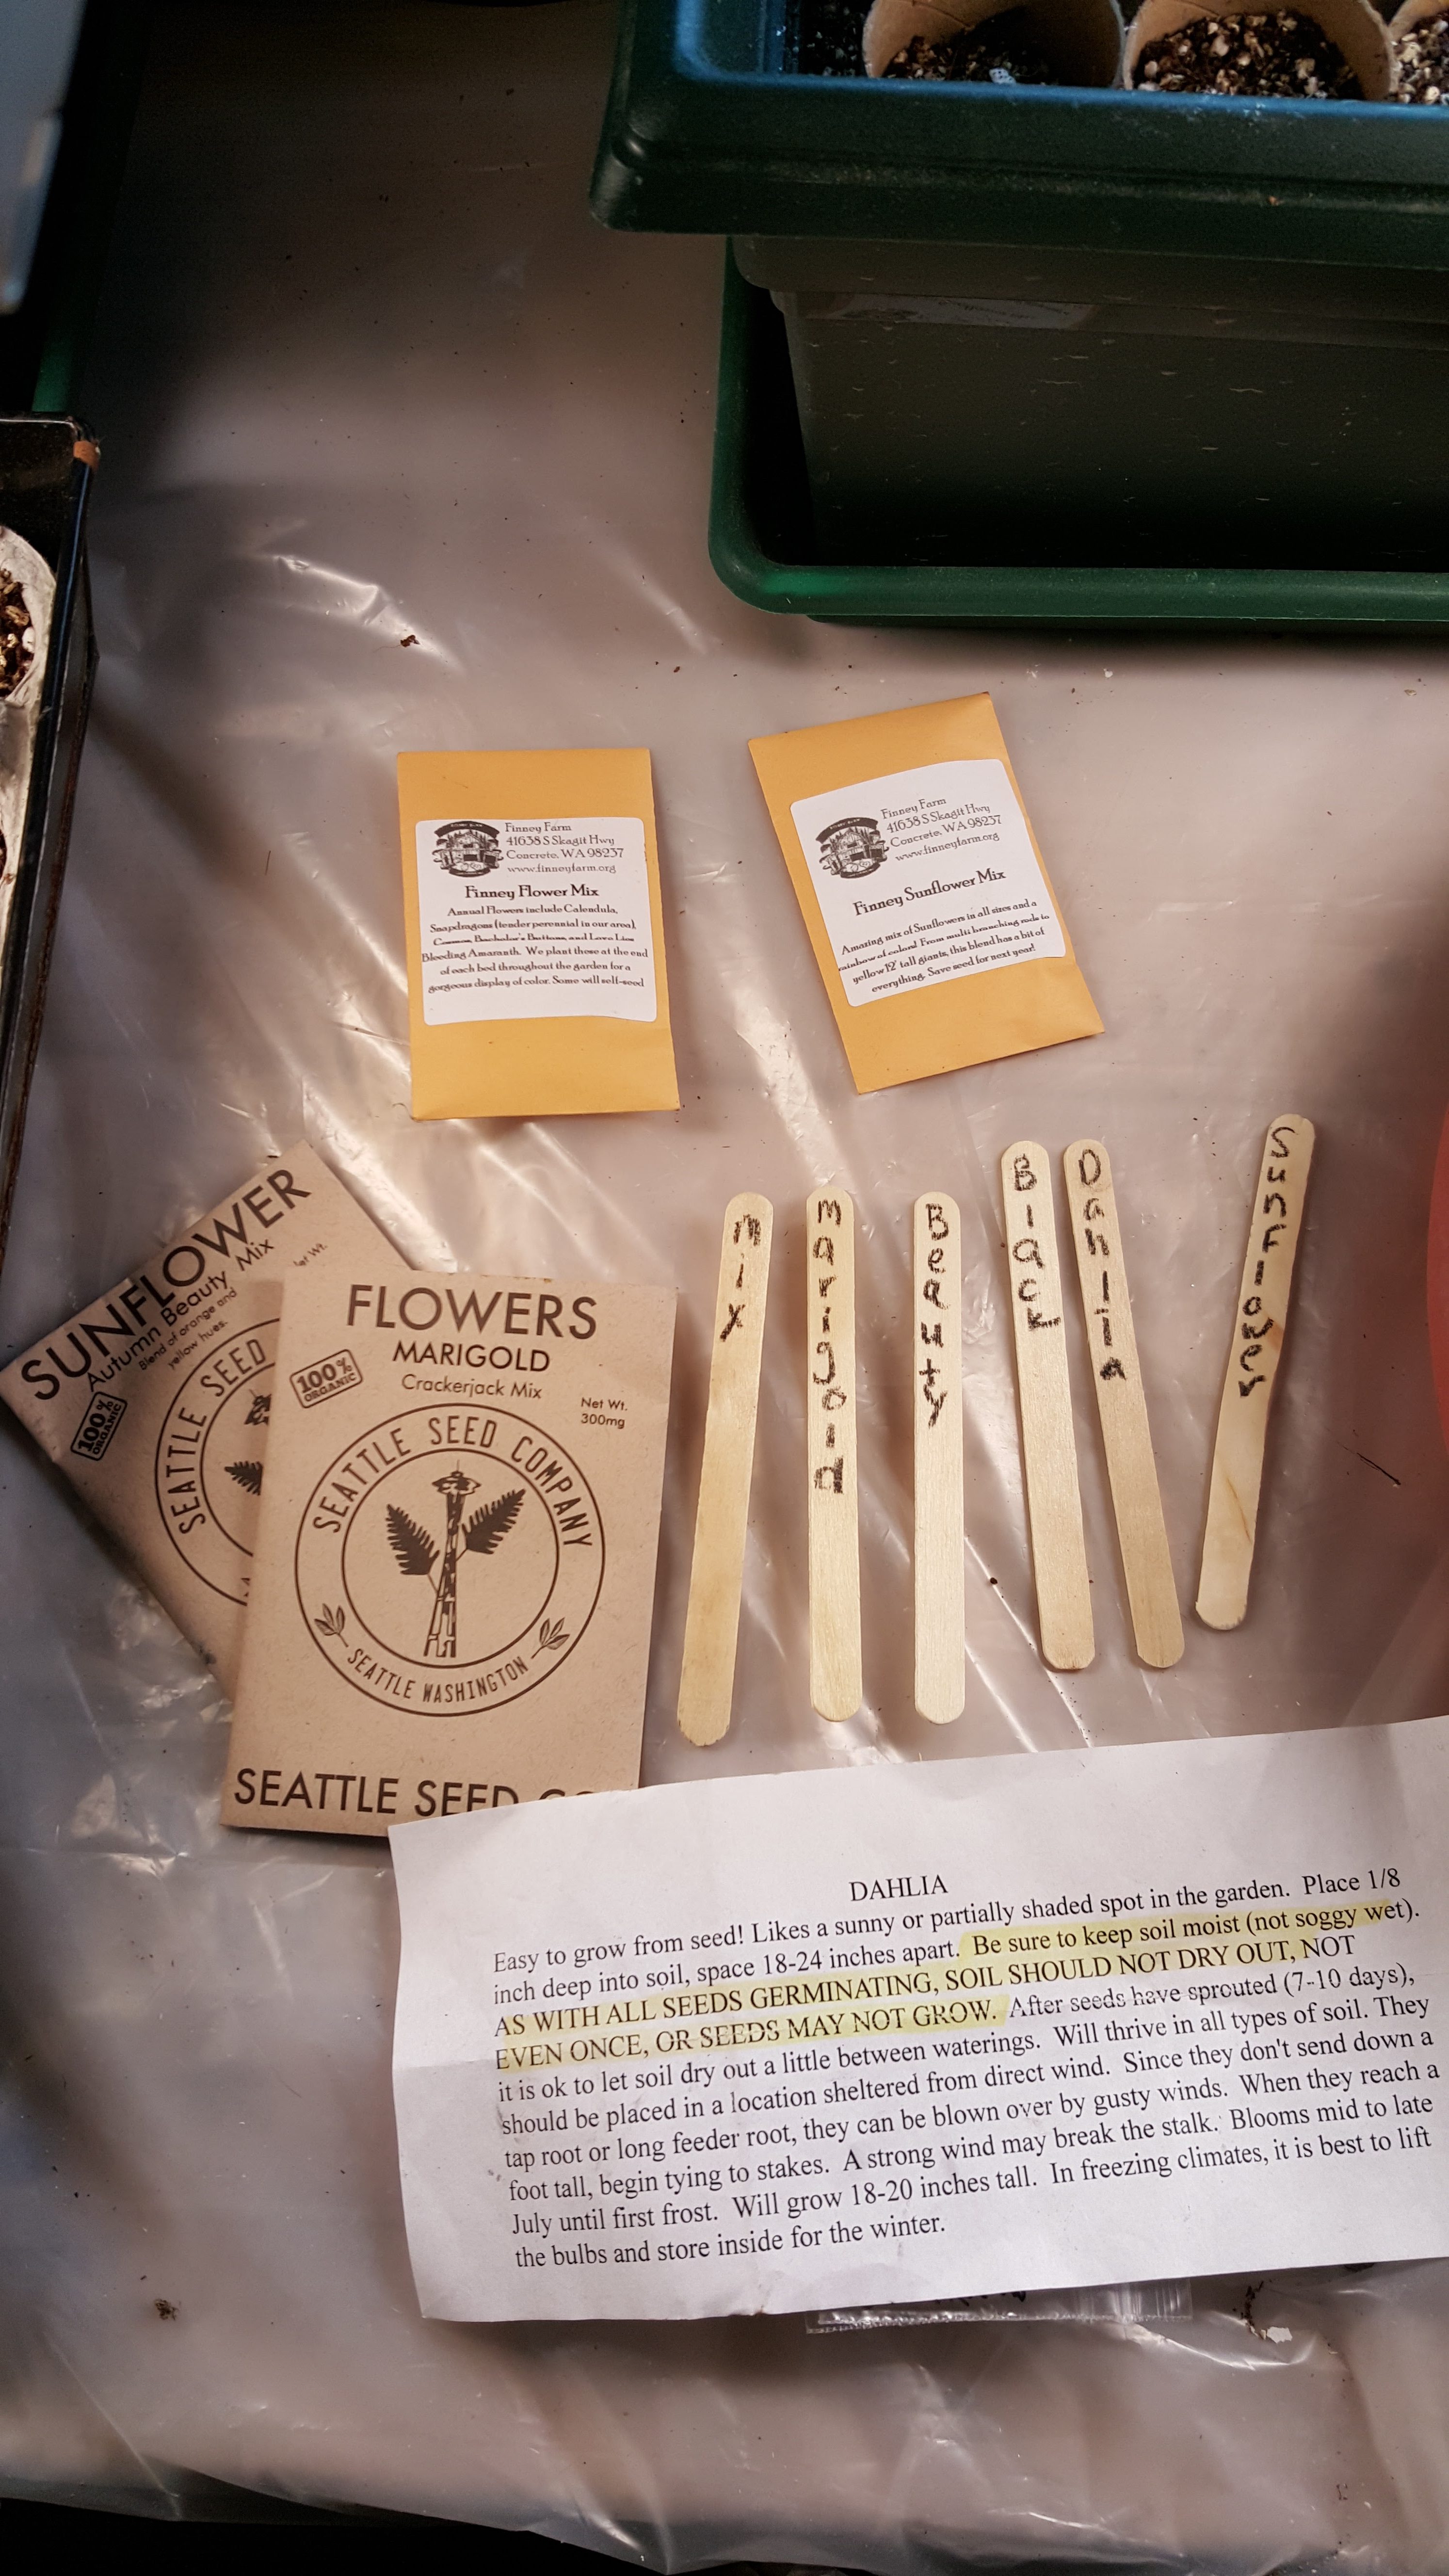
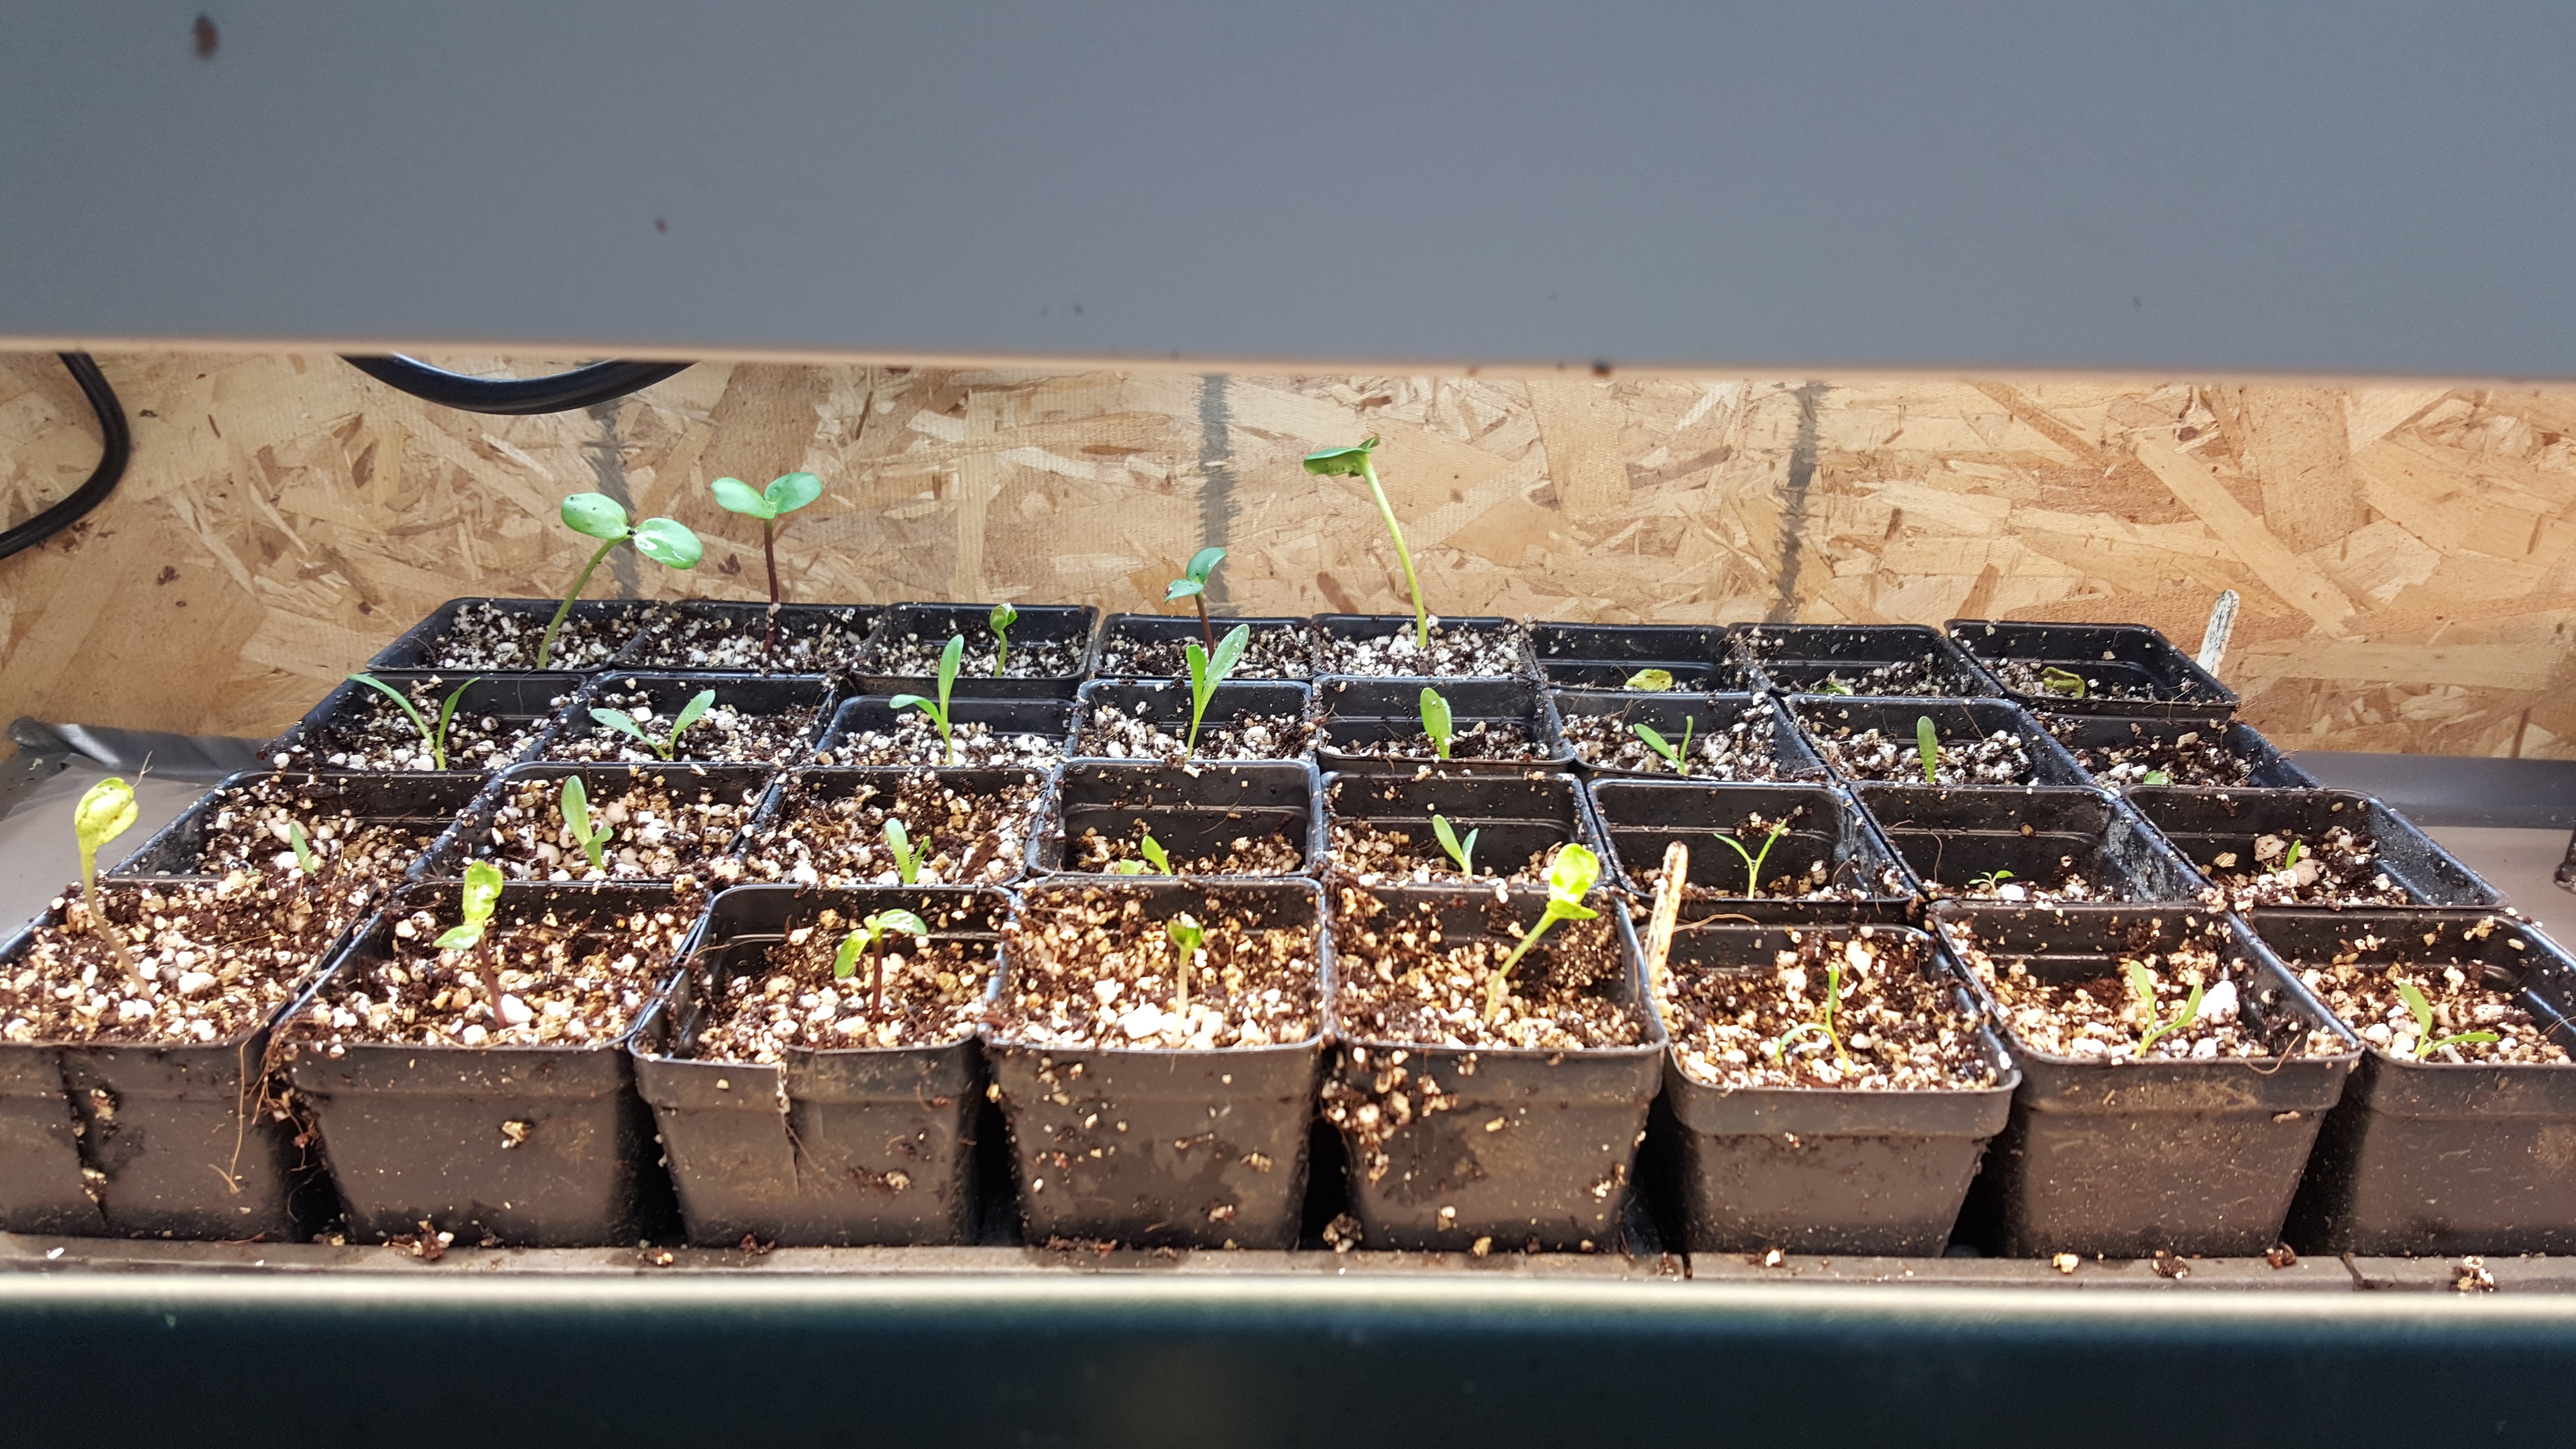
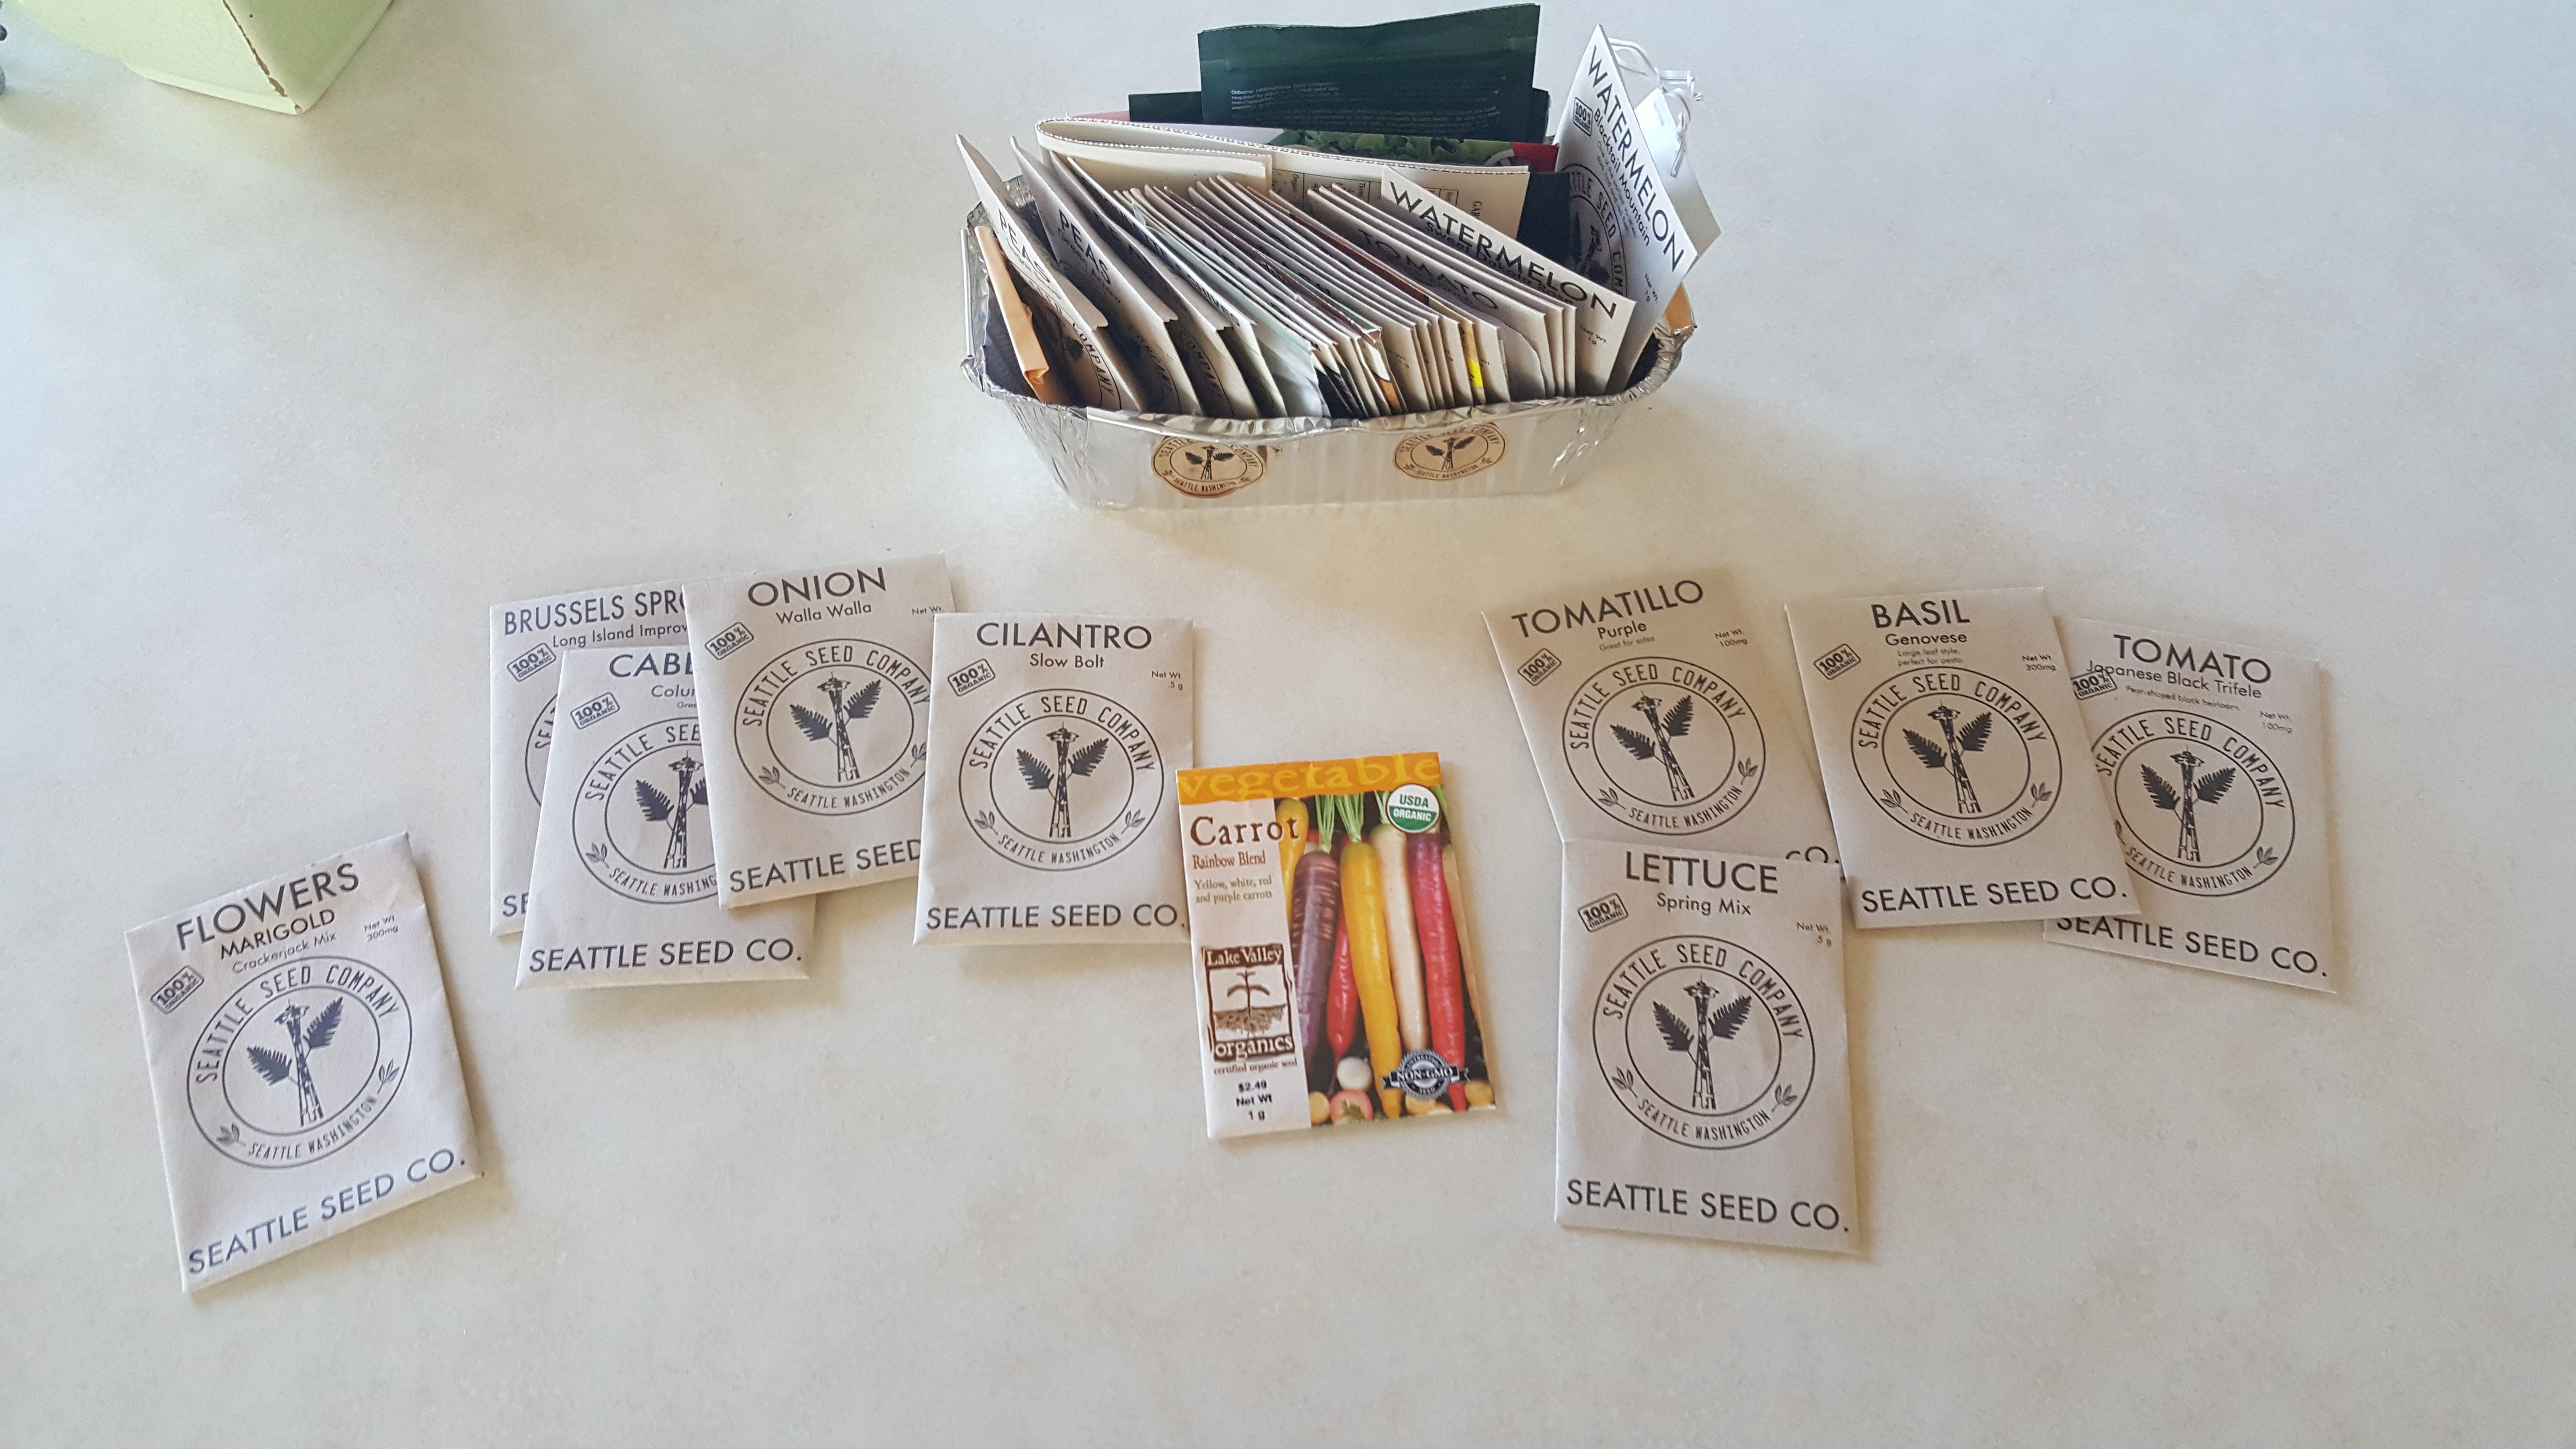
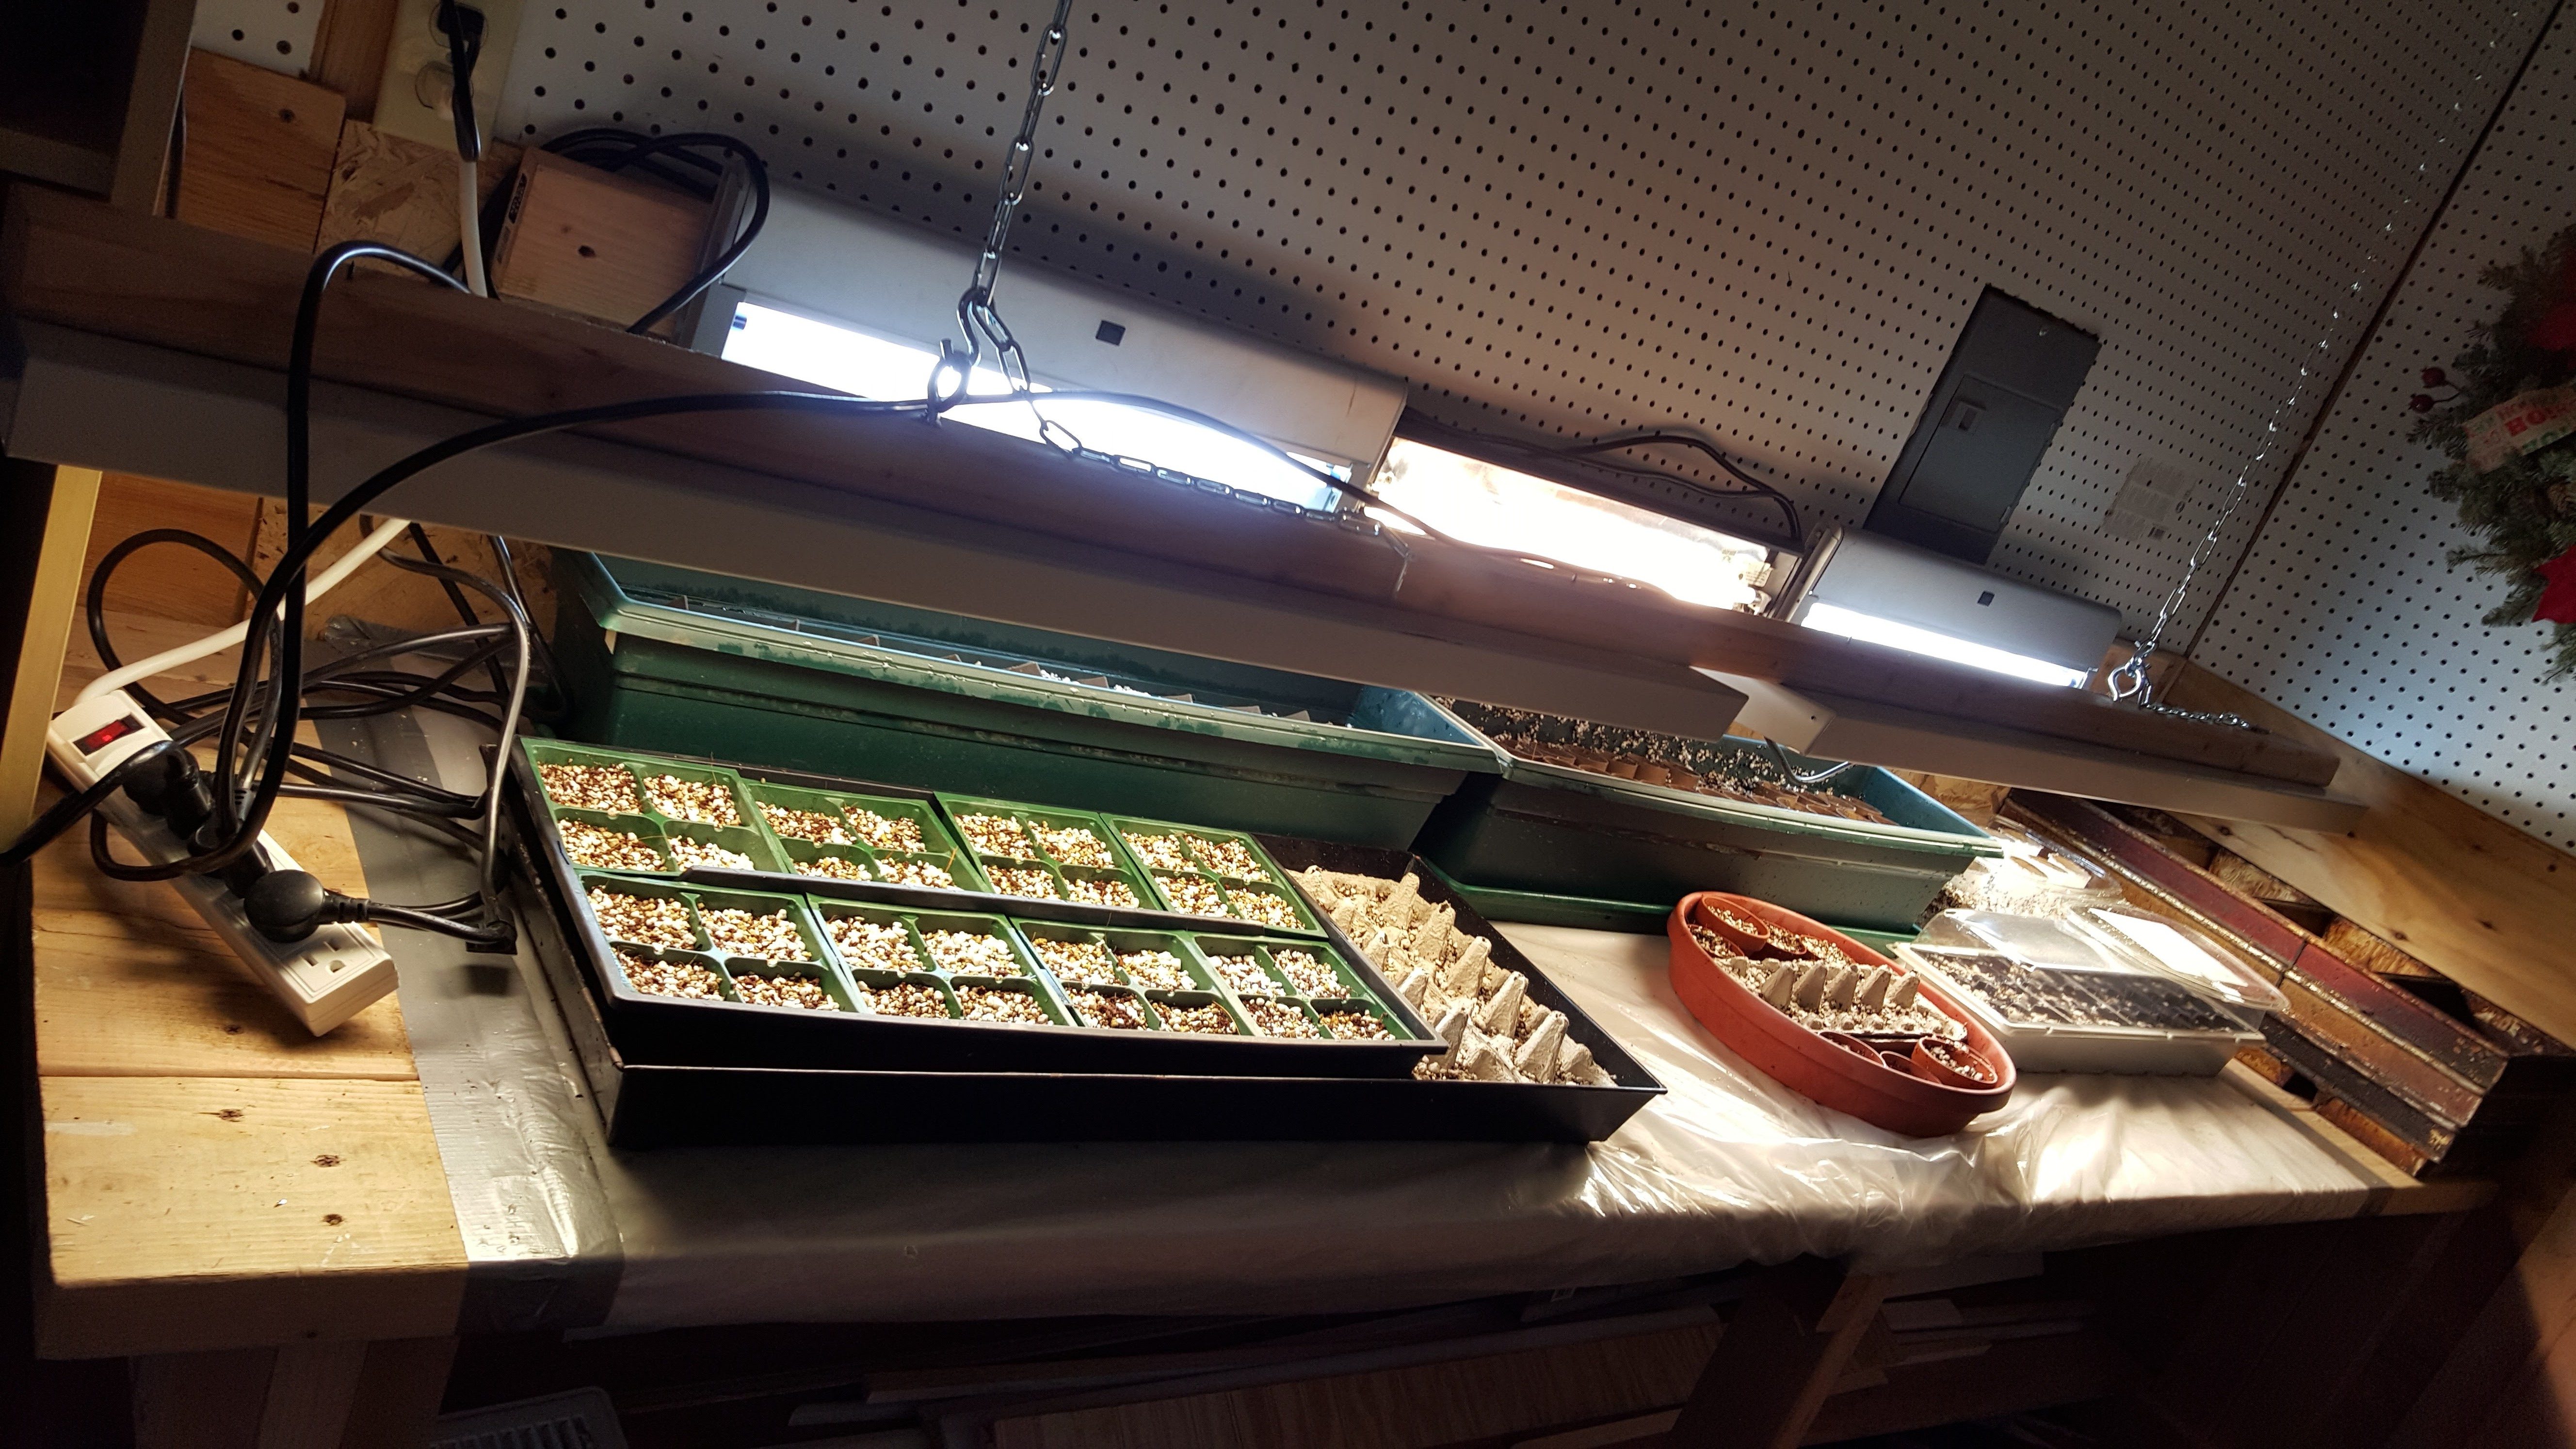
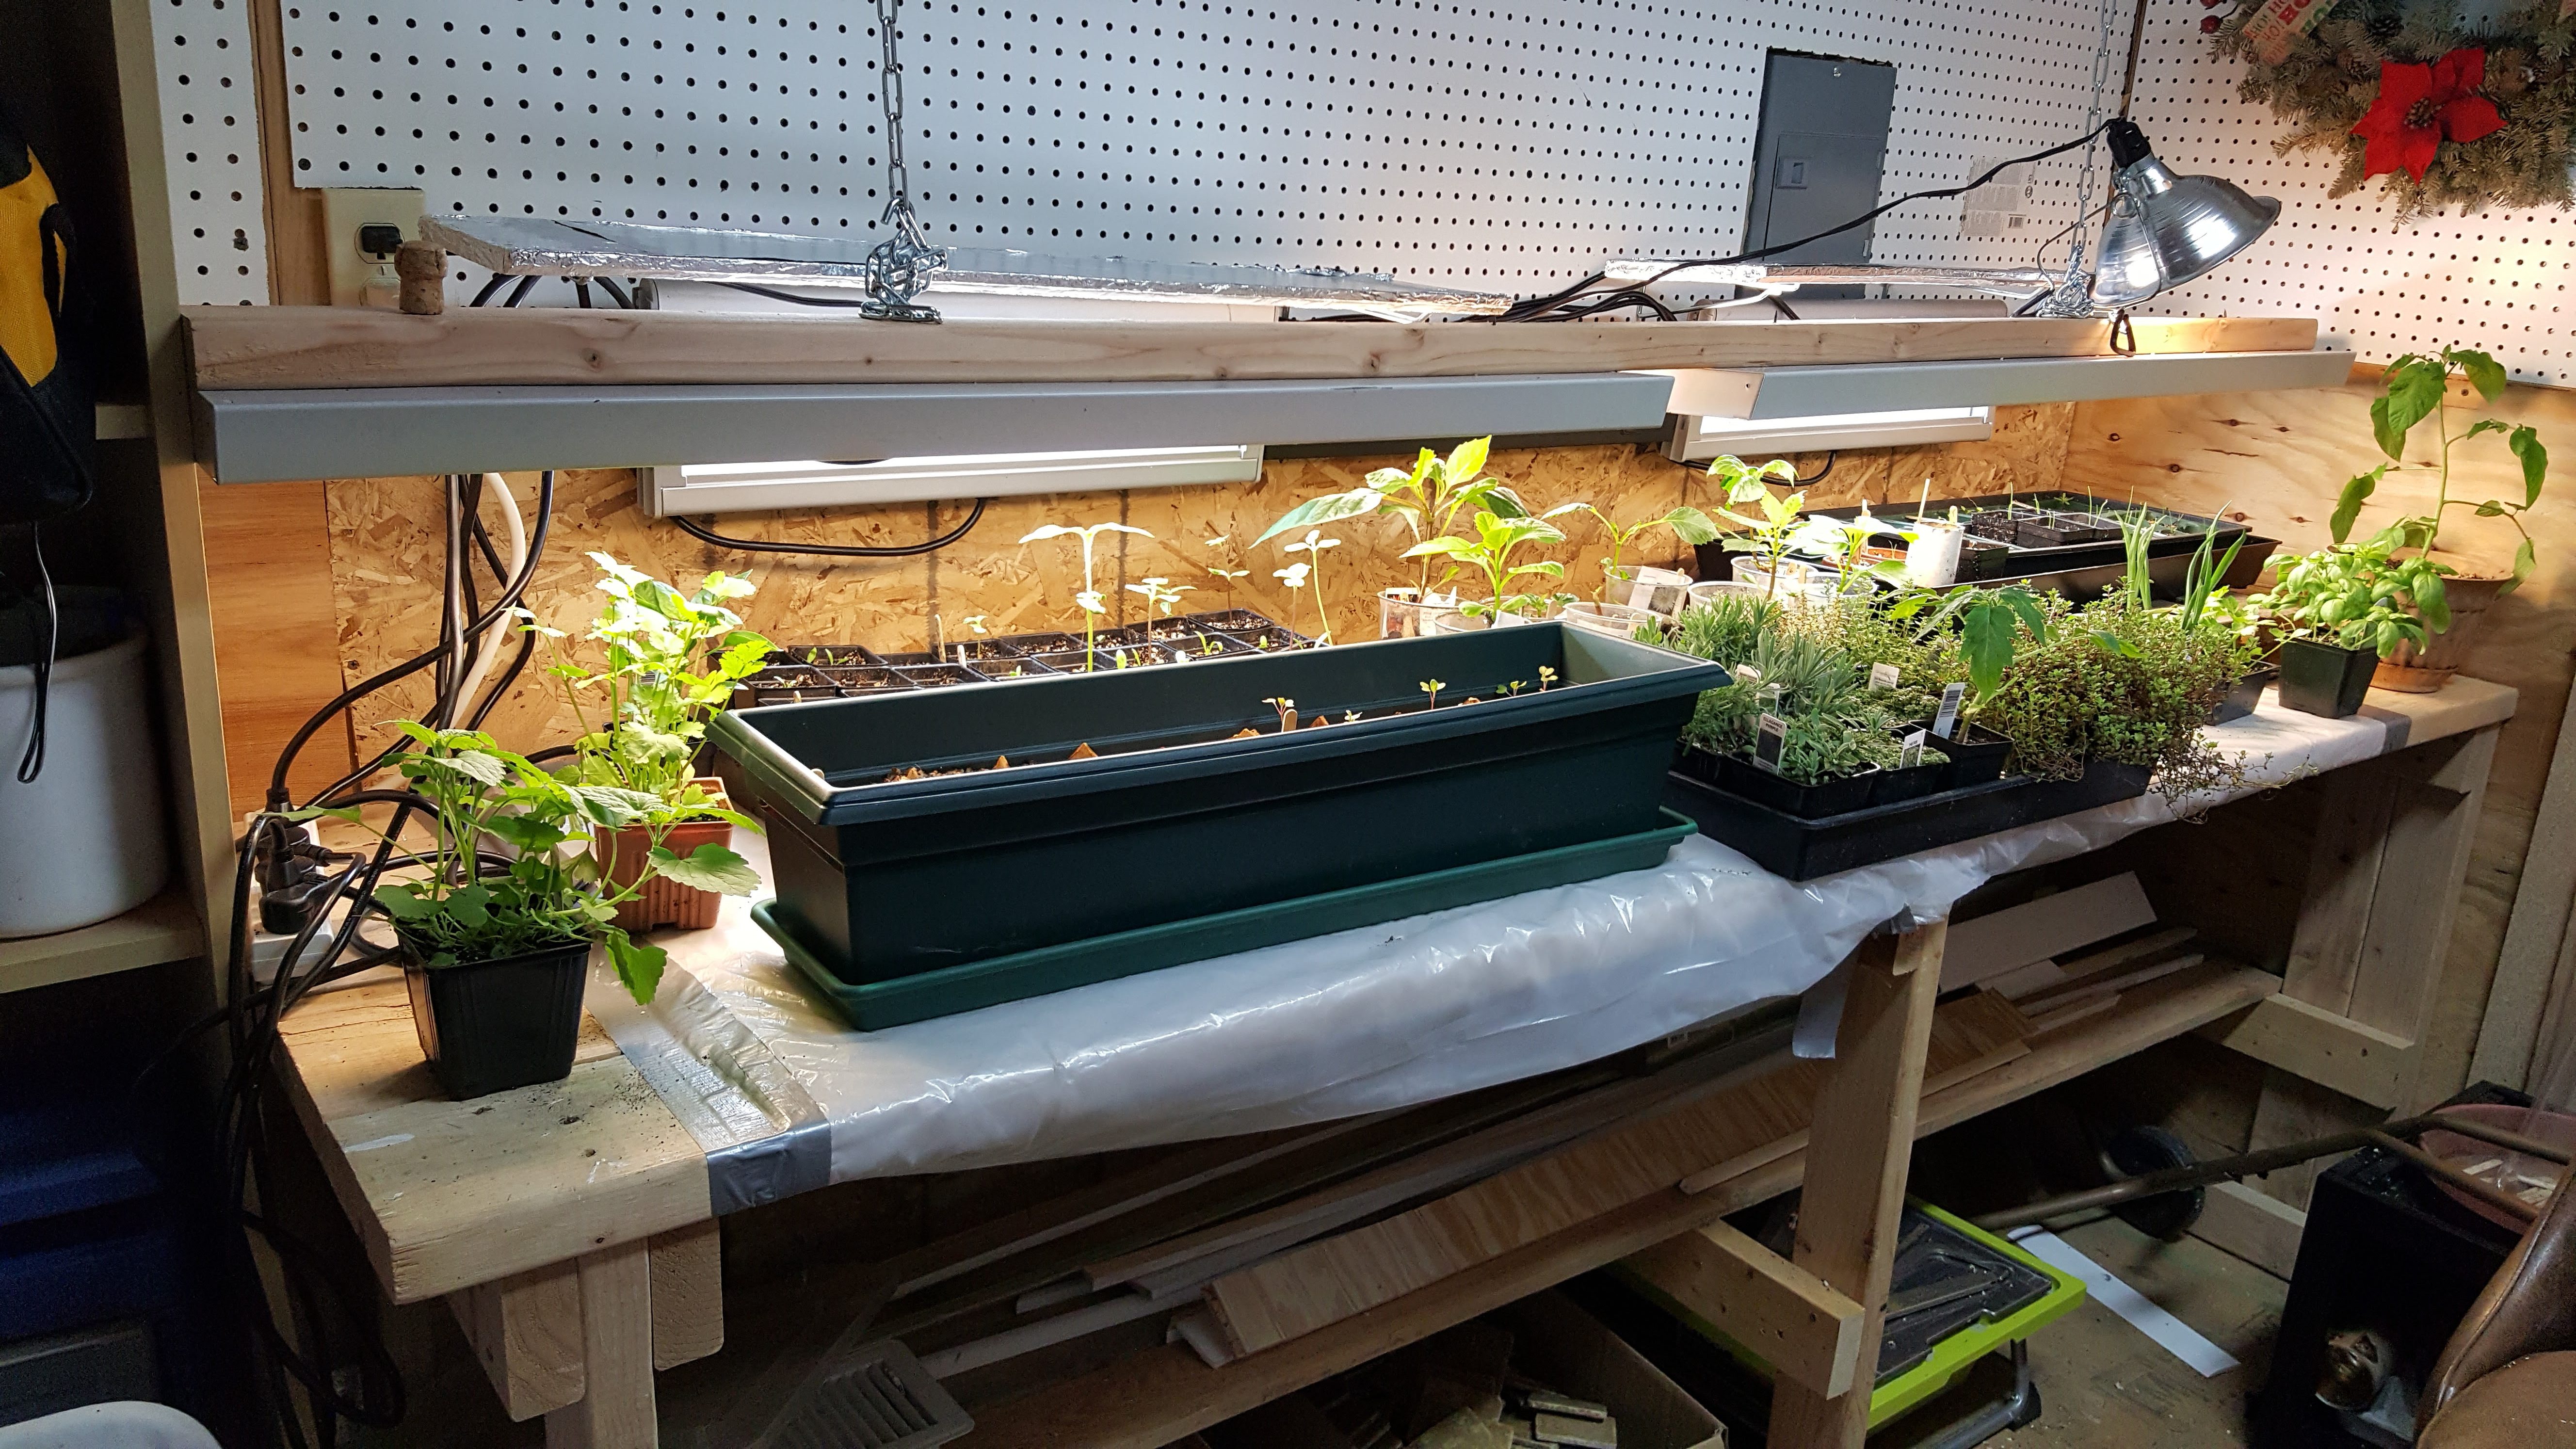
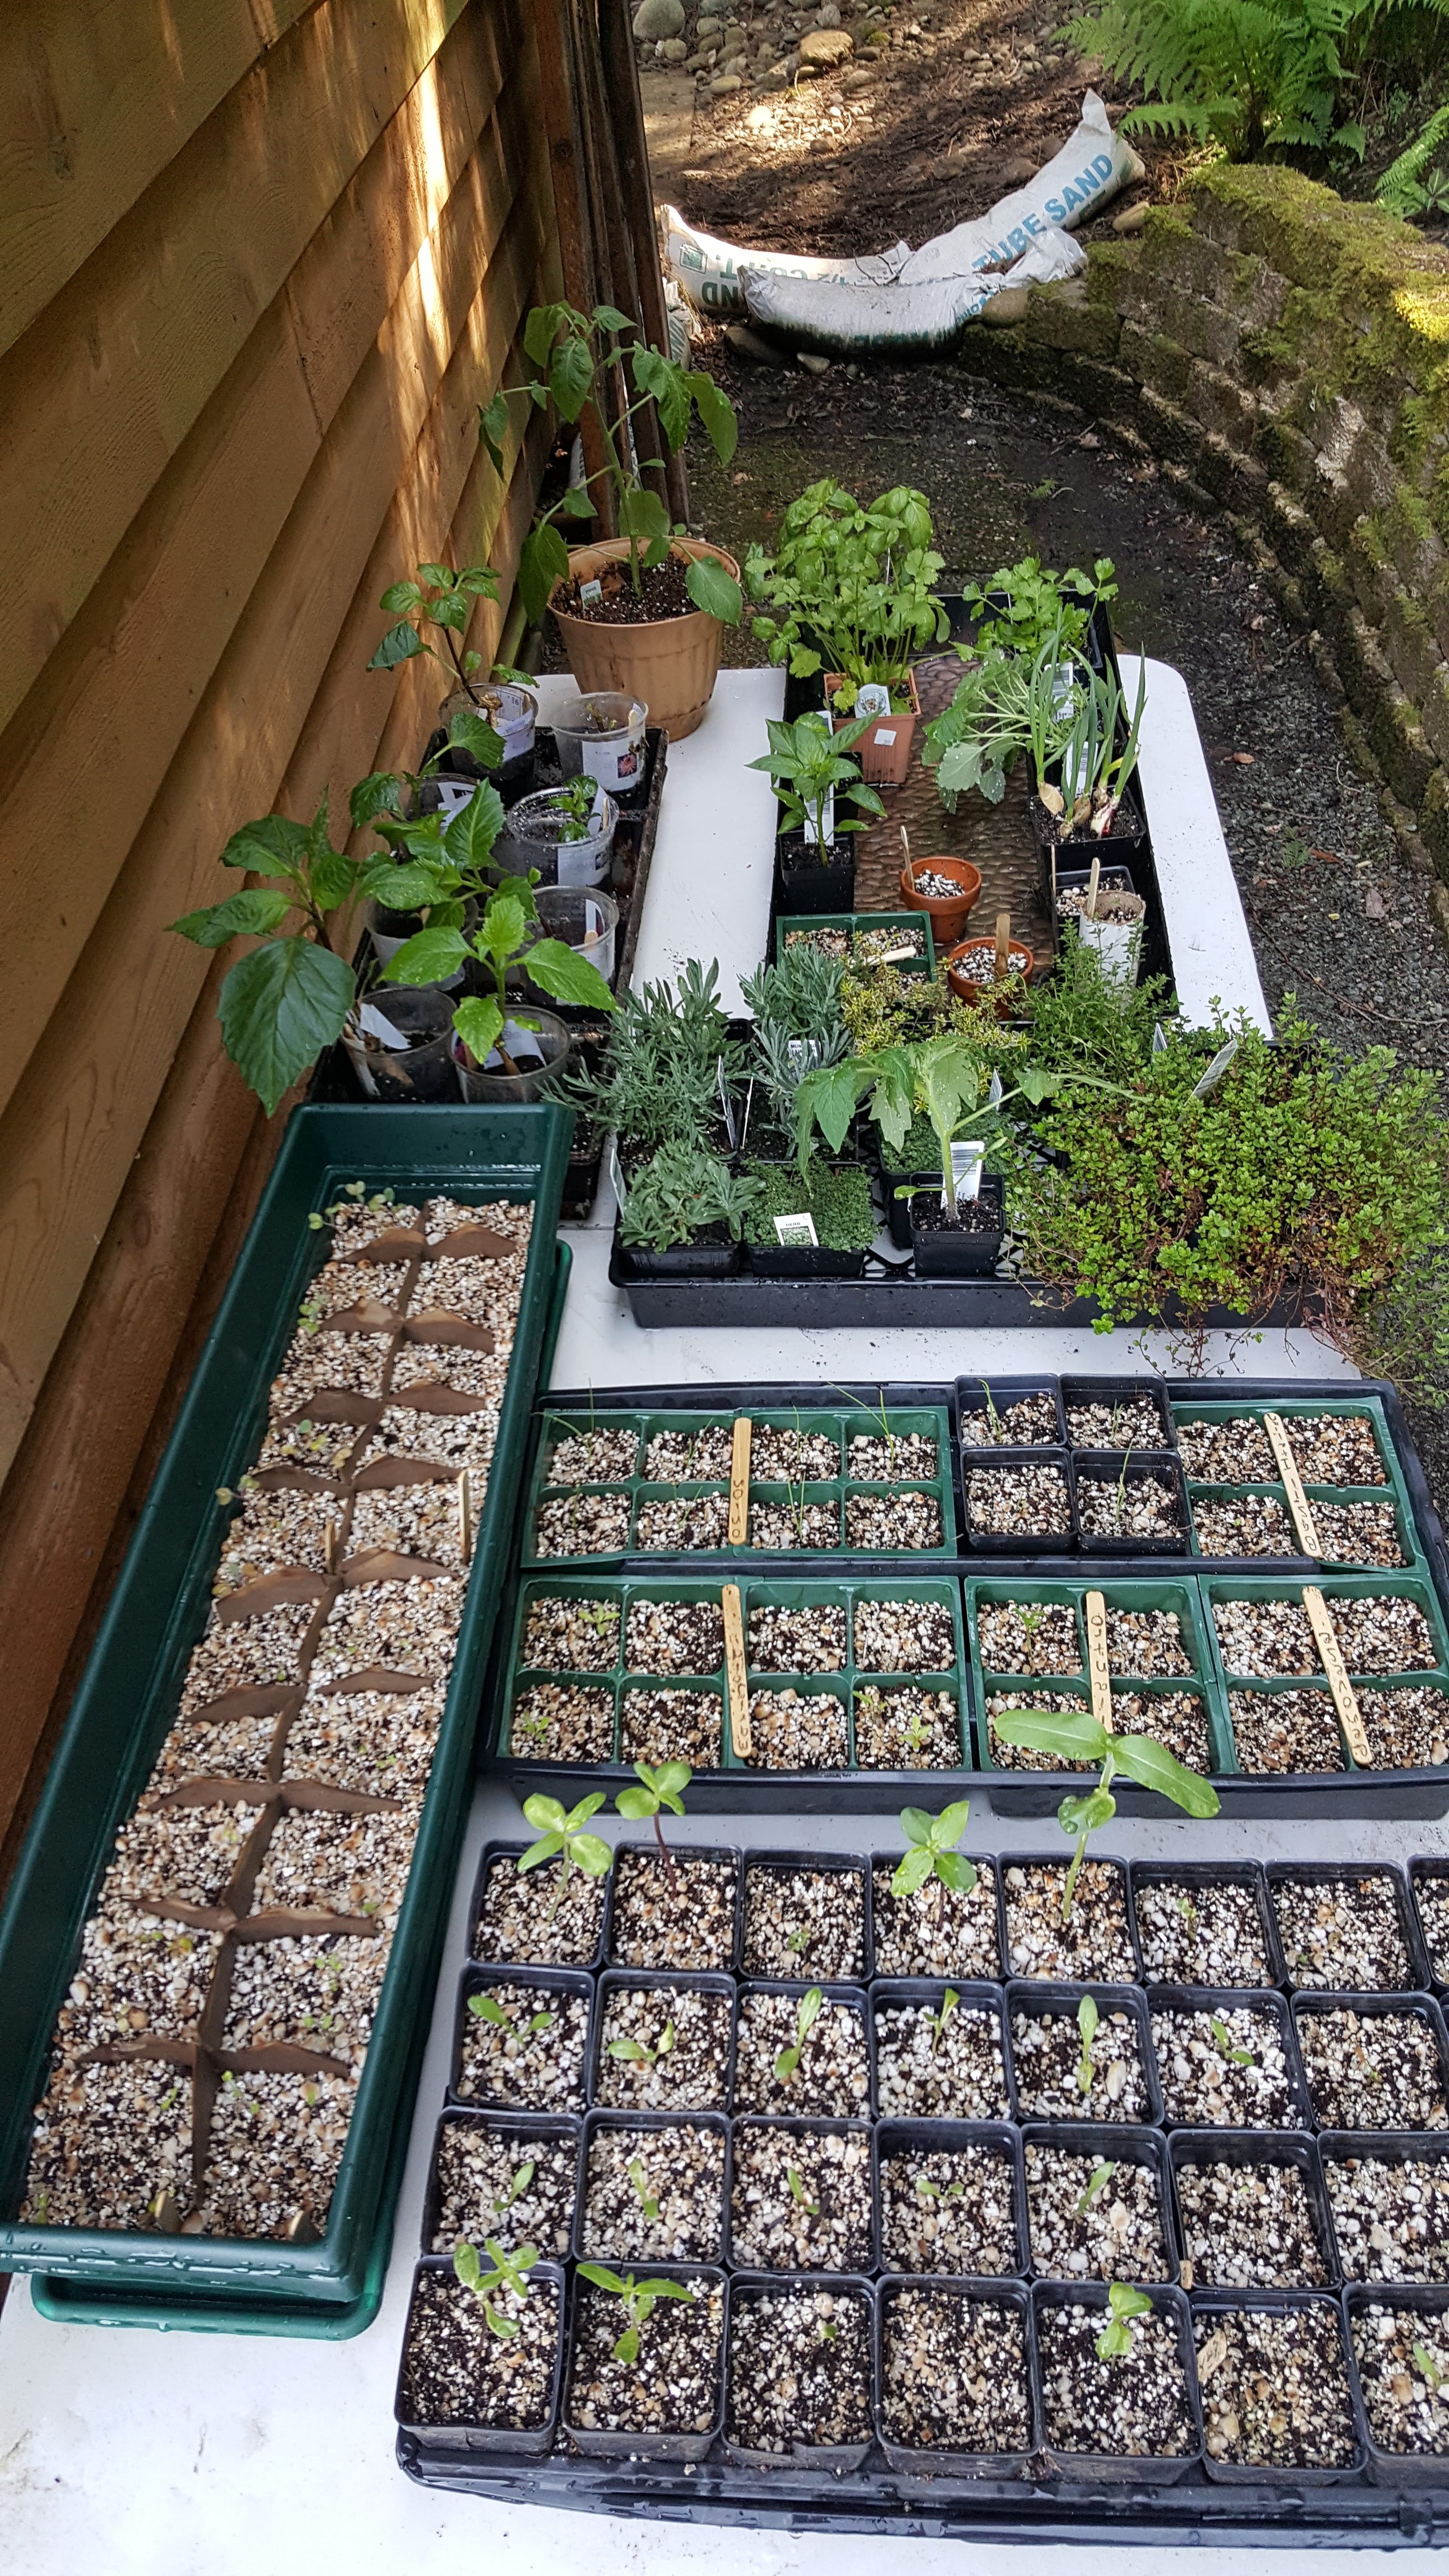
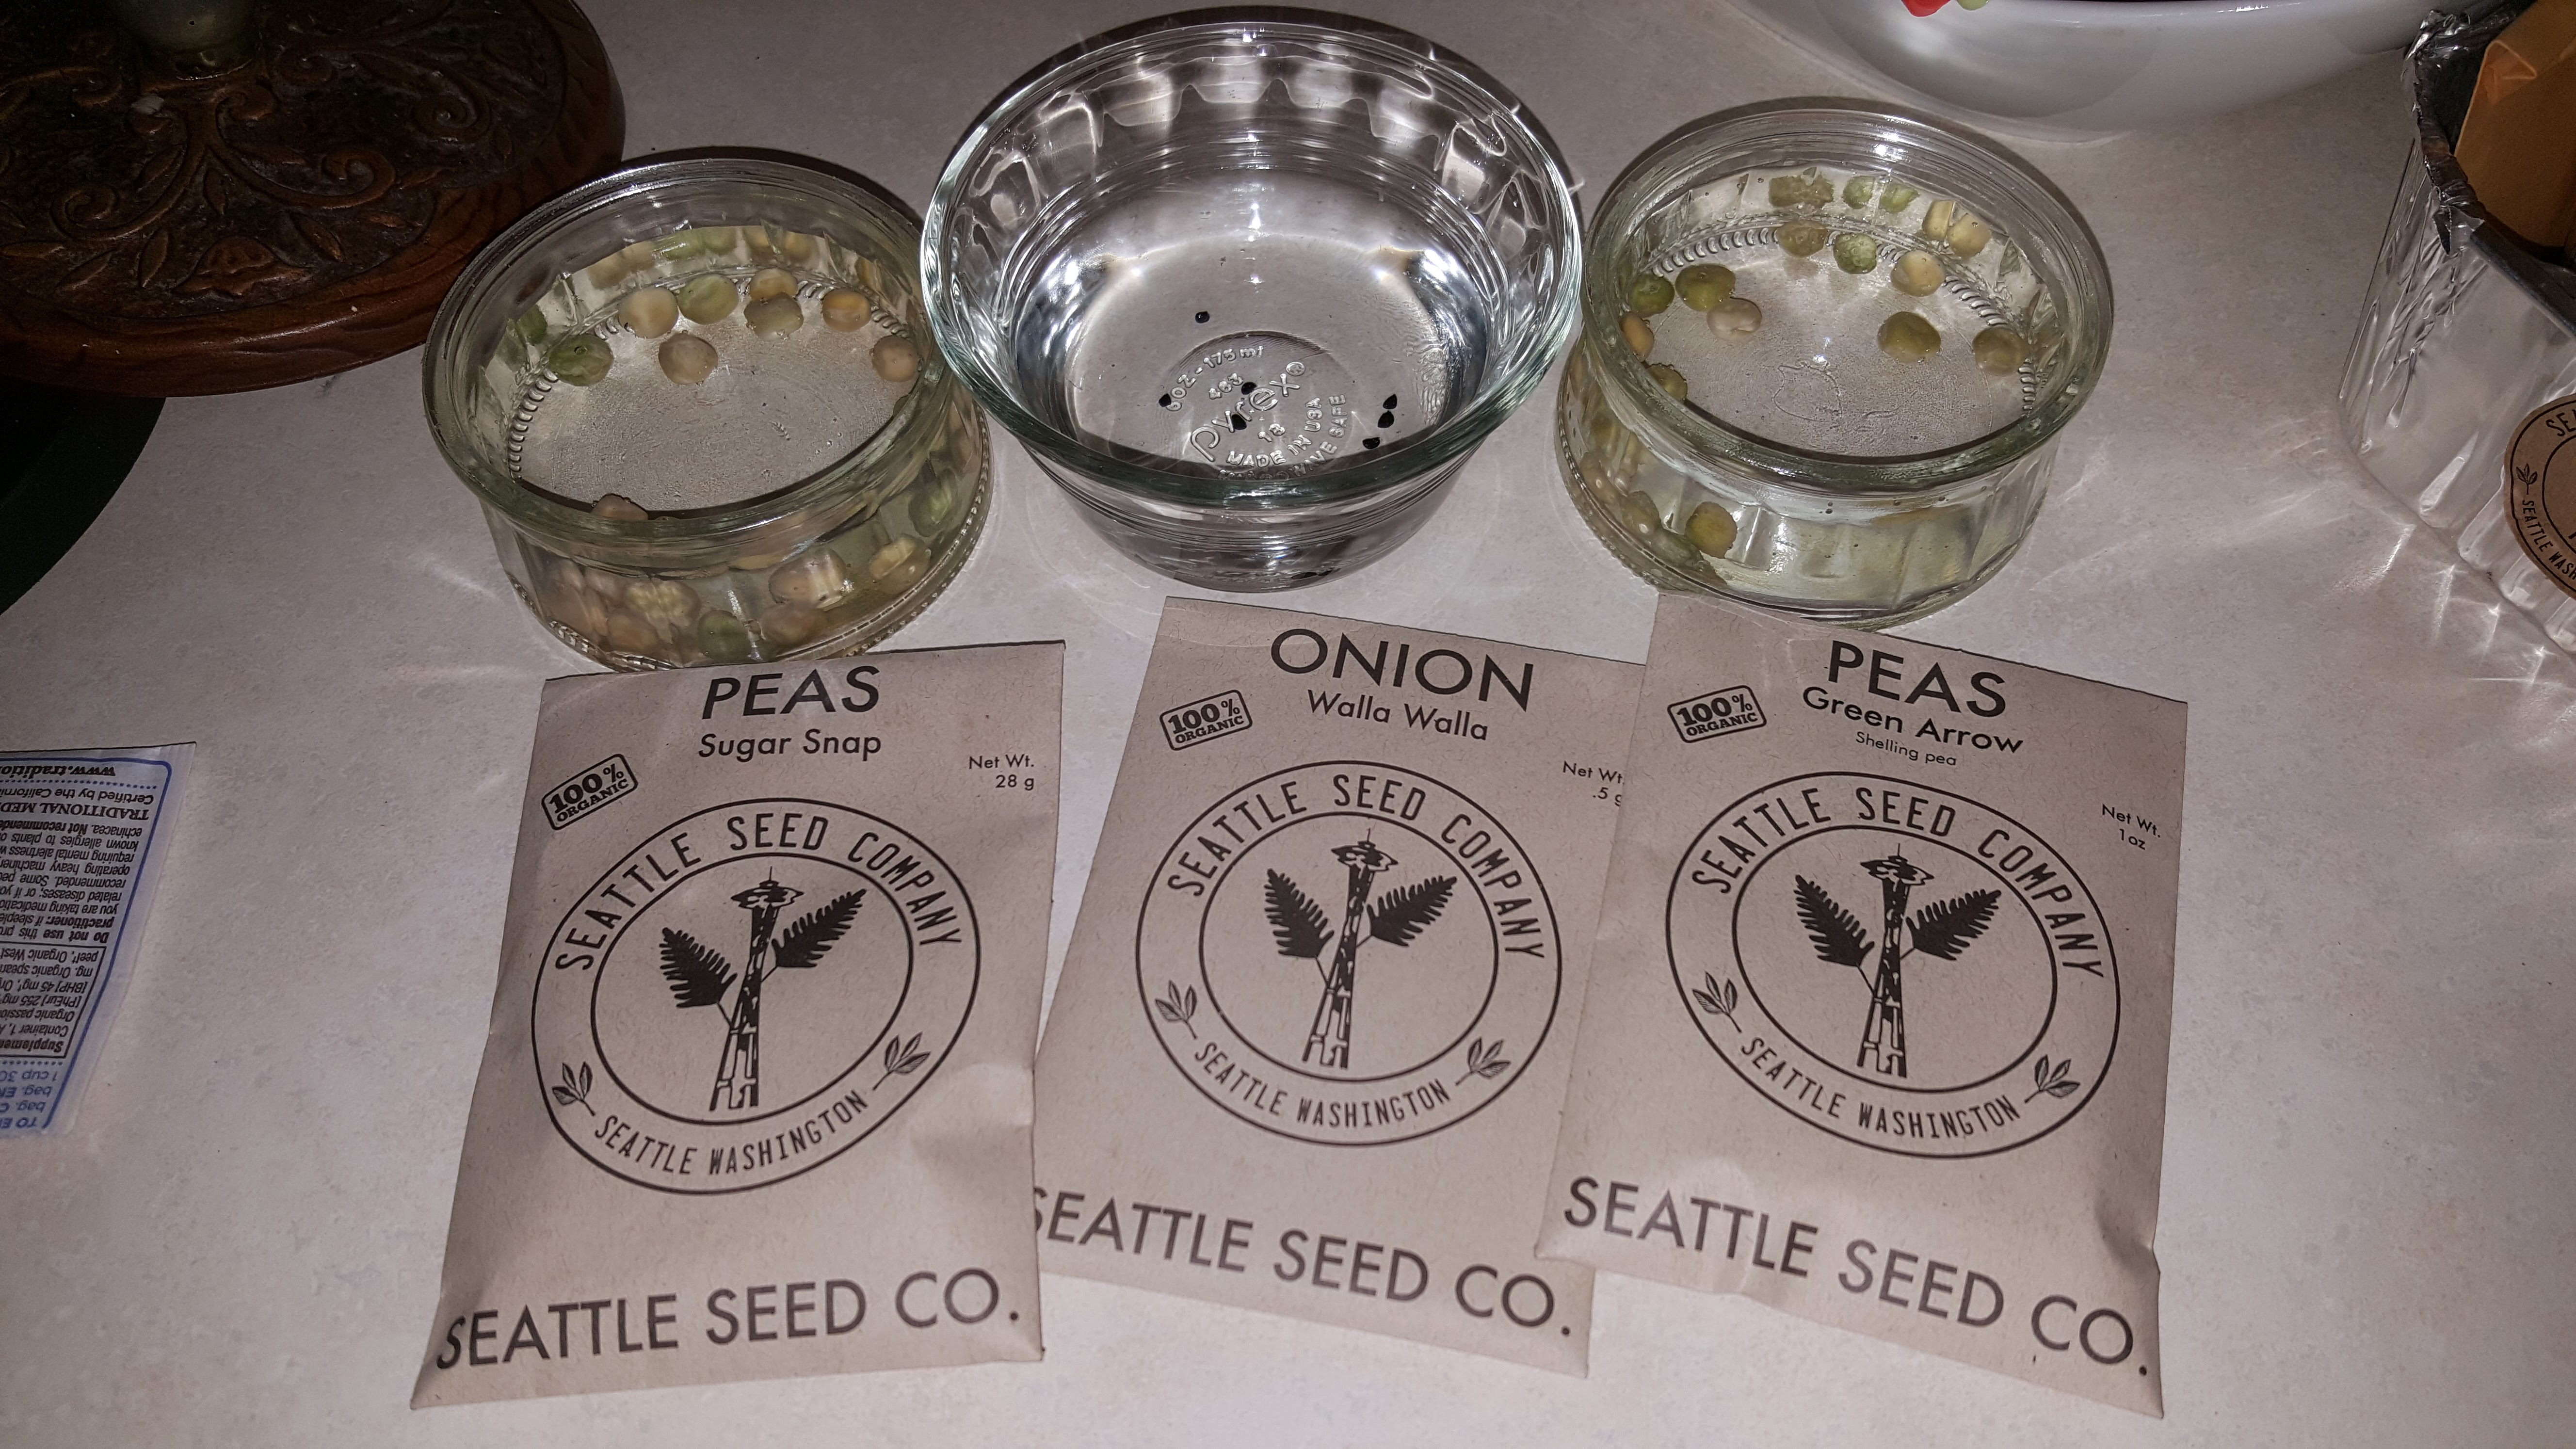
Since we have been stuck at home this spring I have done a few projects around the yard to keep busy. Once my seeds were starts I planted them and got busy with the rest of the yard.

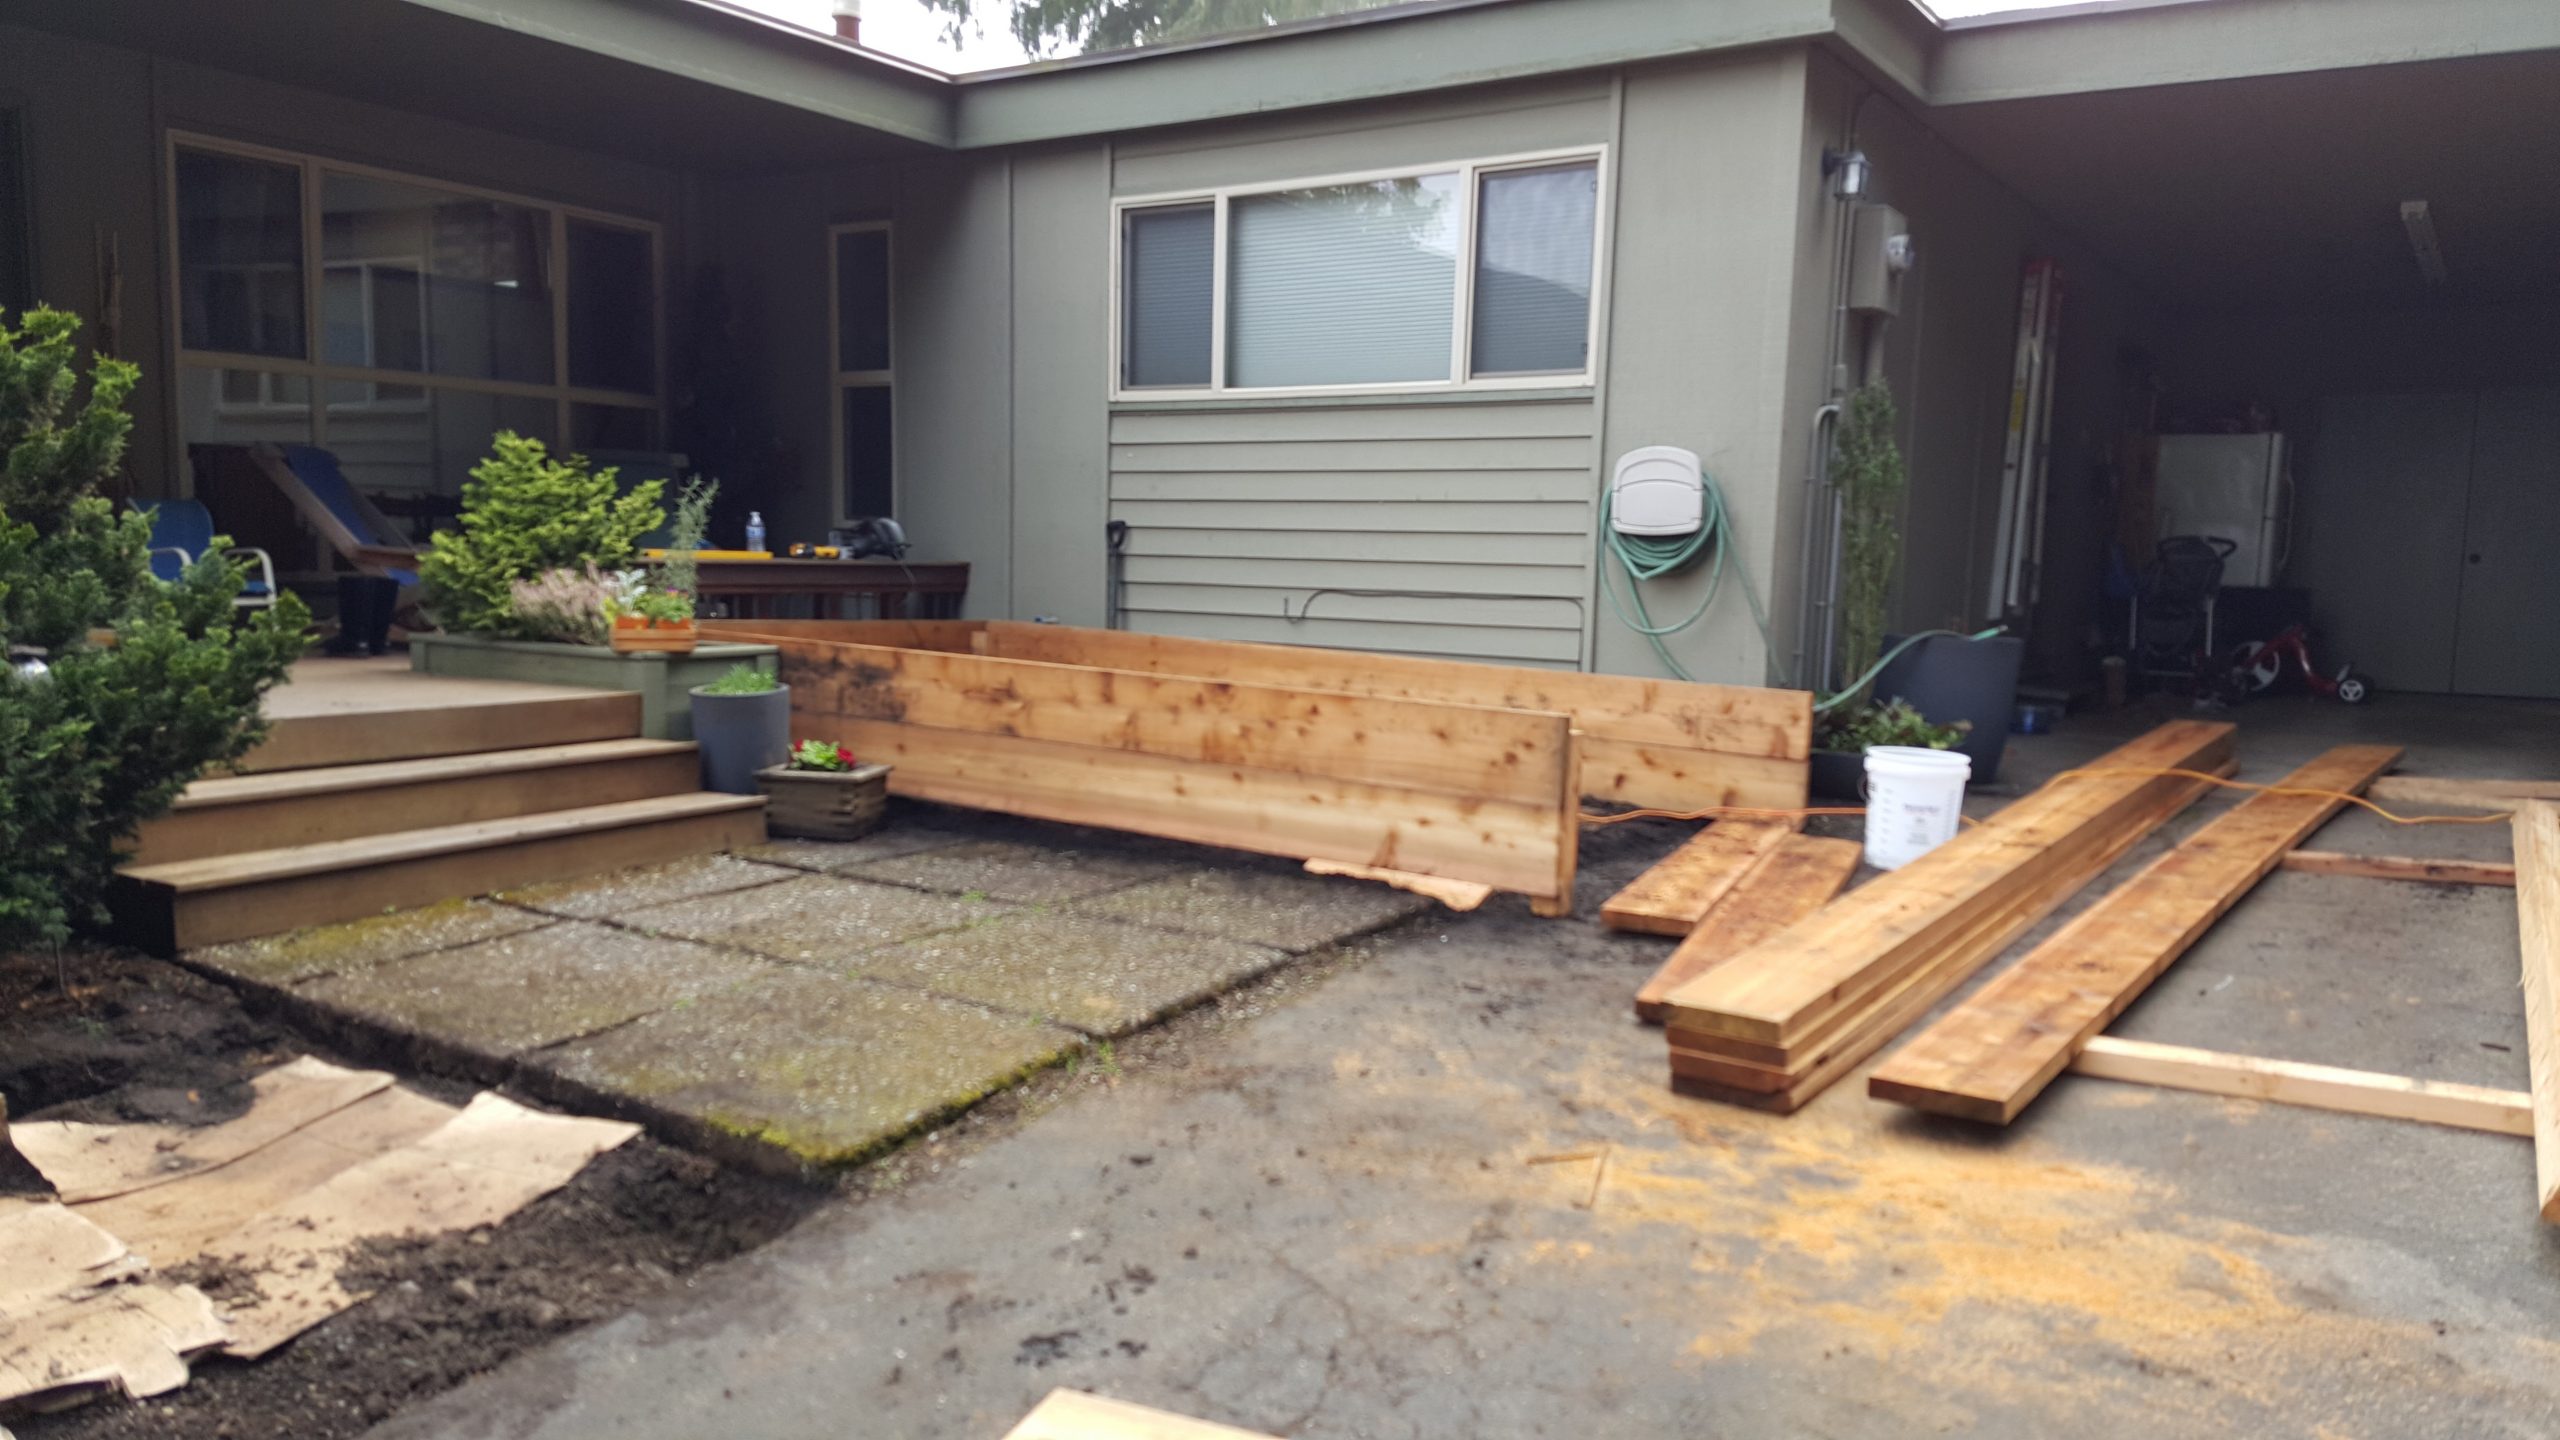
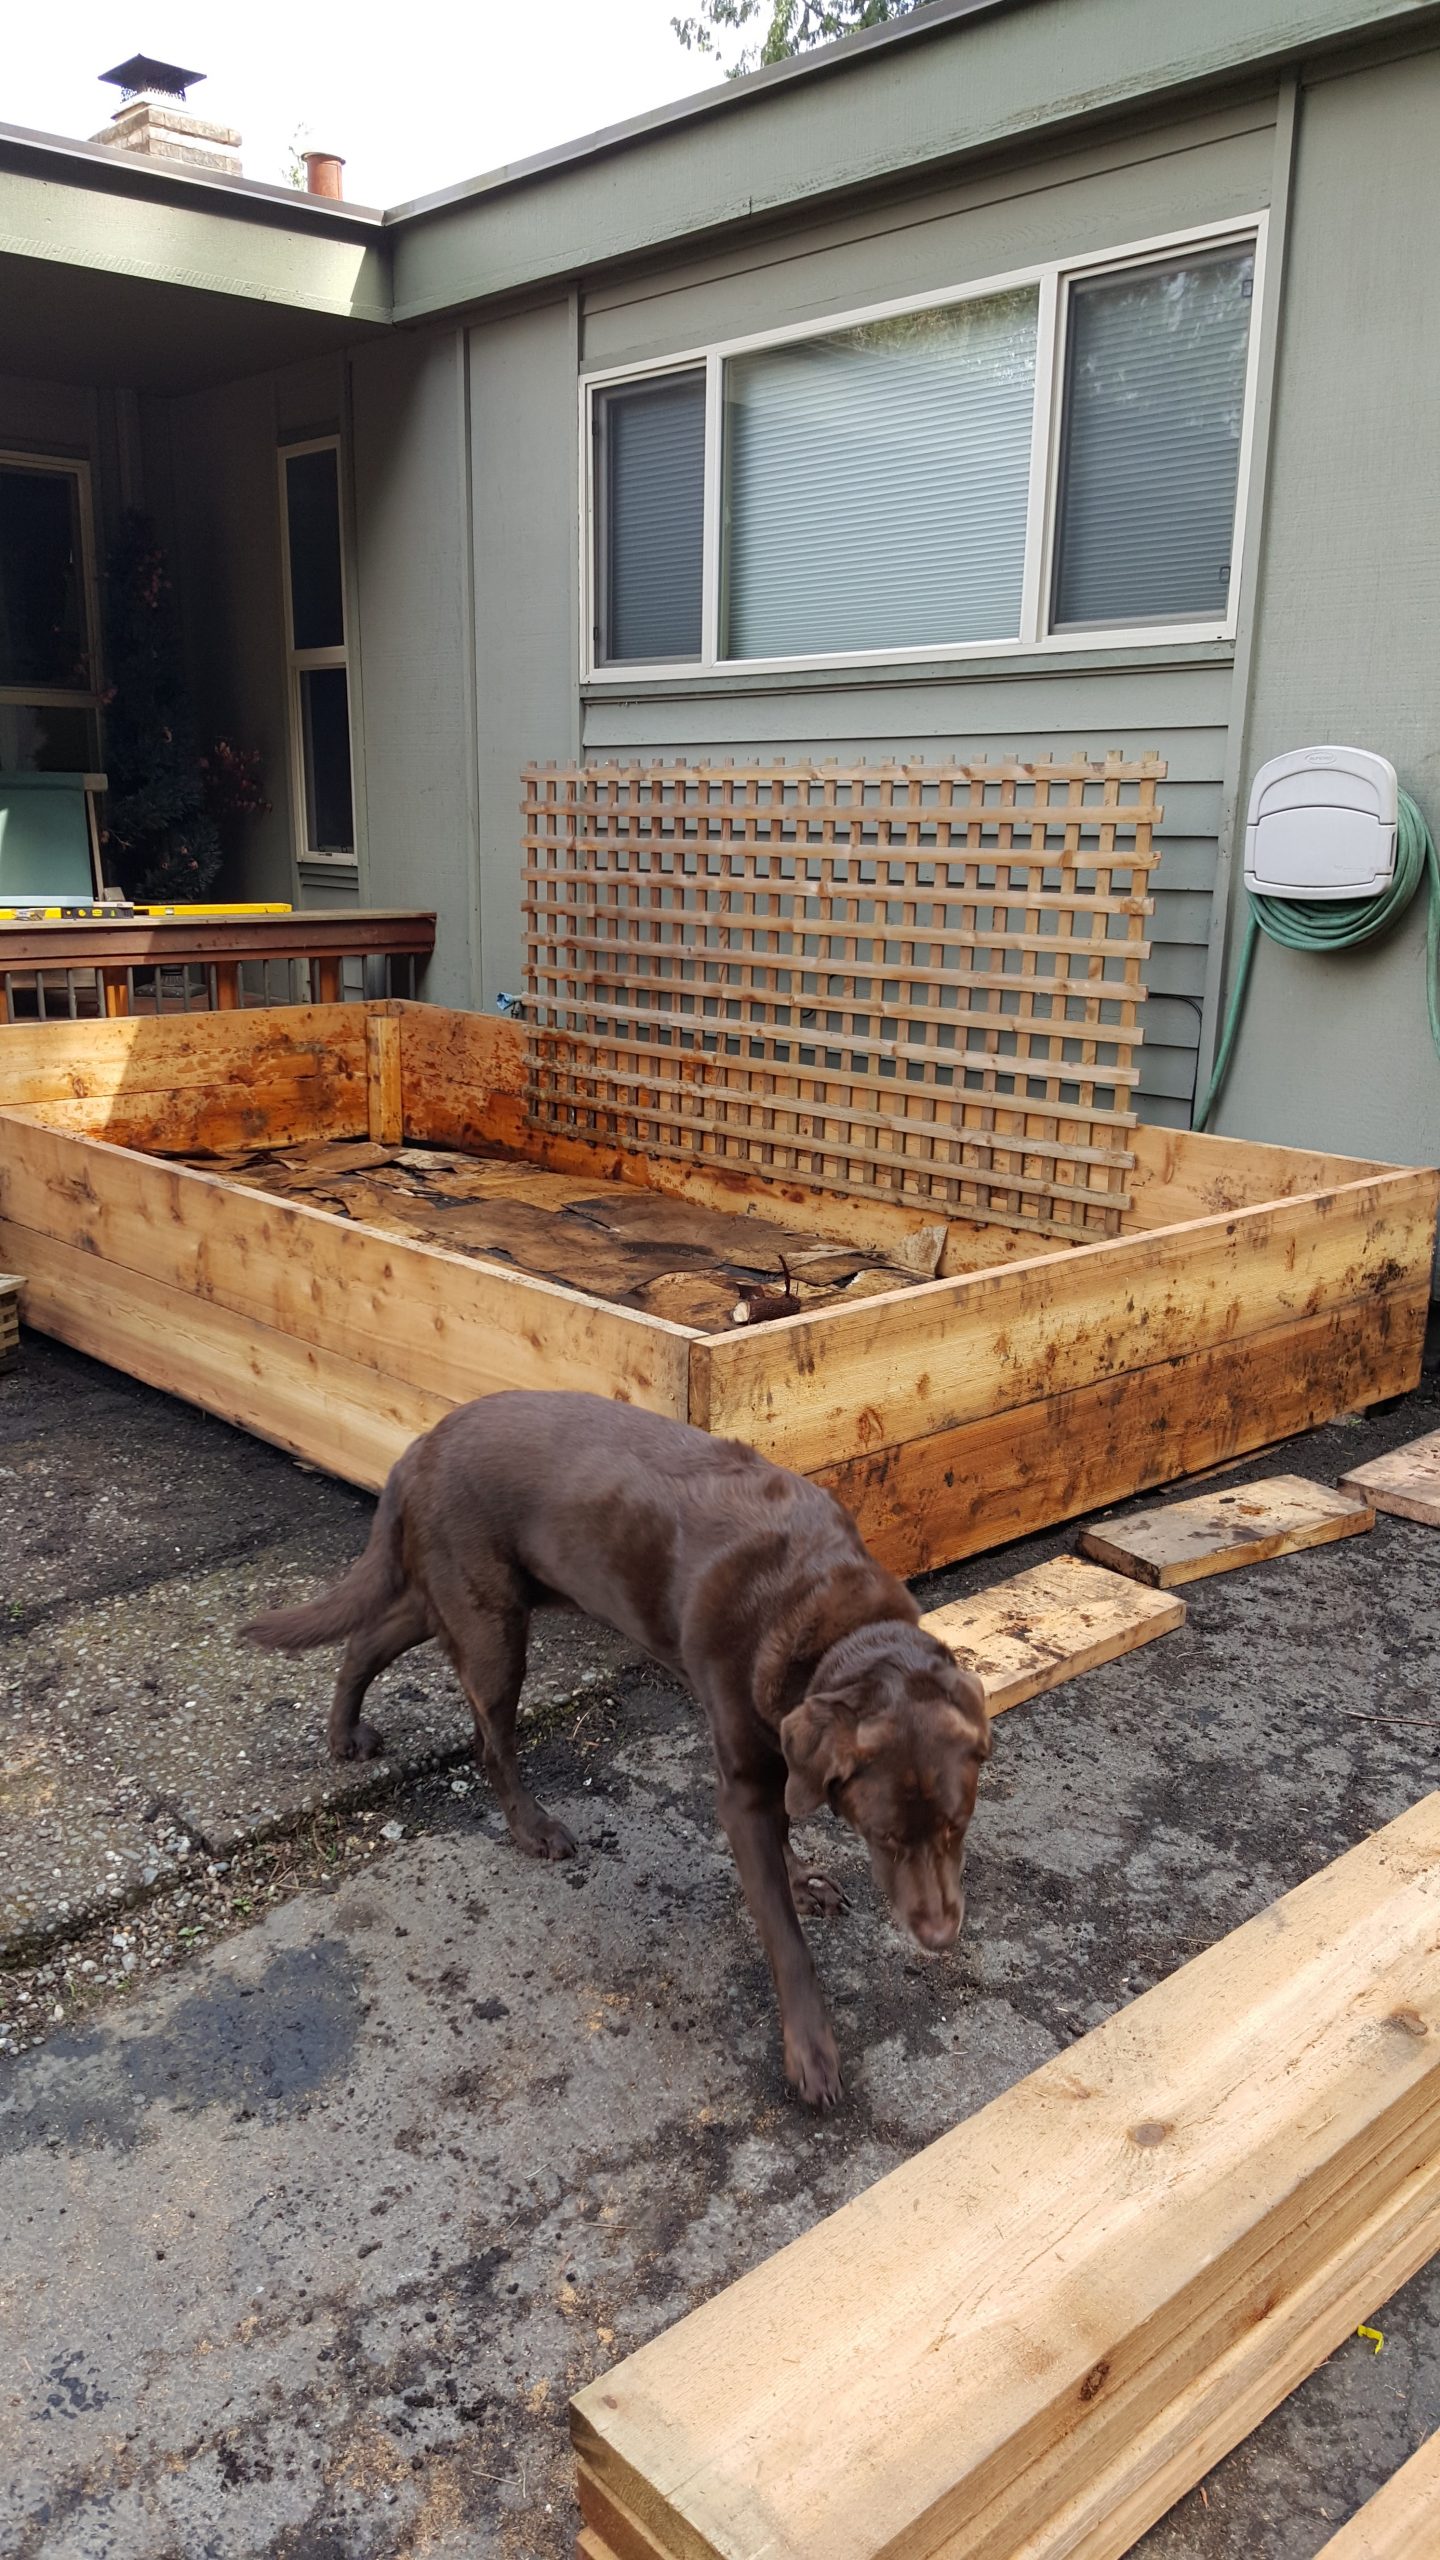
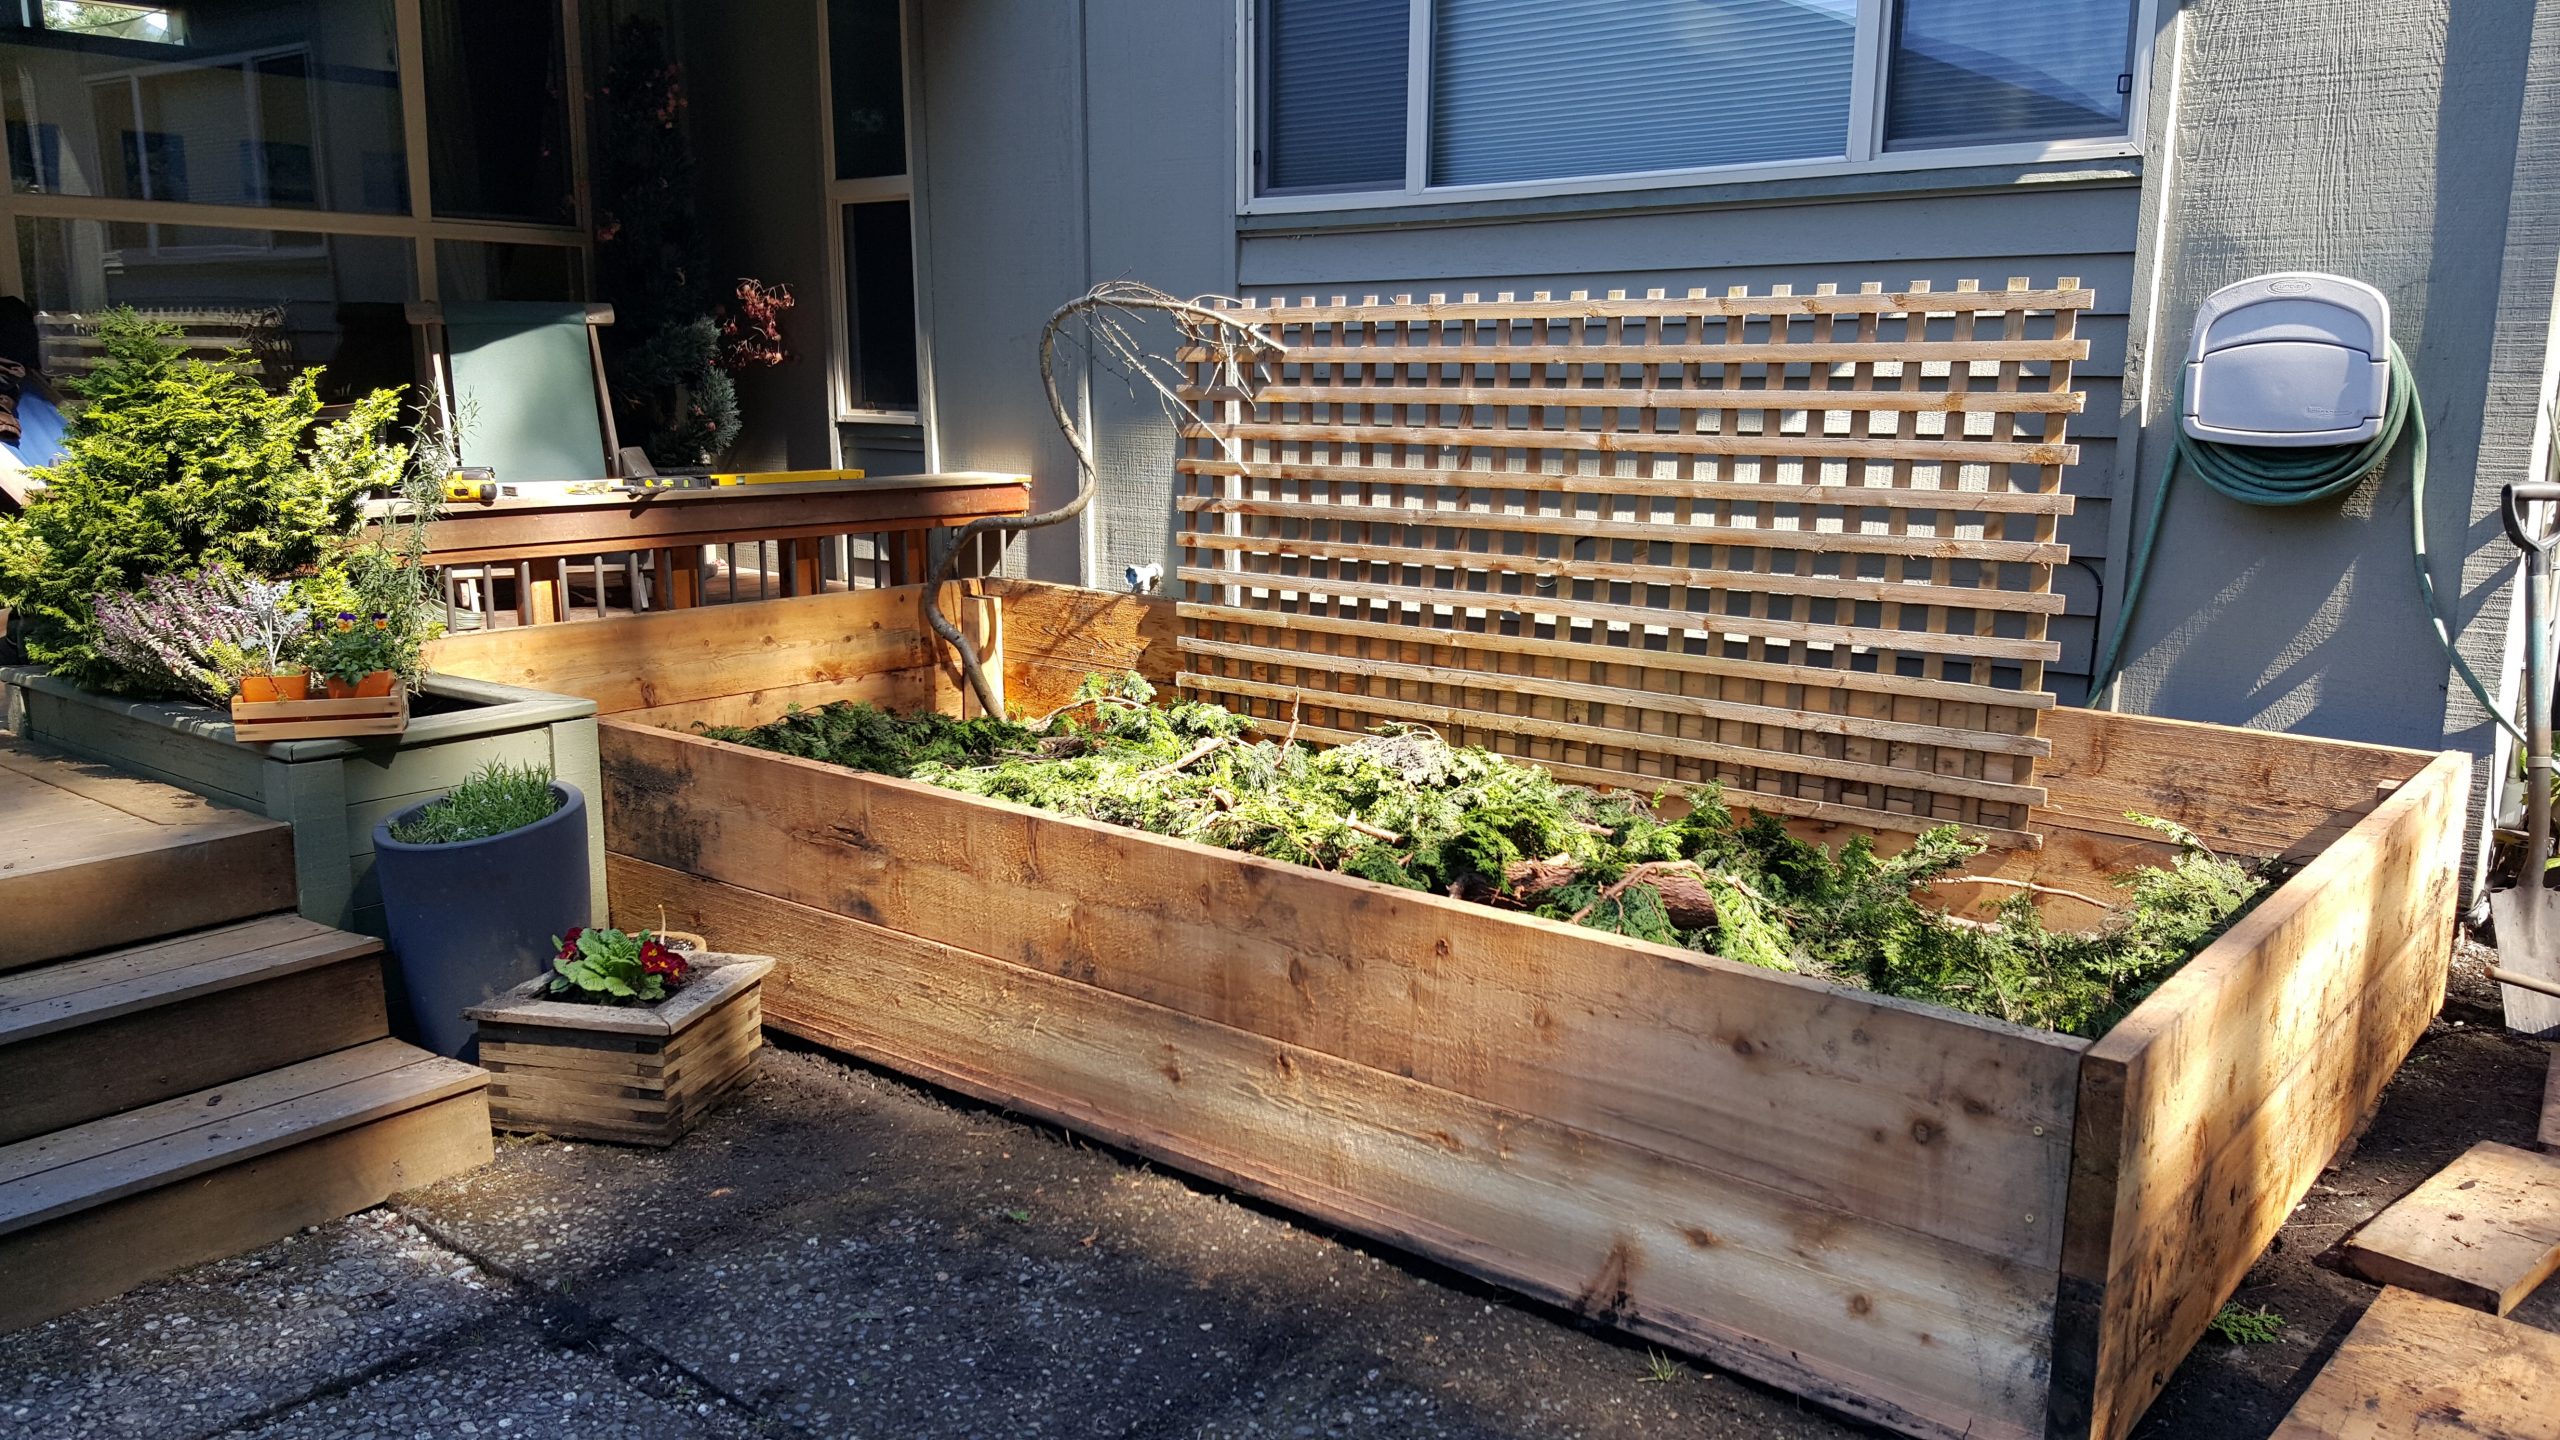
After building the garden beds I thought a bed for flowers would compliment the garden well. My in-laws left a huge pile of stones from a flower garden they used to have. I have been trying to think of a use for them and now I had one. I layered them two stones high and against the fence behind the garden beds. I put plastic against the fence to block the moisture. I had some trellises that I bought years ago and now I finally have a use for them. I planted clematis, sunflowers, marigolds, dahlias, and a few others.

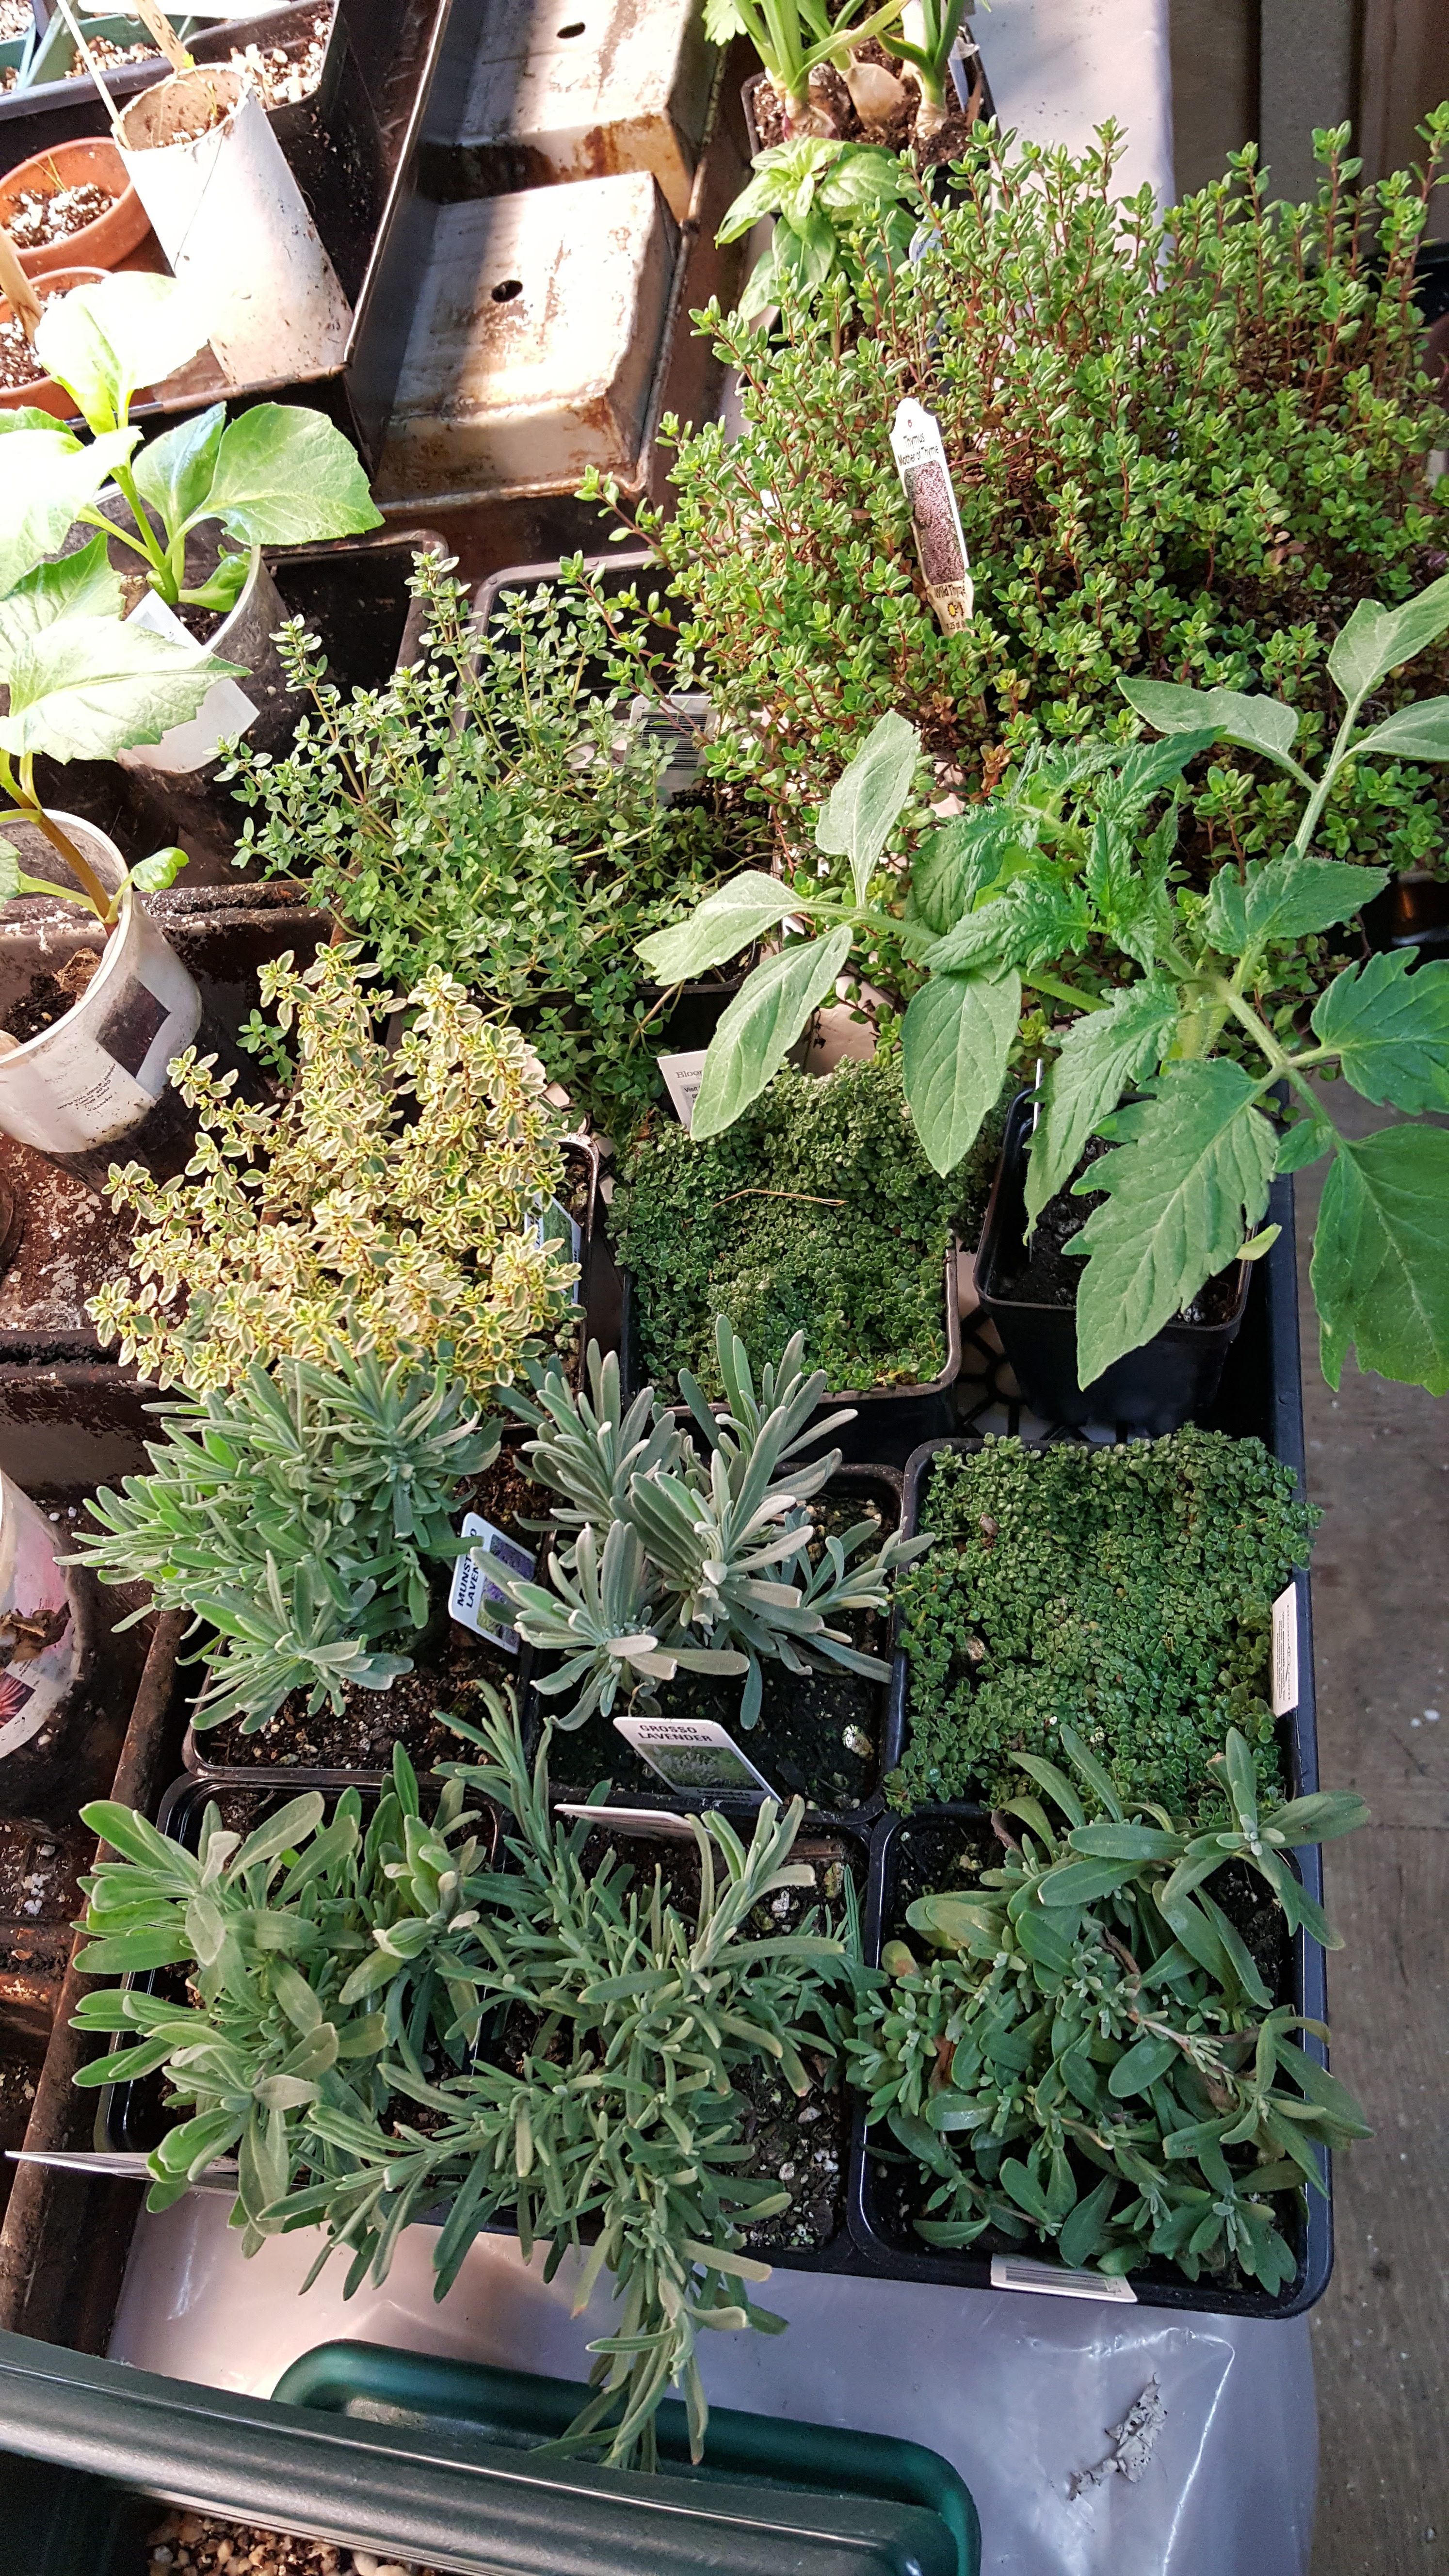
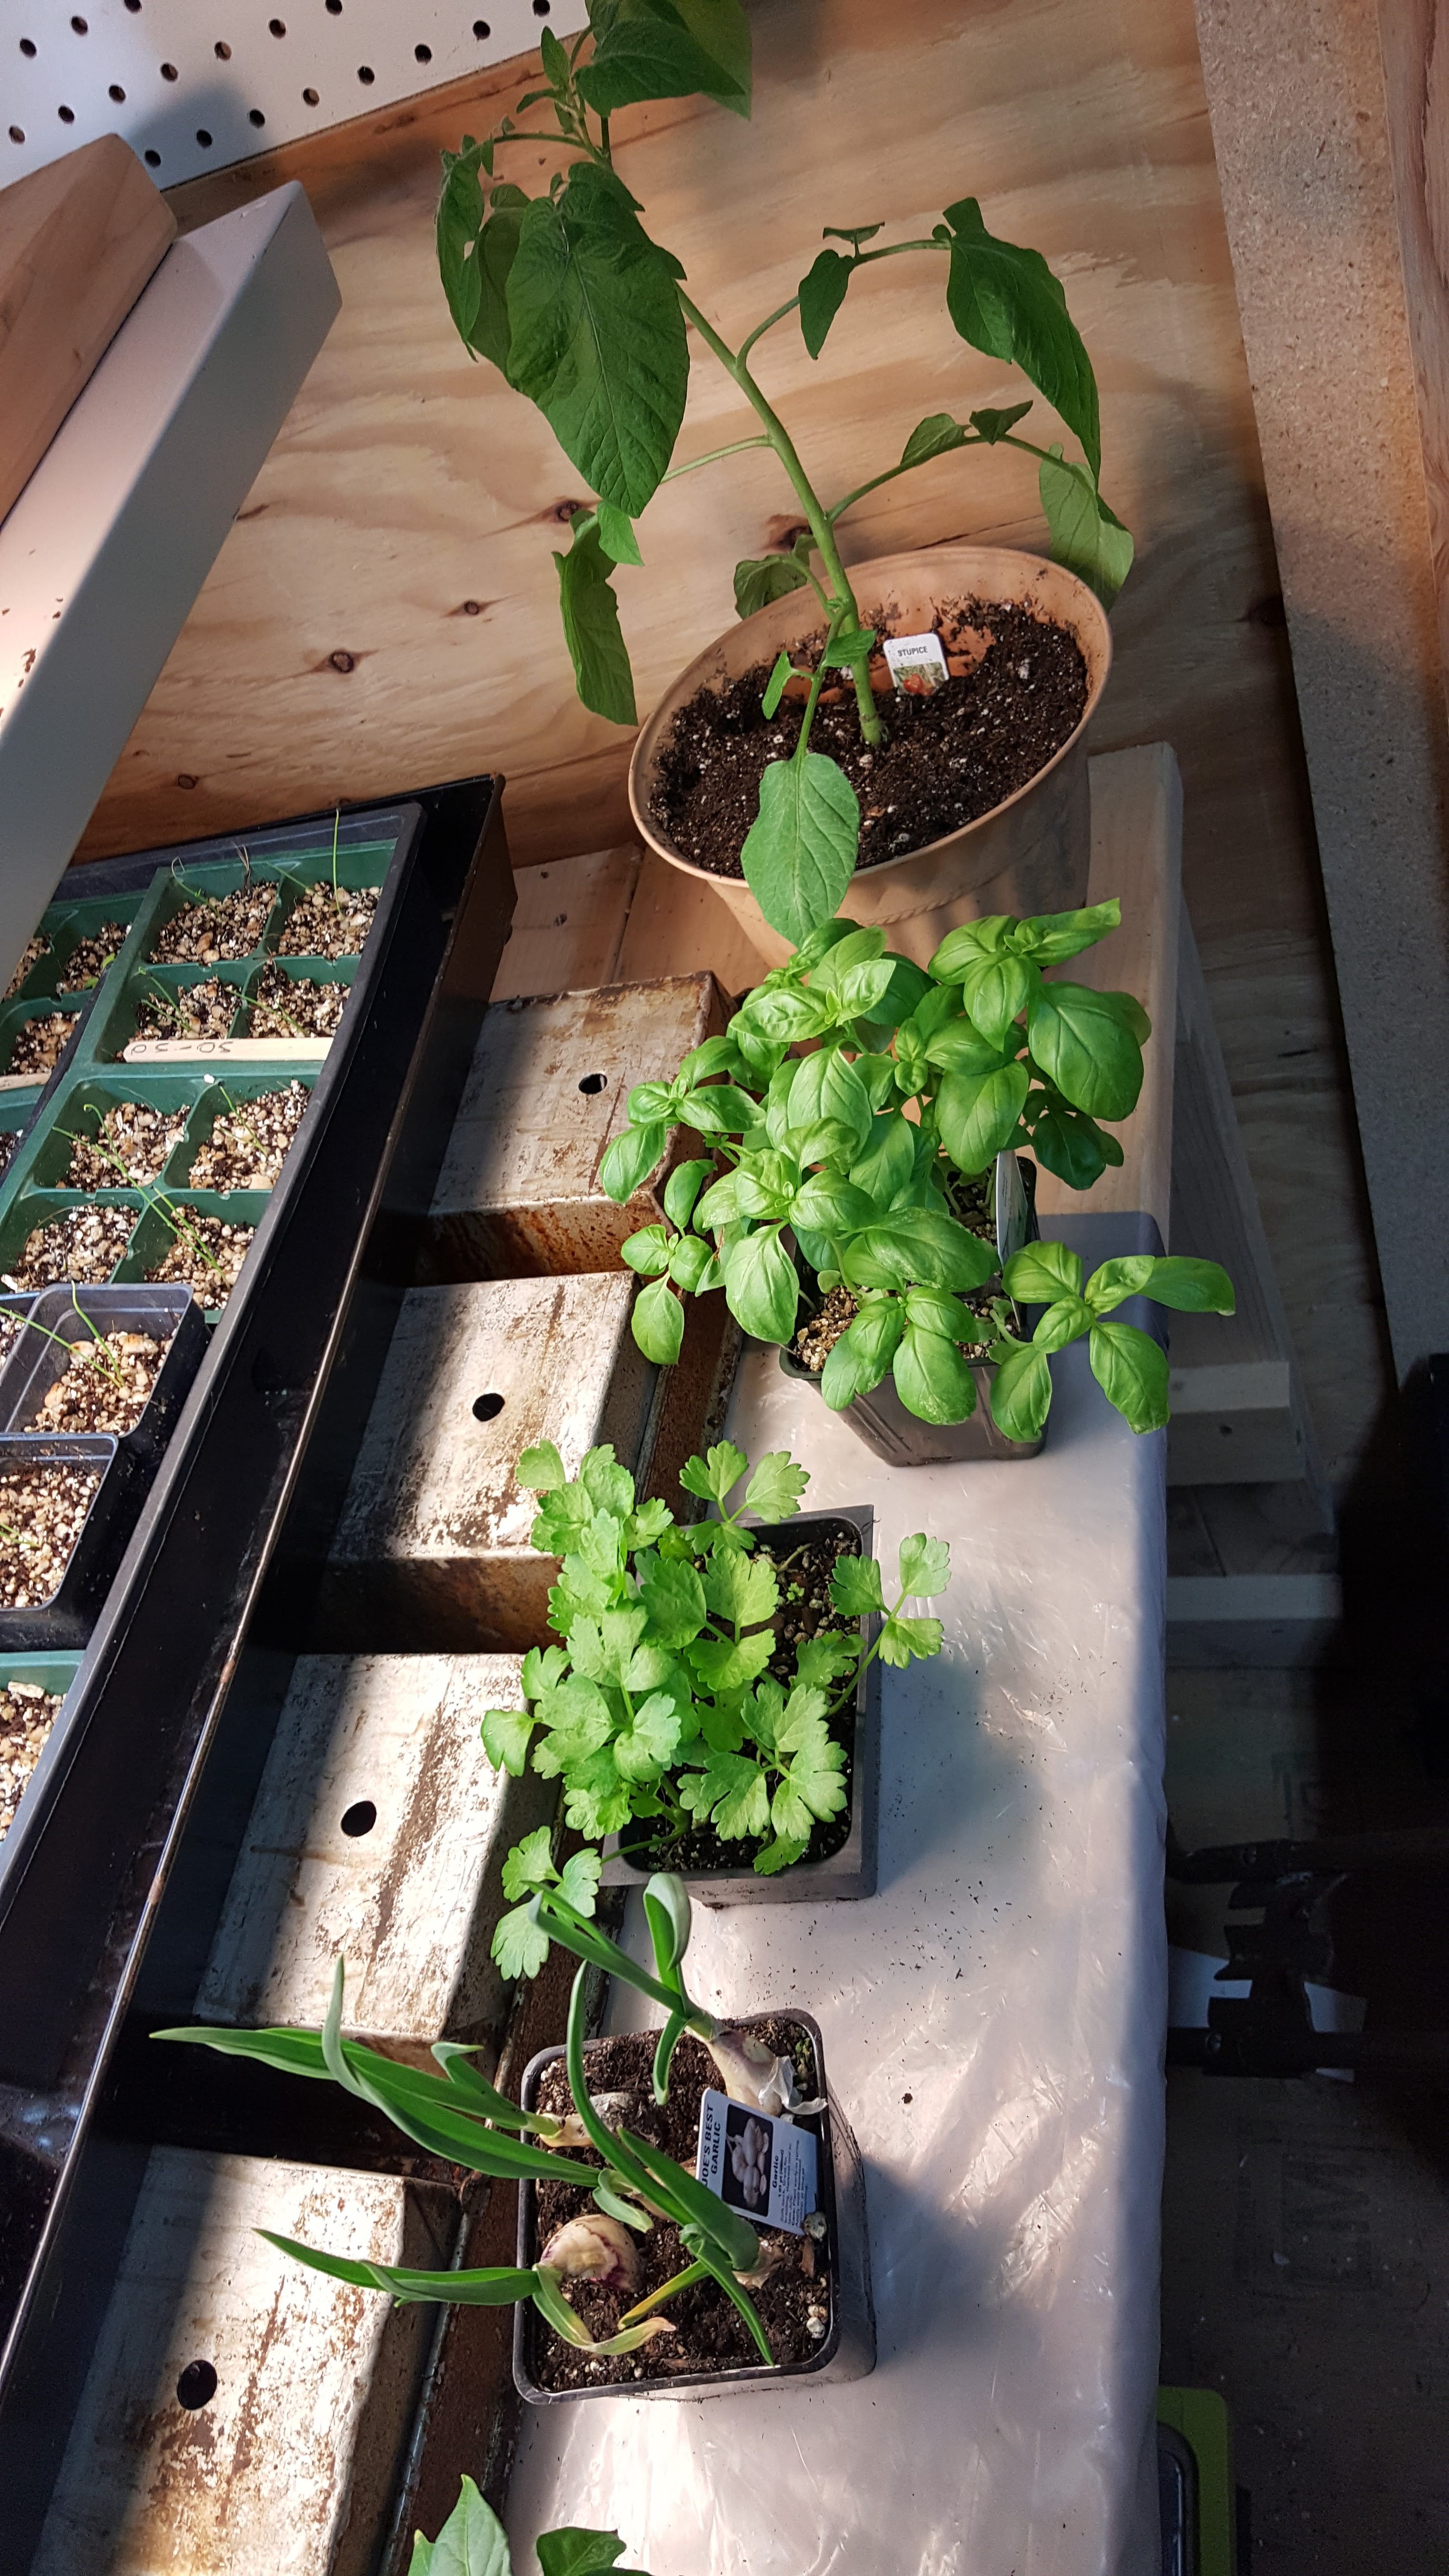
The next bed I made was for herbs. Same style as the flower bed in a different part of the yard. I planted rosemary, thyme, sage, oregano, parsley, cilantro, and basil. The herbs are growing like crazy.

I still had some stones leftover so I thought I would build up a bed to go around my blueberries. There was one established bush, and I had brought three others in pots from our last house. So I built the bed and planted the blueberry bushes, they are thriving now that they have been planted.

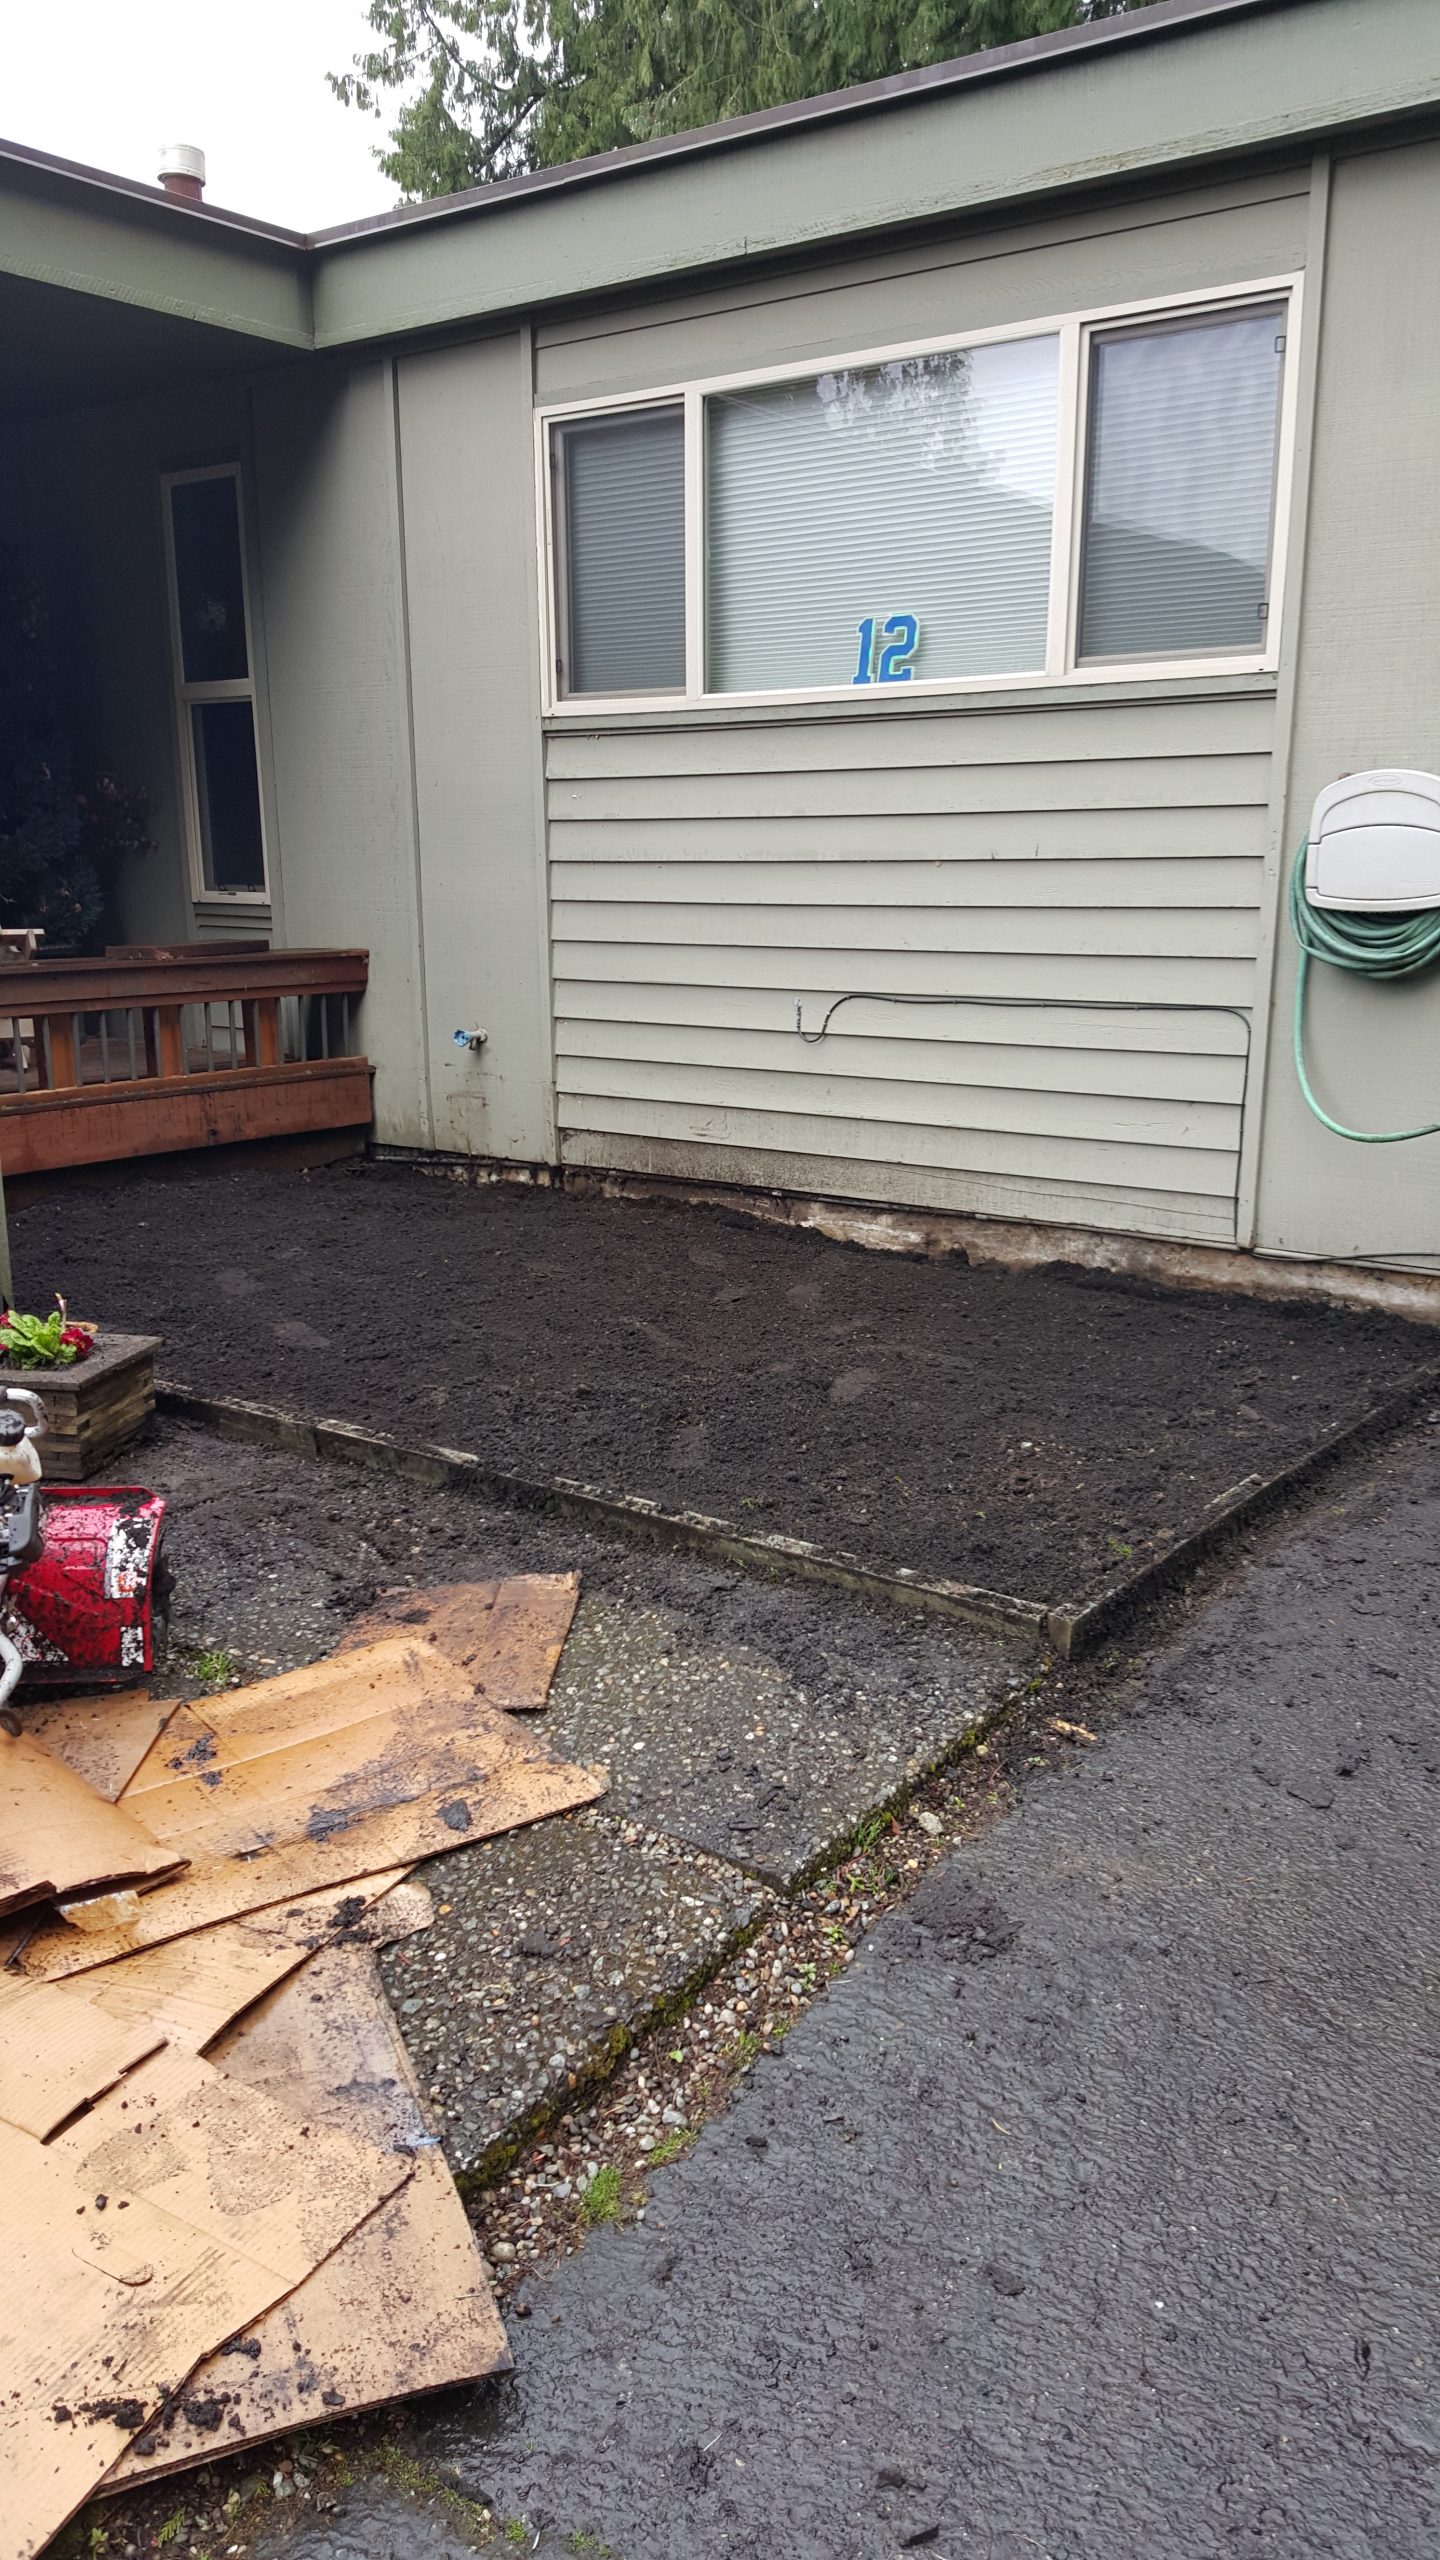
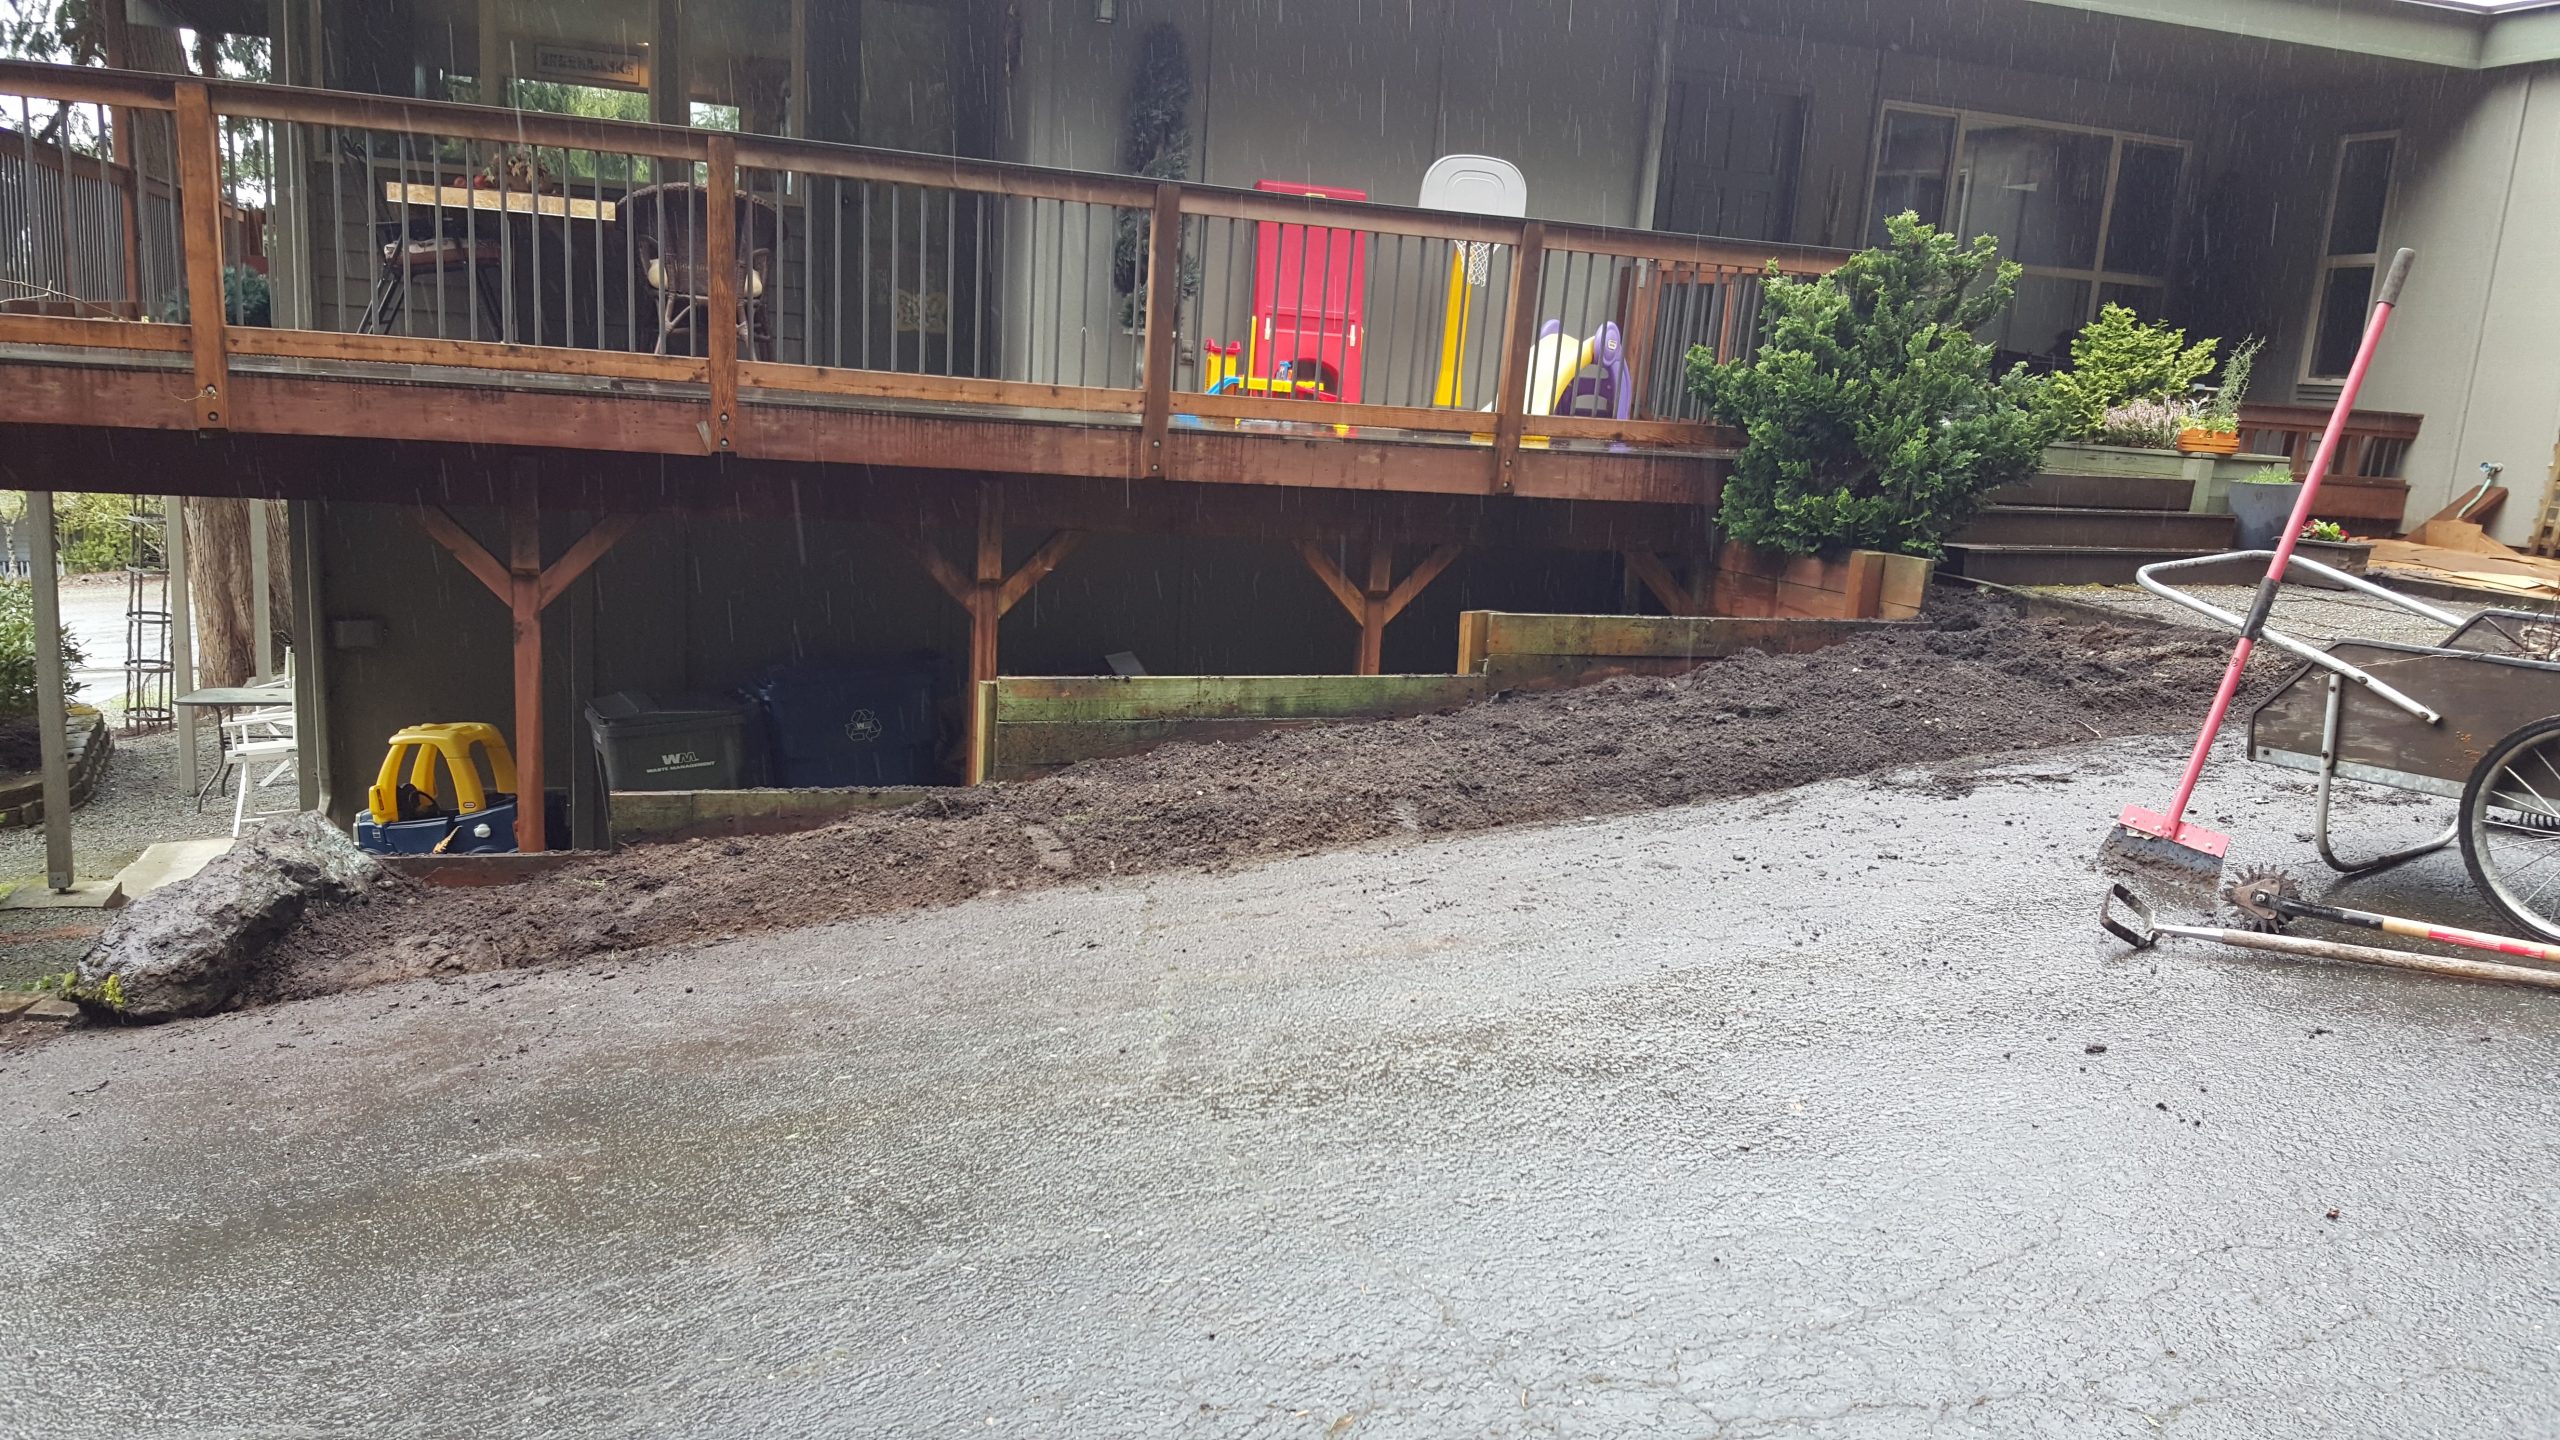
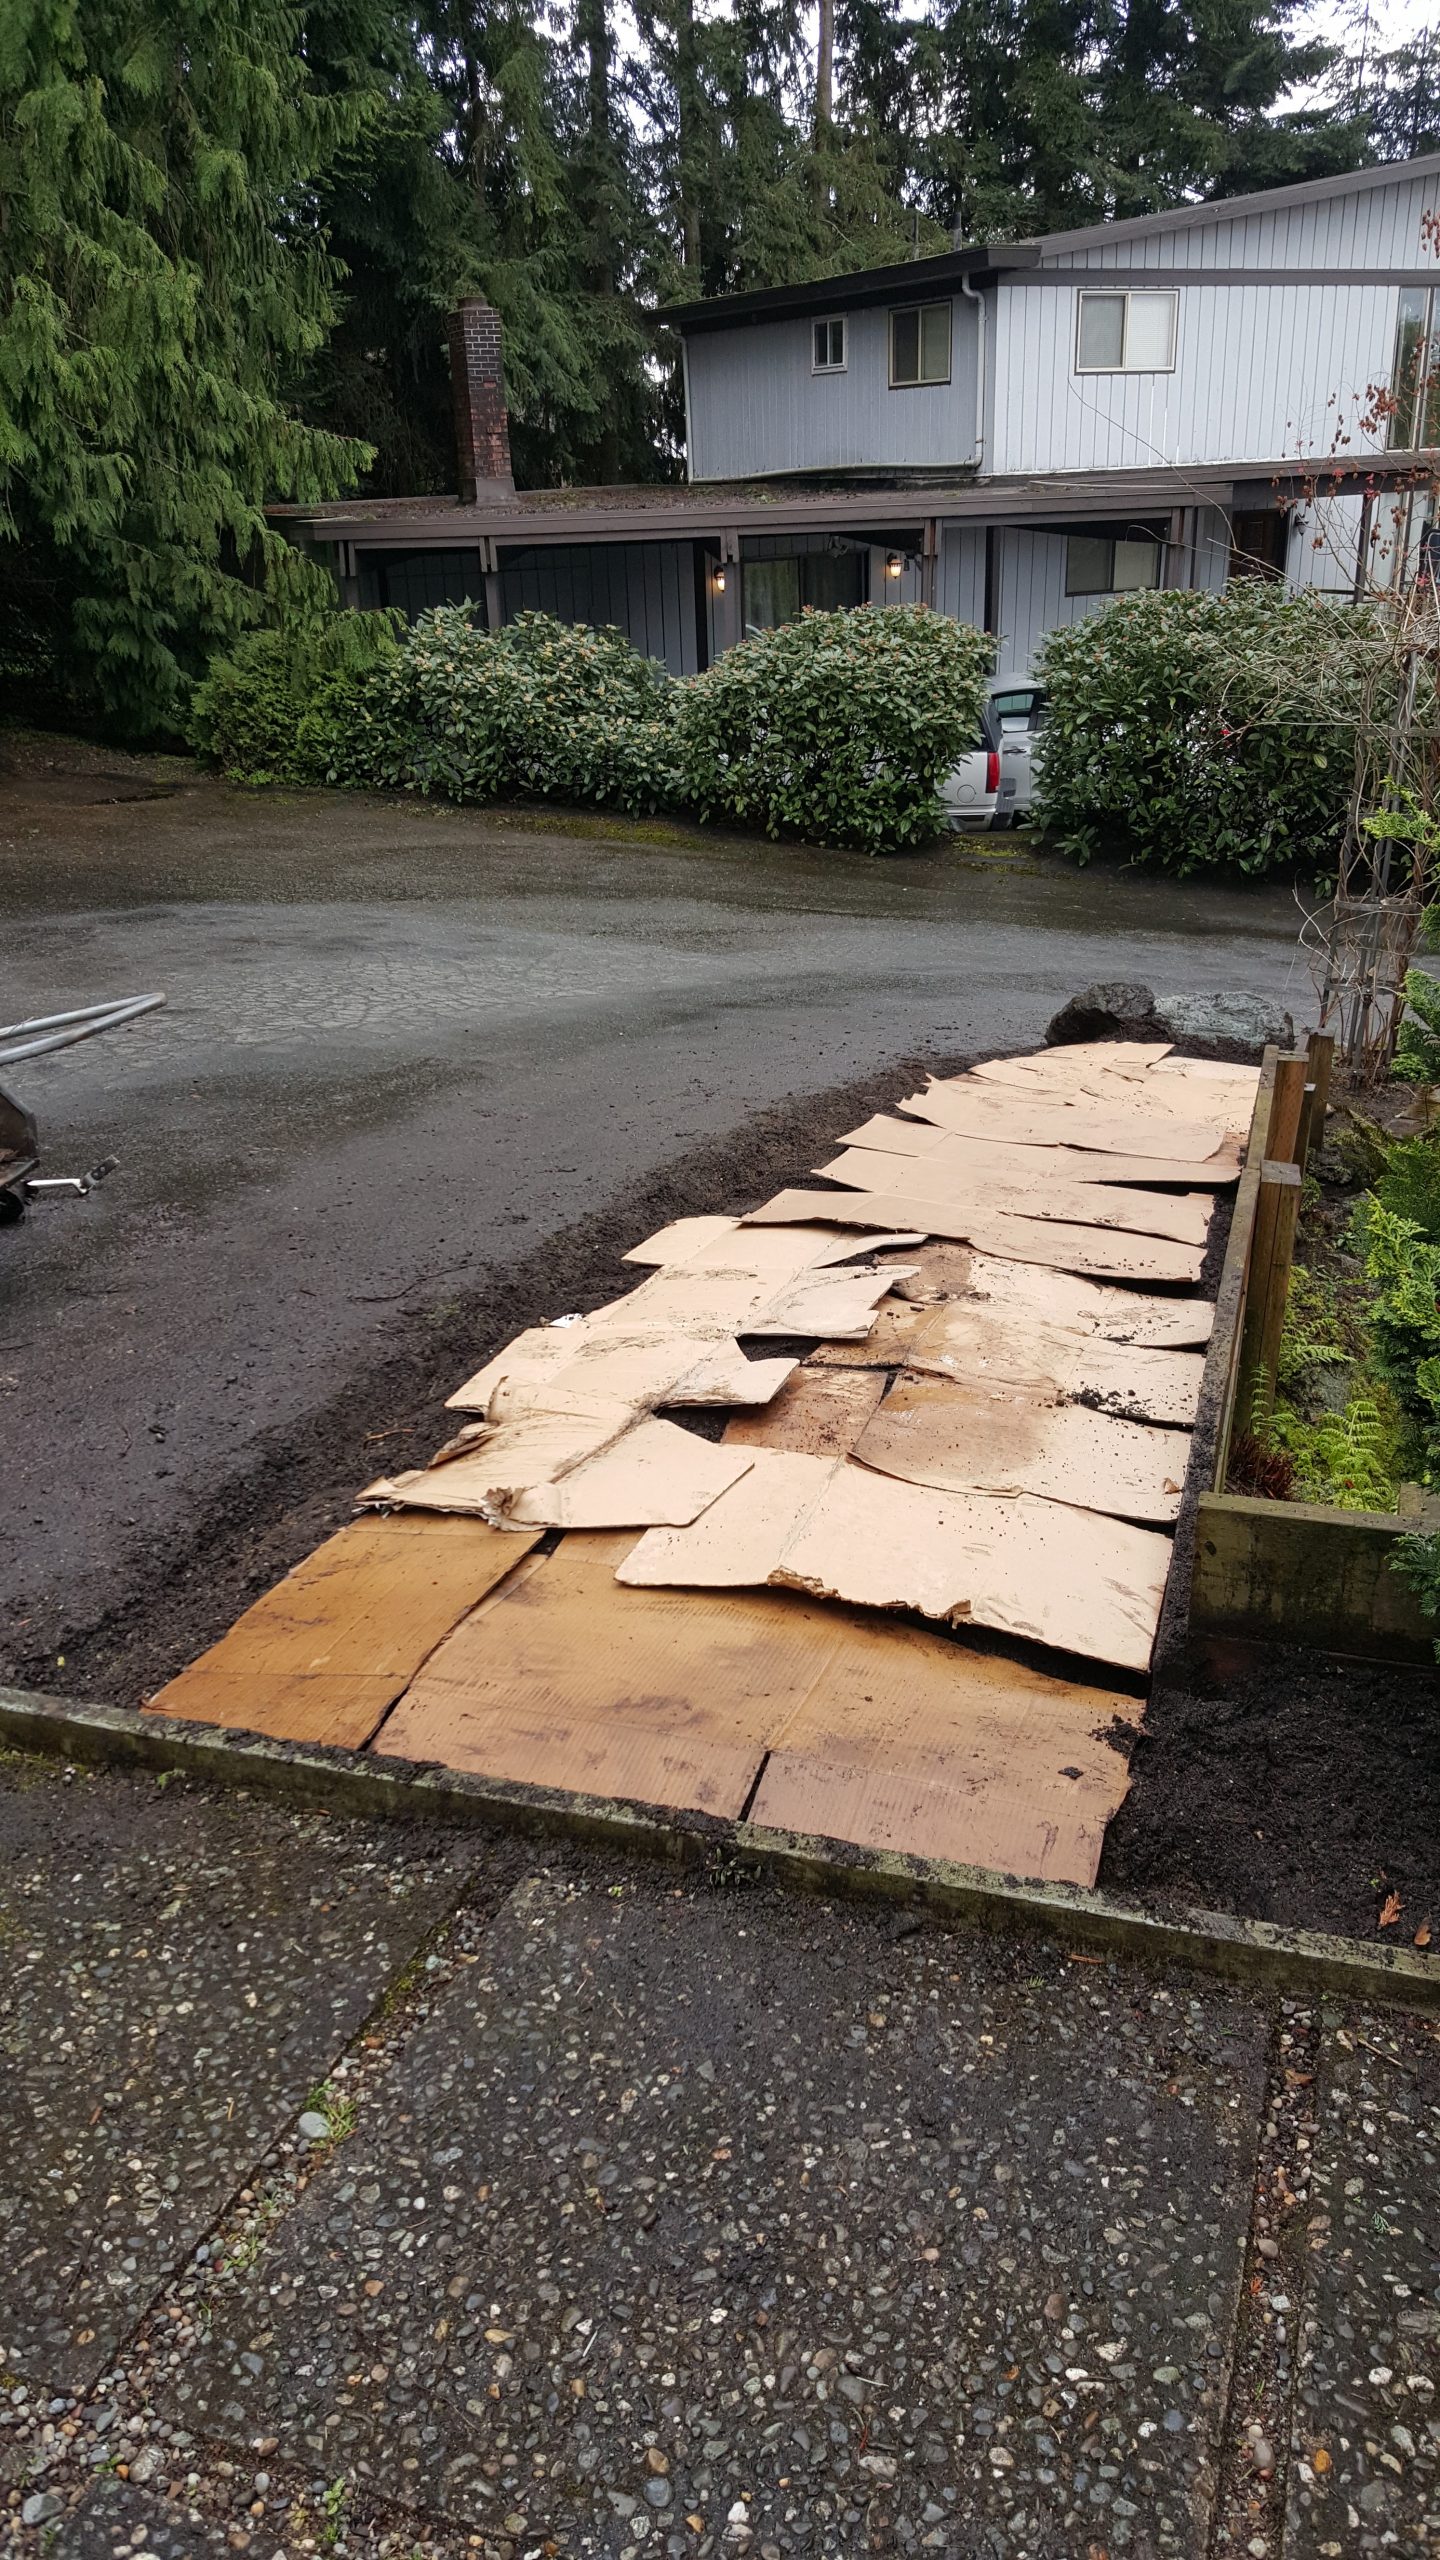
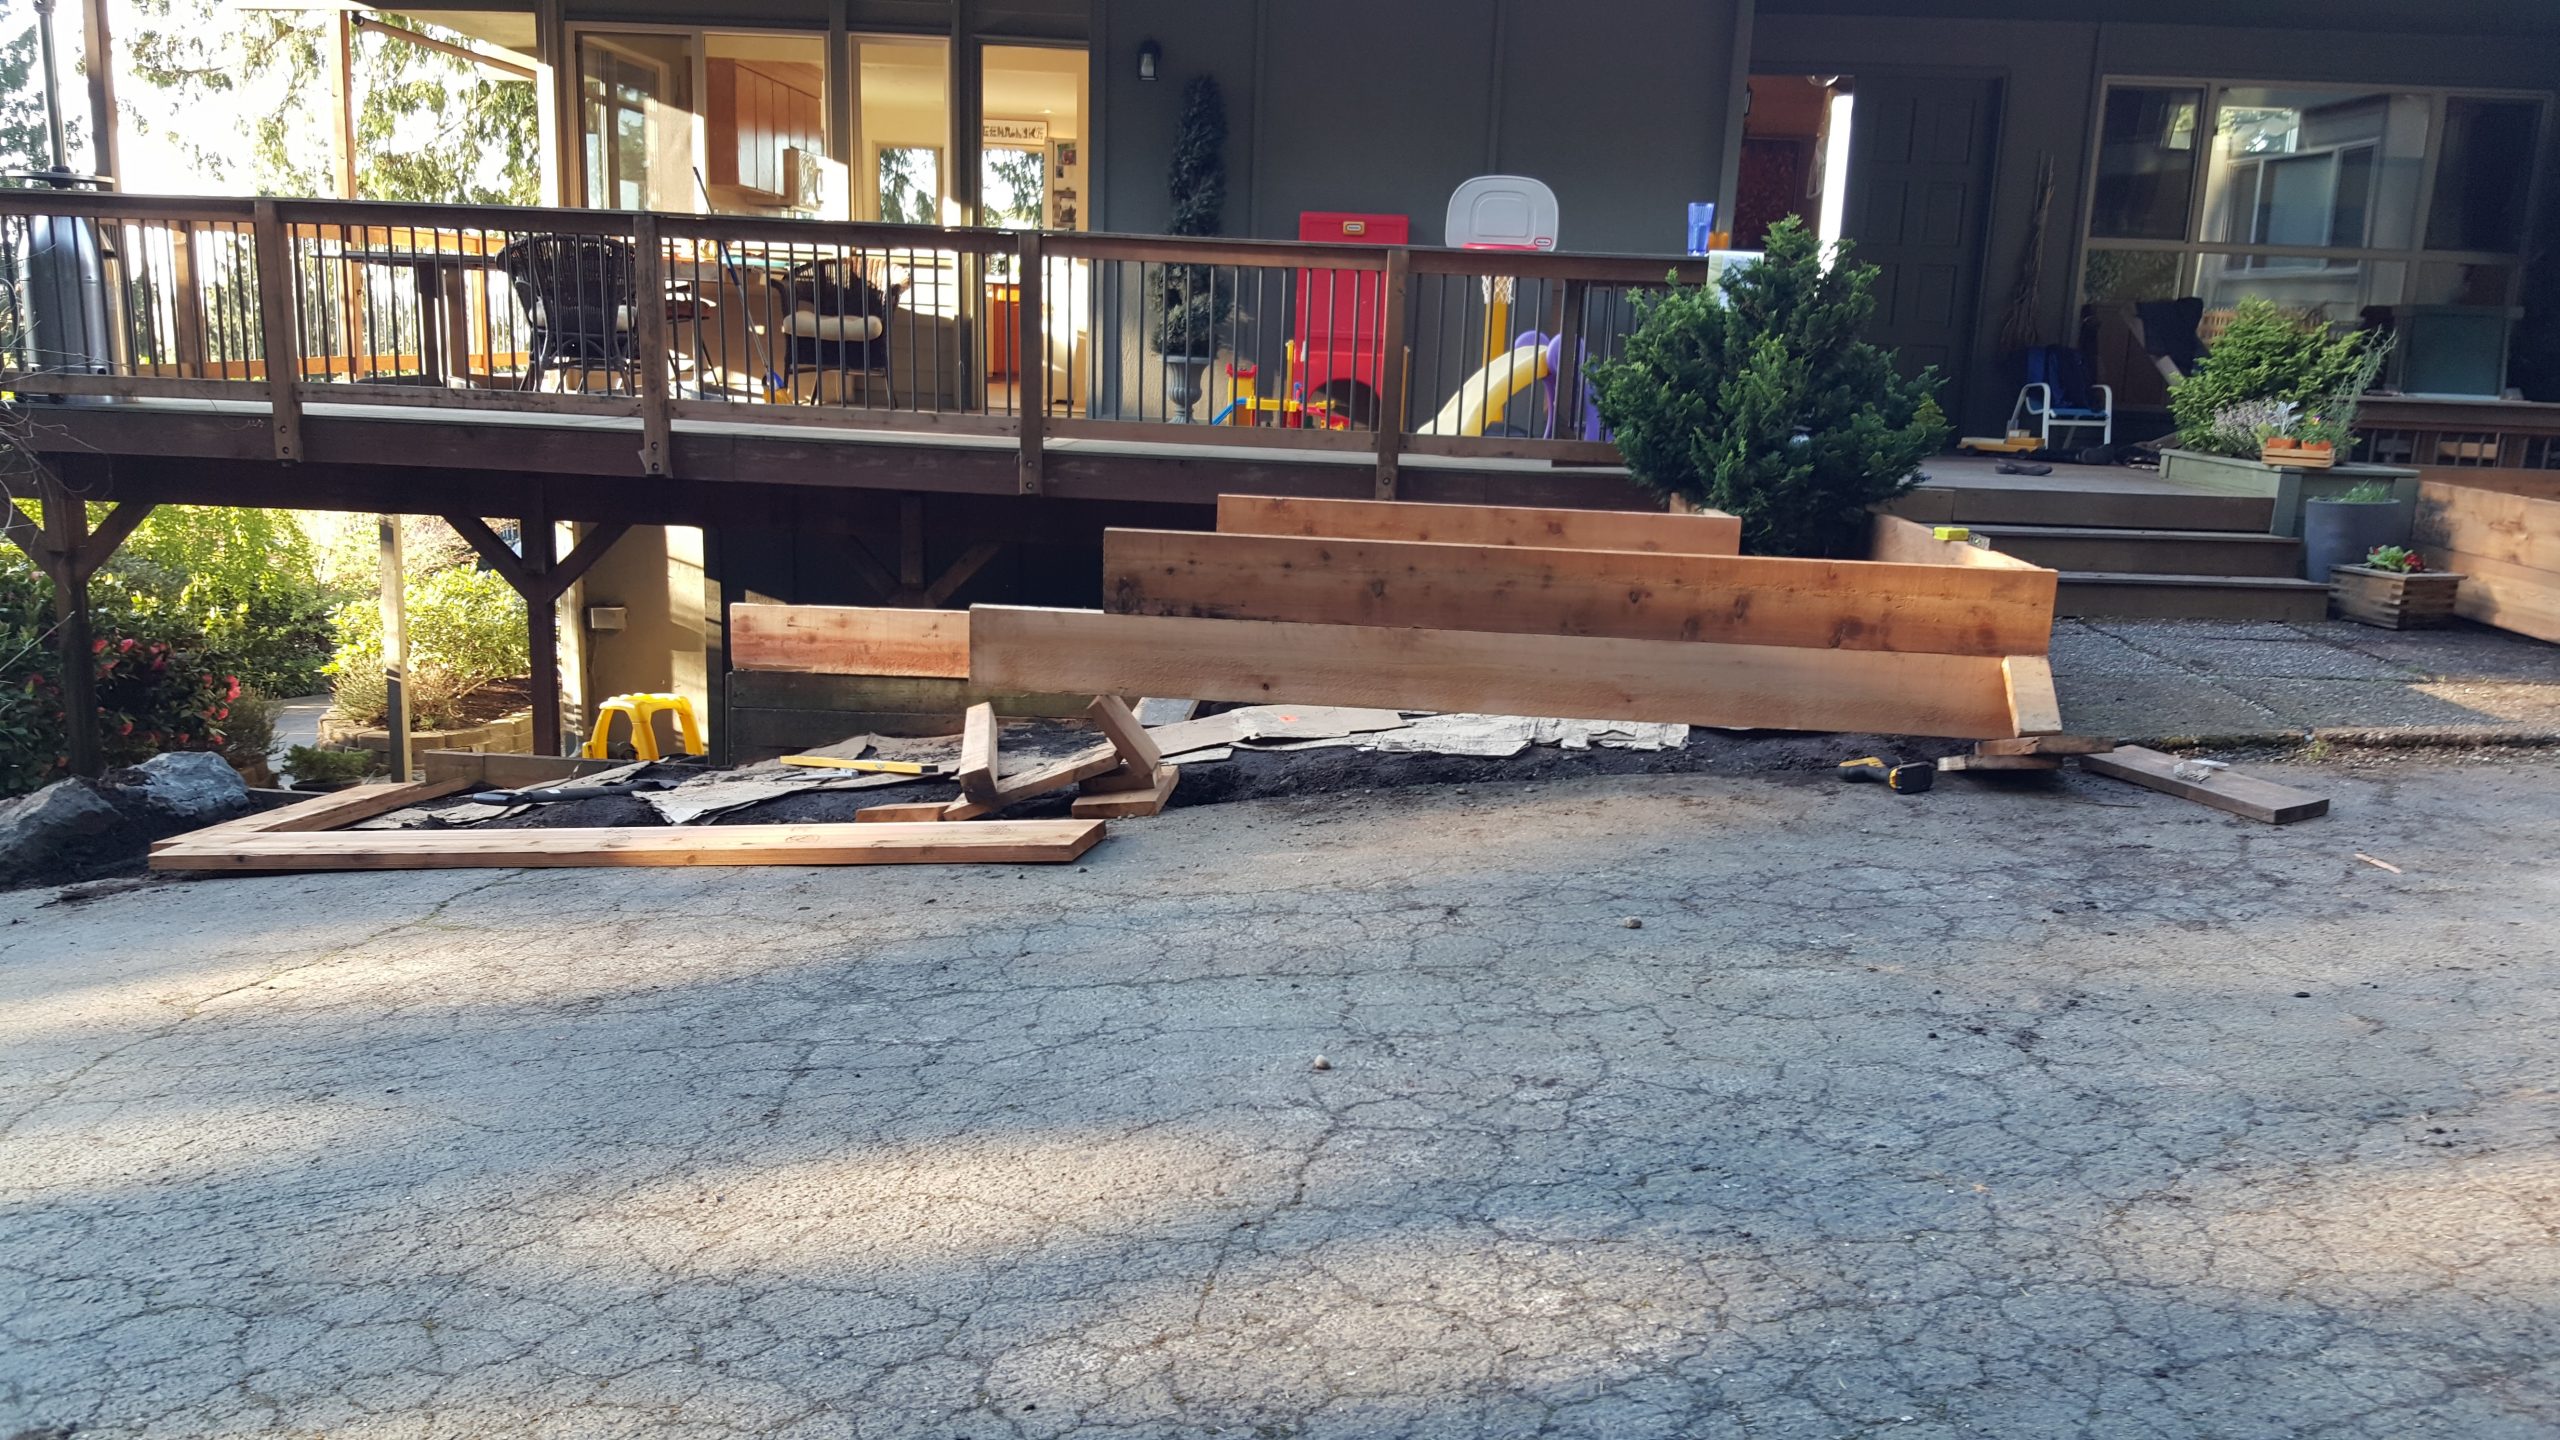
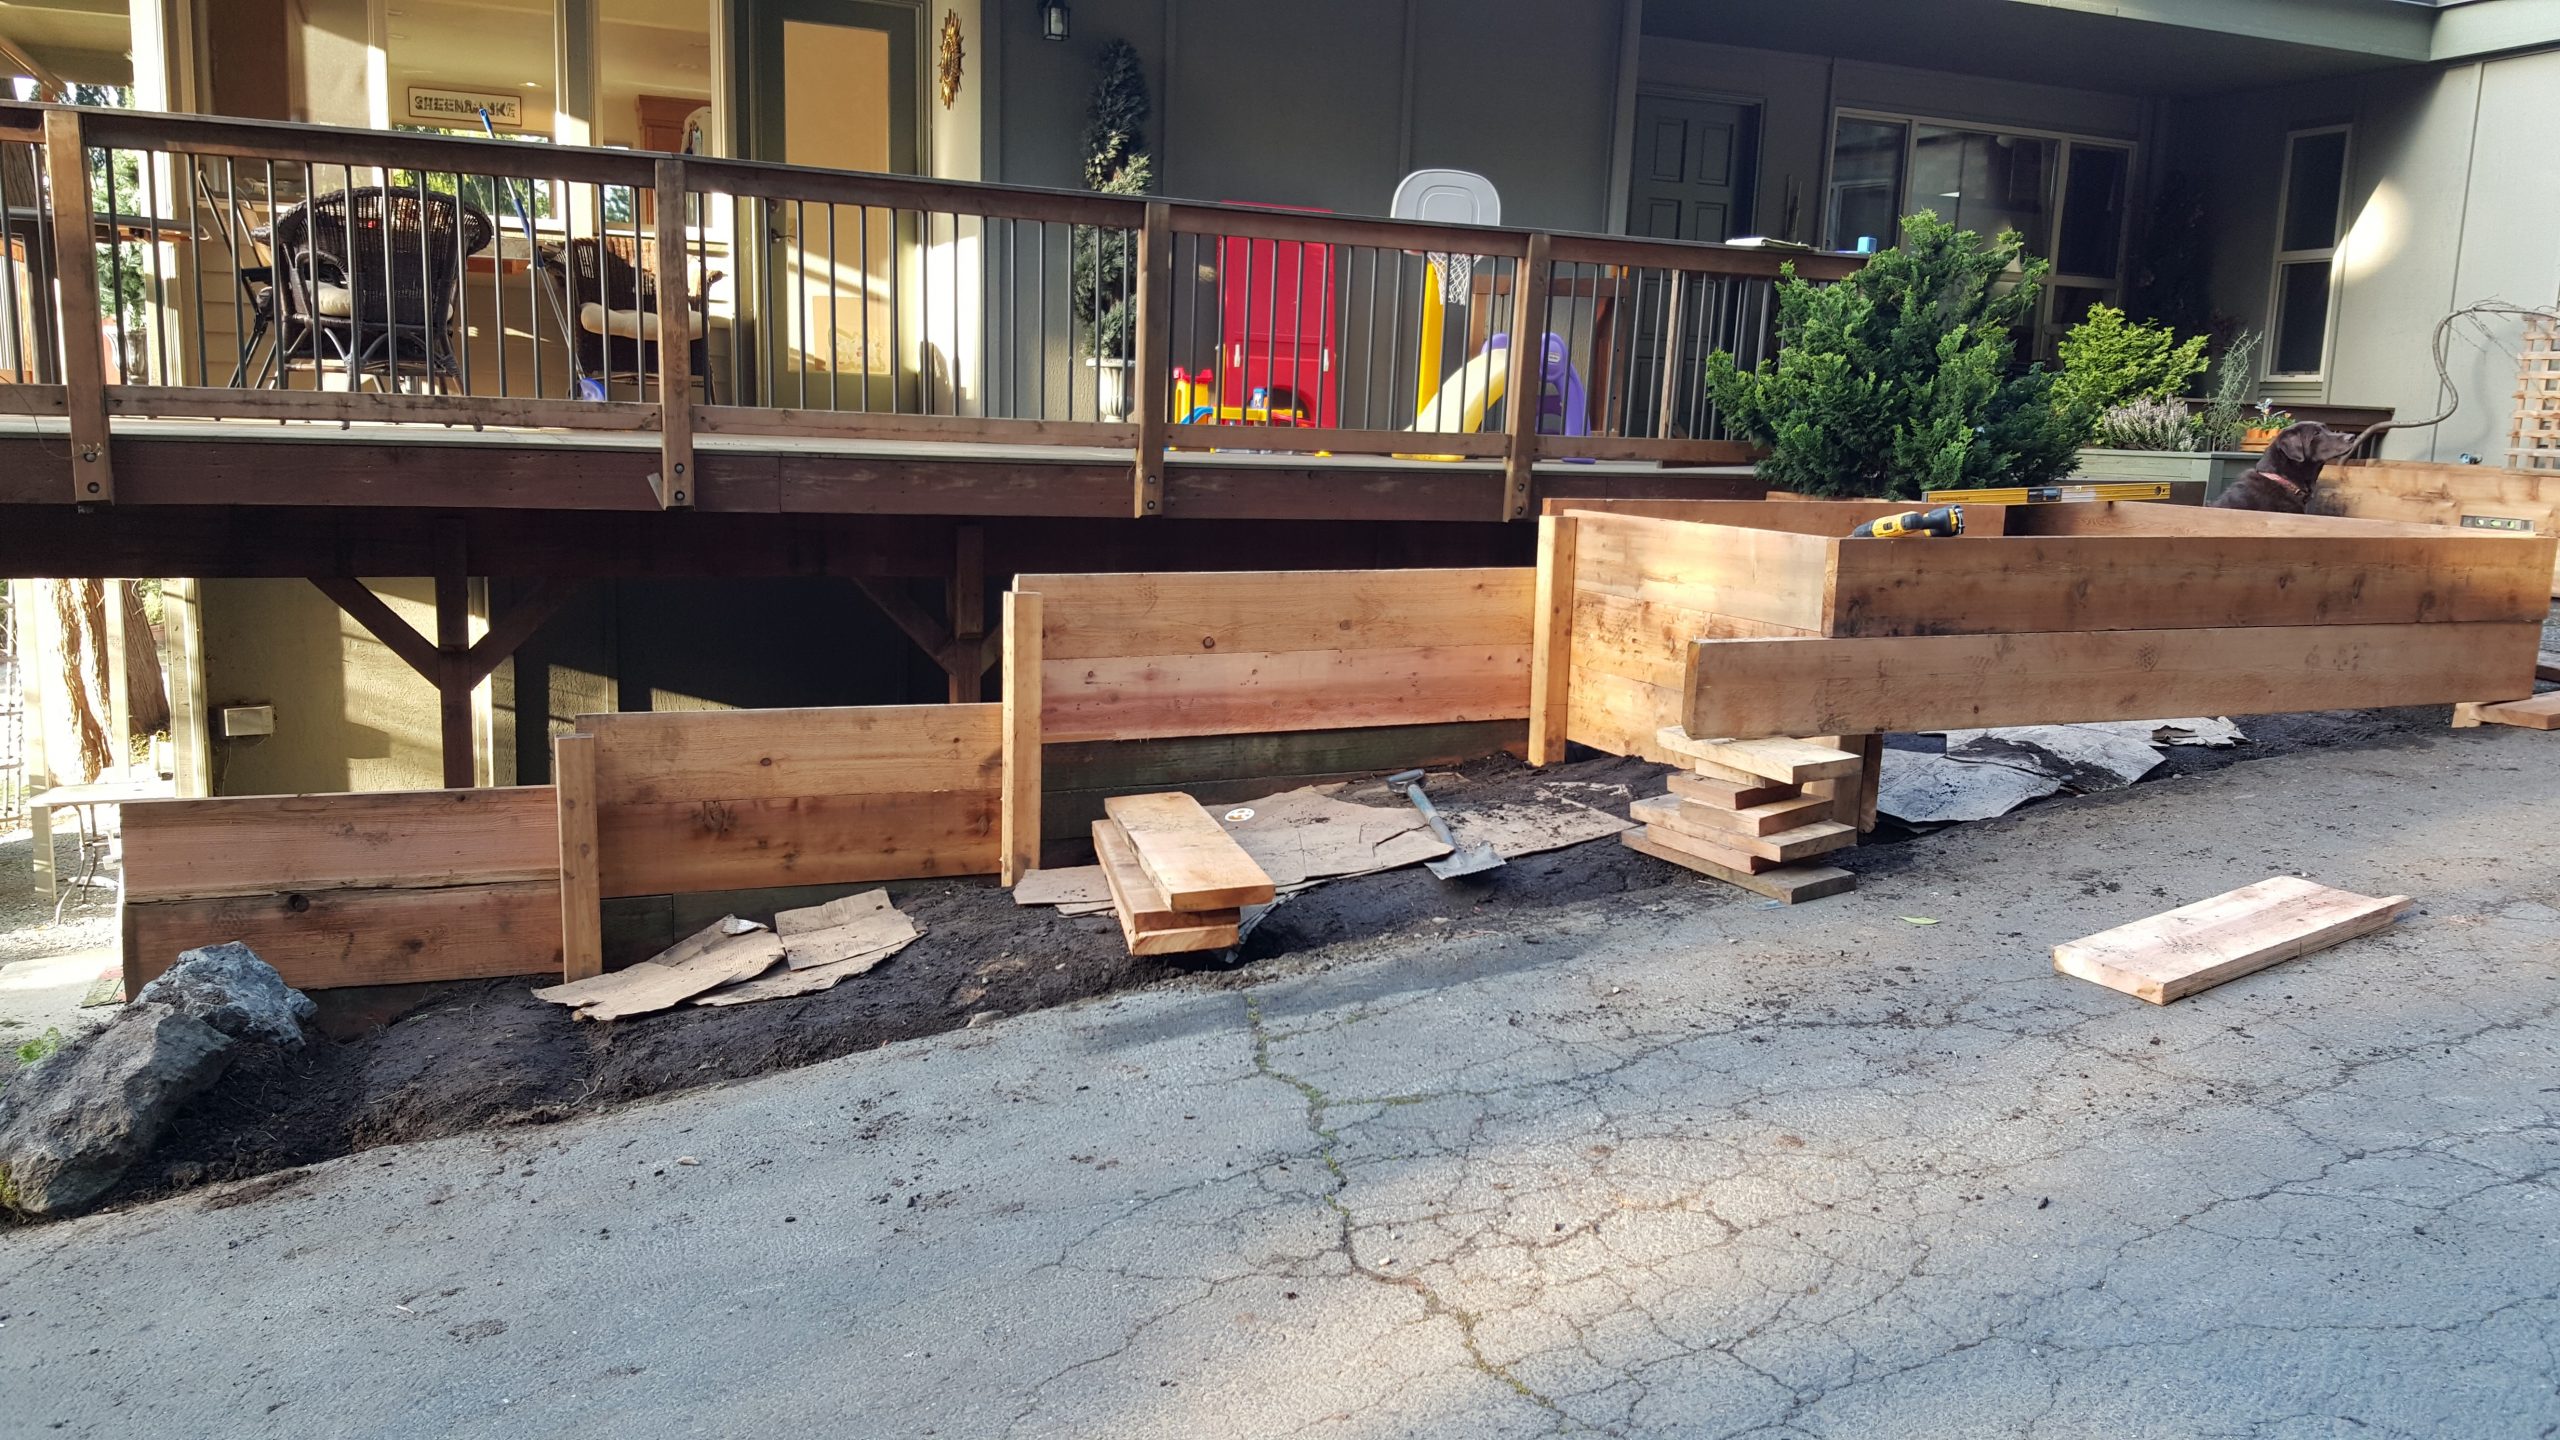
Another project in the backyard was planting some new grass. Back in 2016 I had helped my in-laws by digging up a flower bed they no longer wanted. I think they were going to extend the patio. When we bought the house we thought to do the same thing. But we decided to just extend the grass, a cheaper and faster result. It has filled in nicely.

My favorite project was one my husband did. He put in a drip irrigation system for all my beds. Oh it is so nice to just turn on the water and they get fed in just the right spot!

For the front yard just some fresh bark and a few ground cover plants is all it needed. Our yard has never looked so good.

New garden beds

Spring is finally almost here, that means it time to build some garden beds! I have been waiting a year since we moved in to build these. First I had to take out the old beds and do a little weeding. My son “helped” me with that. Then my favorite part, using the saw and cutting my lumber. I use cedar boards from Sound Cedar. They will last a really long time. I fill the beds with tree logs and limbs, the method I have had much success with, hugelkultur.

Finally some 3 in 1 dirt and then add in my ollas and they are ready to go. The whole process took about a week. During the same week of building the beds I started my seeds indoors.

Starting seeds

90% of the veggies I grow come from seed, but sometimes I can’t resist a beautiful start from Joe’s Gardens.

This year I also made some garden markers. I bought these metal stakes at a flee market a while ago and just thought they were so cool and unique. I’m not sure what they are supposed to be used for but I thought garden markers. Last thing I had to do to get the garden prepped was take out an awesome bay tree. It’s the biggest one I’ve ever seen, but it just cast too much shadow on the beds. But we did unearth a firepit so that was cool.

2017/2018 Garden

The garden at our last house did really well. We didn’t have a garden in 2019 because we were moving in the spring and unpacking all summer long.

2017 broccoli
2017 lettuce
2017 brussels sprouts and onions
2017 garden
2017 tomatoes
2018
2018
2018
2018 tomatoes
About to can salsa with this haul
Salsa time
Anaheim peppers going on the bbq then will freeze

Ollas

When I was researching an efficient way to water my garden I came across an ancient Indian method using Ollas. Trying to find them online to purchase was a more of a task than learning about them. I decided to contact Stephen, a local potter to see if he could make them for me. He was up for the challenge. He had recently come across some local clay from a mudslide in the North Cascades, near his home. Below is what he wrote about them on his Facebook page.

From Sauk Mountain Pottery: “We had someone approach us recently about making some ollas for the raised beds in her garden. Ollas, as you may know, are unglazed pots that can be buried in the ground, filled with water, and then, because they are unglazed, left to seep that water, slowly irrigating any plants growing there. Usually we would not be able to take this order because this potter’s work is high fire and, consequently, non-porous, so if he were to make an olla it would not seep moisture (hence the success of our chicken bricks – the non-porous nature of these cooking pots keeps the moisture circulating on the inside). But this new, local clay that I wrote about in reference to the roof tiles, cannot be high fired, therefore making a perfect medium for ollas. Here are some photos of the ollas in the wet work and also fired (to a low temperature) and a couple of planters that the potter made with the local clay. These planters would be for outside use only since they are porous.”

Post from Sauk Mountain Pottery about the origin of the clay for the Ollas.
Digging holes for the ollas in the center of the beds. Their soak radias is about 3-4 feet.
Olla from Sauk Mountain Pottery.
Olla in place.
Olla in place.
Reflection...olla filled with water. The water will slowly seep out and water the plants.
Reflection…olla filled with water. The water will slowly seep out and water the plants.
Couple of ollas in place.
Ollas in place. They water the whole bed. Only have to water every few days in the hot summer weather.
More ollas in place.
Large ollas are unlgazed ceramic pots. Bought from Summersun Nursery.
Large ollas in place.
Small ceramic plate to cover drainage hole in large ollas.
Covered the drainage hole with a small ceramic base and a heavy rock.
The large ollas with the holes plugged, holding water good so it slowly seeps out over the next few days.

Starting seeds

The first project I did when starting “The Garden” was building a place in my shed to hang indoor grow lights. I went to a used furniture store and bought some inexpensive lights to hang up. I replaced the florecent bulbs with the right type for growing. I also saved some toilet paper rolls and egg cartons to grow starts from seeds. I ordered seeds from a couple local seed growers and away I went with project one of zillion DONE 🙂


Use what you have for starting seeds. Toilet paper rolls and beer bottle inserts.
Egg cartons for starting seeds.
Bought cheap lights at the used office supply store, $15 total supplies.
Planters made out of old break tins.
Planters made out of old bread tins.
Making planters.
Making planters.
Potting station.
Potting station.
Starting with Flowers first. Need to attract the birds, bees, and butterflies to the garden to help pollinate the veggies.
Add the coconut core to the perilite/soil mixture and you have great potting soil that retains water well.
Soil and Perilite mixture.
Weight to keep the ground coconut core in the bottom of the bucket to absorb water.
Ground coconut shells.
Sunflowers are starting! Yay!
Sunflowers, basil, and marigolds.
My Dahlia seeds didn't start so I bought some from a prize winning Dahlia farmer. Much easier!
My Dahlia seeds didn’t start so I bought some from a prize winning Dahlia farmer. Much easier!
More starts from Joe's Nursery. A few different types of Thyme and Lavender...and more Tomatoes.
More starts from Joe’s Nursery. A few different types of Thyme and Lavender…and more Tomatoes.
Brought home starts from Joe's Nursery. Shallots, Cilantro, Basil, and Tomatoes.
Brought home starts from Joe’s Nursery. Shallots, Cilantro, Basil, and Tomatoes.
Second round of seeds to start under the grow lights.
Lights are in and the seeds and soil is warming up.
Starts are growing up nicely.
Bringing the starts outside to harden off and get used to the wind and temperature differences.
Fourth round of starts. Soaking the seeds and direct planting into the soil for these ones. Mid summer starts (after garden beds were made).
Peas sprouted after 24 hour soak.
Third round of starts. More starts from Joe's Nursery. Green onions, Pablano peppers, Cabbage, Mint, Chinese salad mix, Rasberries, Grapes.
Third round of starts. More starts from Joe’s Nursery. Green onions, Pablano peppers, Cabbage, Mint, Chinese salad mix, Rasberries, Grapes.
Can't forget some plants for inside the house!
Can’t forget some plants for inside the house!

Hugelkultur

It is a German word, it means “hill culture,” and in practice is a method of gardening where you bury wood and then plant on top of it.

unnamed

Things like “lasagna gardening” (where you build up a raised bed by alternating layers of compost, twigs & debris, newspaper and cardboard, and soil) are a variation on this, but true hugelkultur is pretty extreme, not just laying in sticks and twigs and garden debris with soil as you build a raise bed, hugelkultur could best be describes as covering up a firewood pile with soil, so you have a mound, or a swale, or a terrace. You put whole logs down, piling them on top of each other in a long triangular shape, then cover with soil. You have this sort of mound garden. Why do this at all? The wood both increases drainage and water retention, buried wood is capable of holding water like a sponge, it becomes a buried reservoir of water for your plants, and as it decomposes it increases organic matter and microbial activity in the soil and creates air pockets. It is also a decent method in any area where a raised bed is a good idea, namely areas where the ground is too rocky, the soil too shallow, or the soil just of too poor quality to do a proper garden bed. So rather than dig a bed into the ground, you build a bed on top of ground.

Hugelkultur beds don’t have to be huge piles, they can also be built flat. You could layer logs and other wood at the bottom of a flat bed, like a raft of wood, then pile soil on top. That works too. As the wood decomposes it will of course shrink and so you need to account for that.

The flat hugelkultur bed is the method I followed. I used the branches from a tree that was removed out of the large garden bed space. I also used the forest behind the house to forage for downed branches.