New Logo

Thank you to everyone that voted on the new logo design. I wasn’t planning on changing my logo initially but have fallen in love with the design and I appreciate the support that was given for it. ❤️

I made a few changes to the original design. I wanted this logo to represent where I want to take my flower farm in the future. I added the gold infinity symbol that represents Autism. My son is autistic and my dream for this farm is for him to work alongside me, growing into a young man and learning about work, life, and the beauty of flowers. 🌼 

The rainbow butterfly, which represents Neorodiversity including ADHD, was added because I want my farm to be a safe space for people of all abilities to be able to come and learn about flower farming. I would love to have people join me in growing the flowers, selling, marketing, all the aspects of the business so they can build their skills as well. 🦋

And lastly, the white butterfly represents well being, good fortune, and prosperity. Which I hope my farm and family continue to have. 🤍

Goodbye 2023, Hello 2024

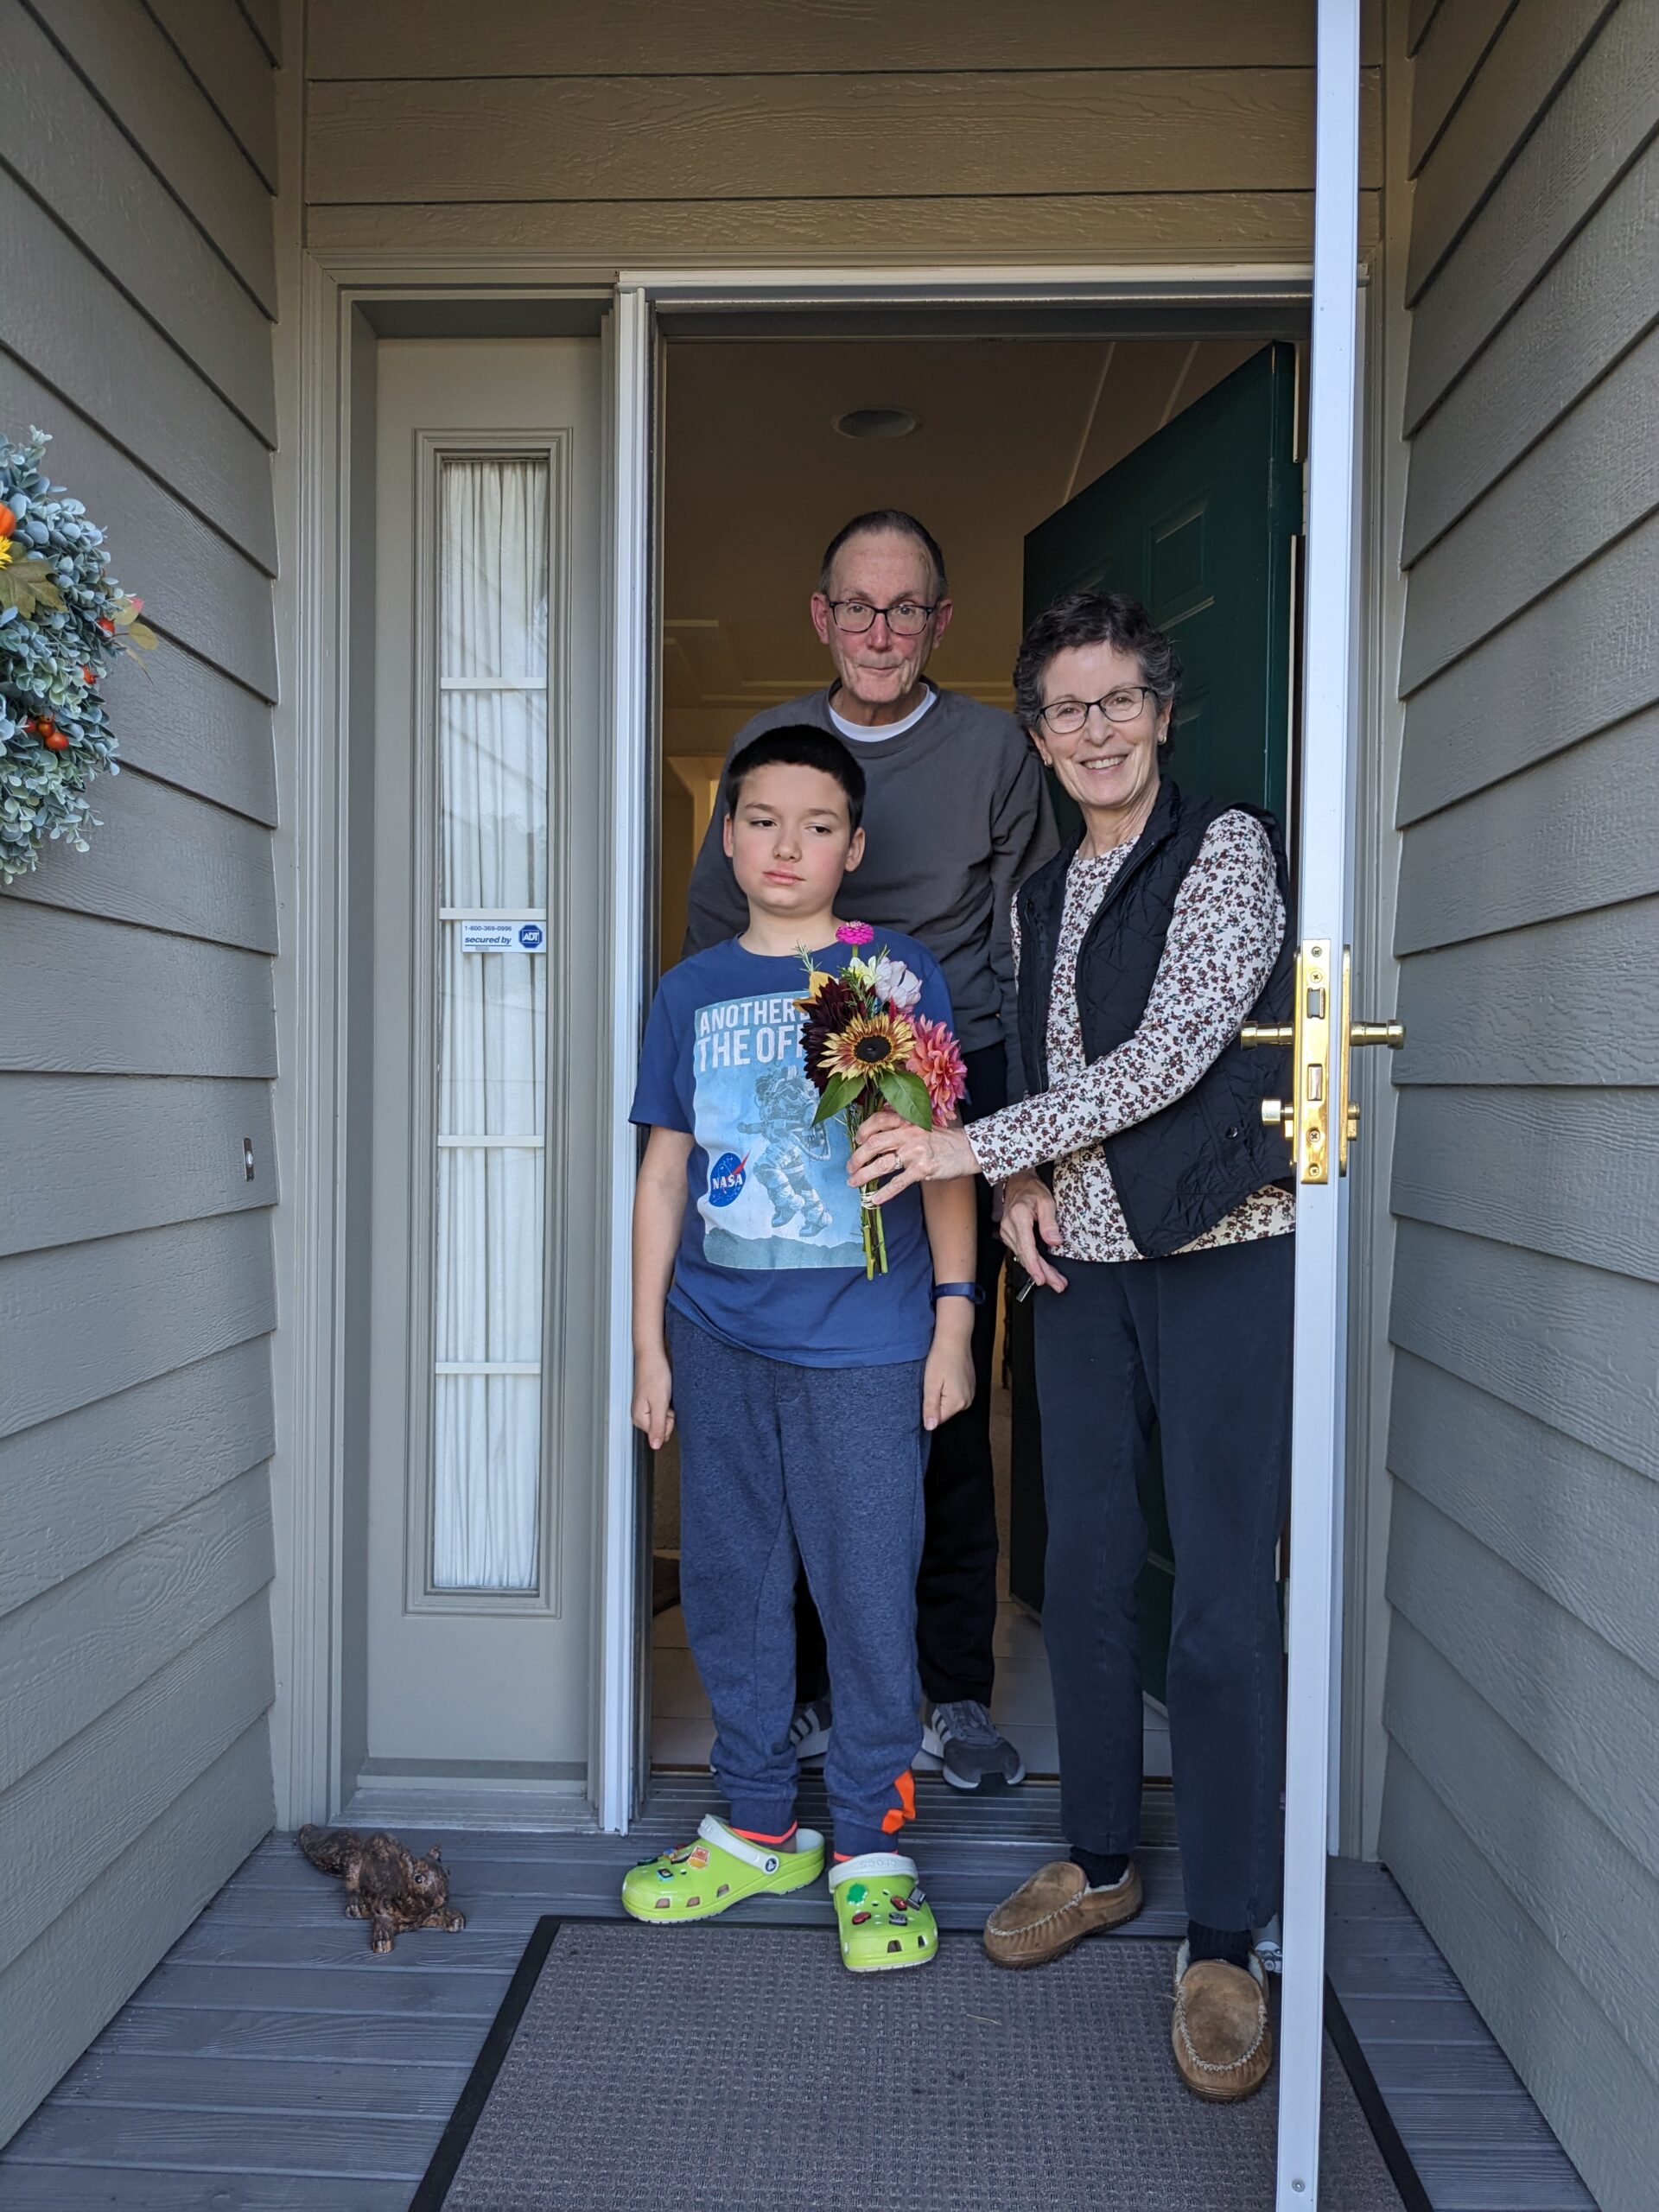
It is New Year’s Eve and I am sitting here reflecting on the past year. My family was healthy and happy, which is all I could ask for.

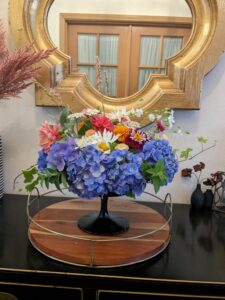
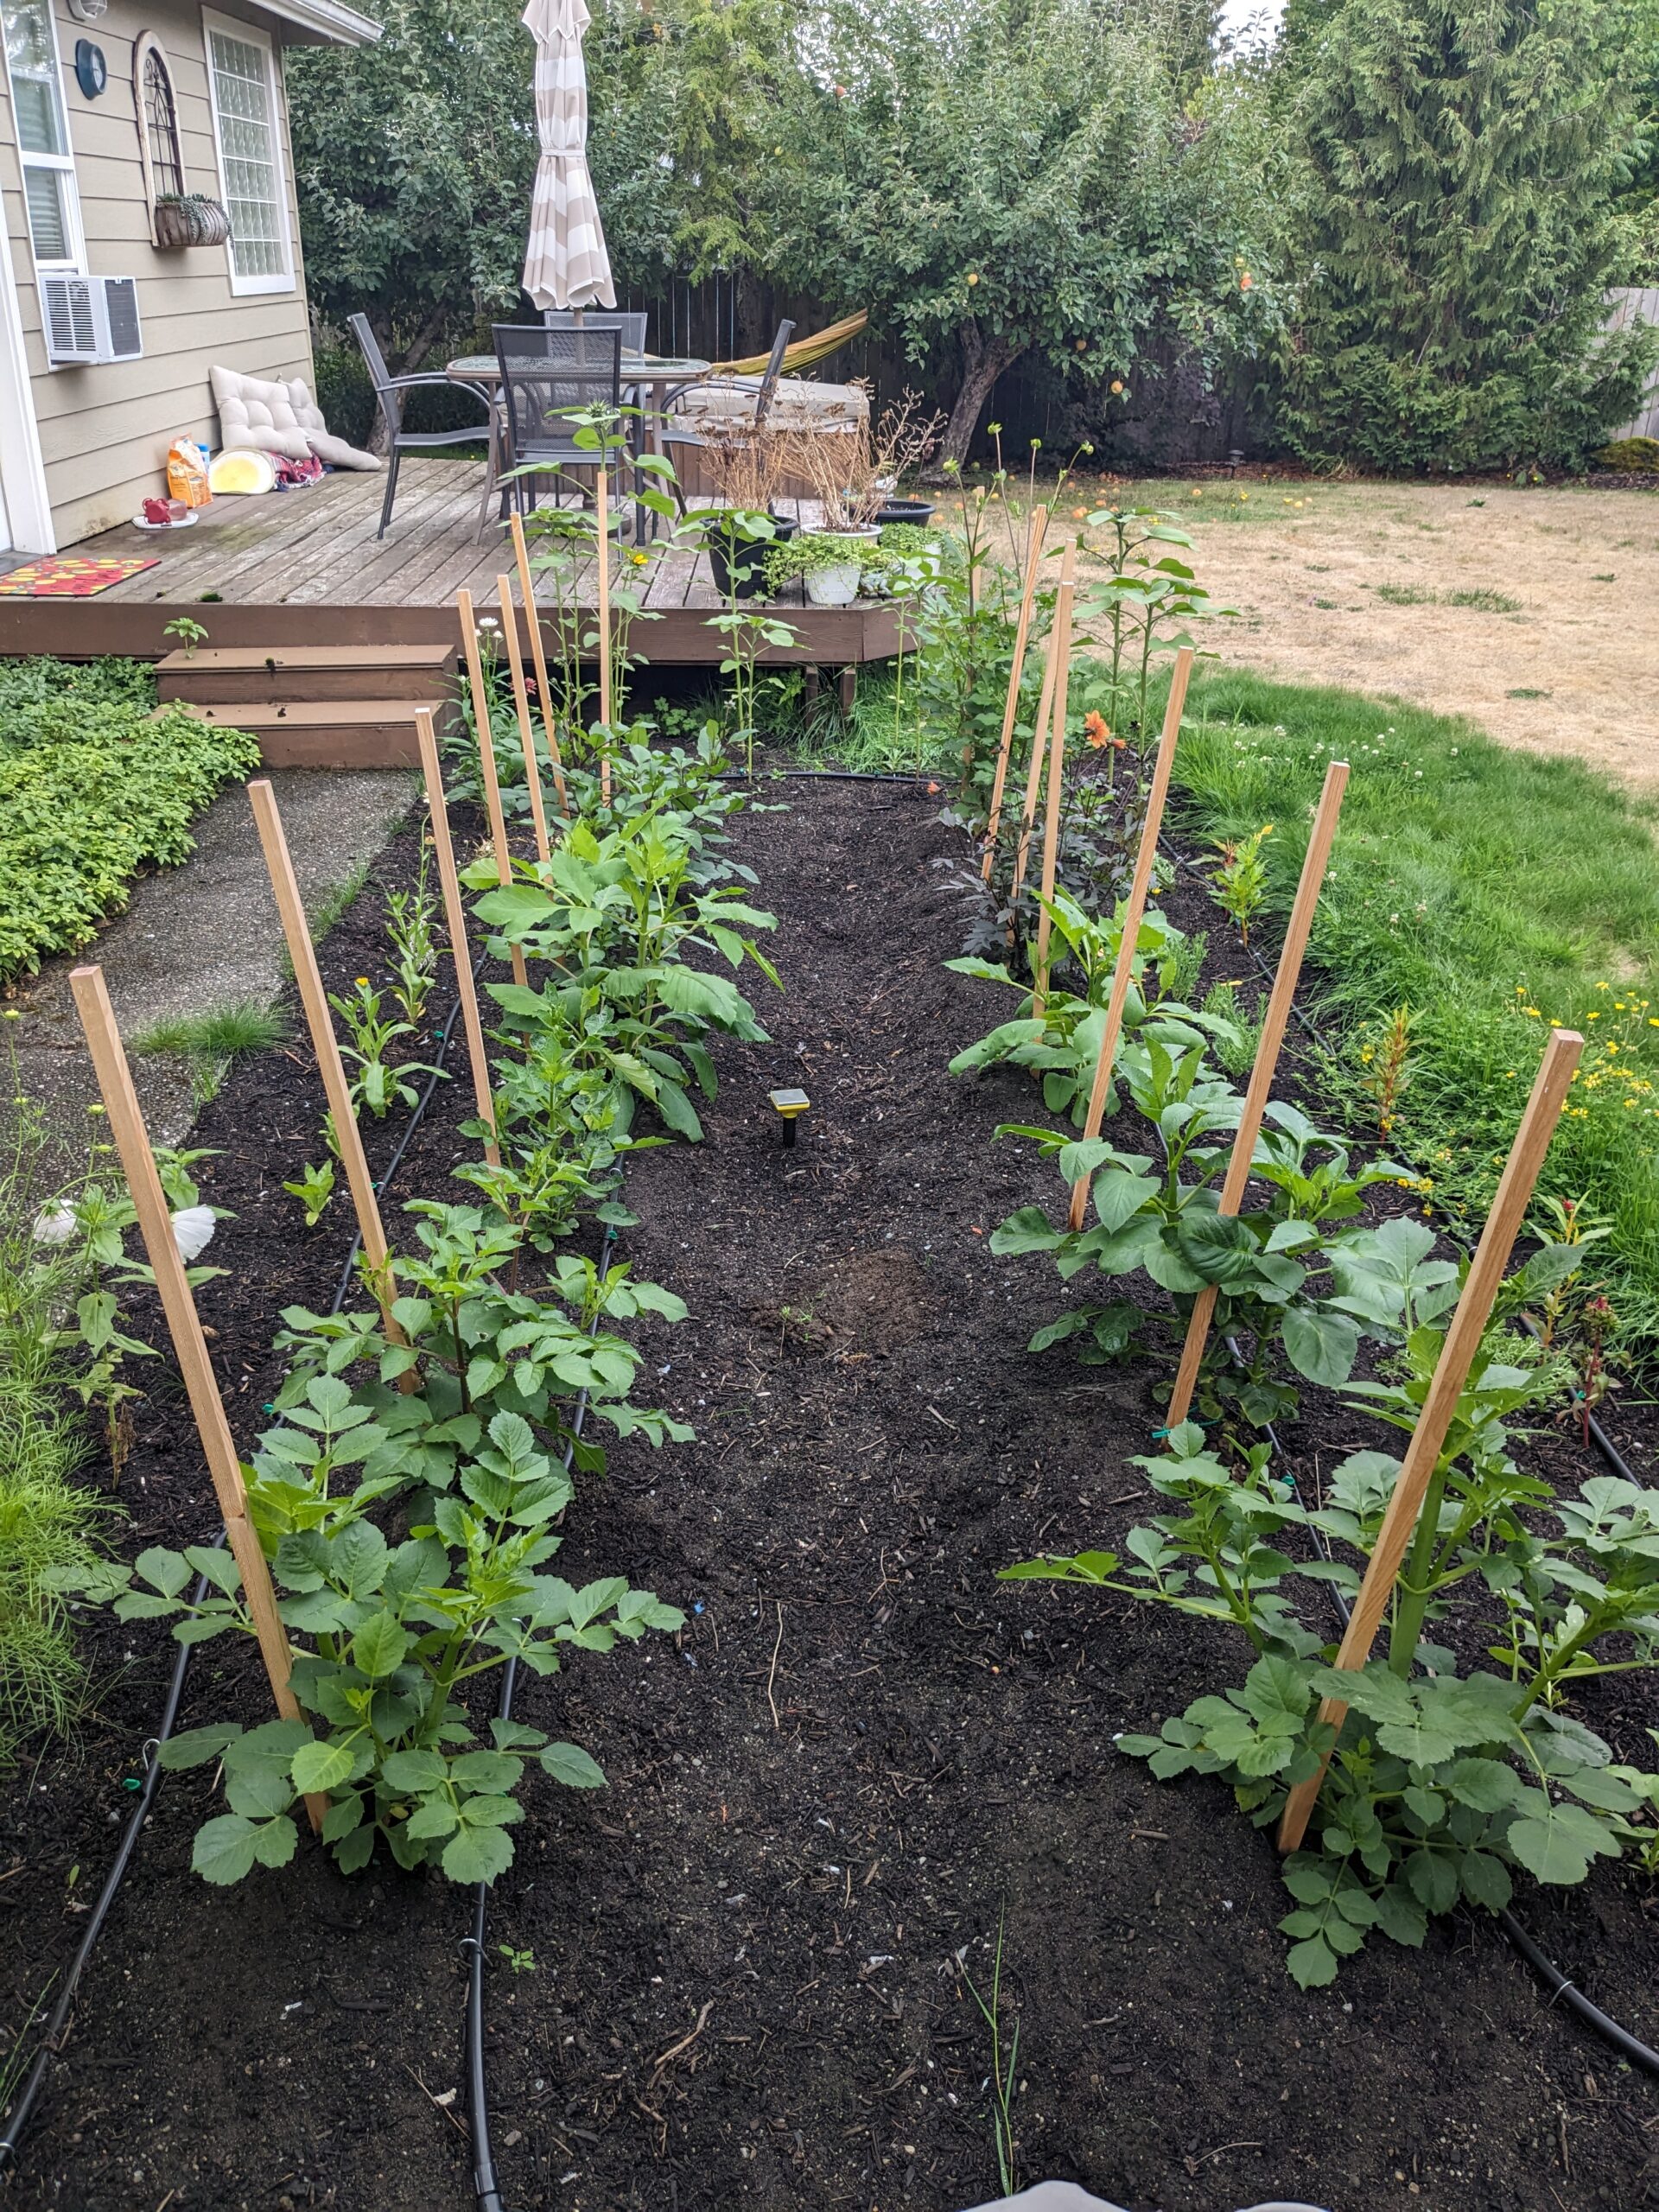
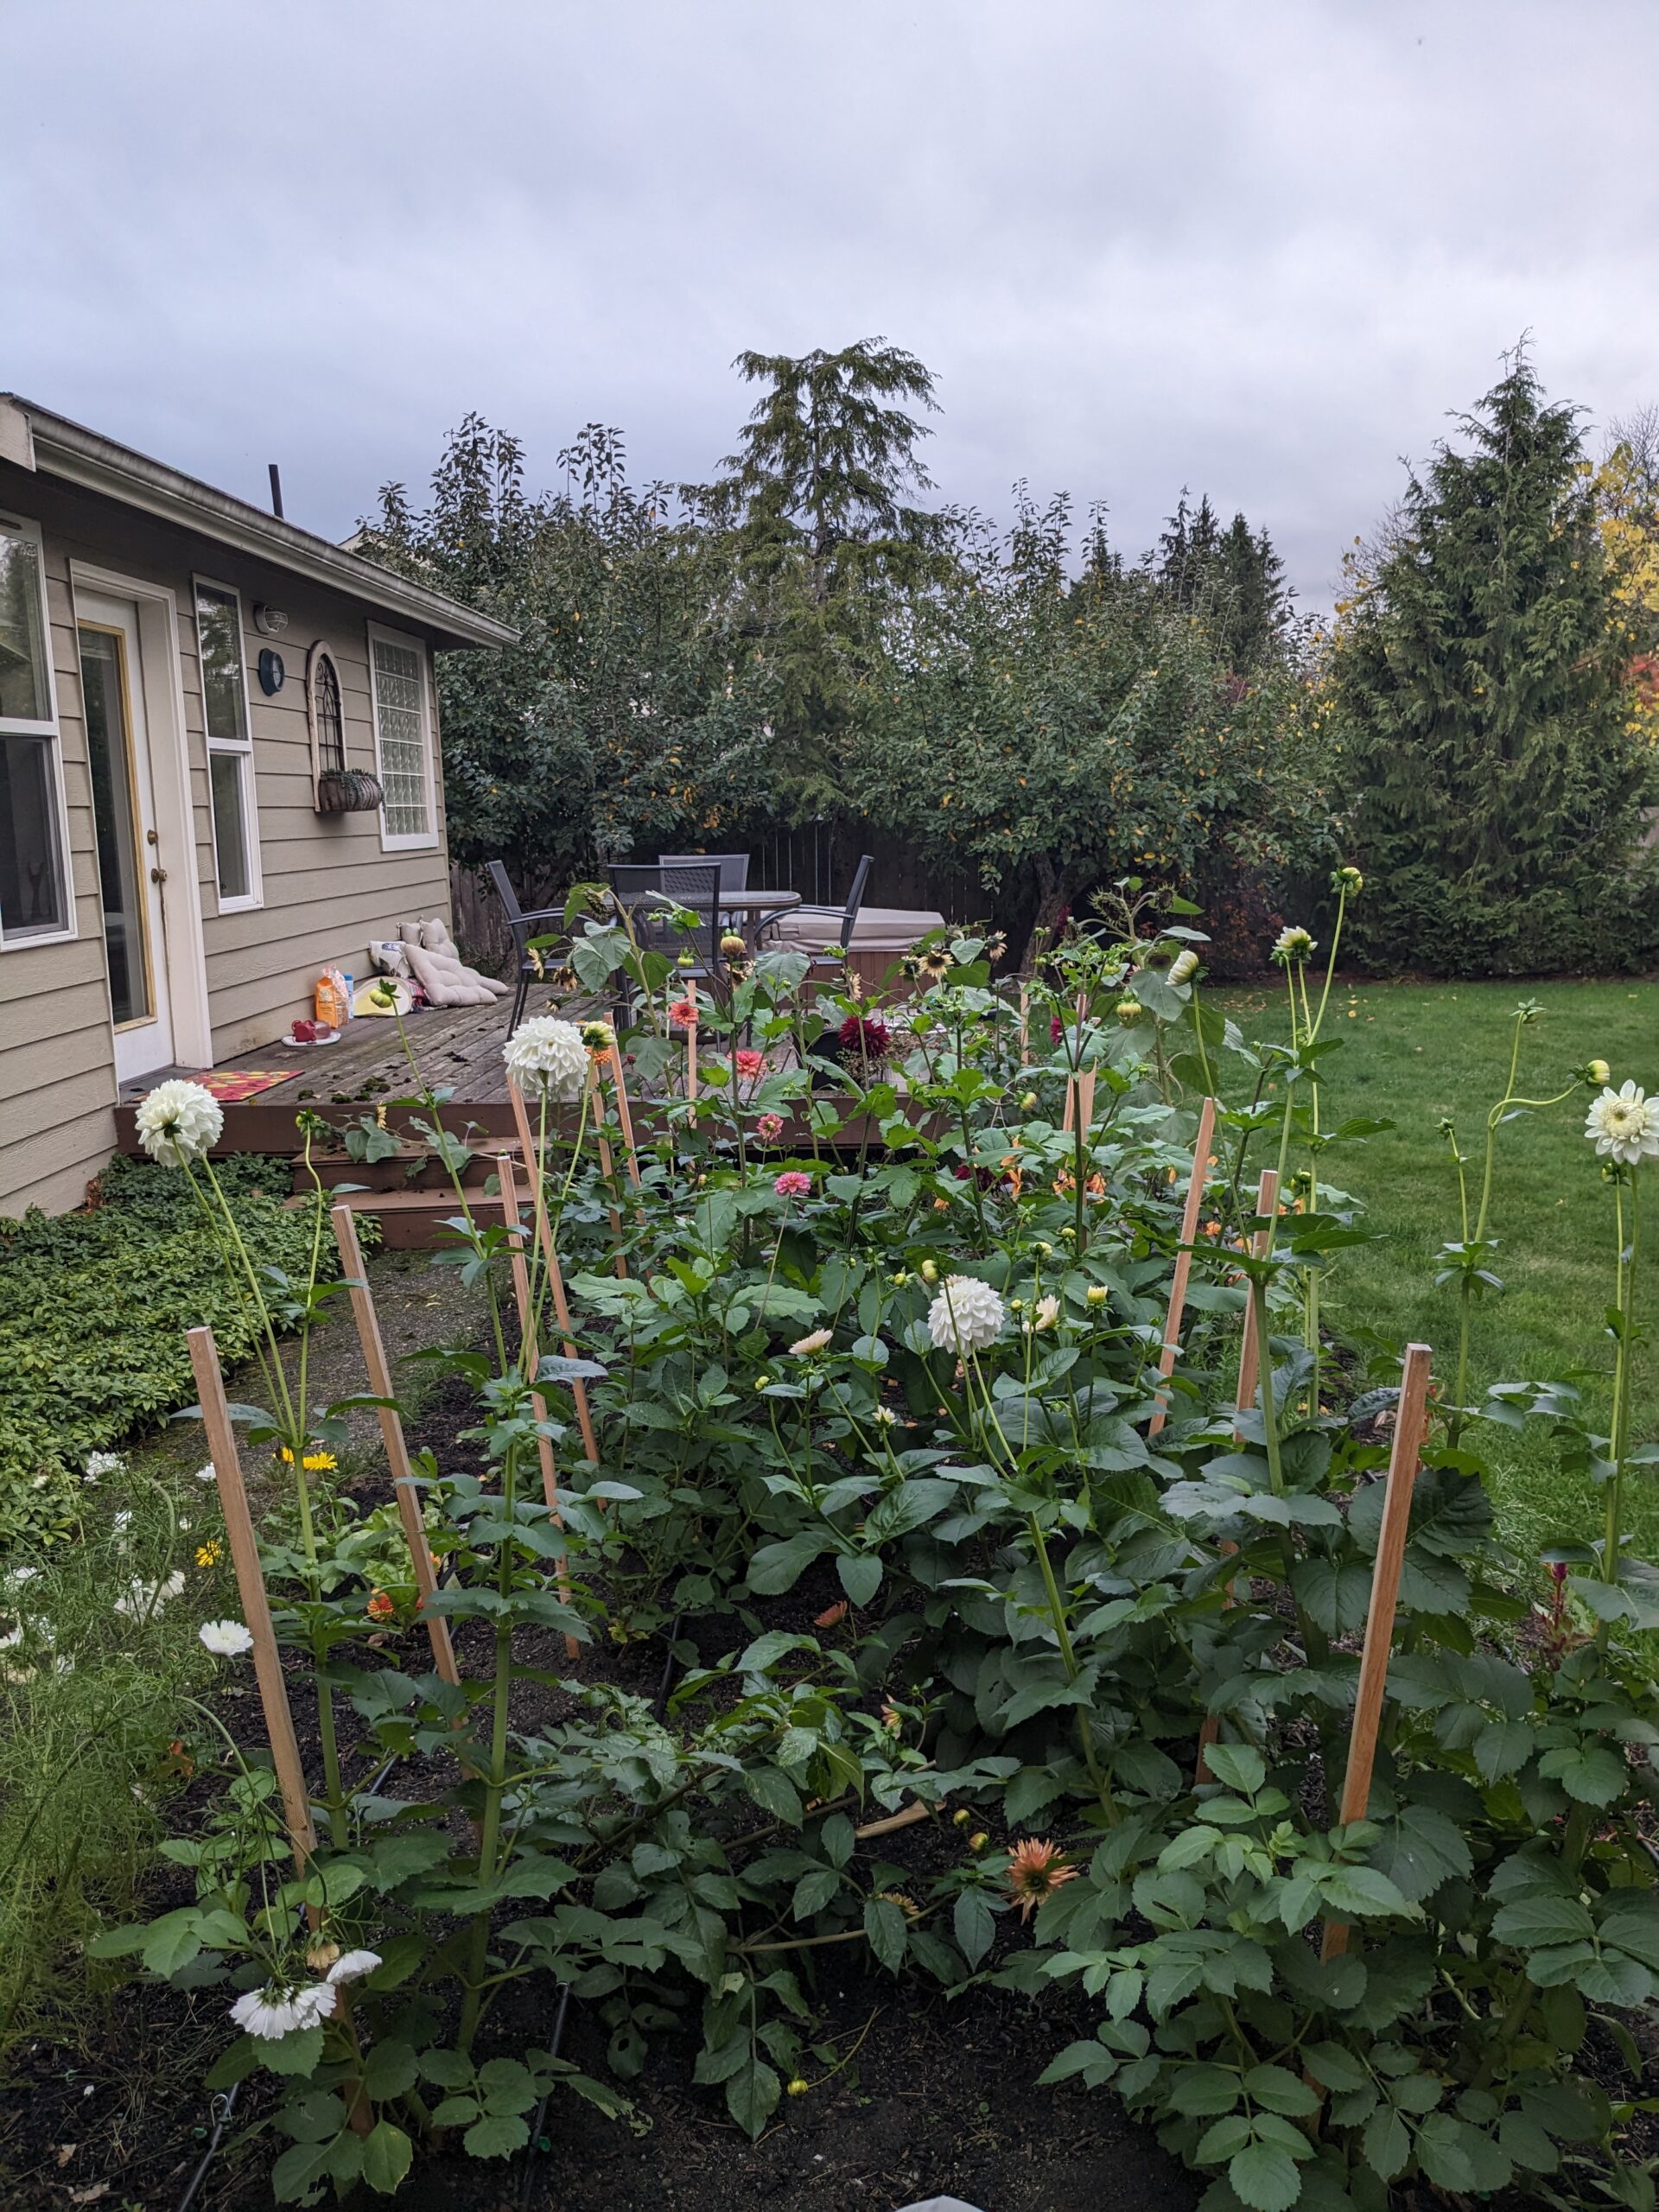
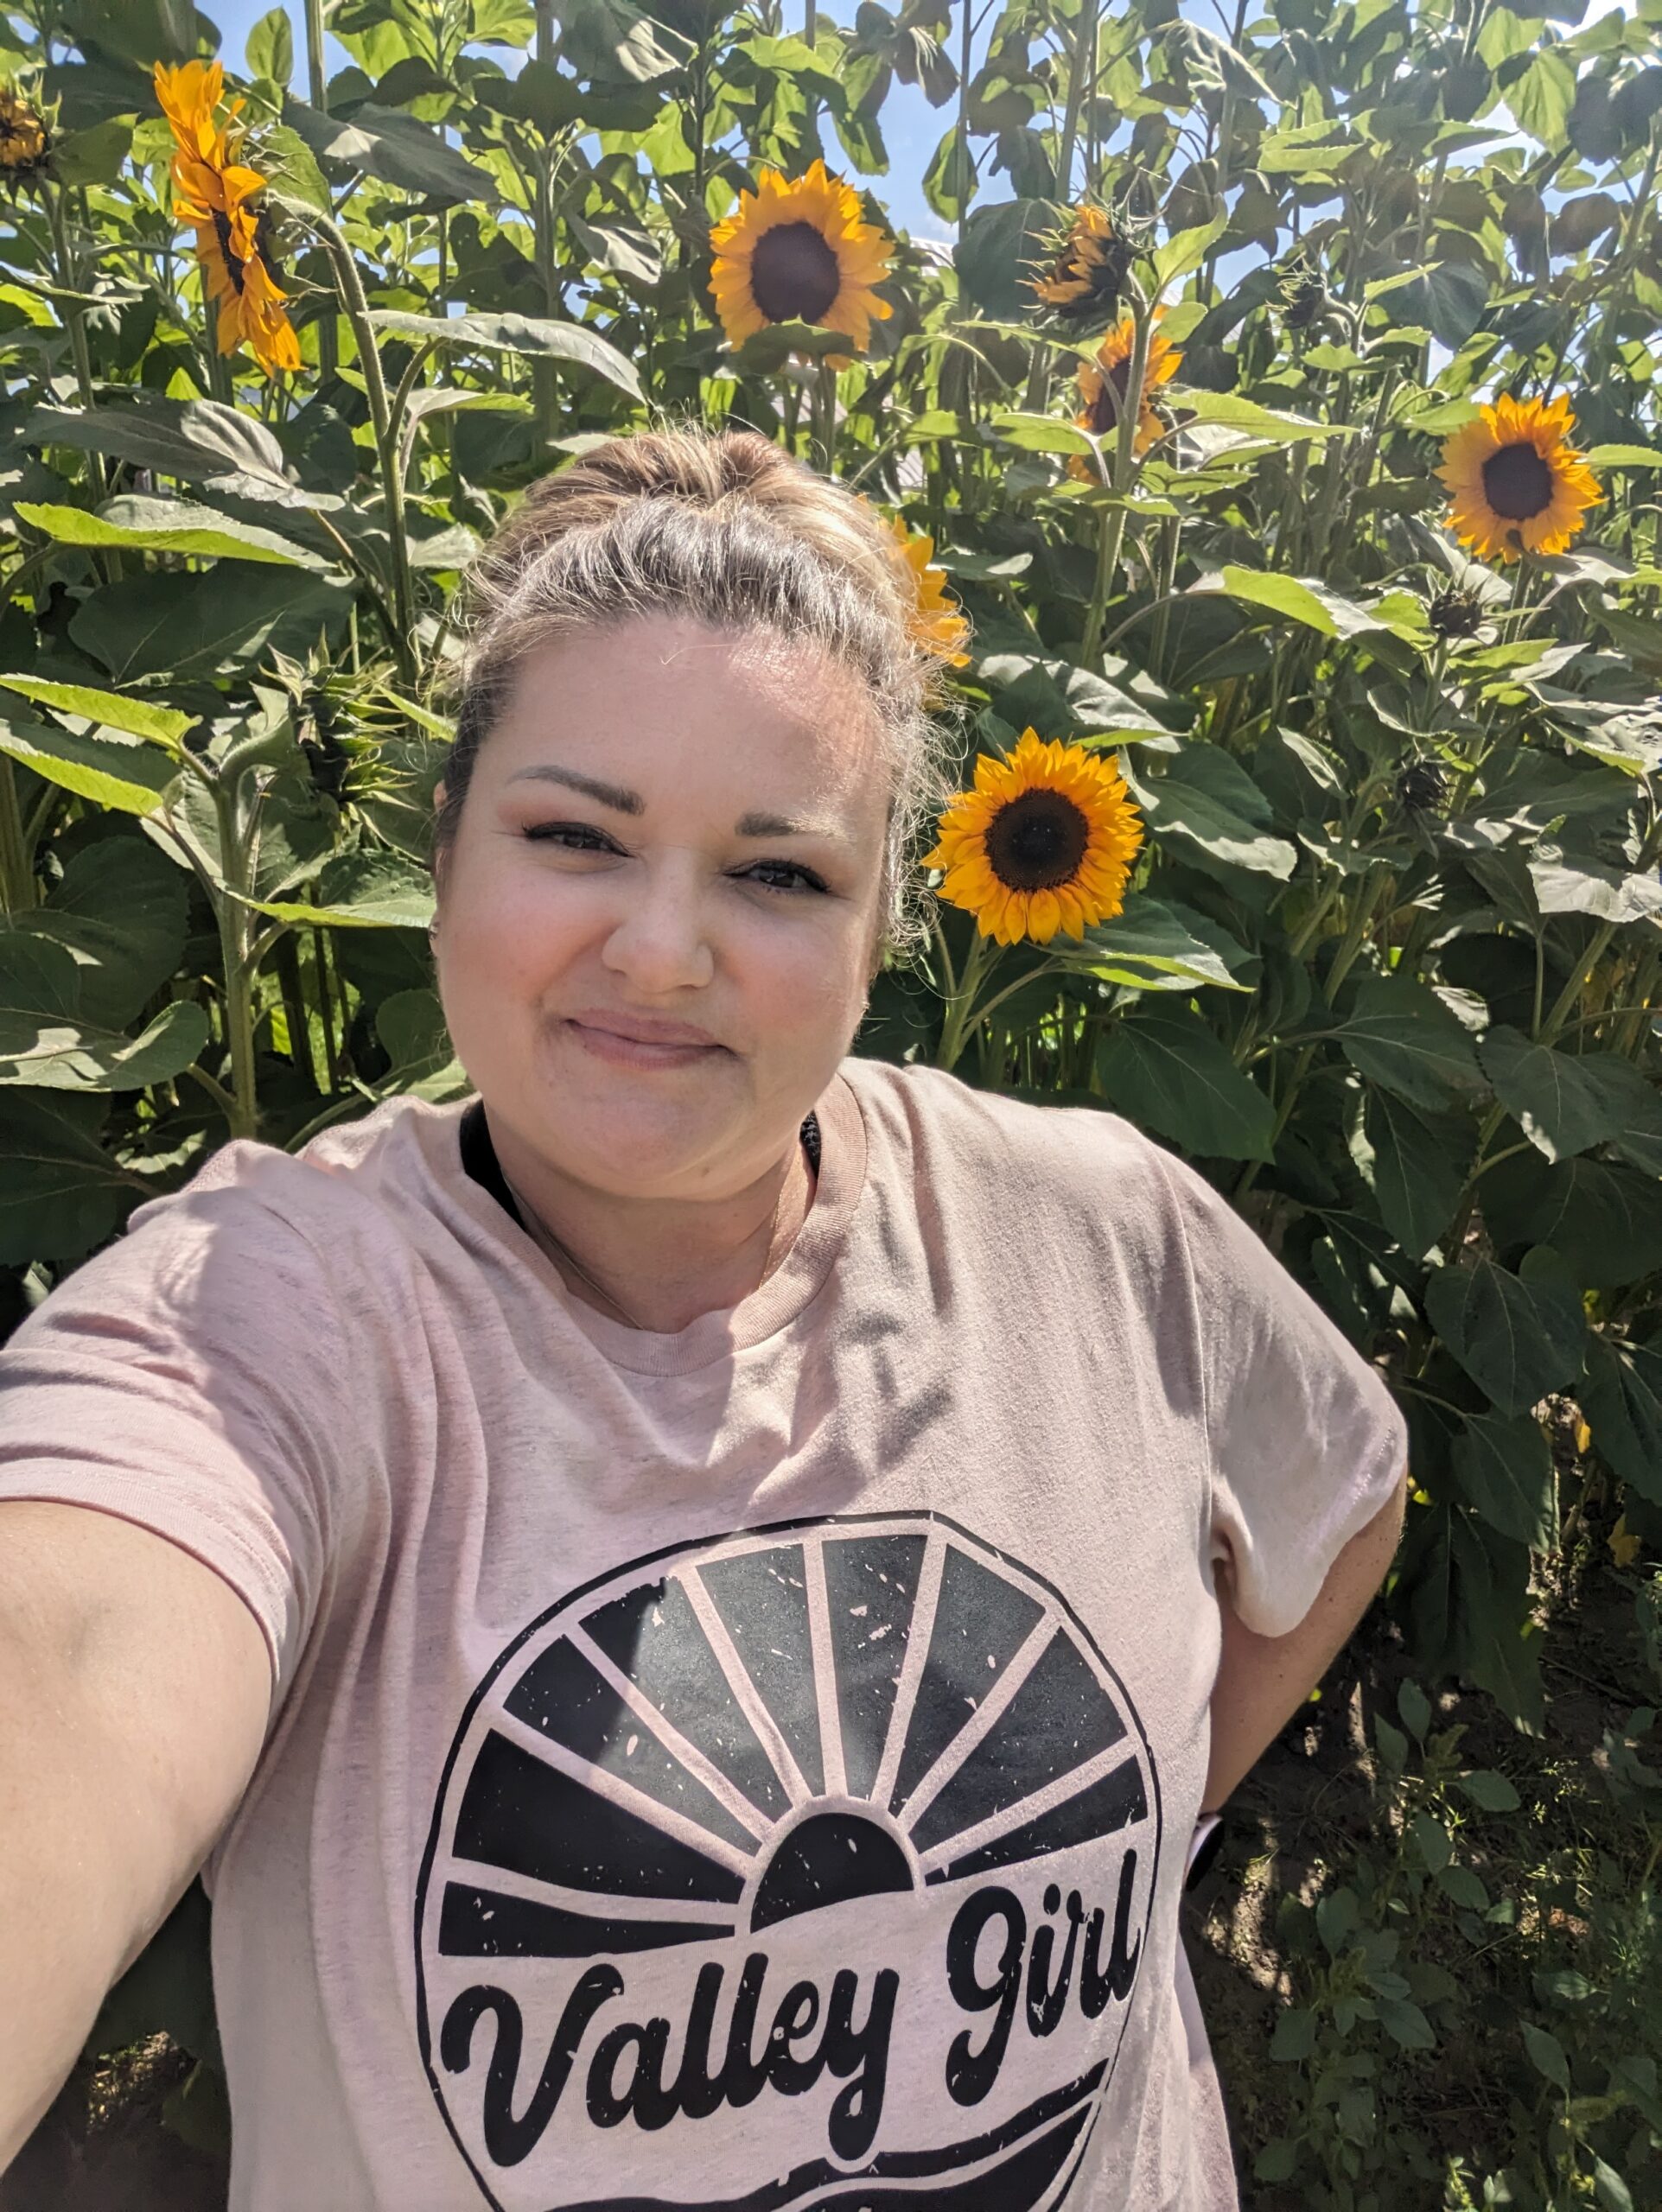
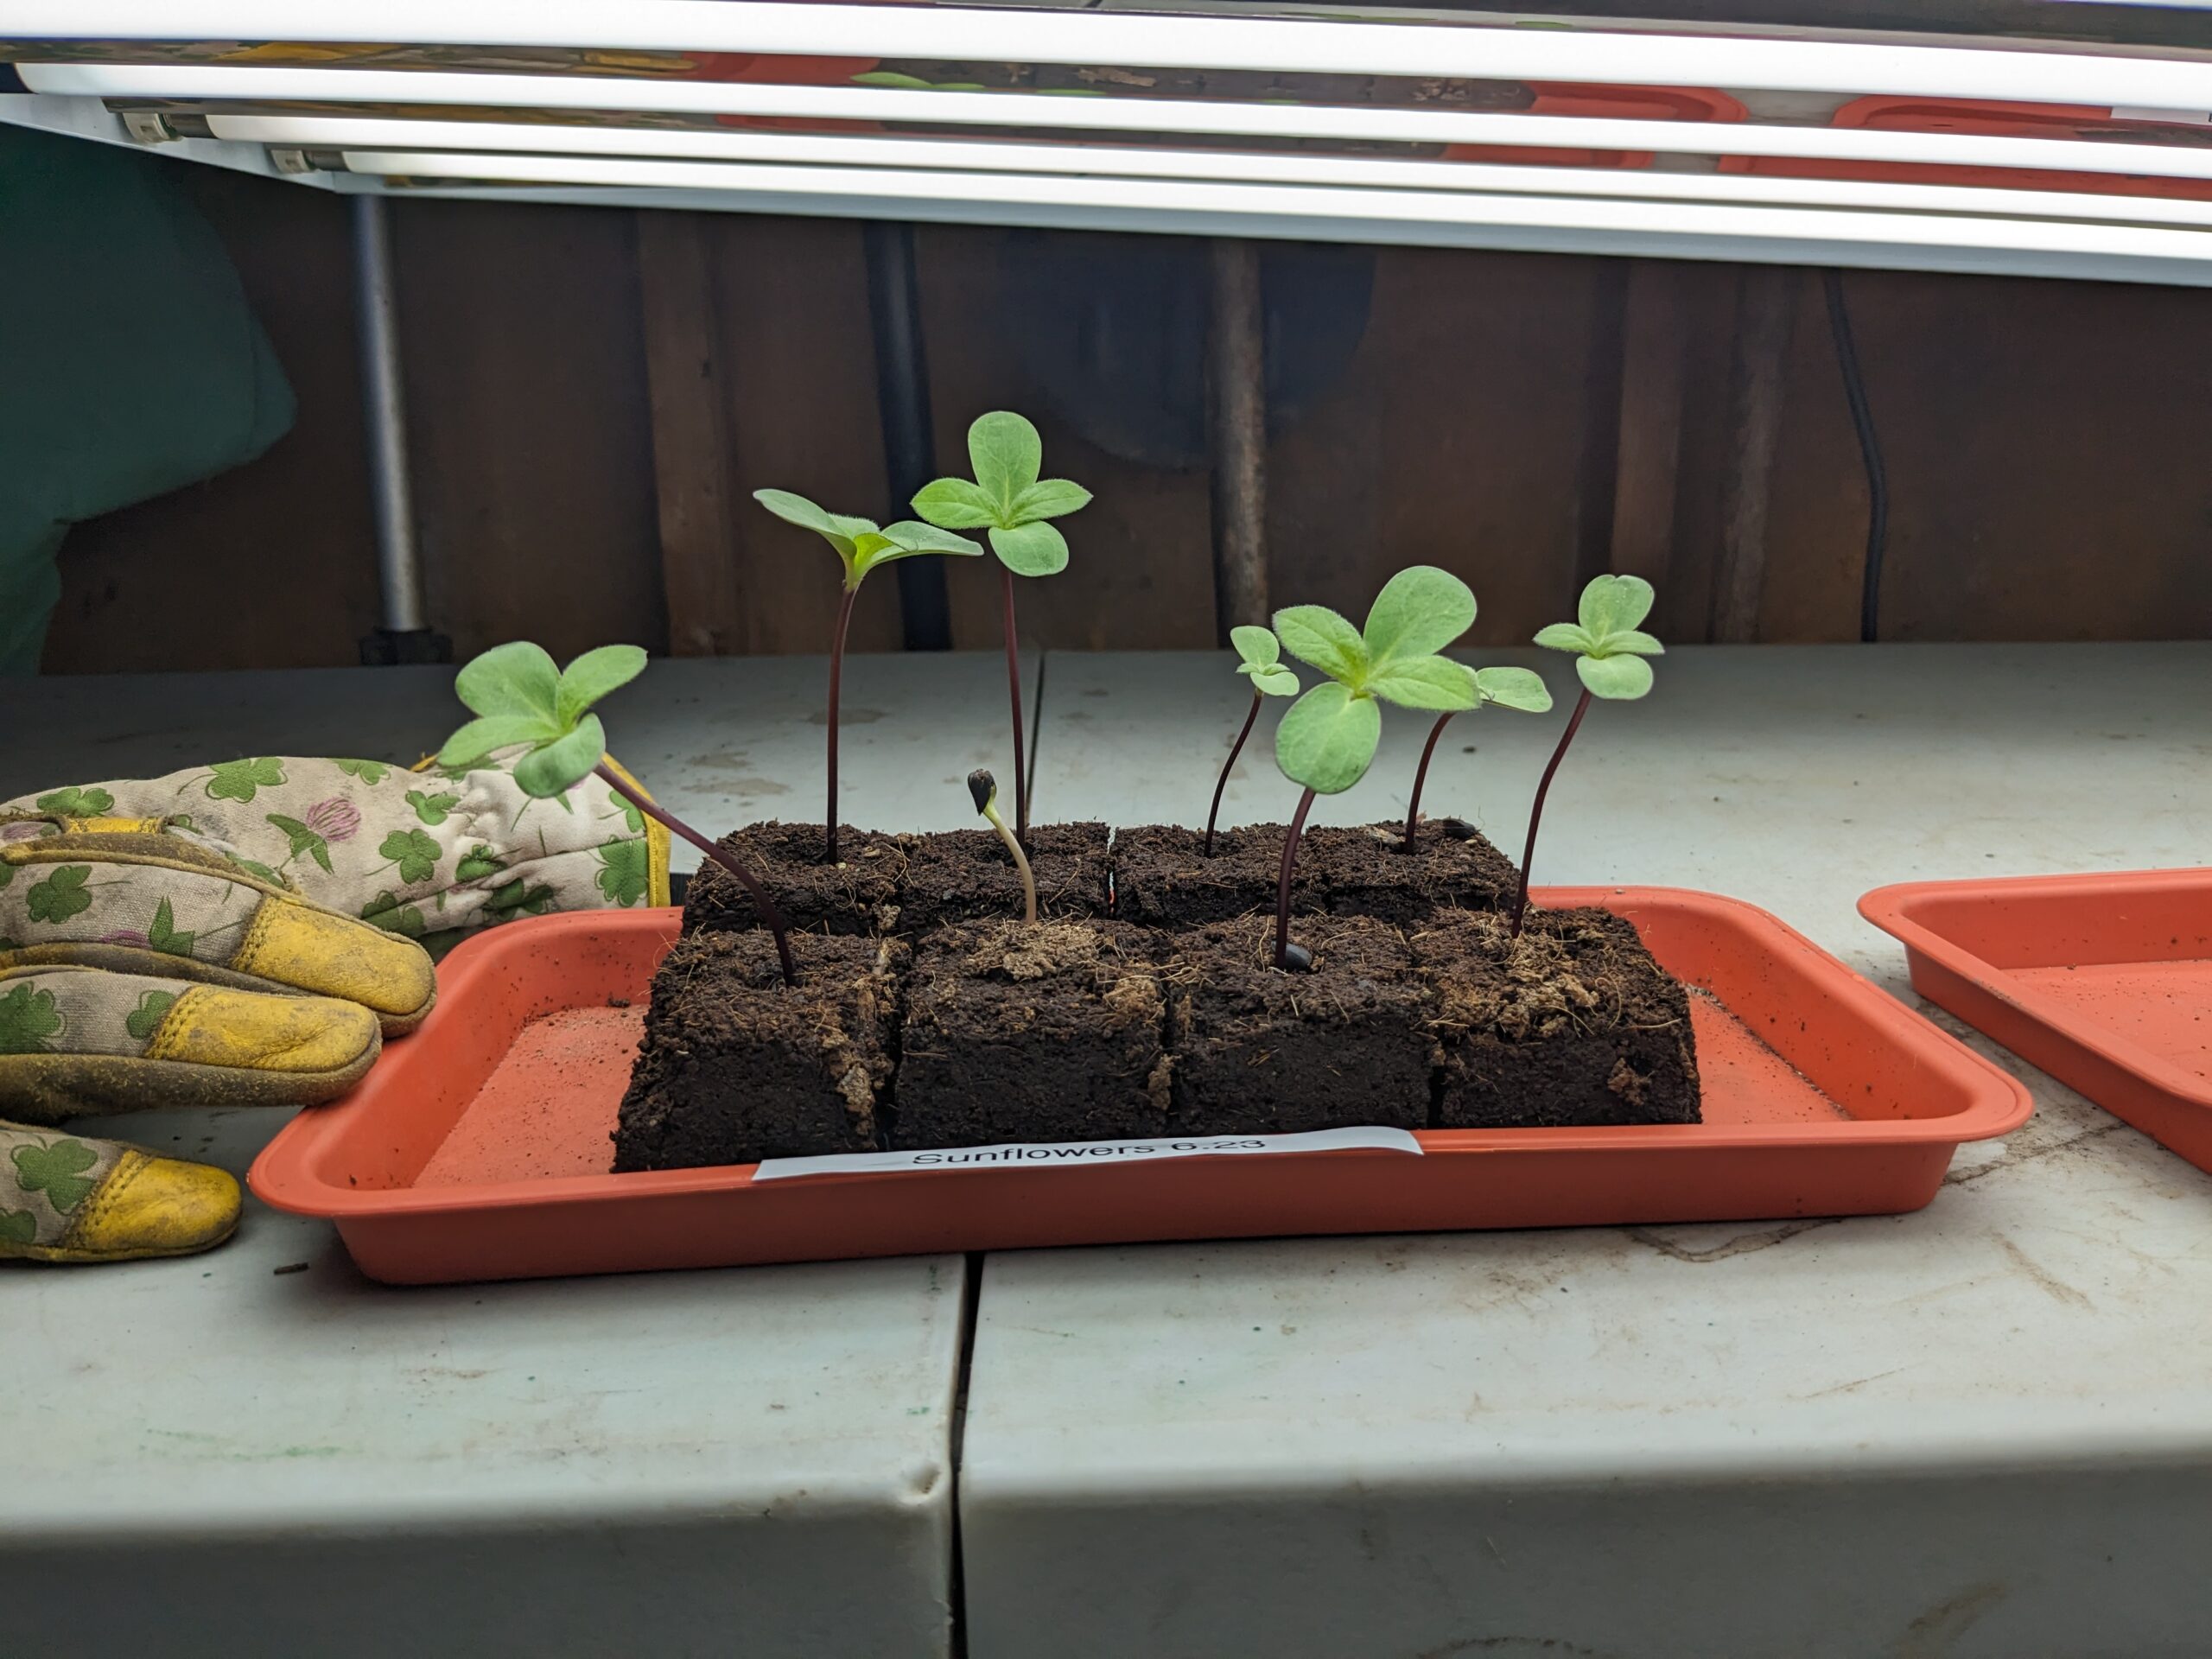
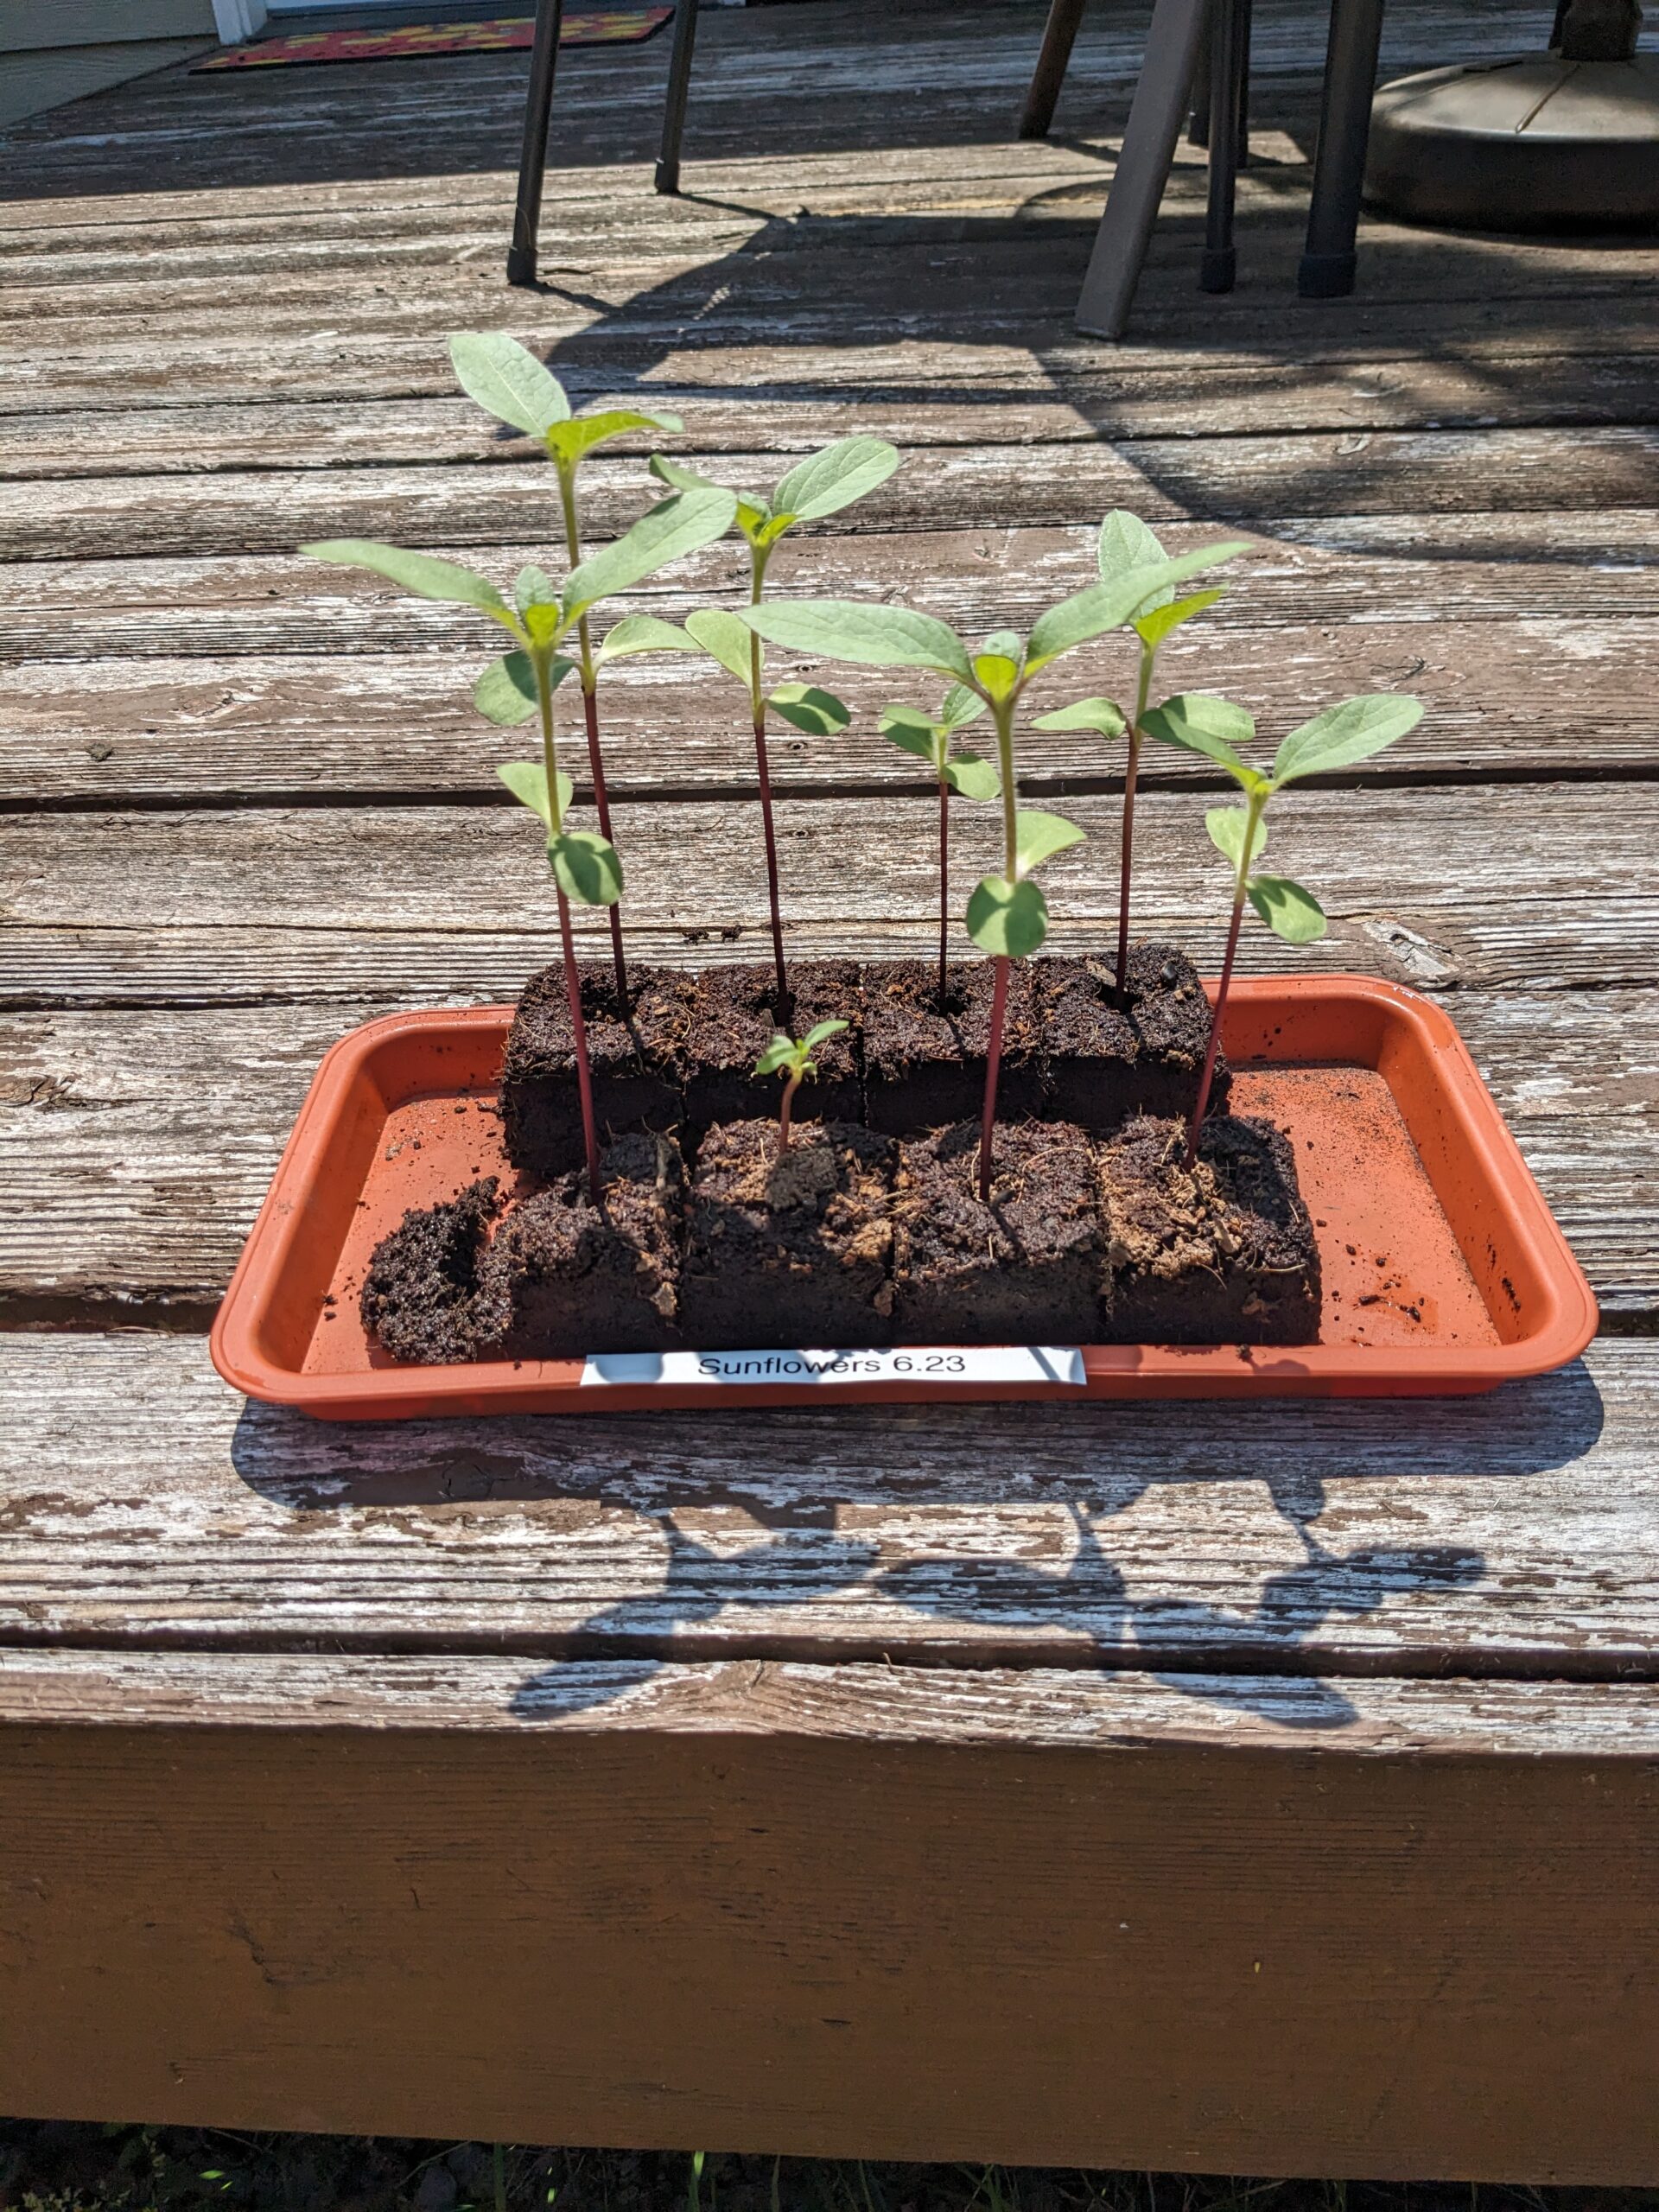
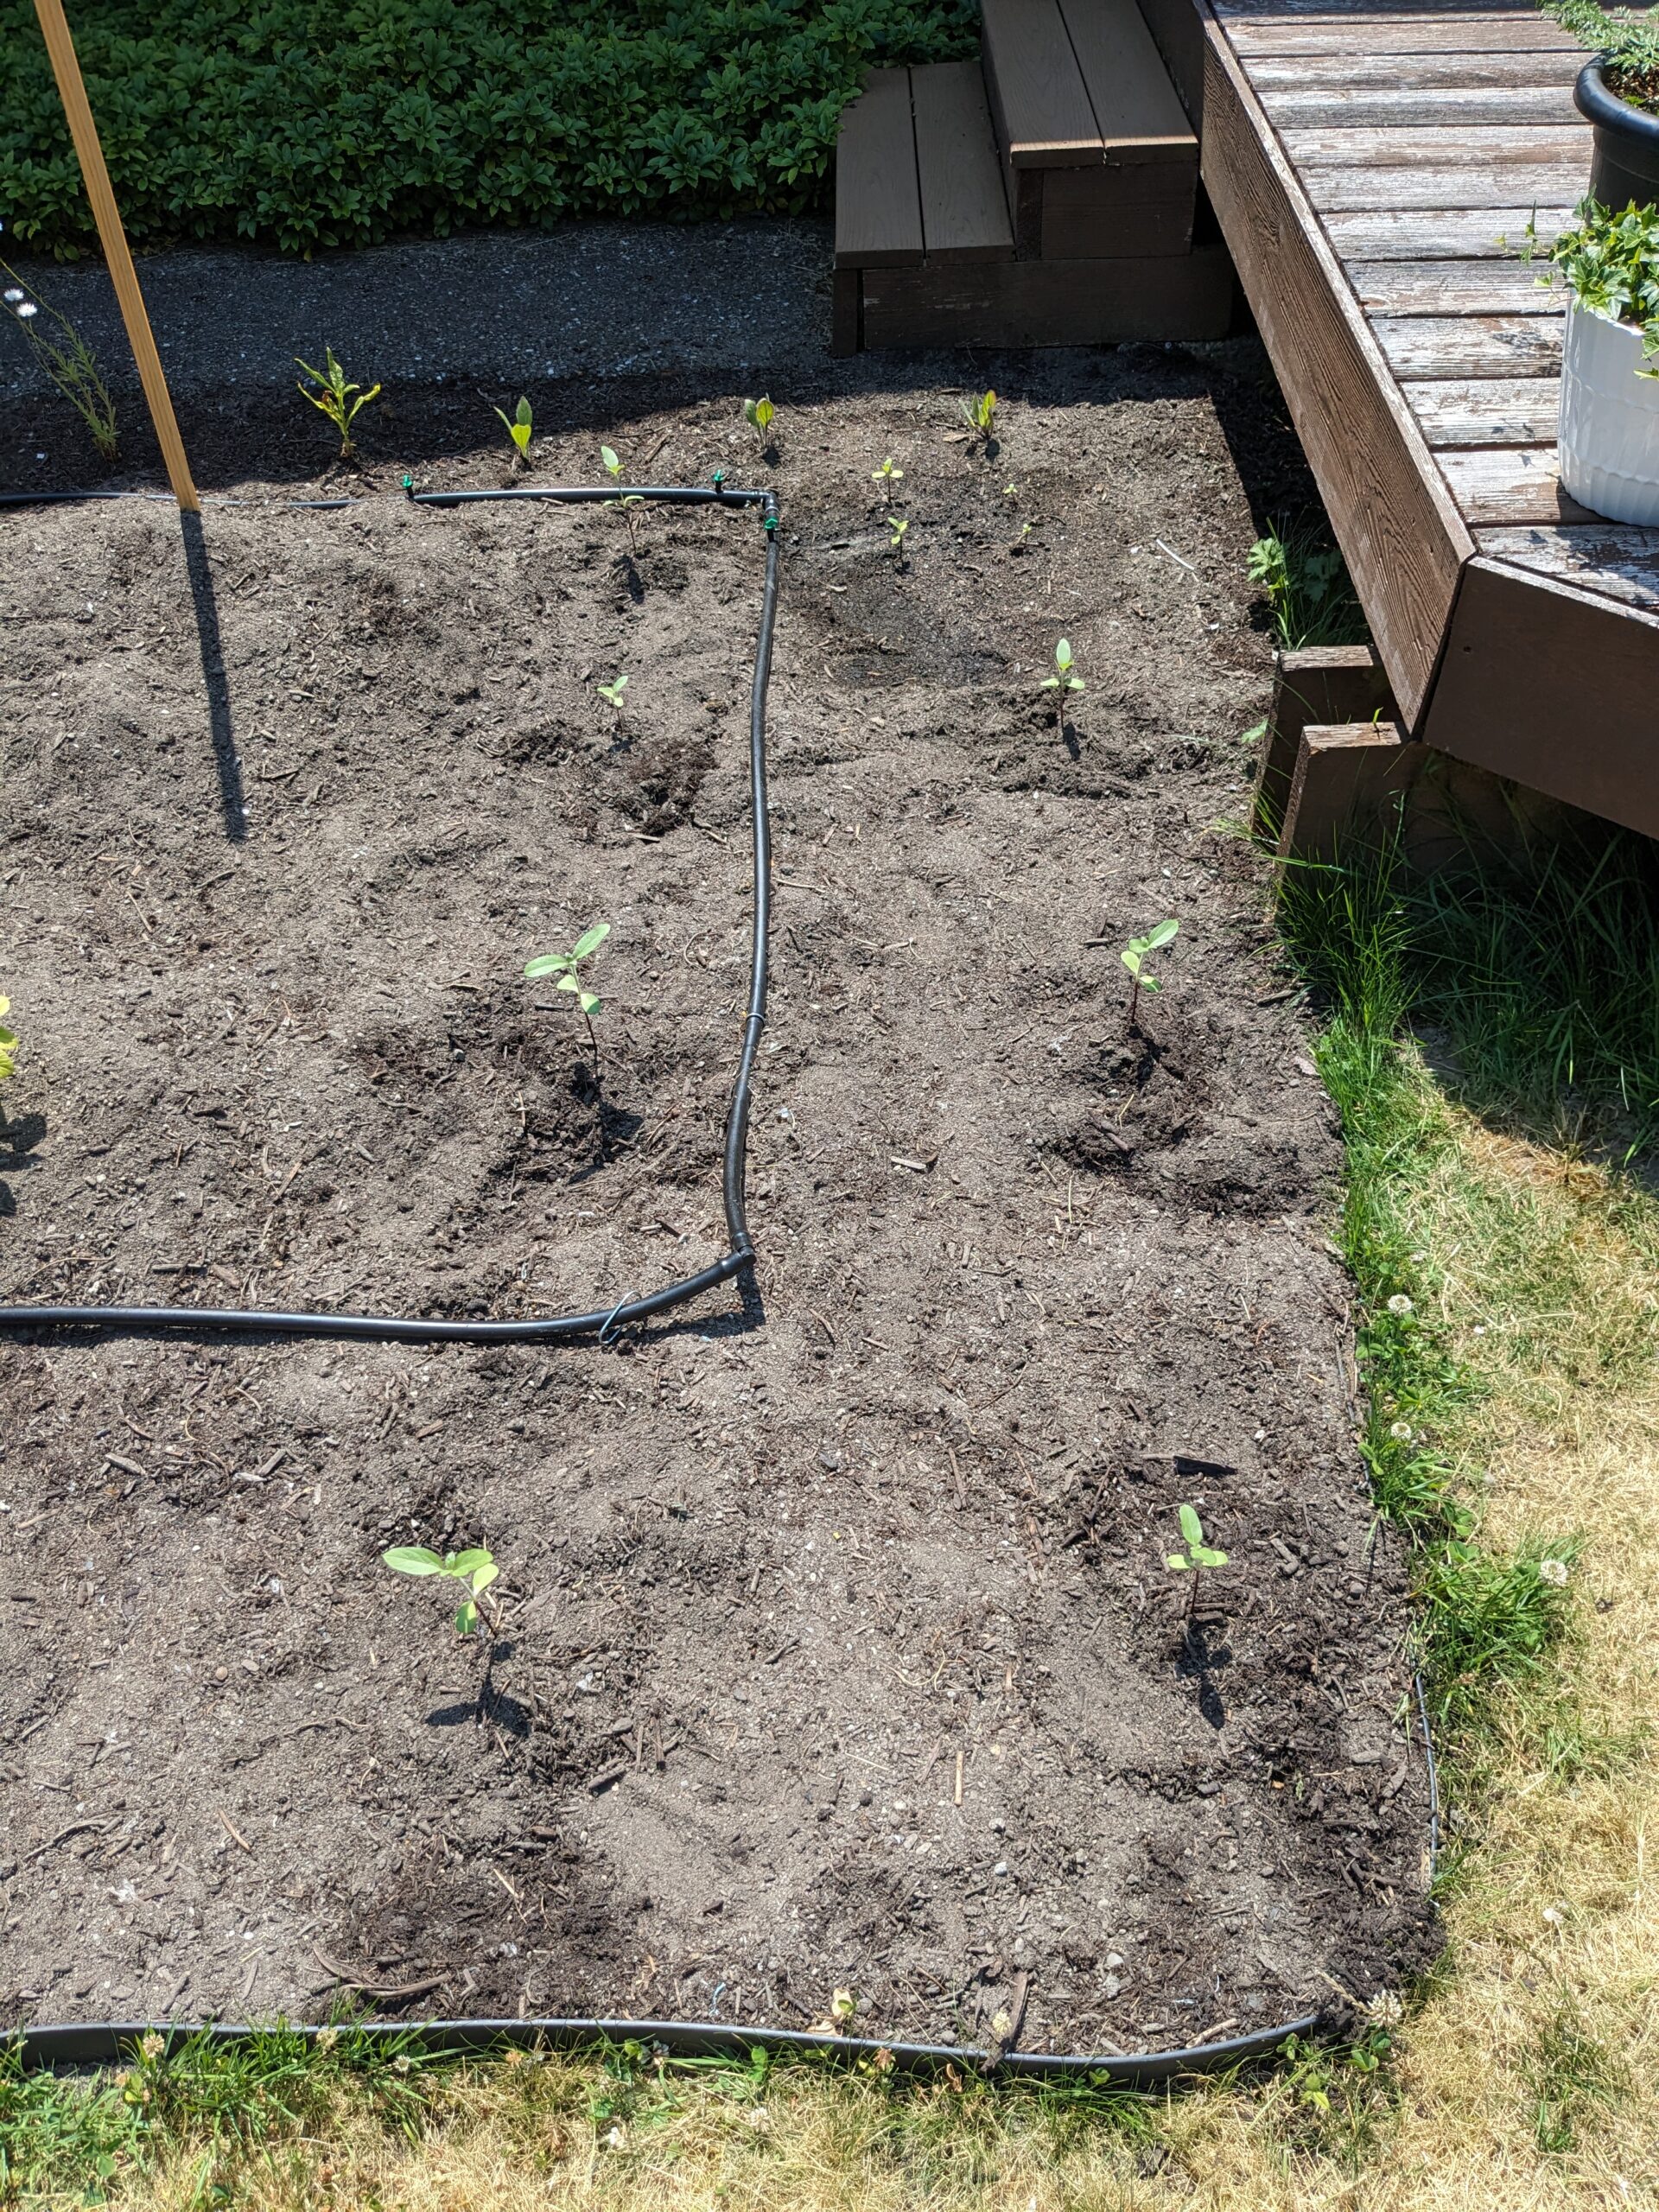
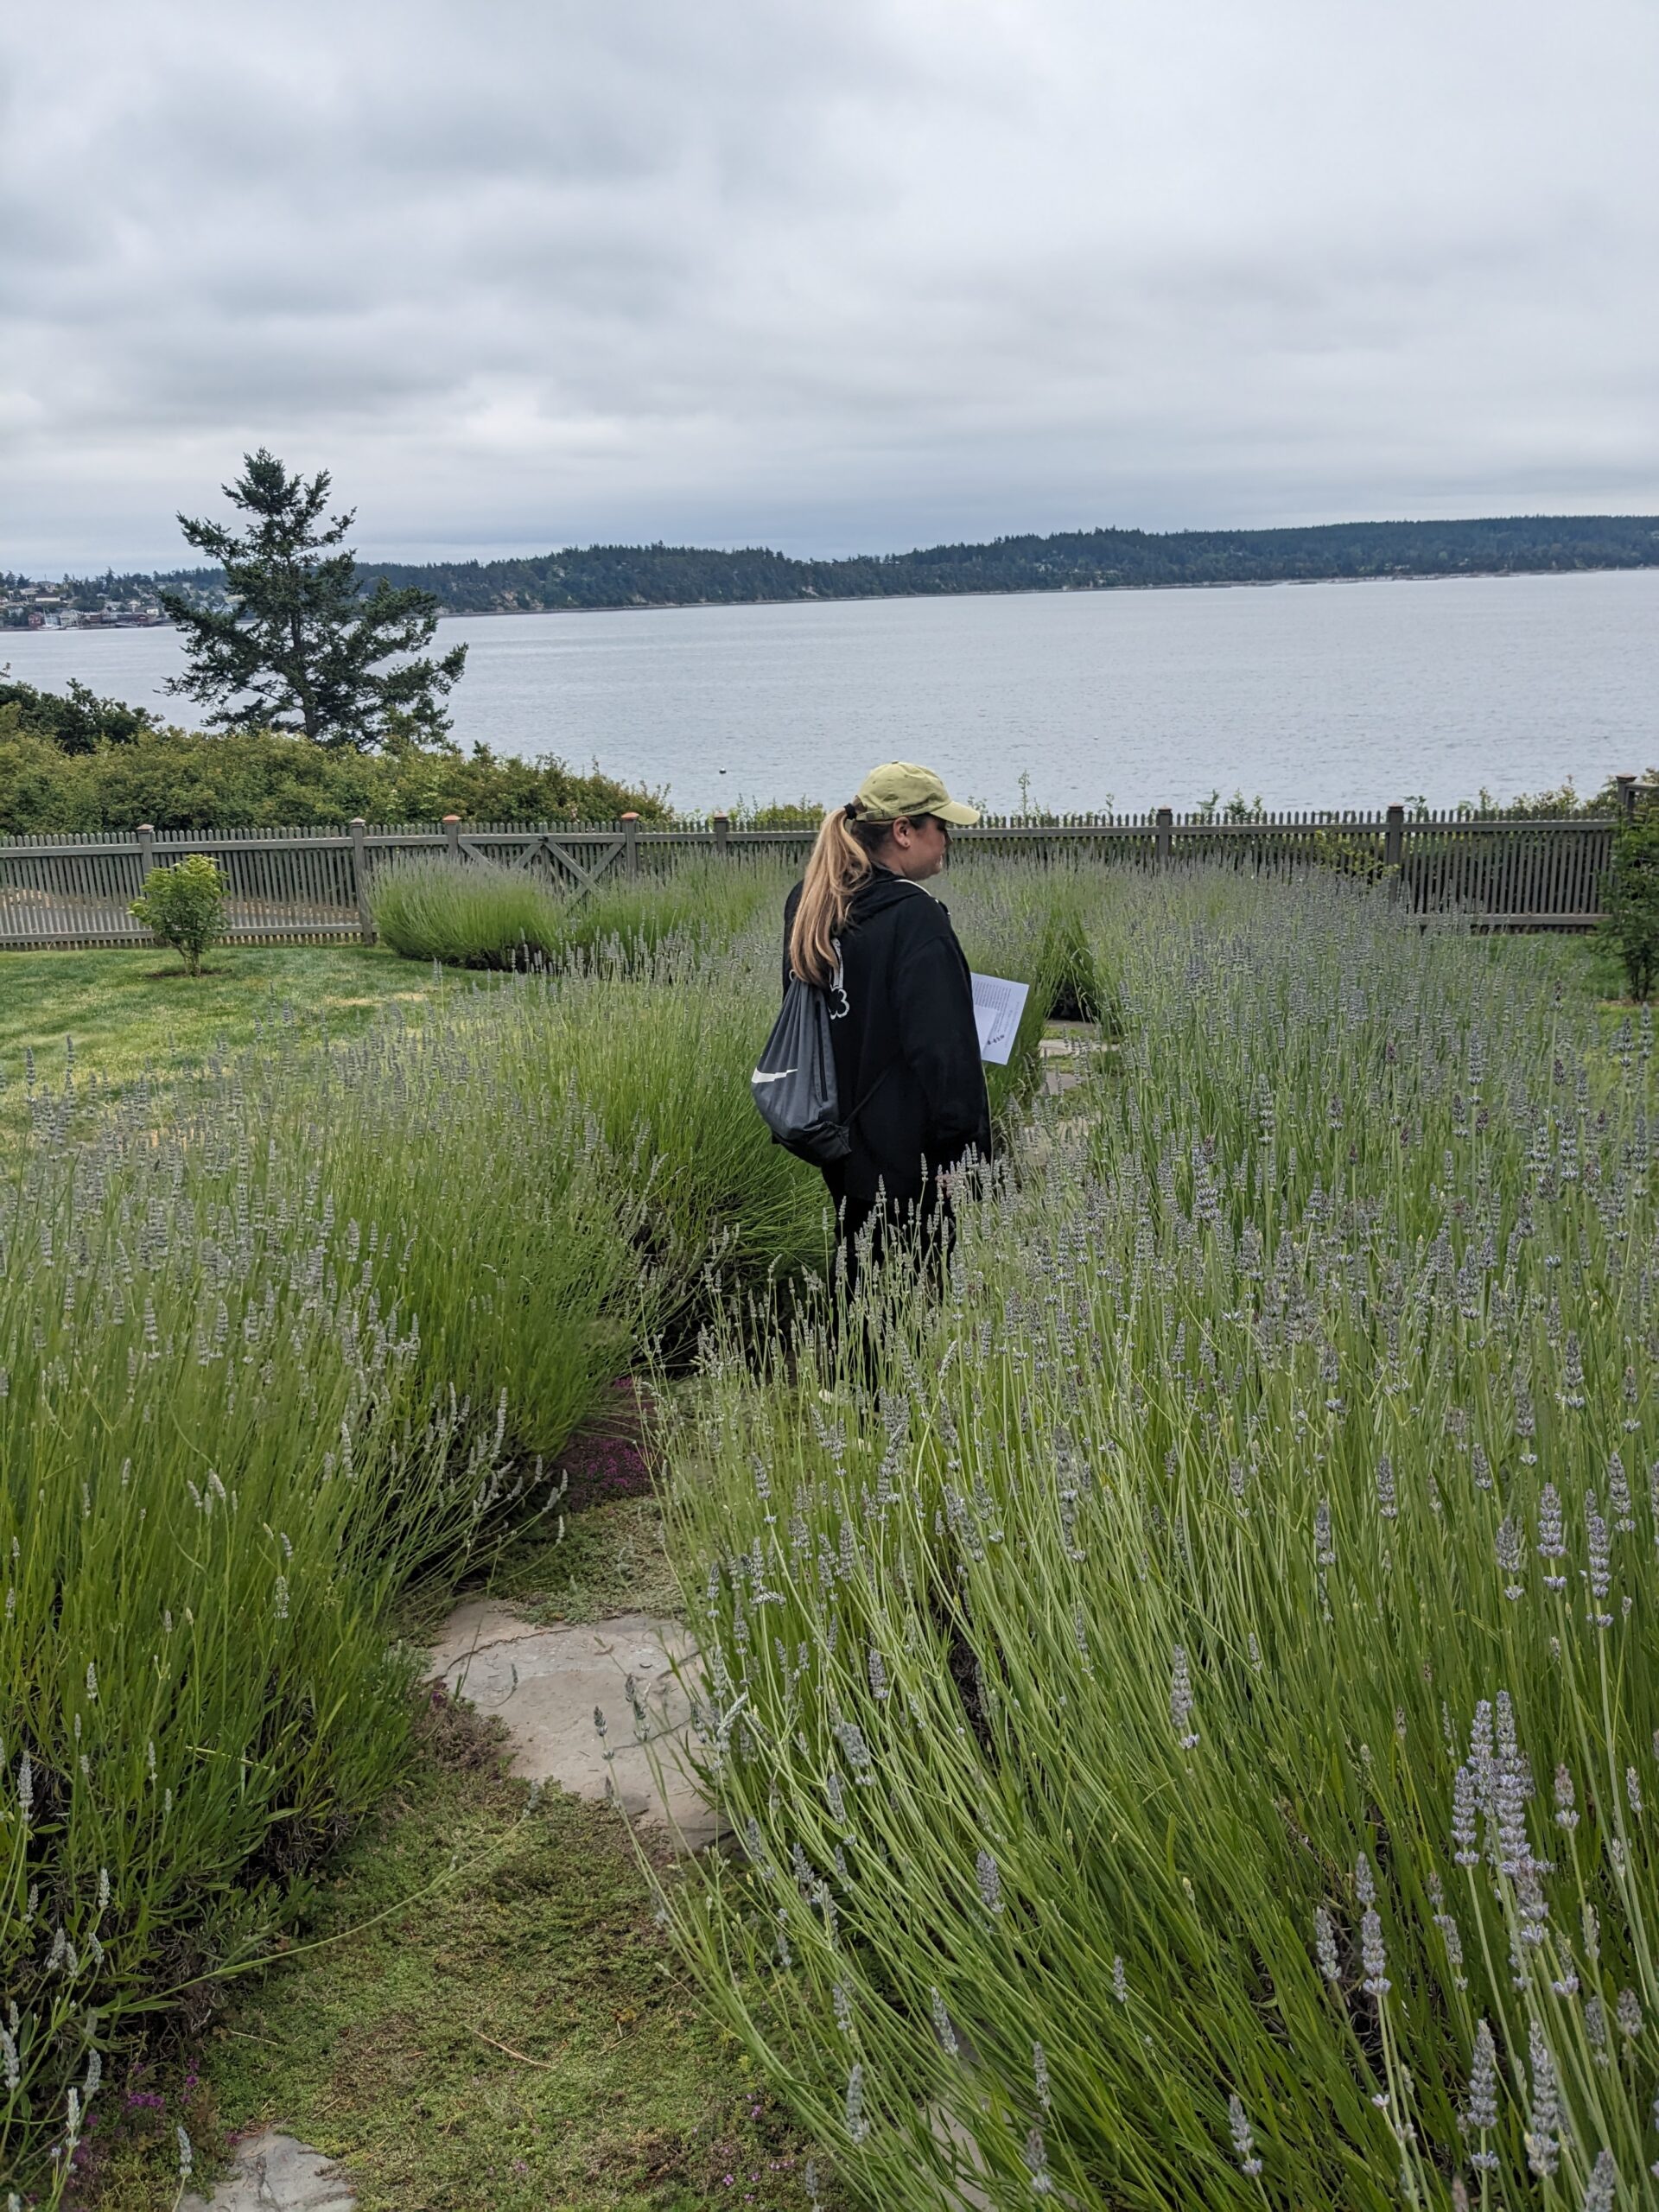
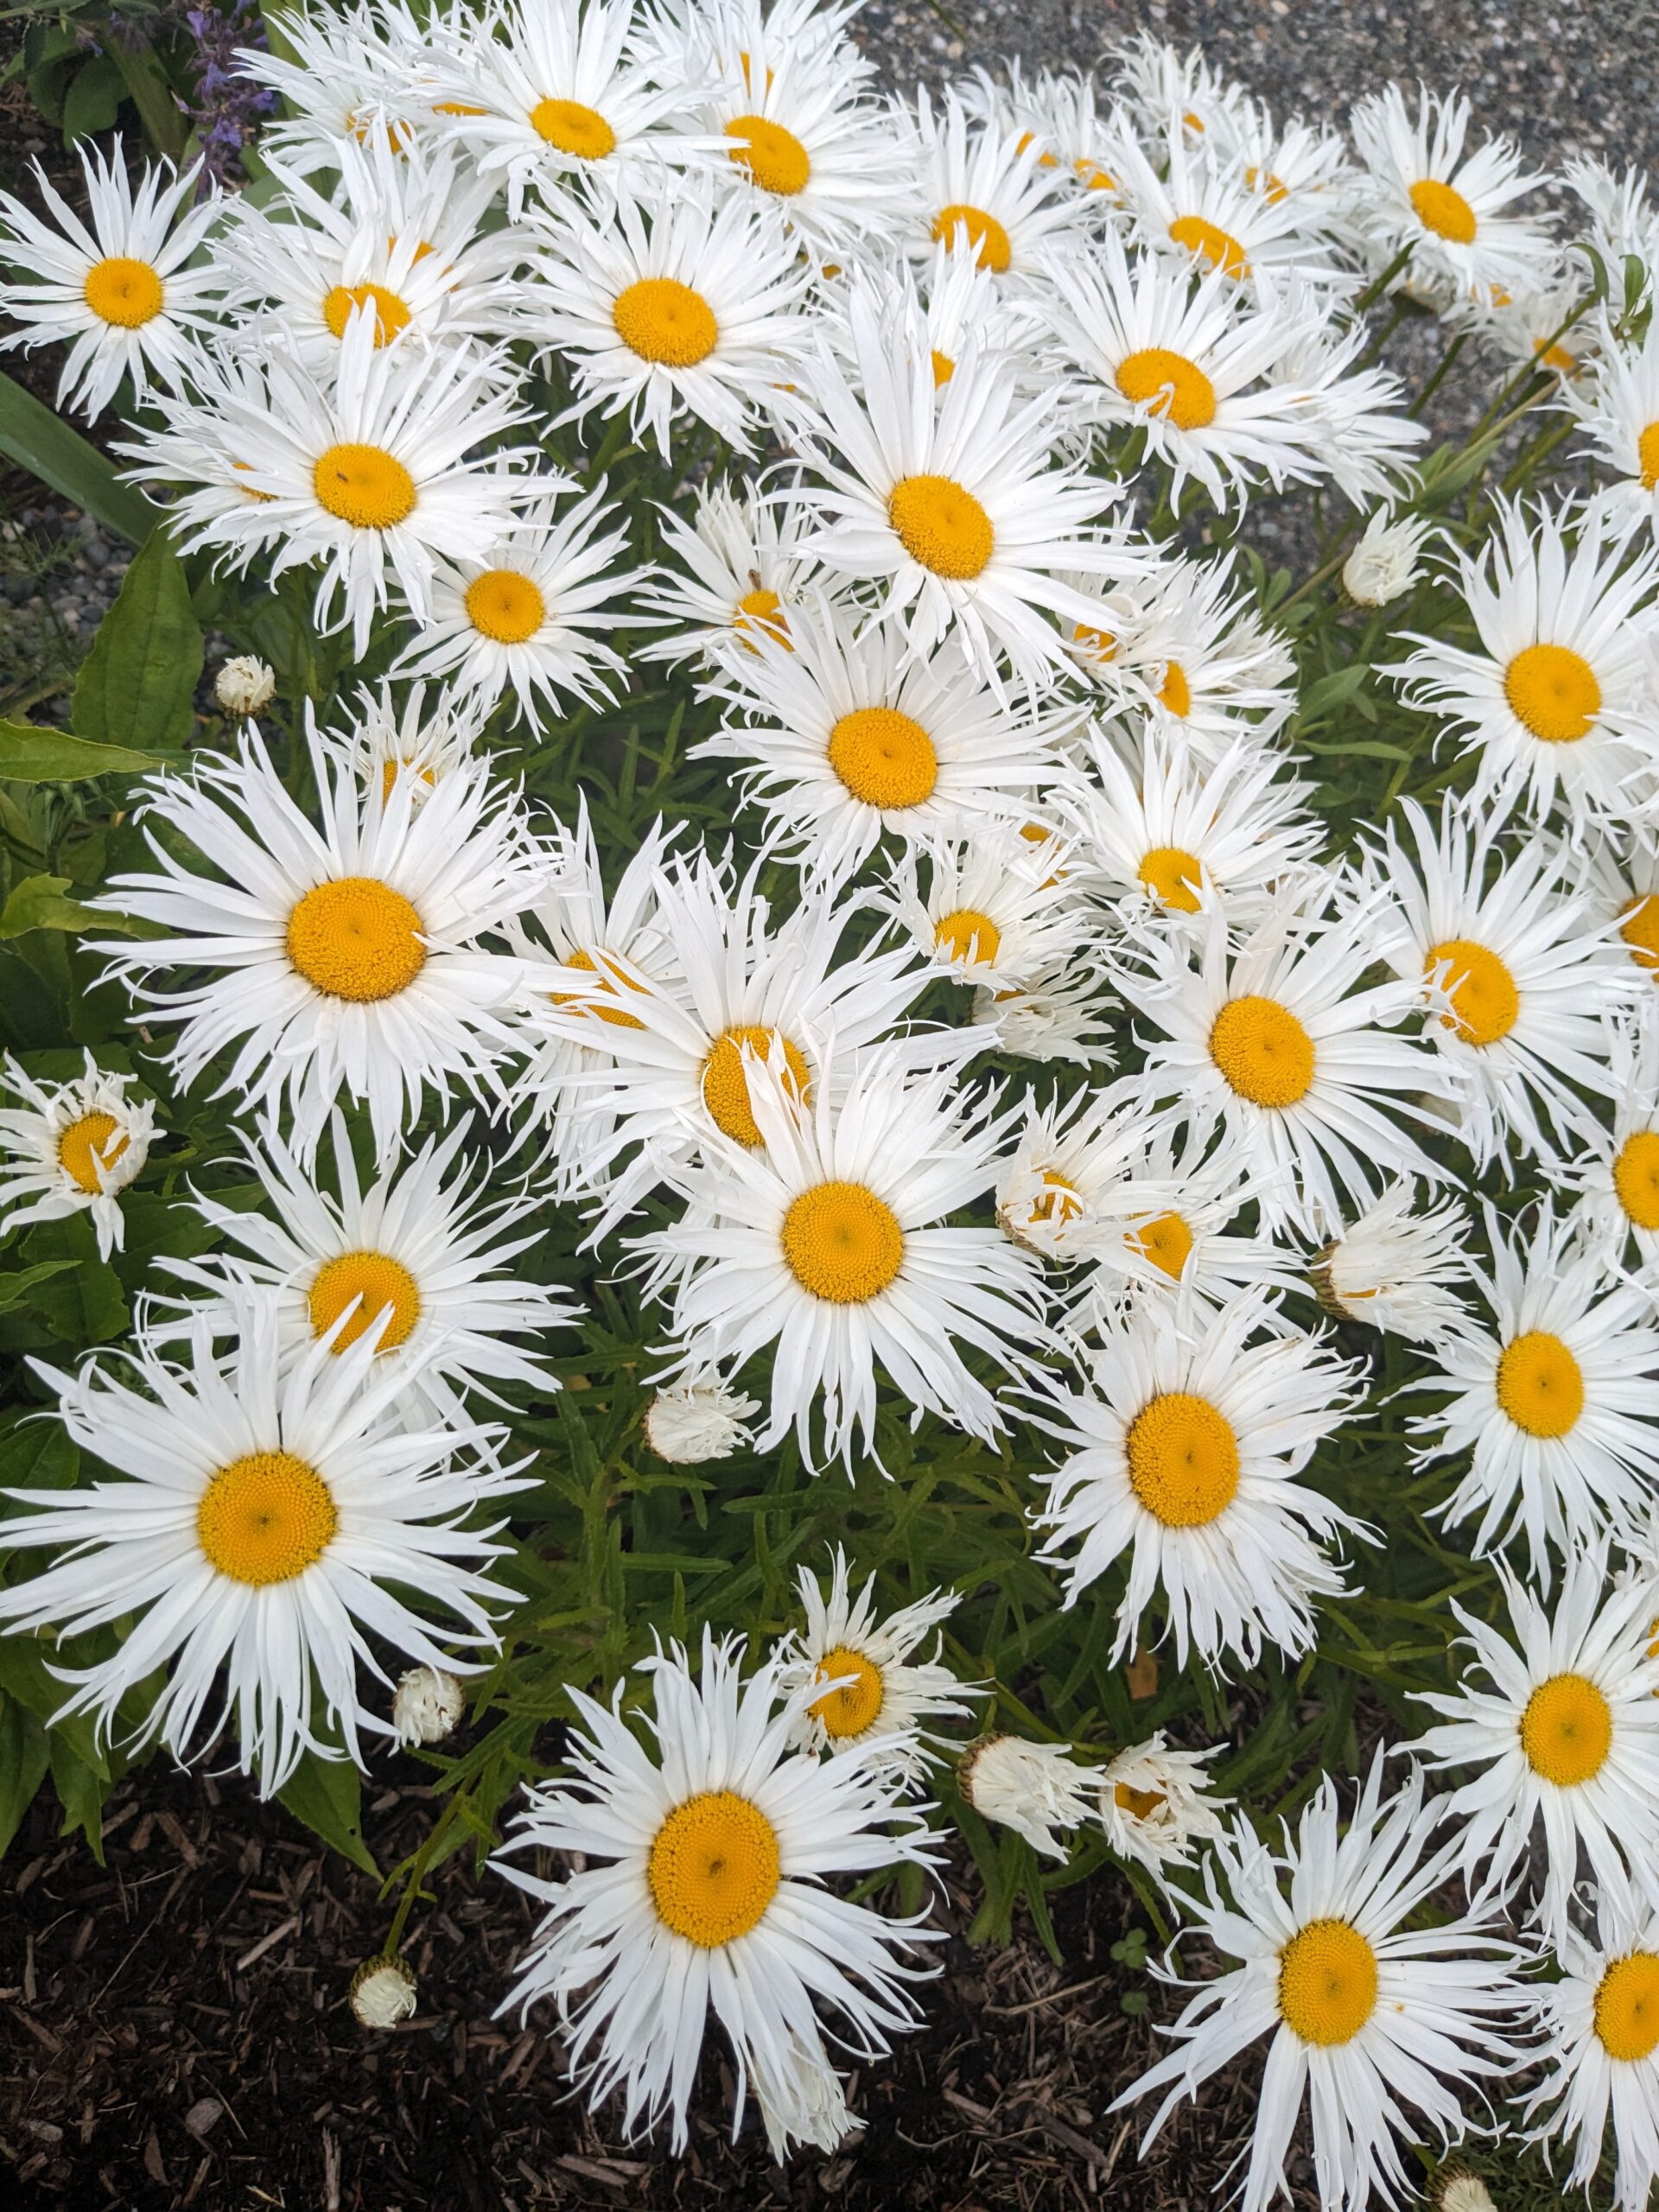
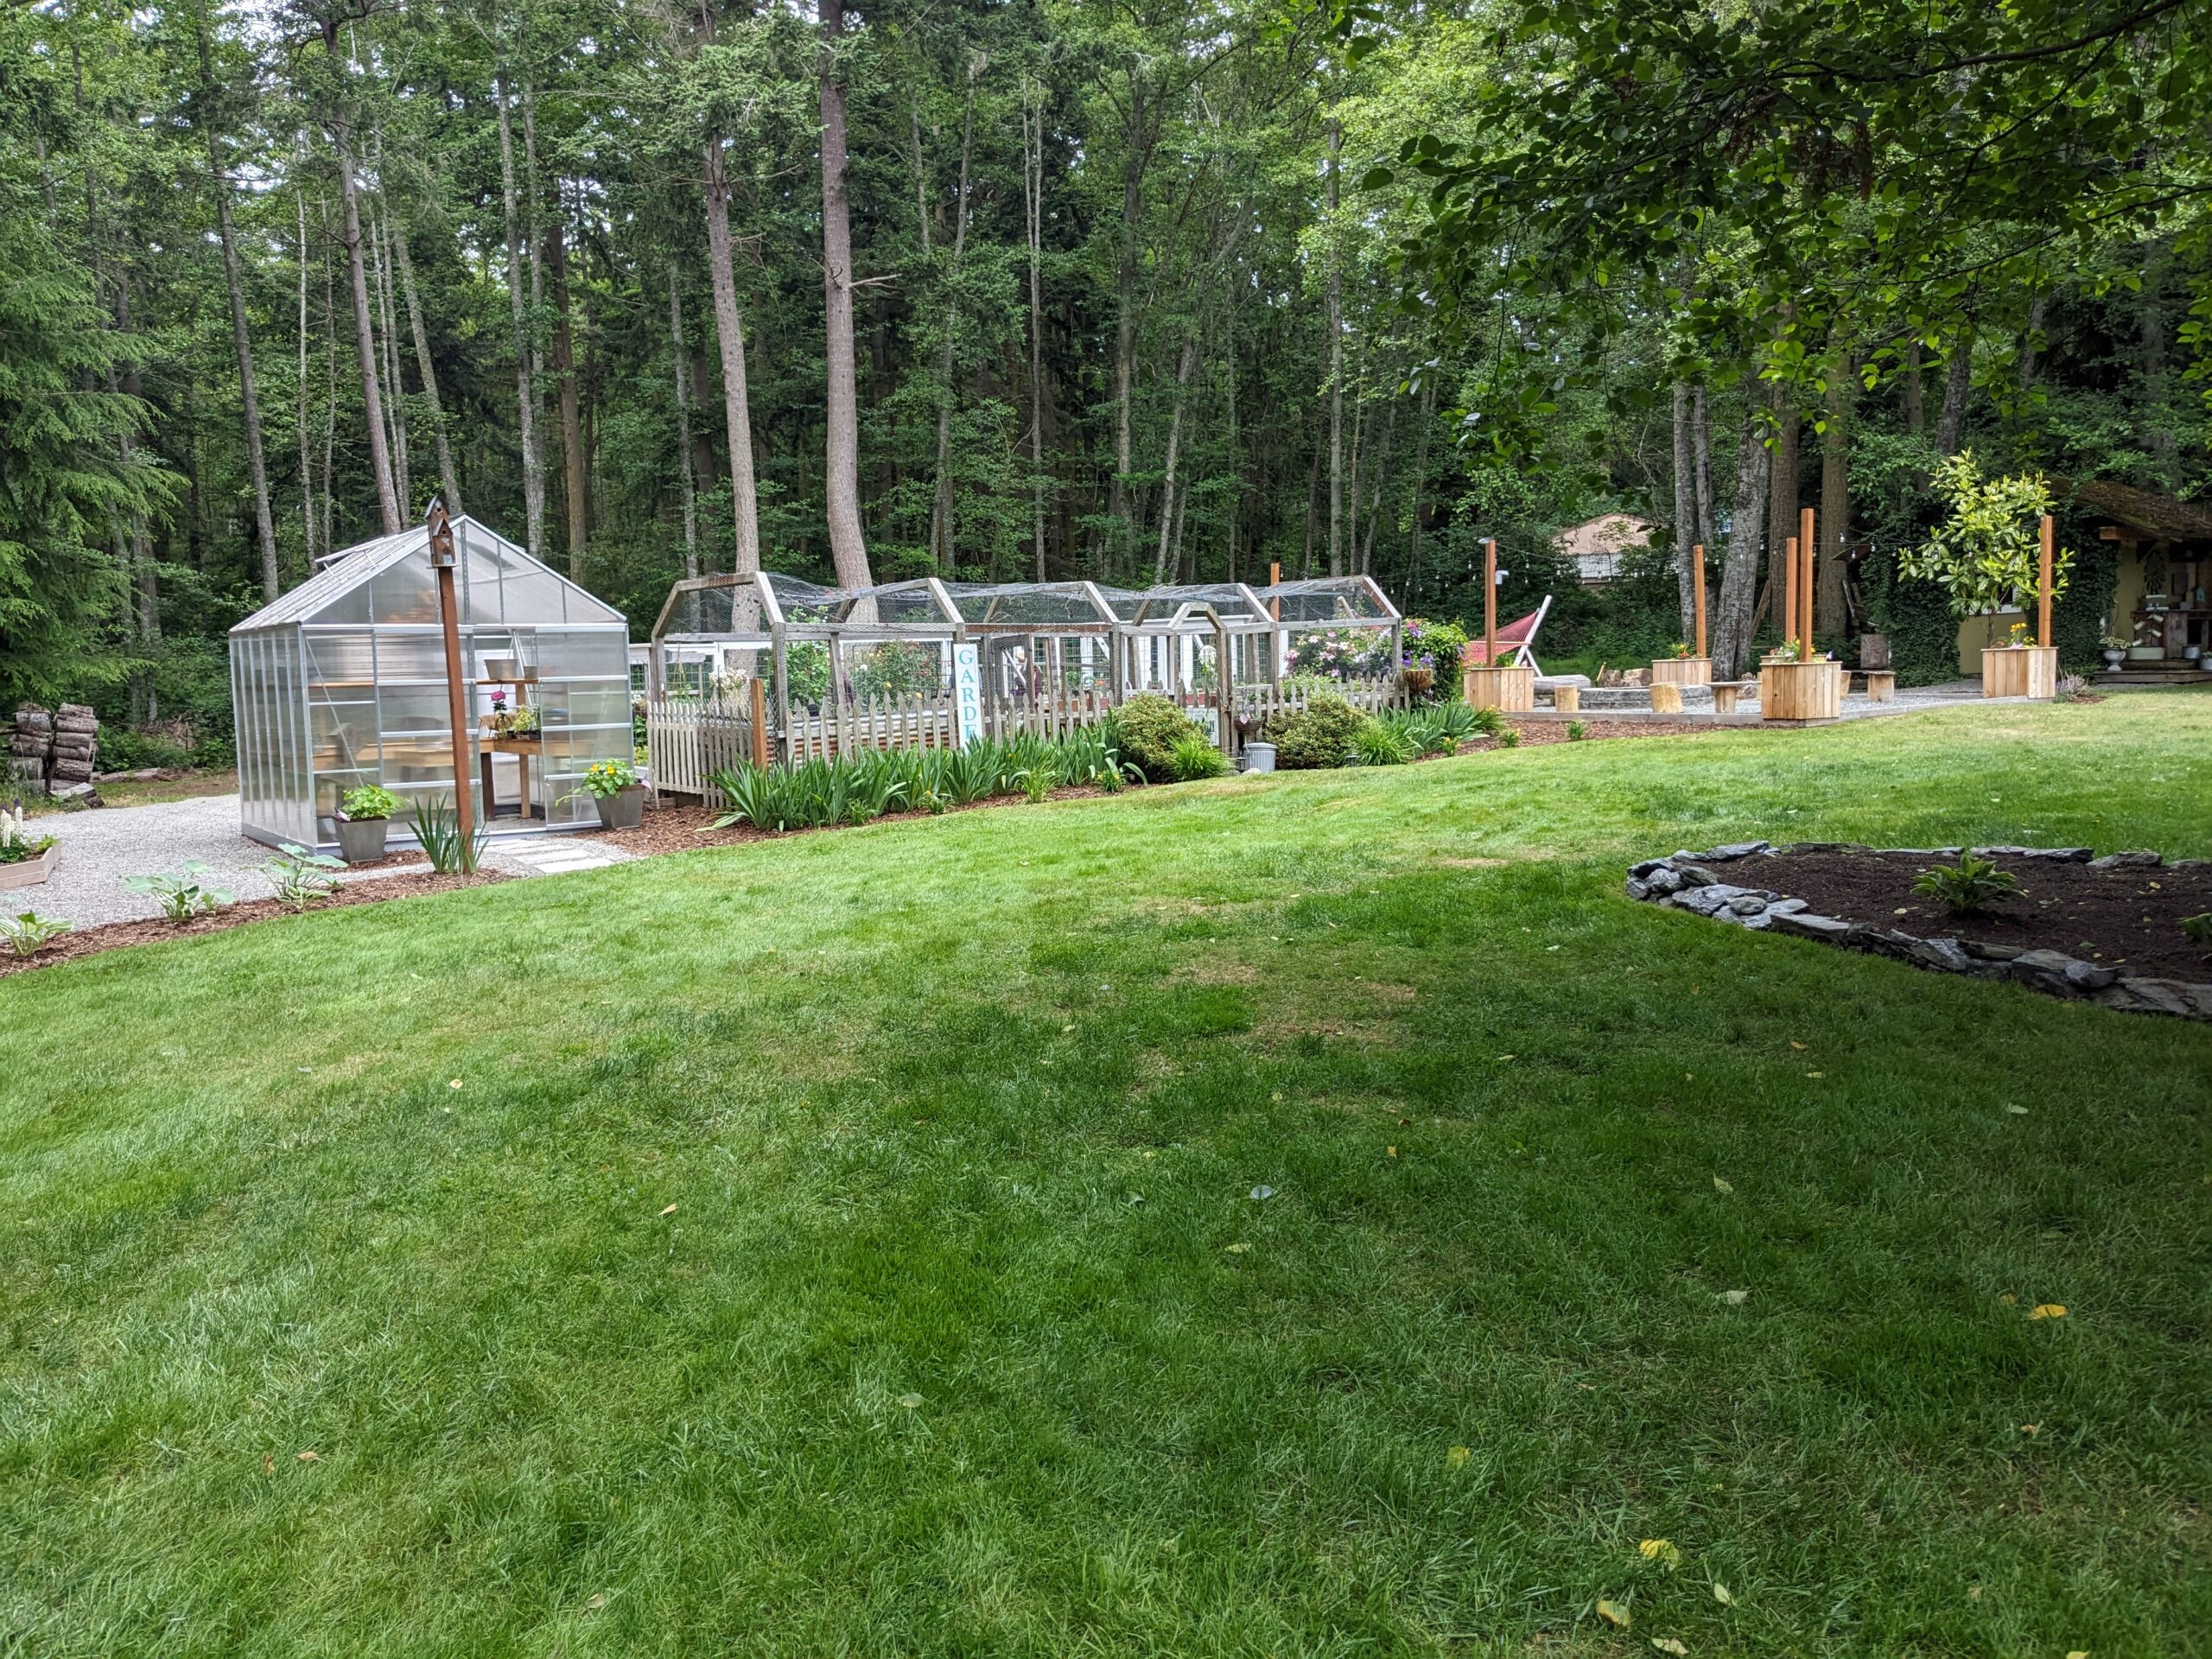
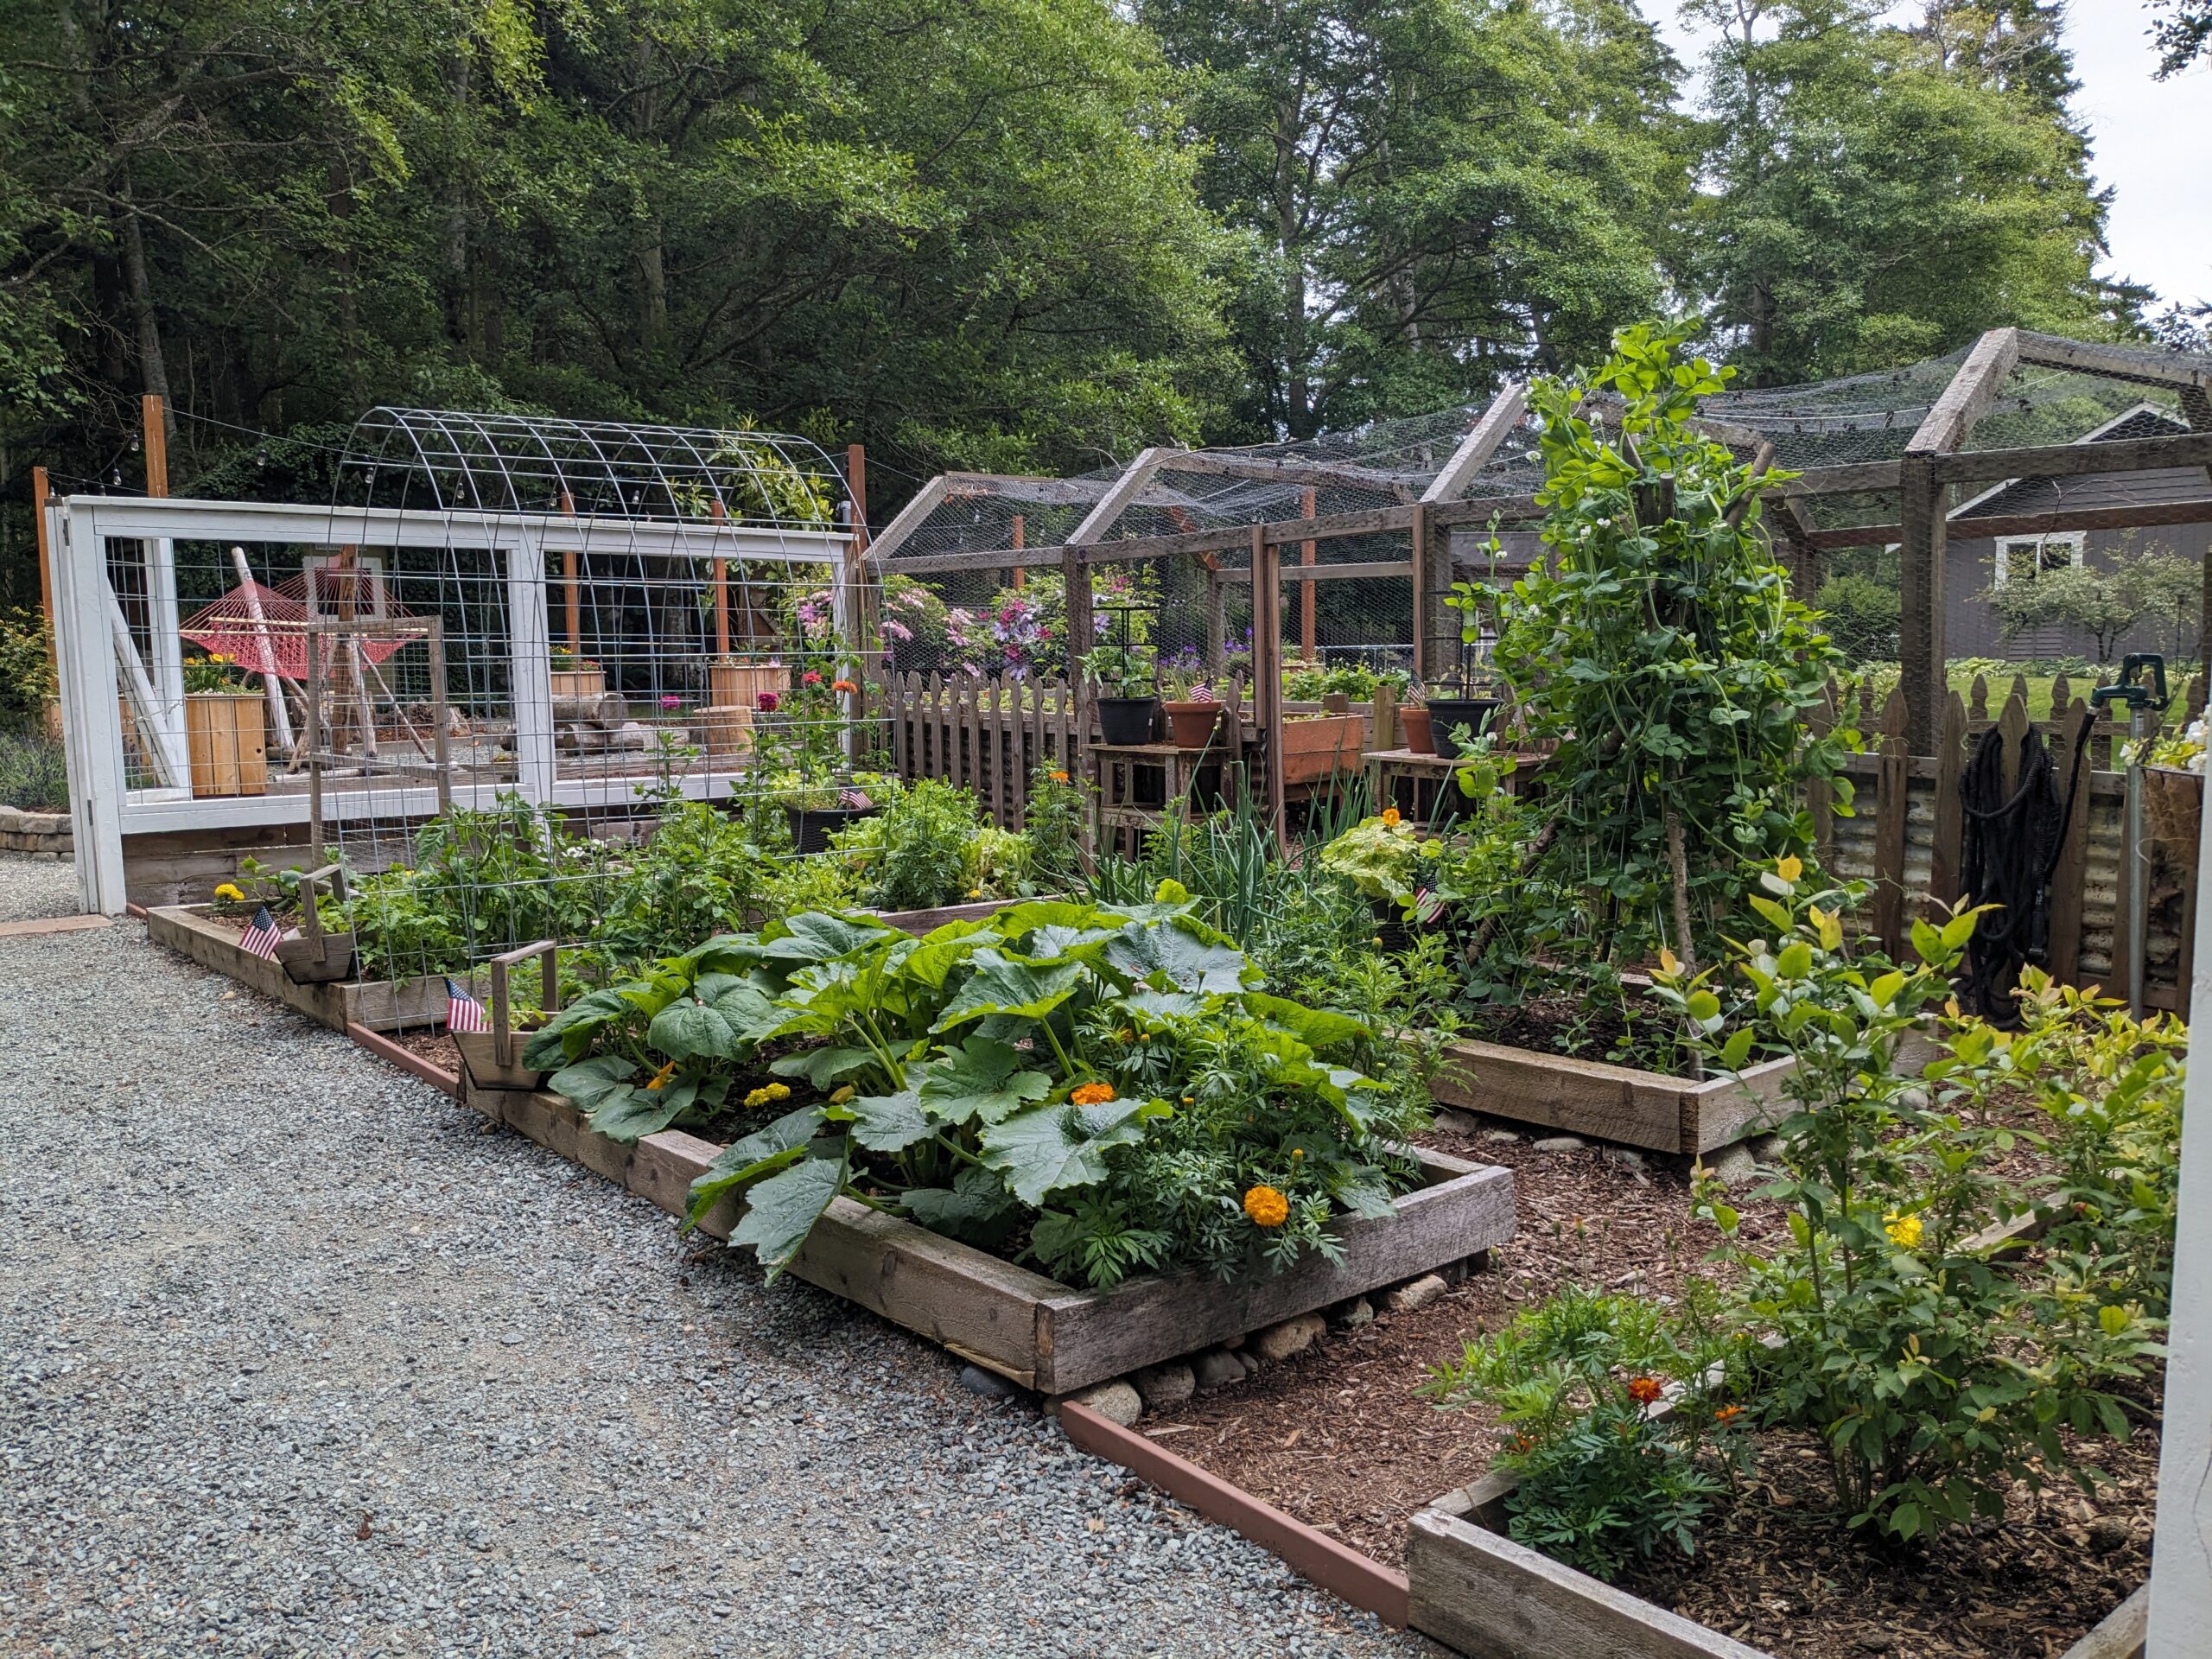
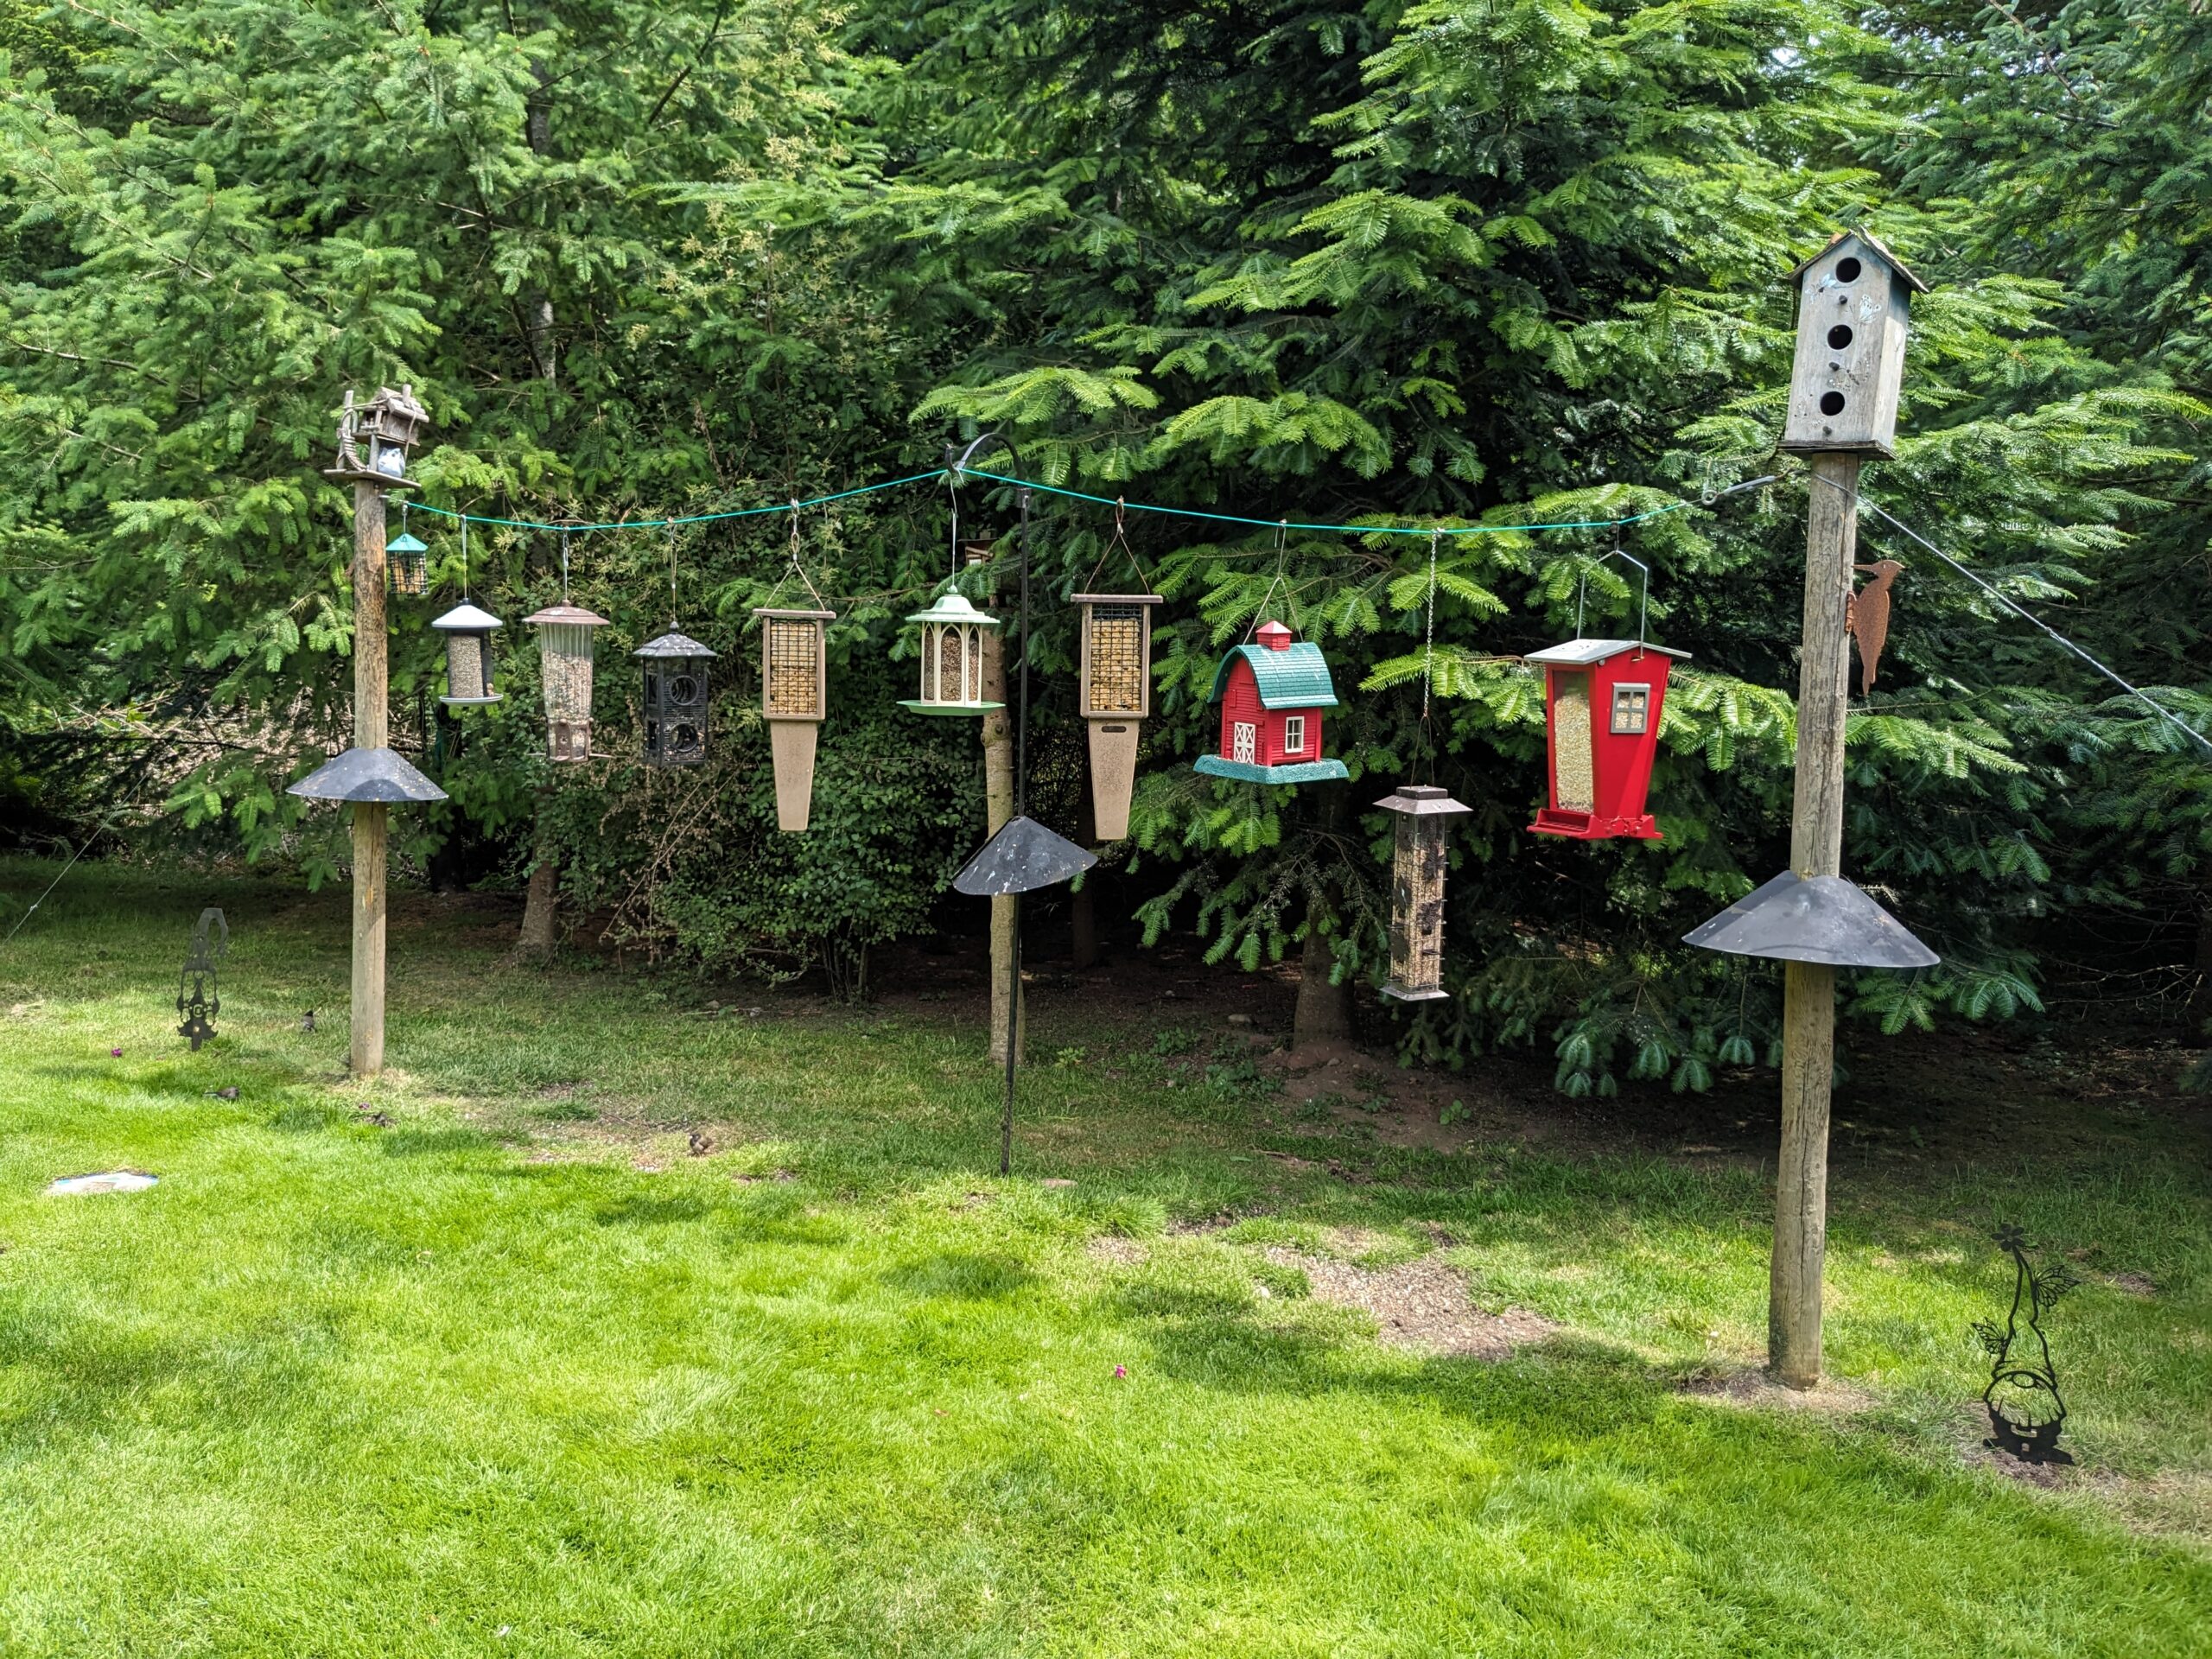
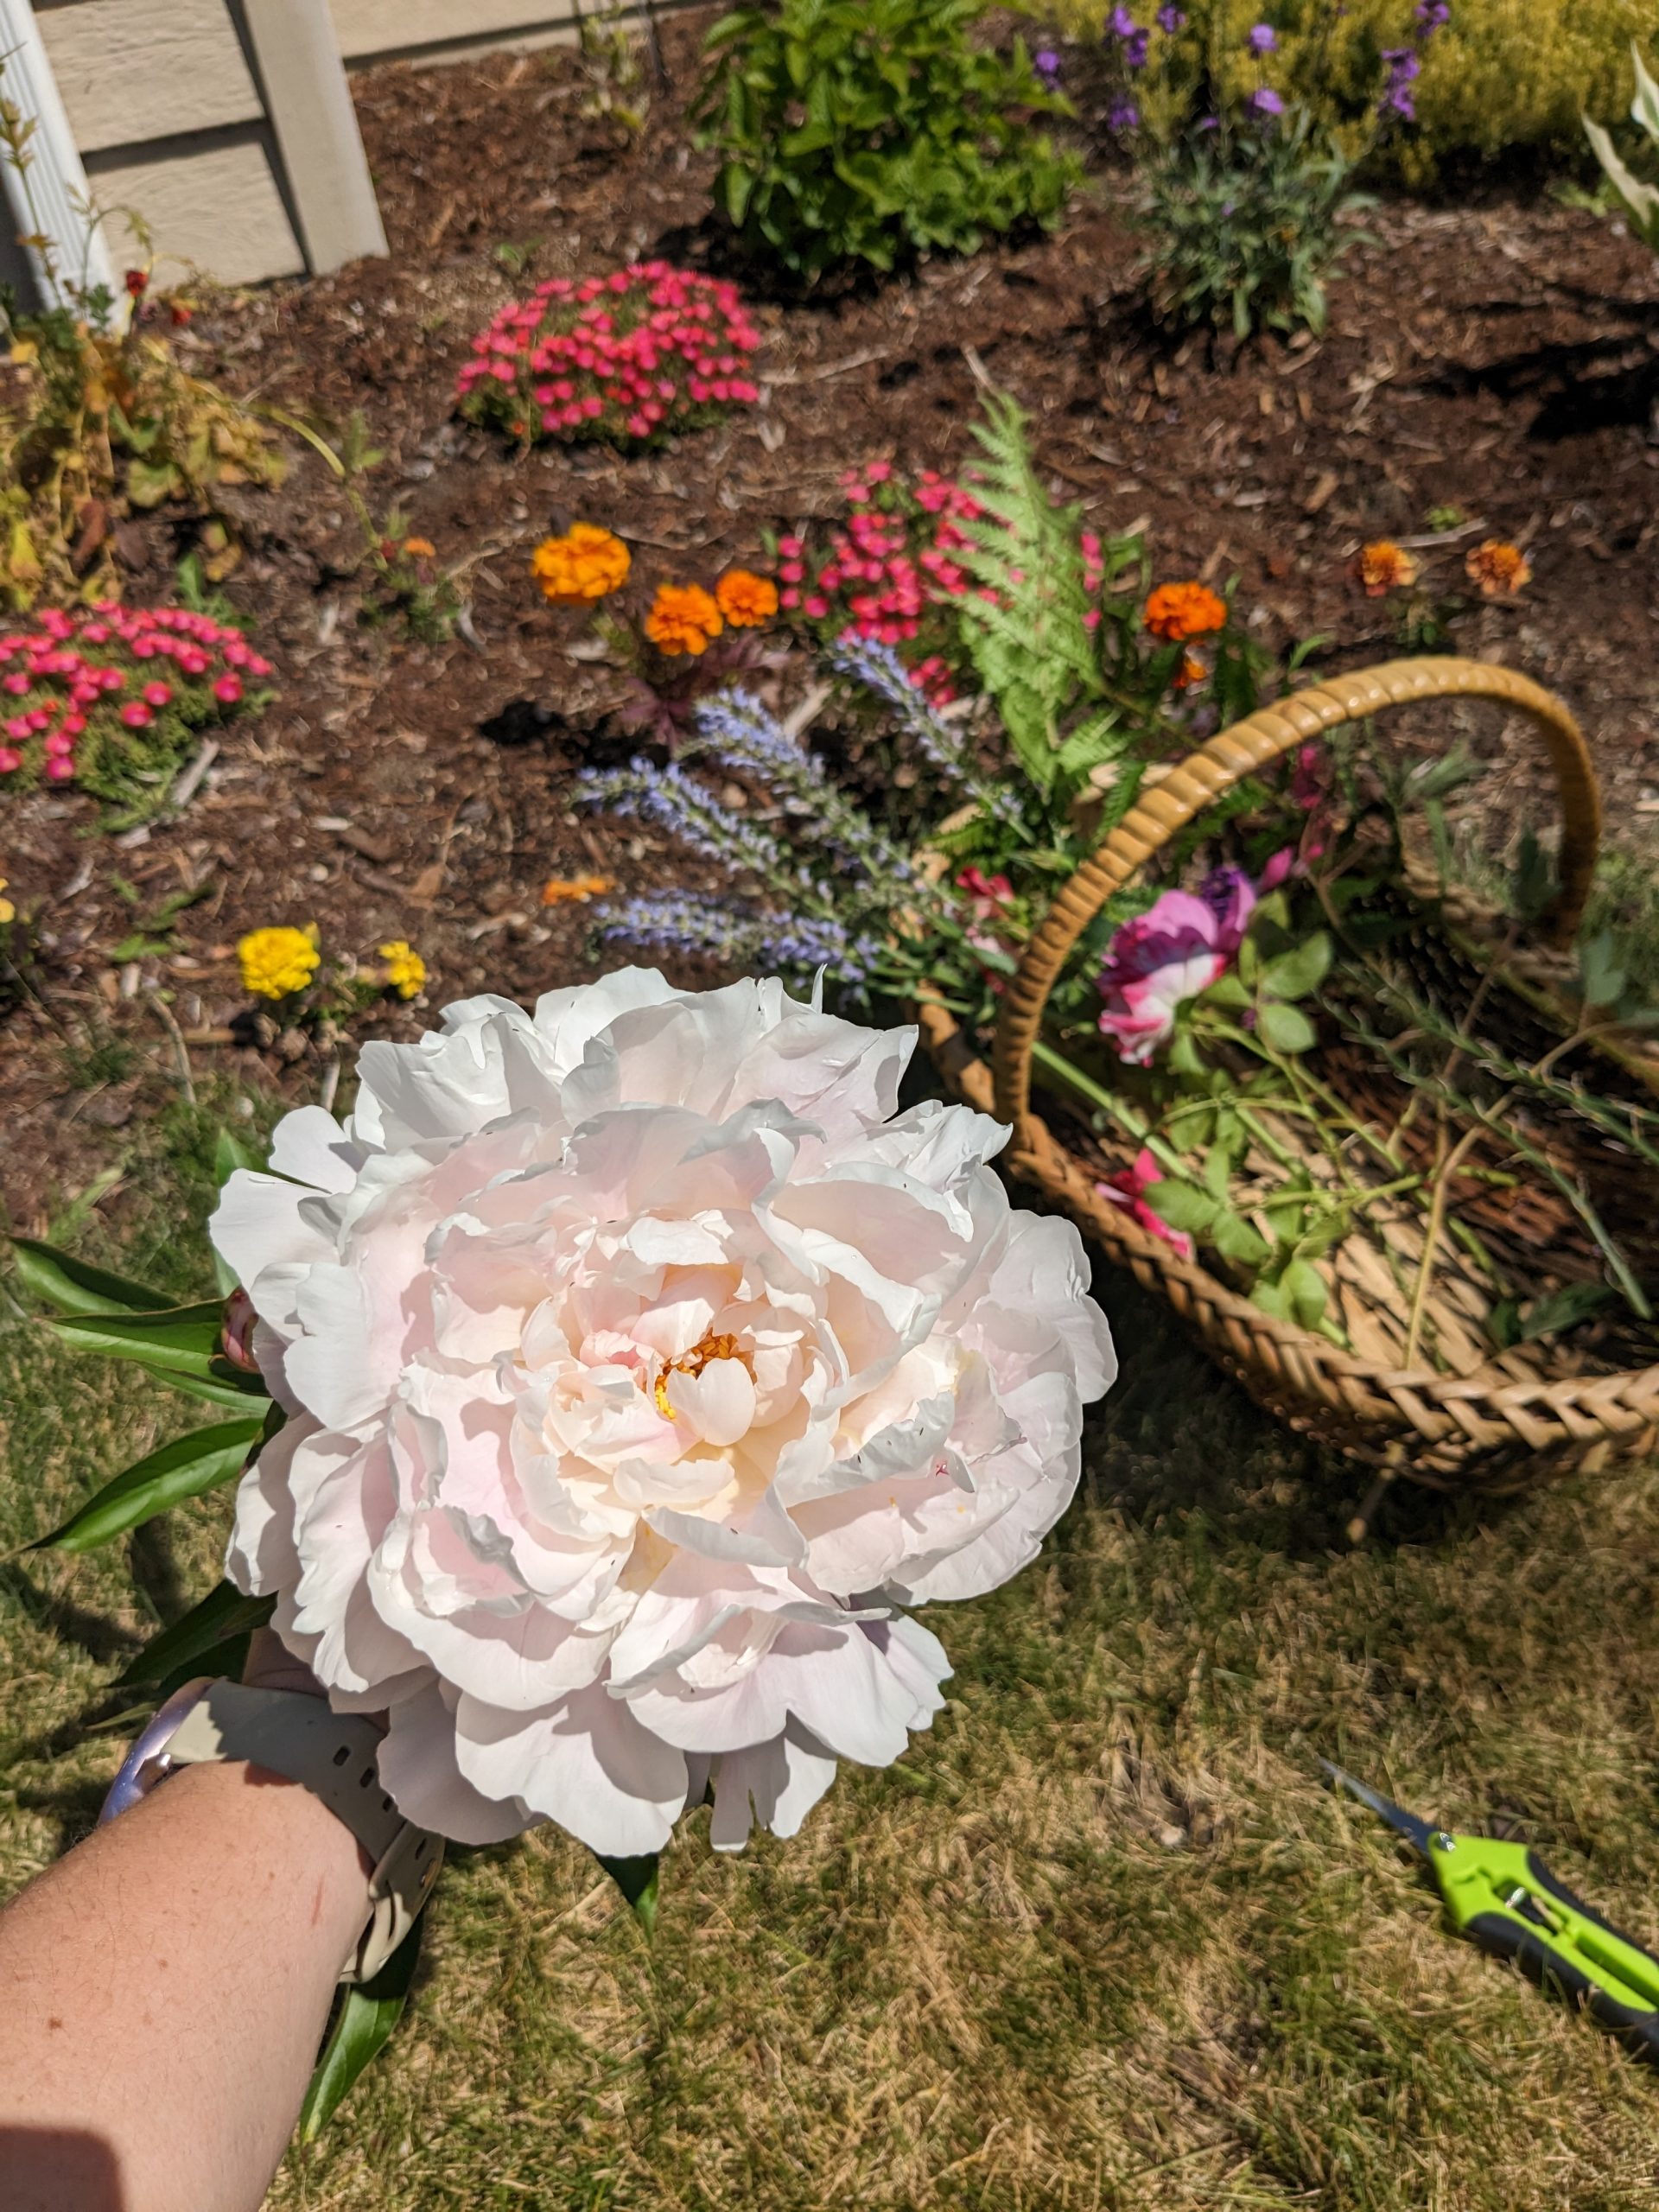
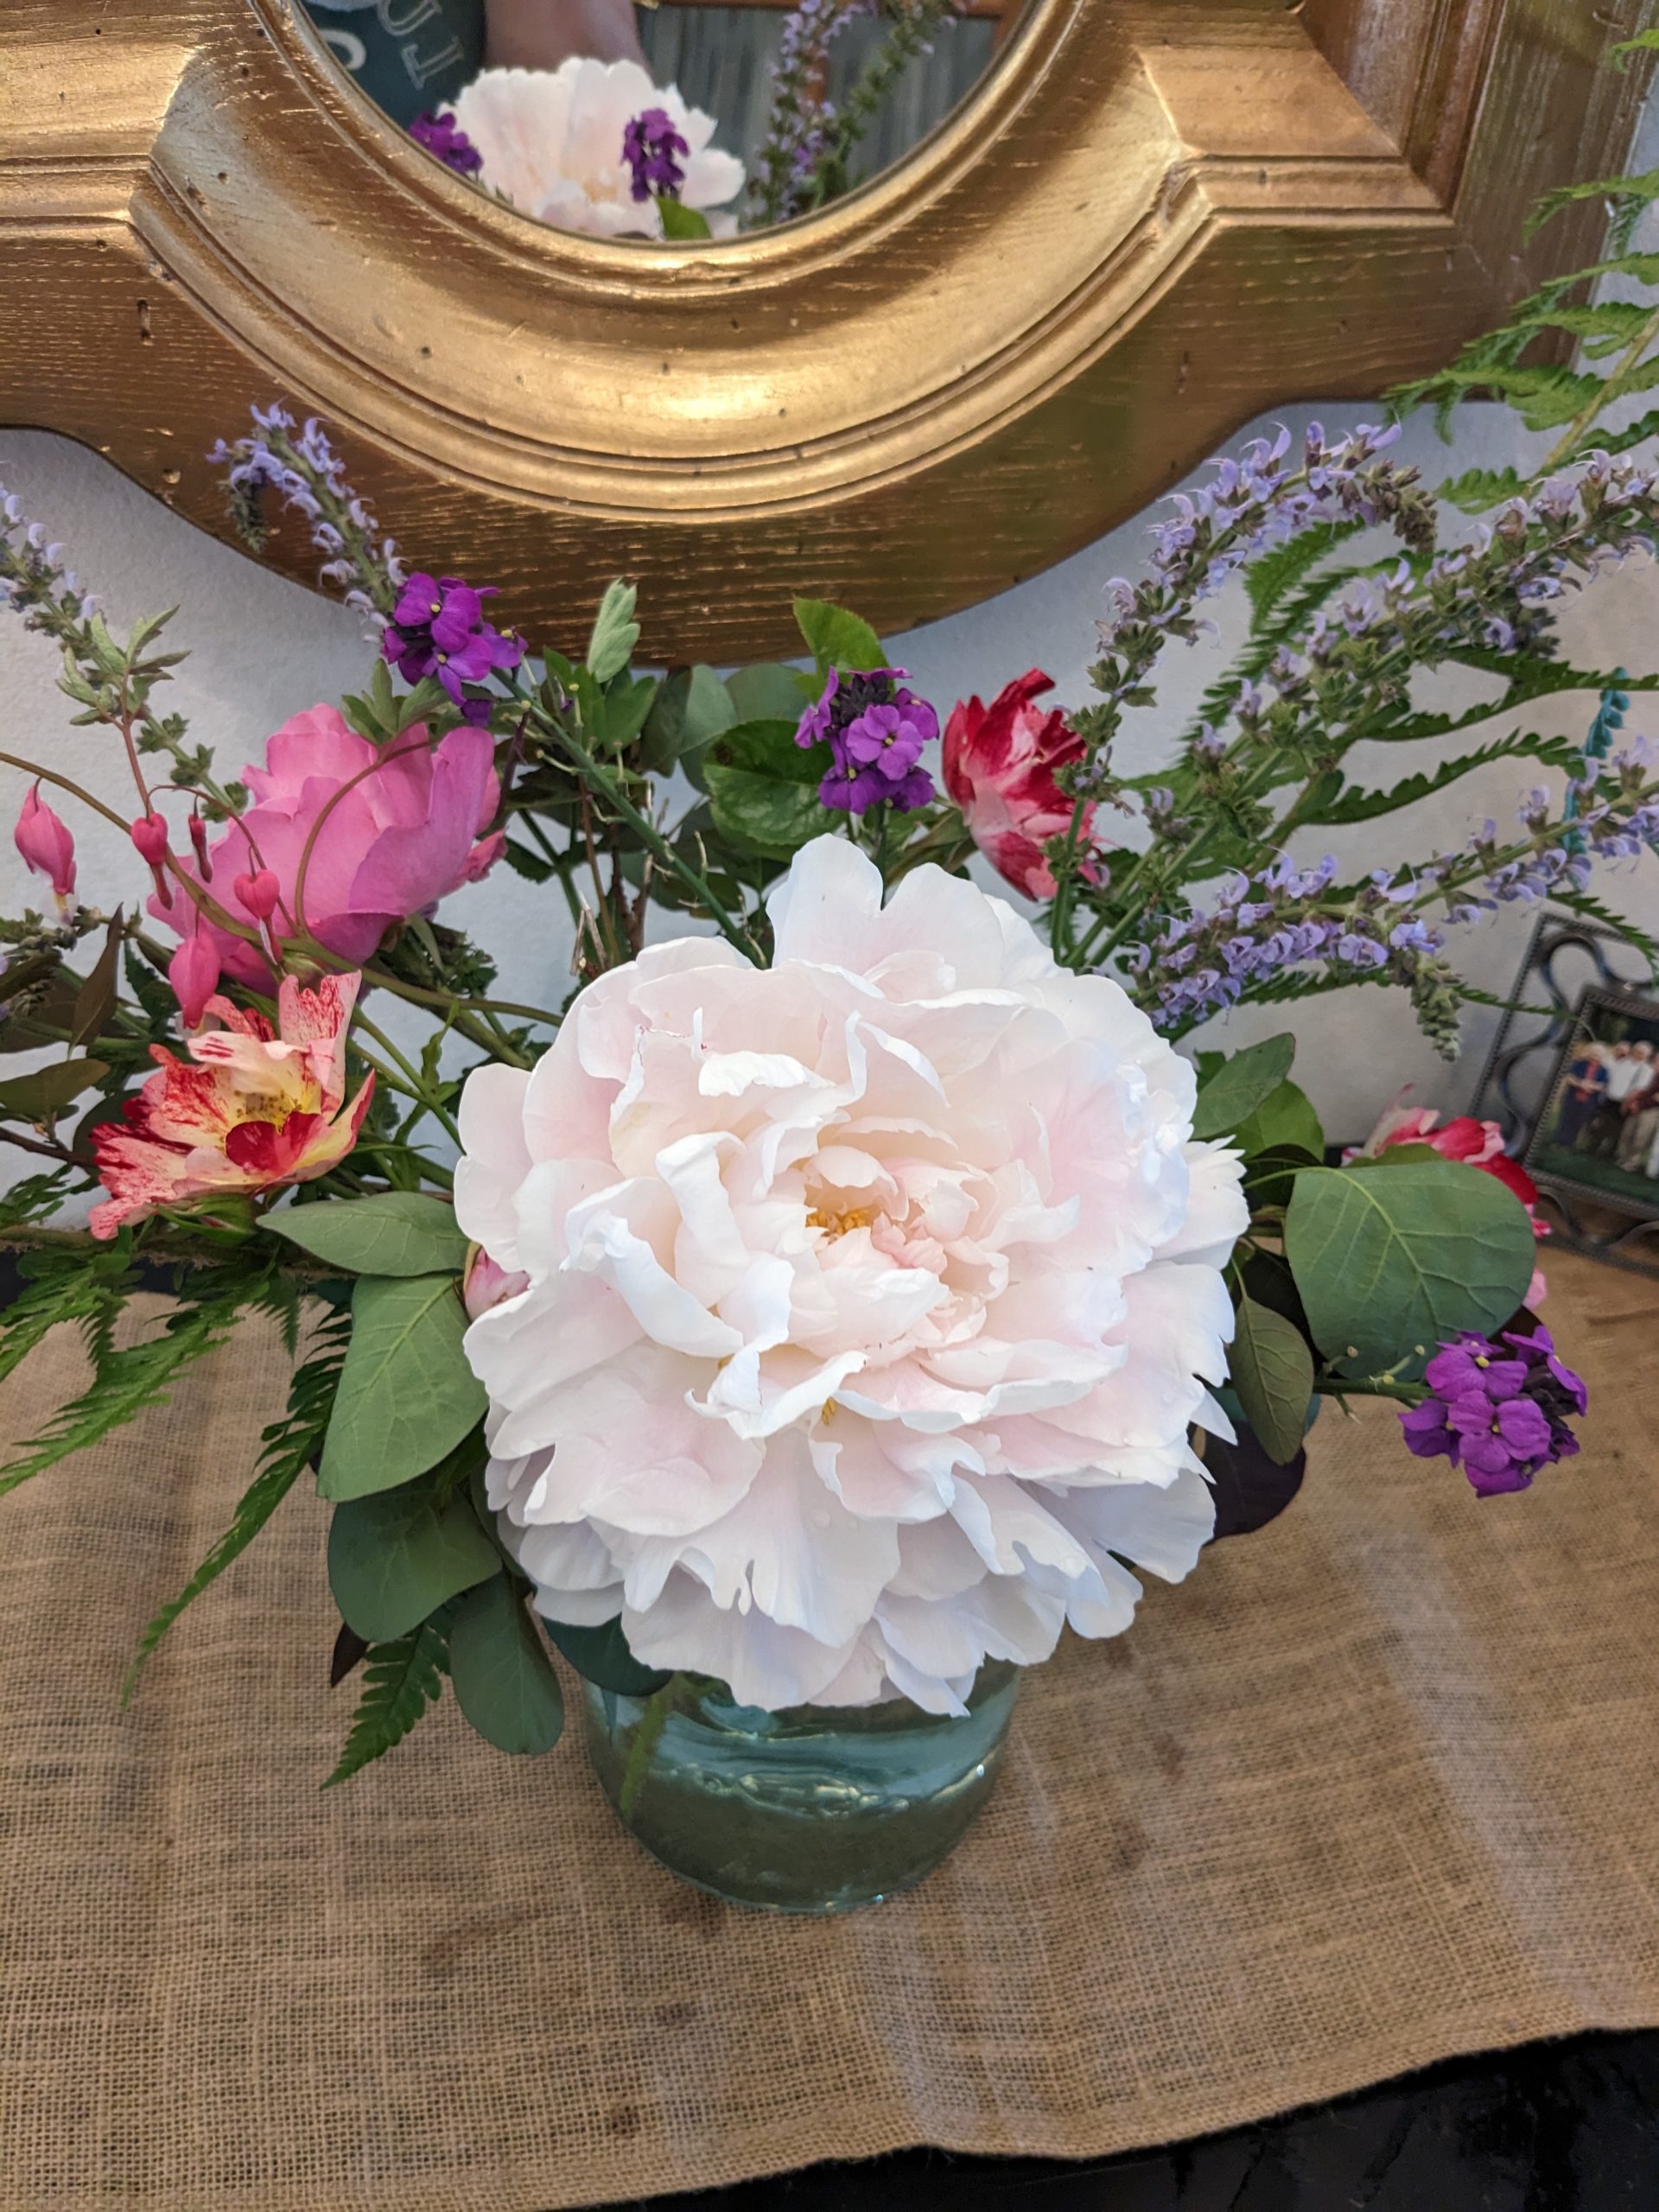
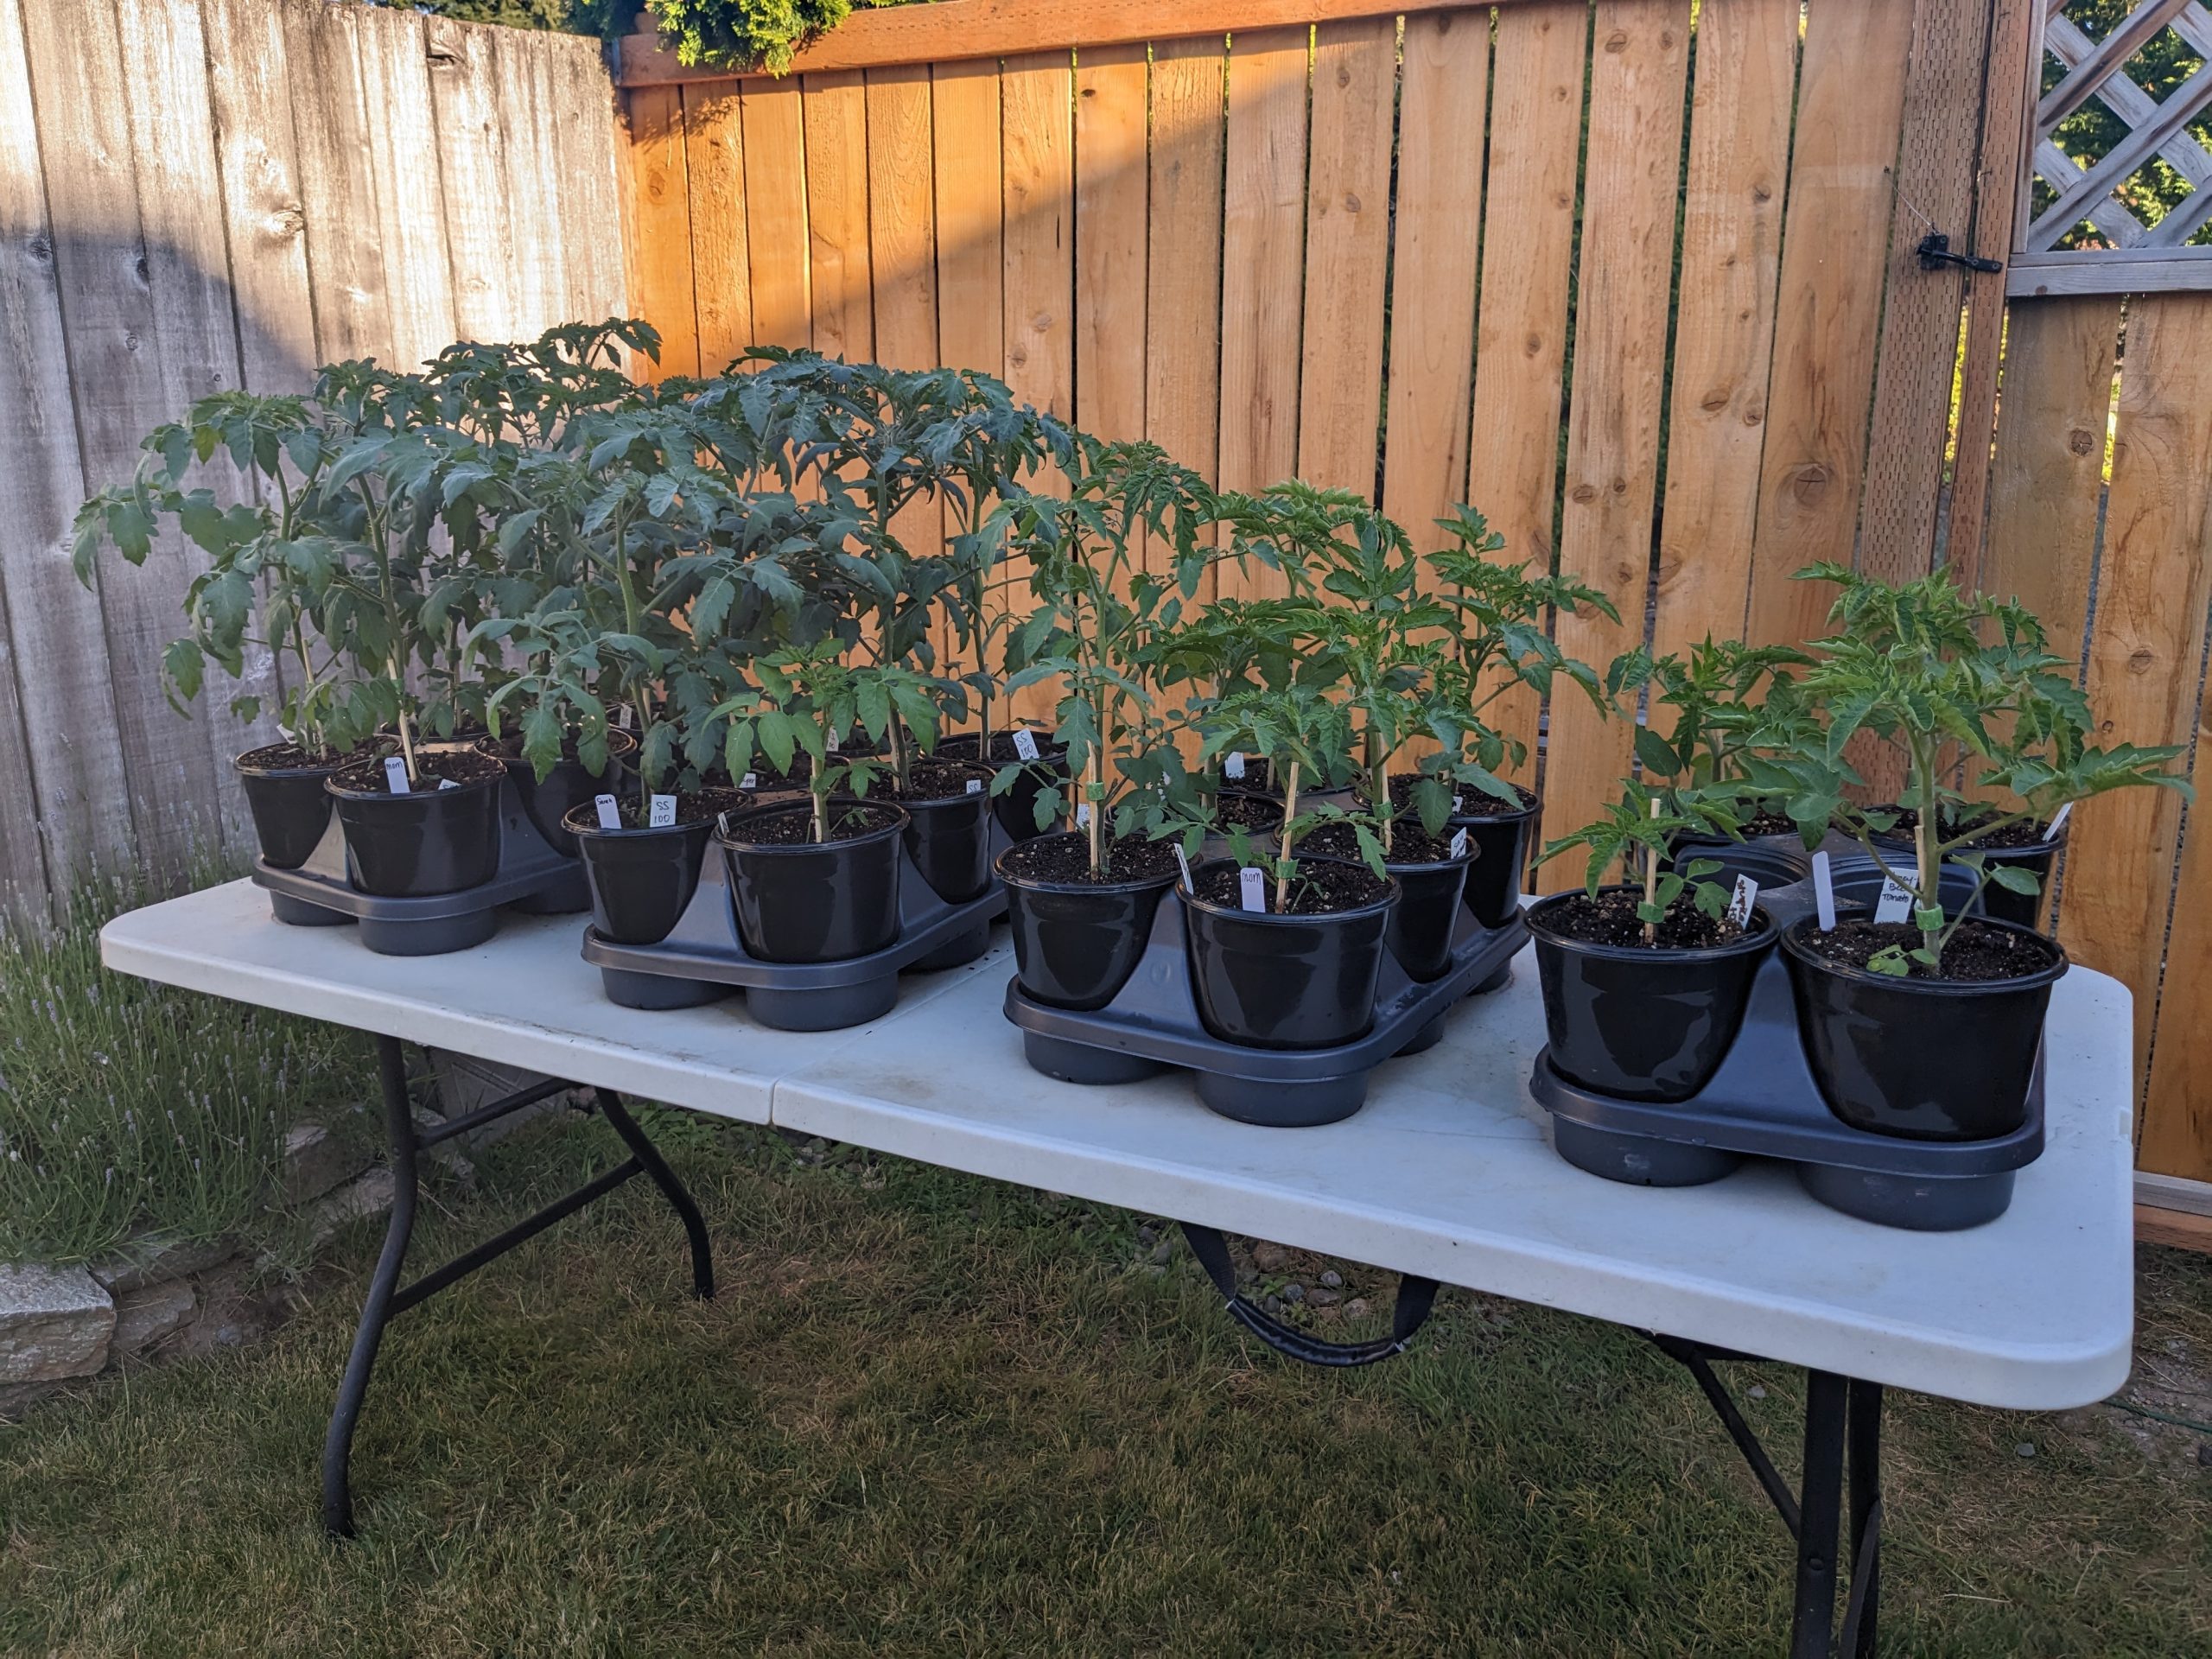
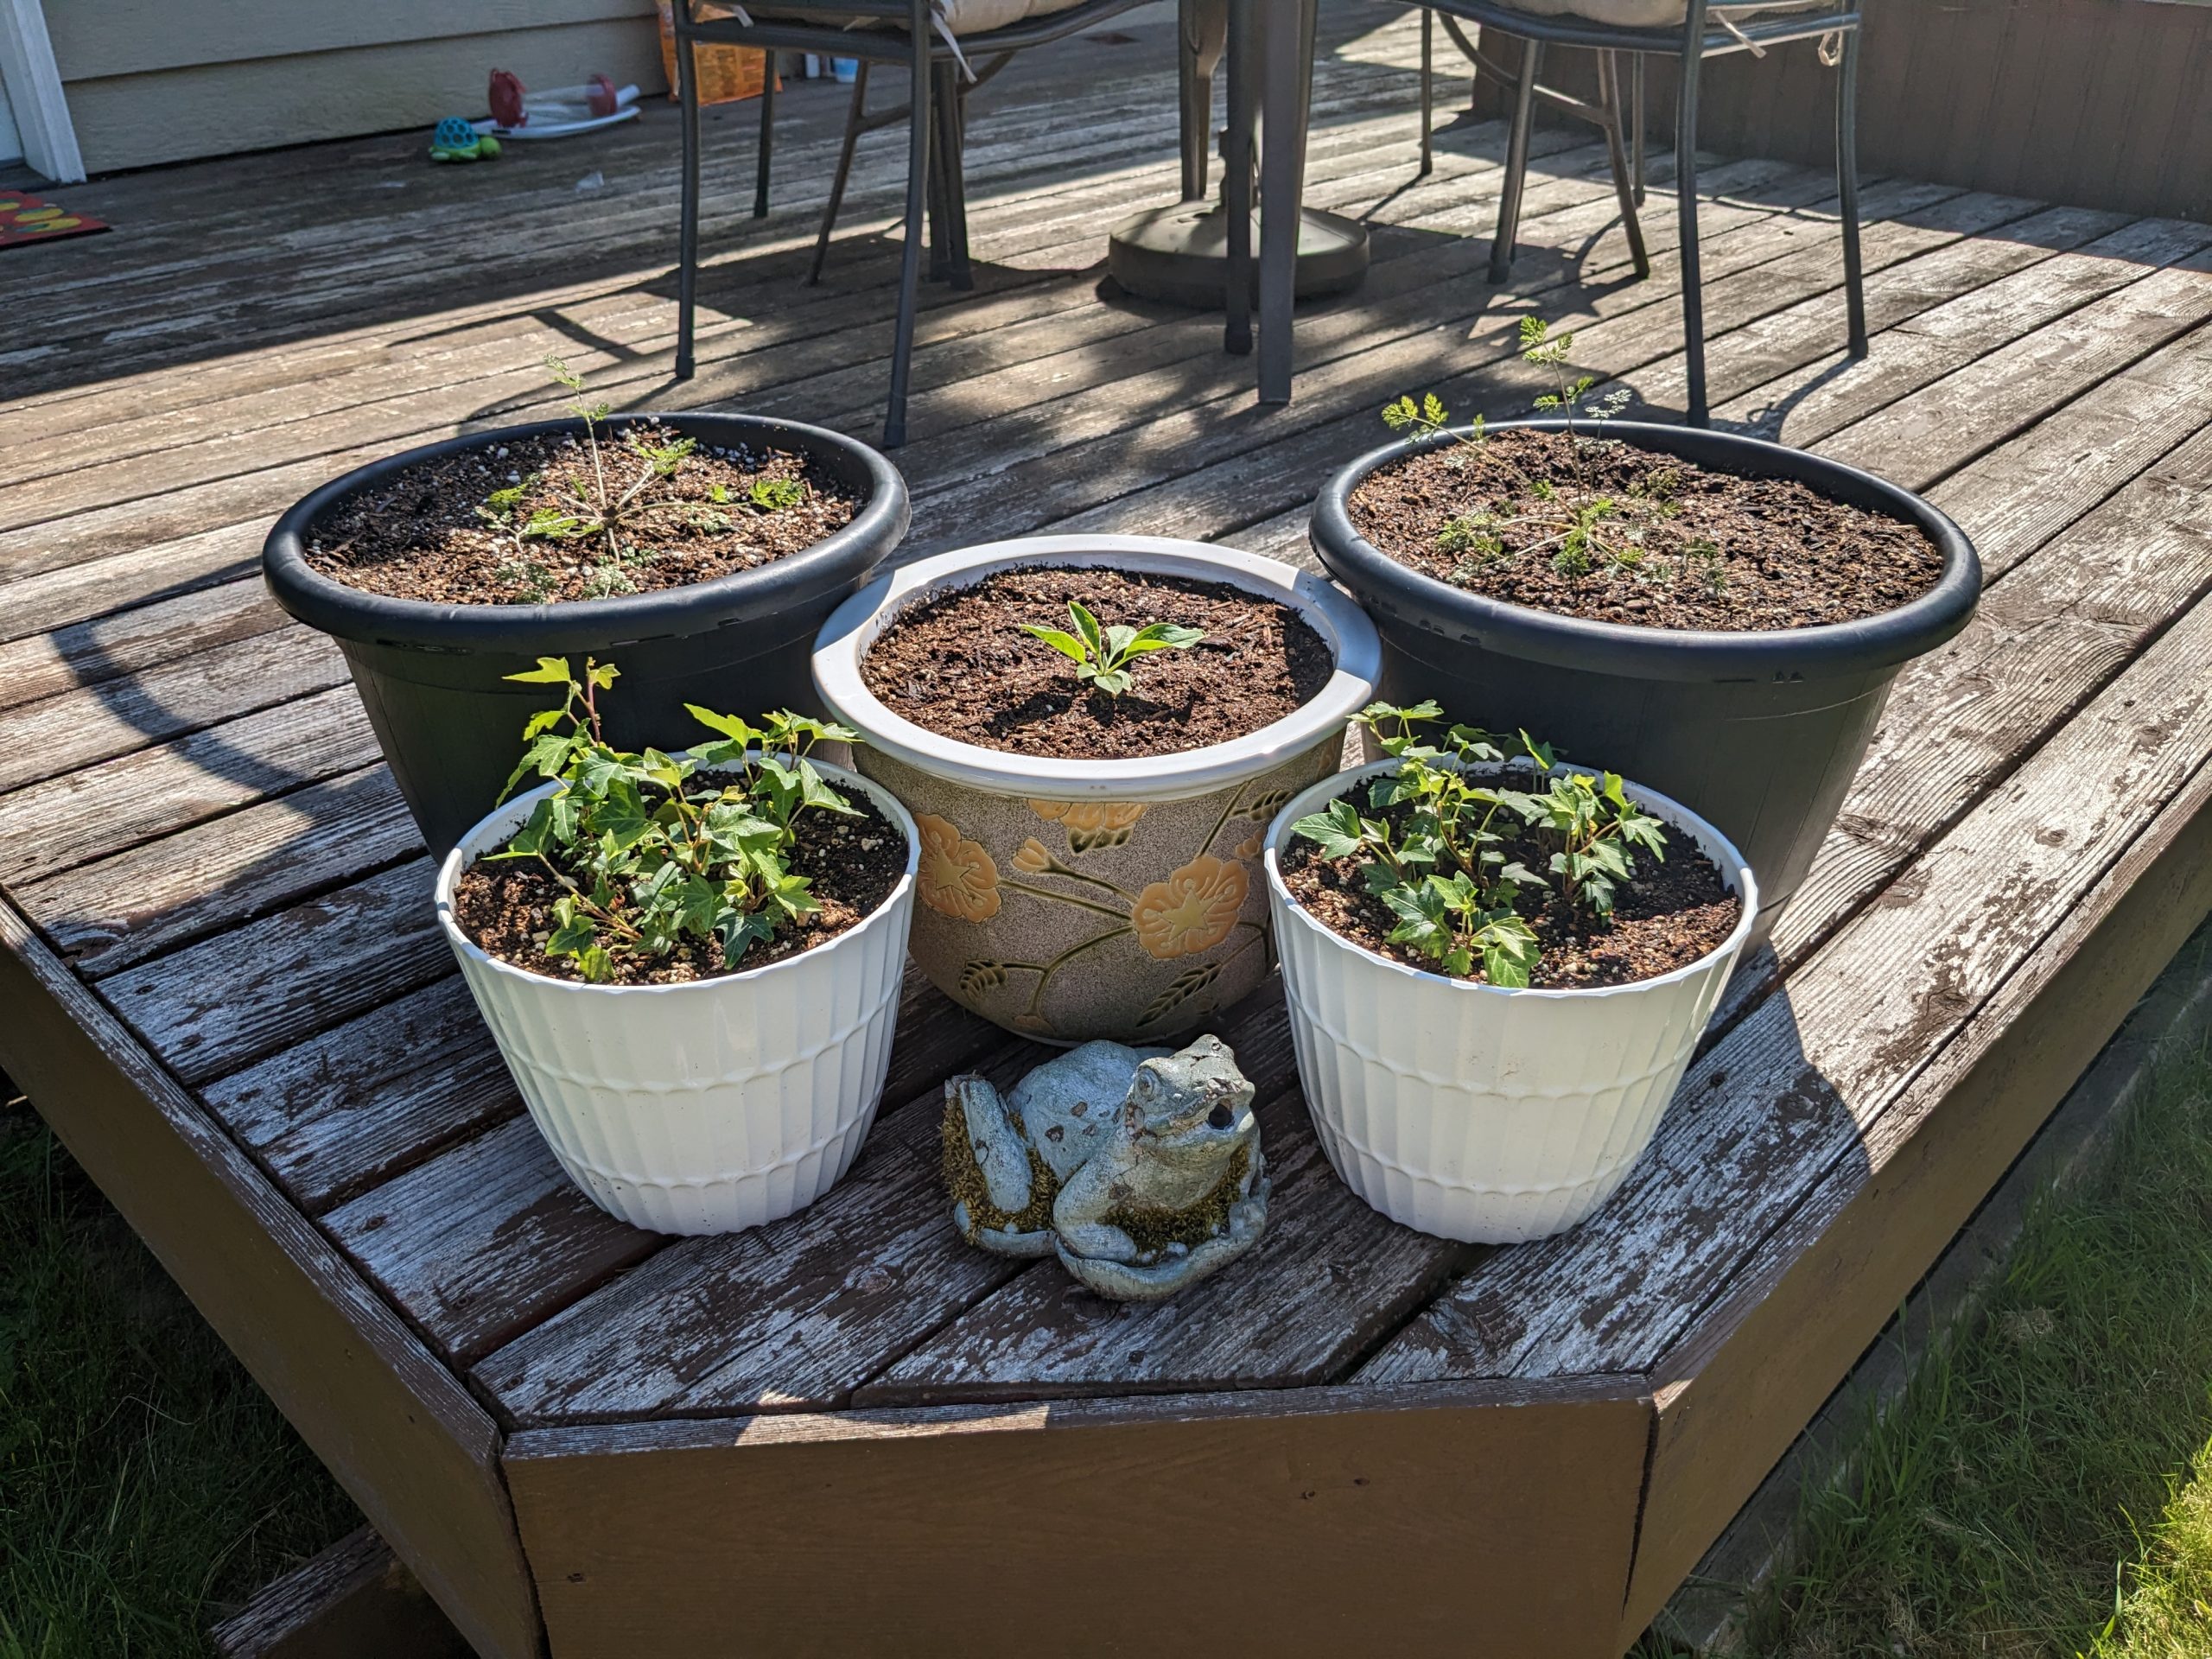
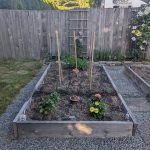
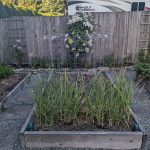
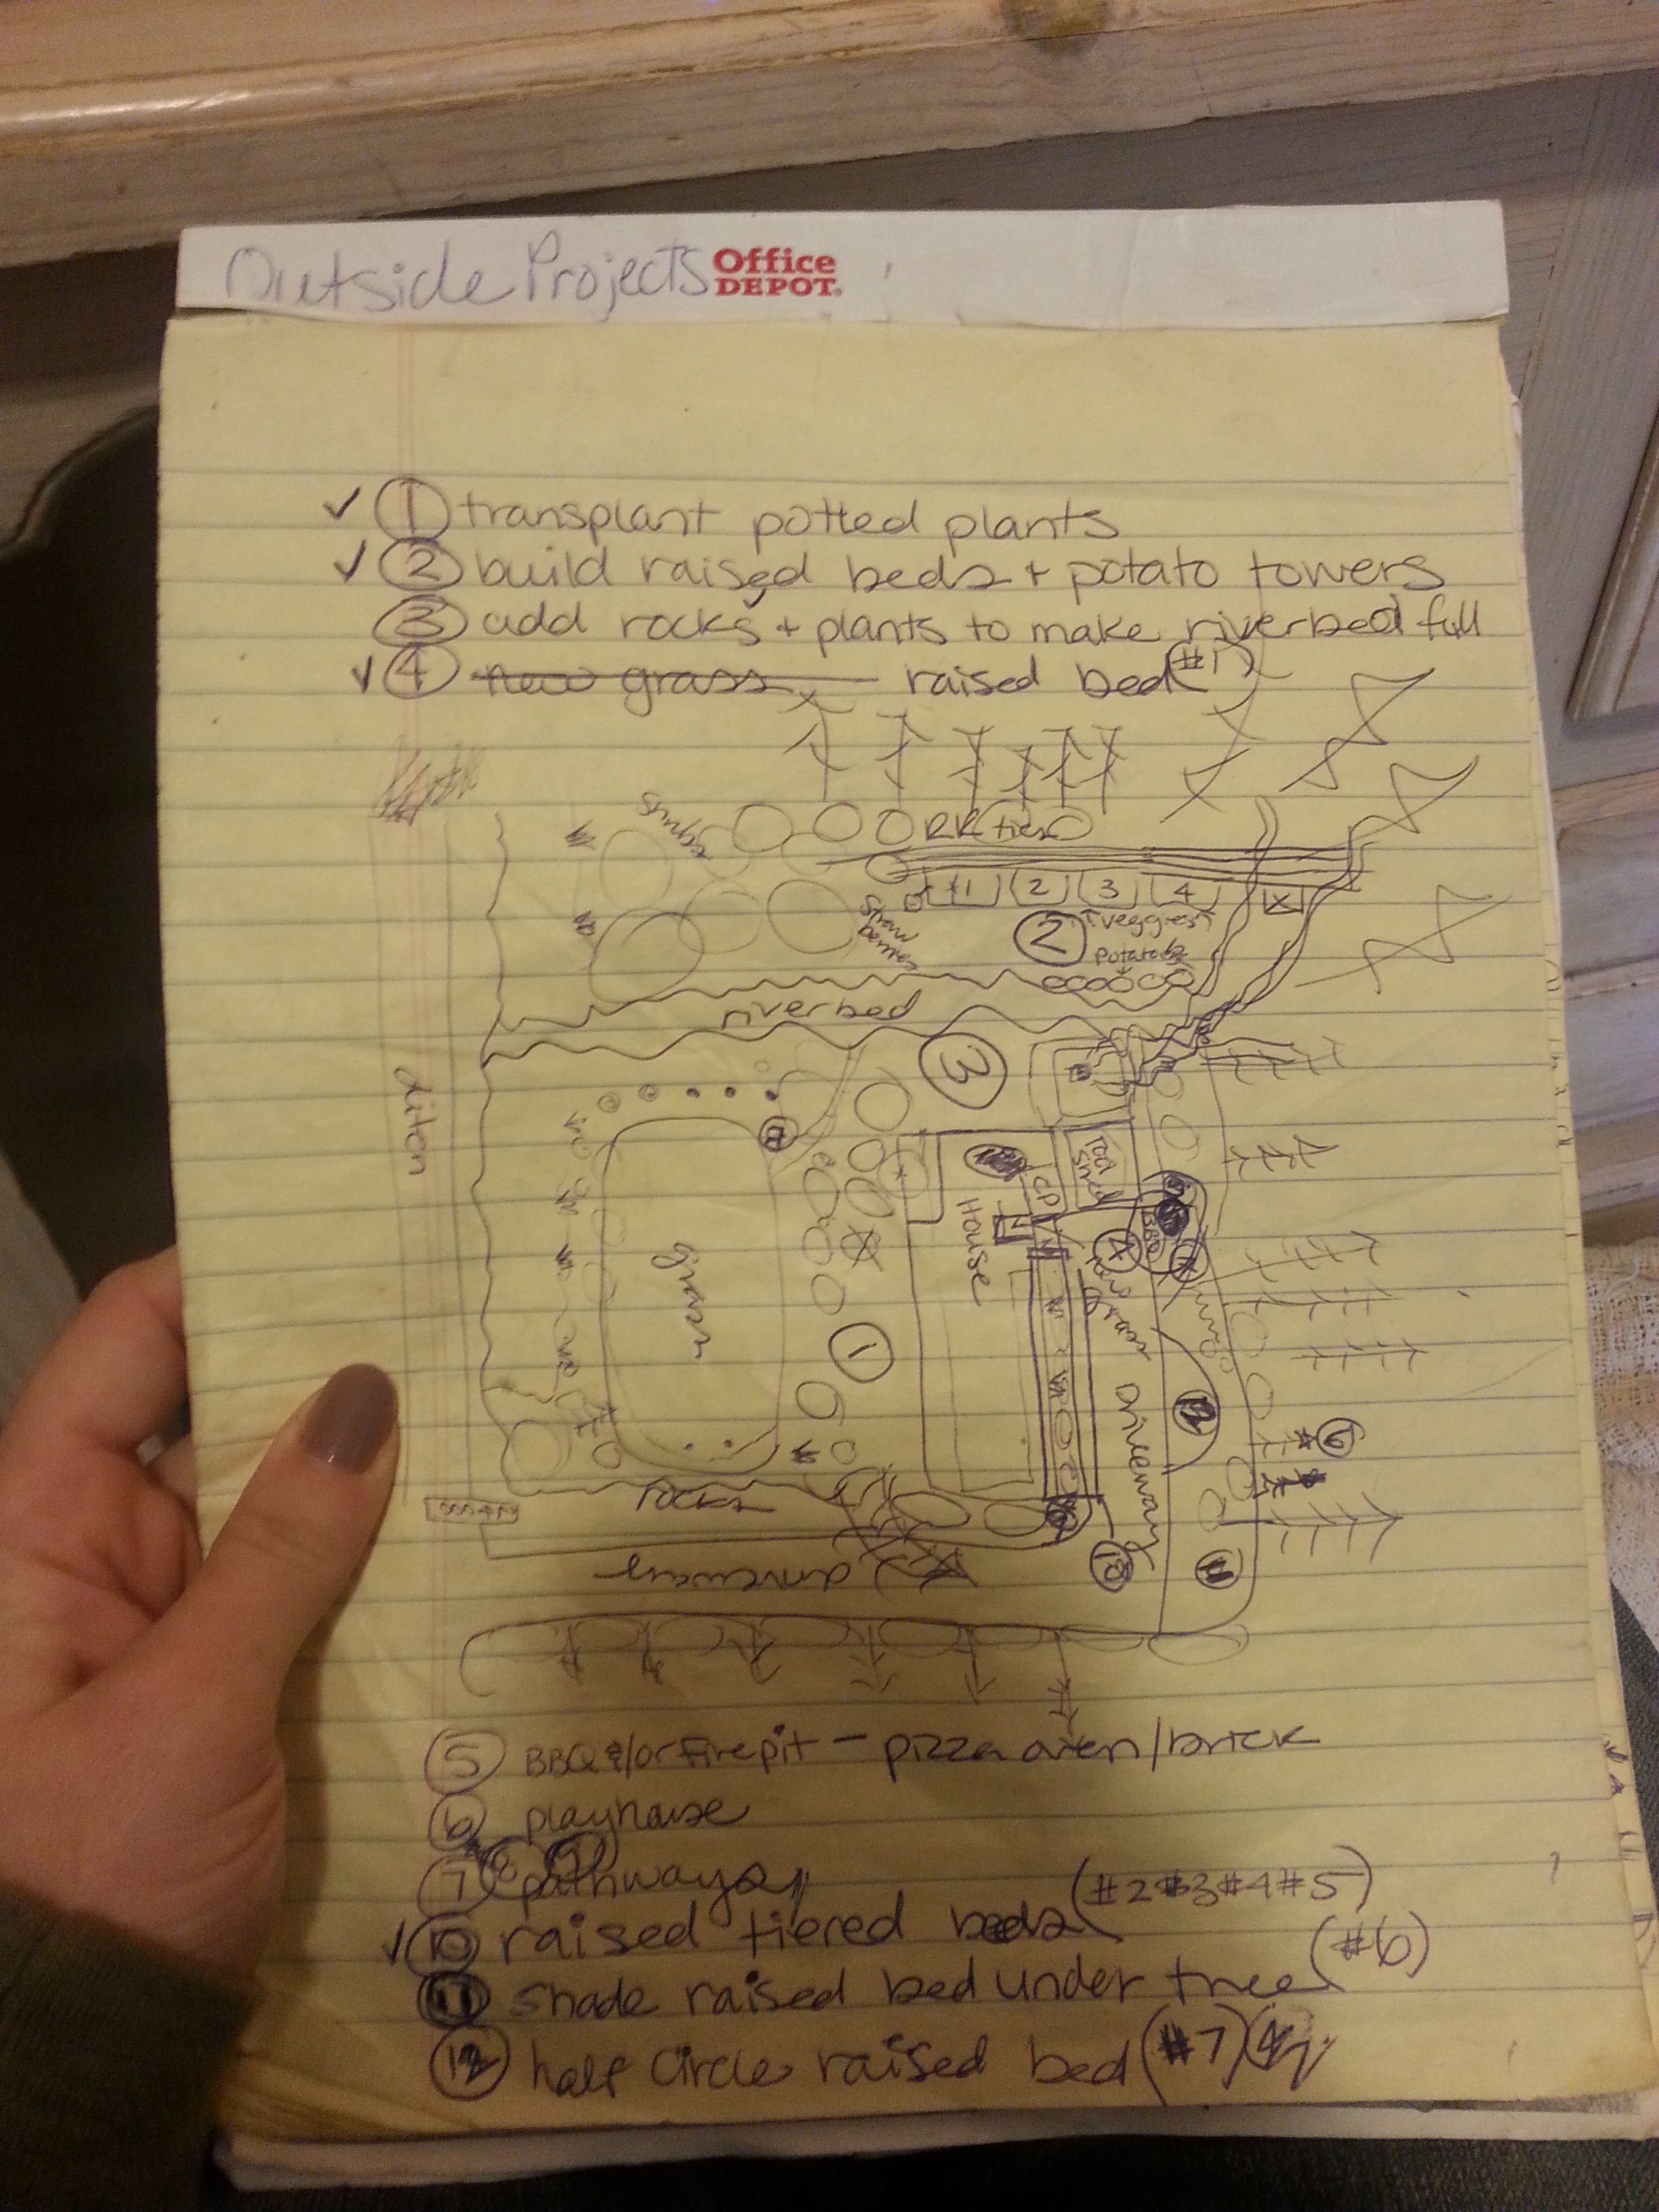
It was a great year of learning and experimenting with the garden and flowers. I started the year off just wanting to expand my English cottage garden and it slowly turned into the love of flowers and making bouquets with my blooms.I started to experiment with growing many types of flowers and expanding the garden from grass to flower beds.

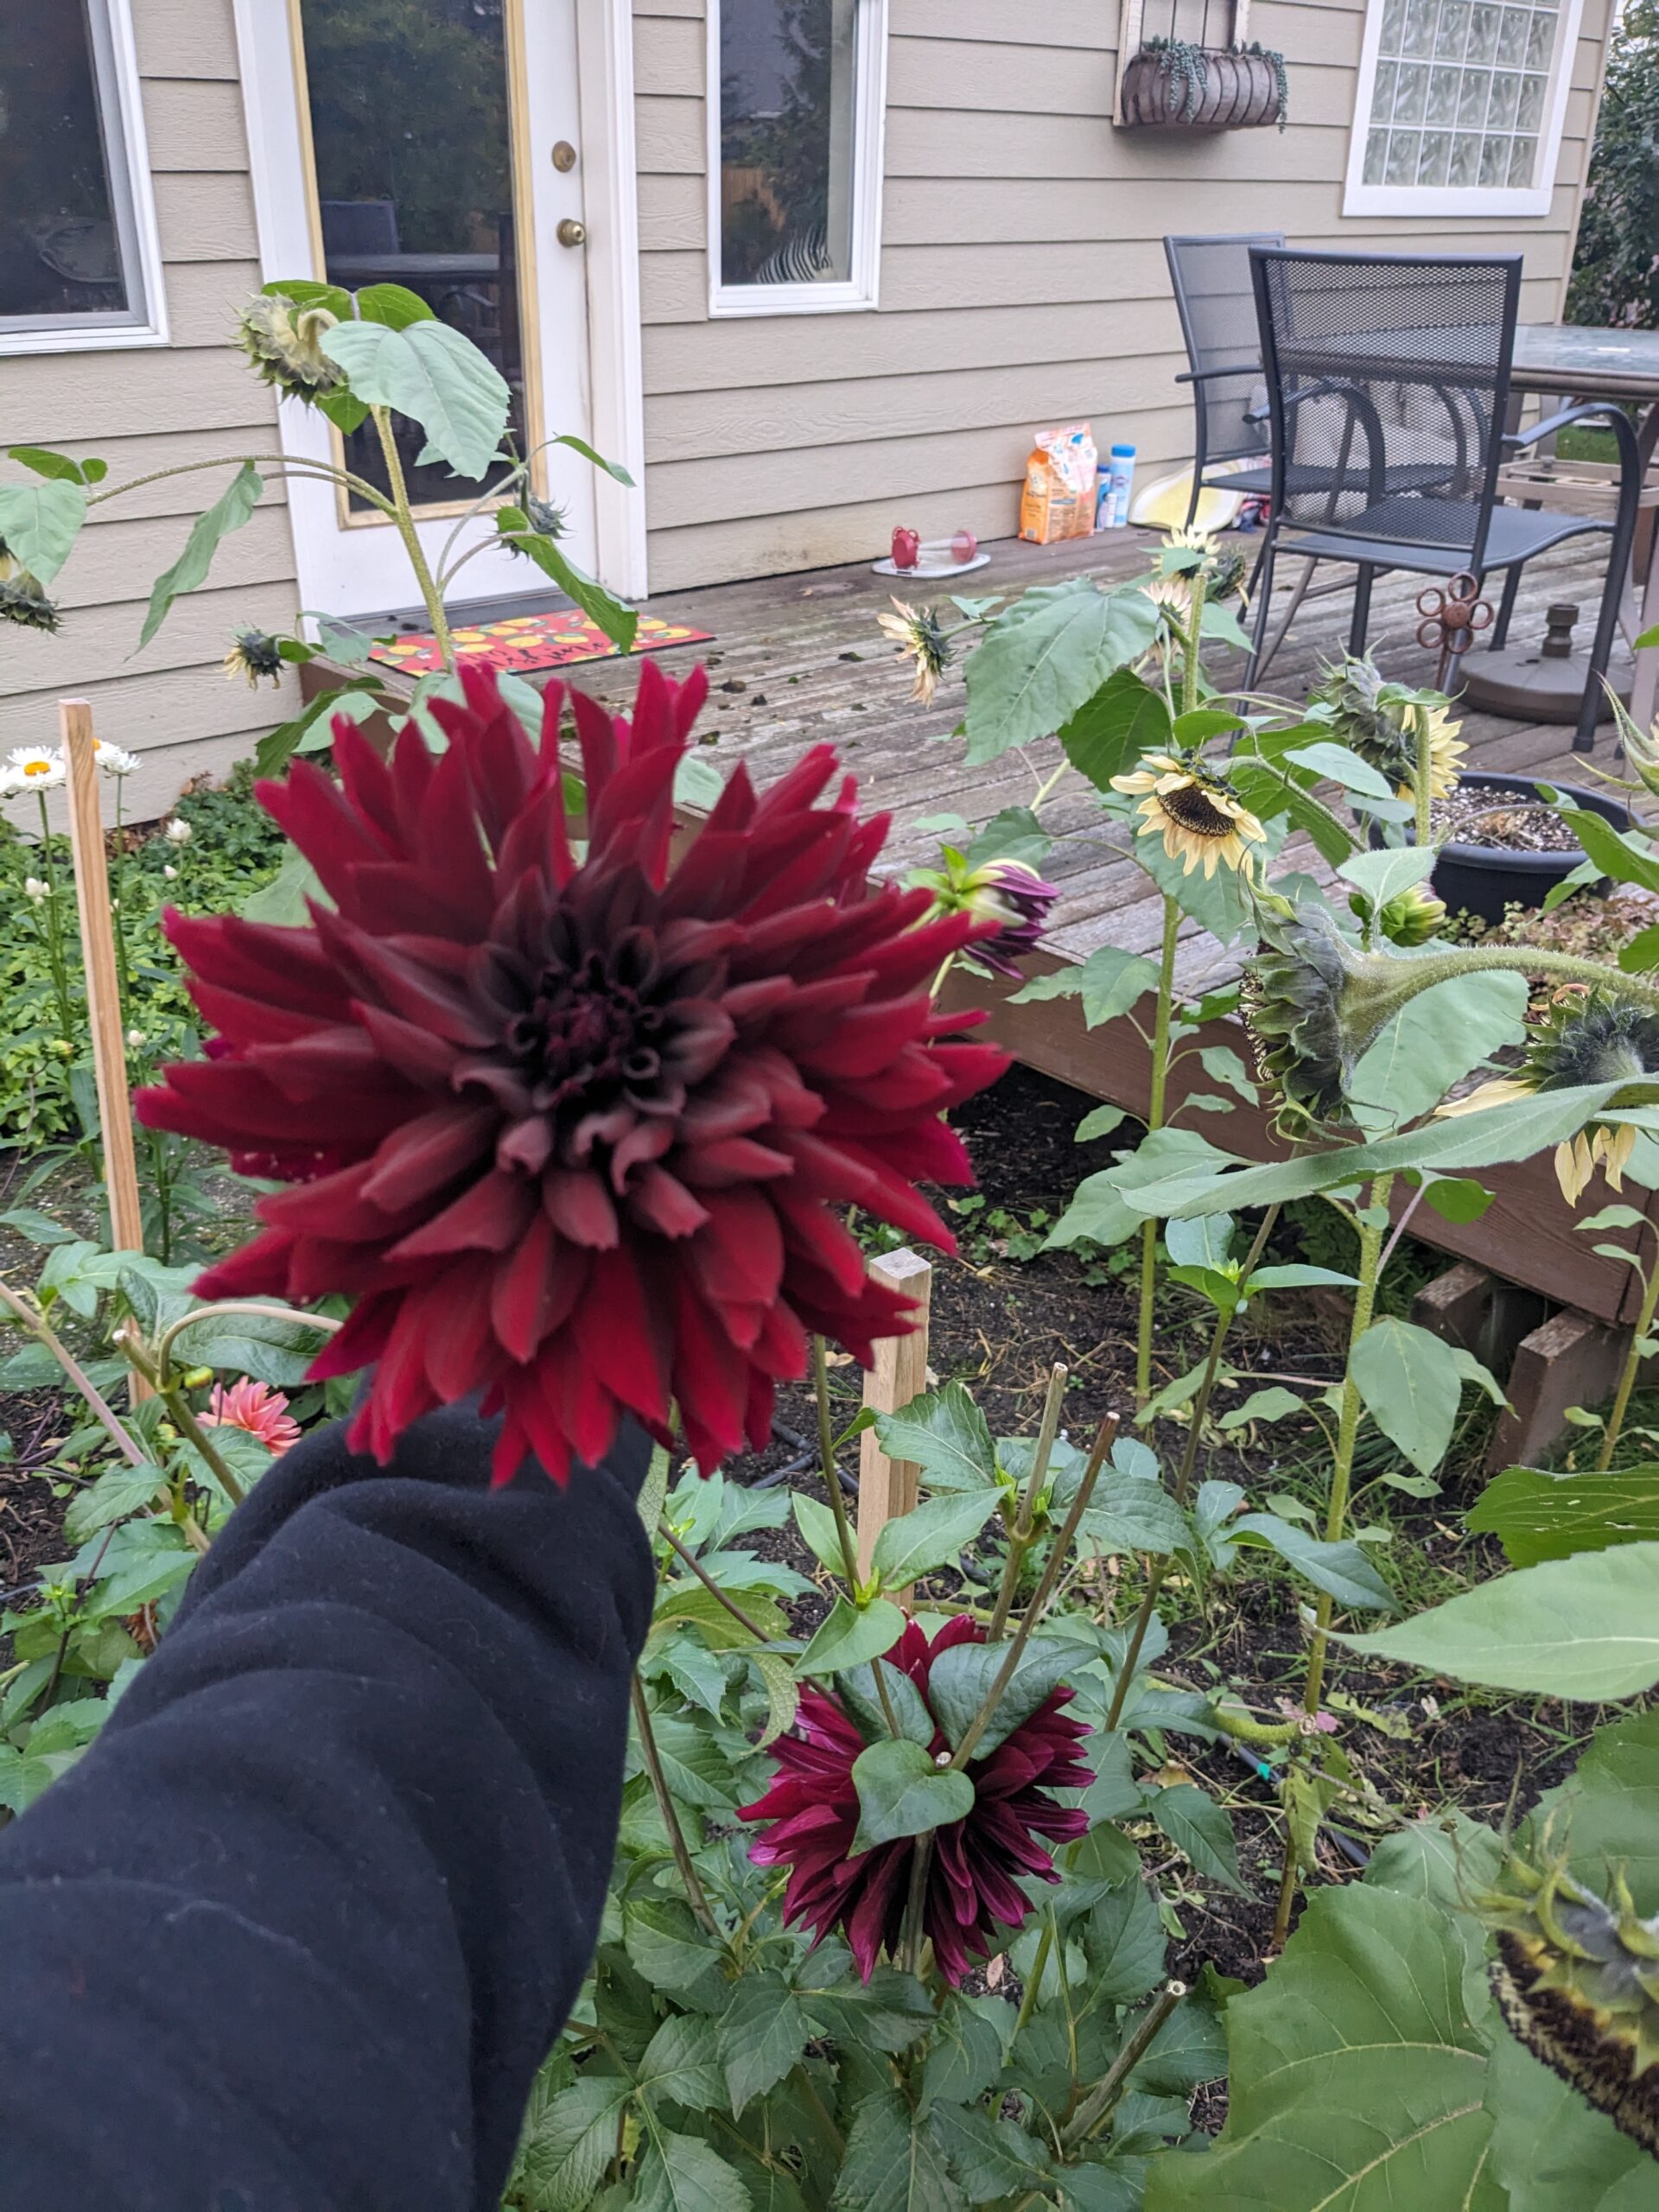
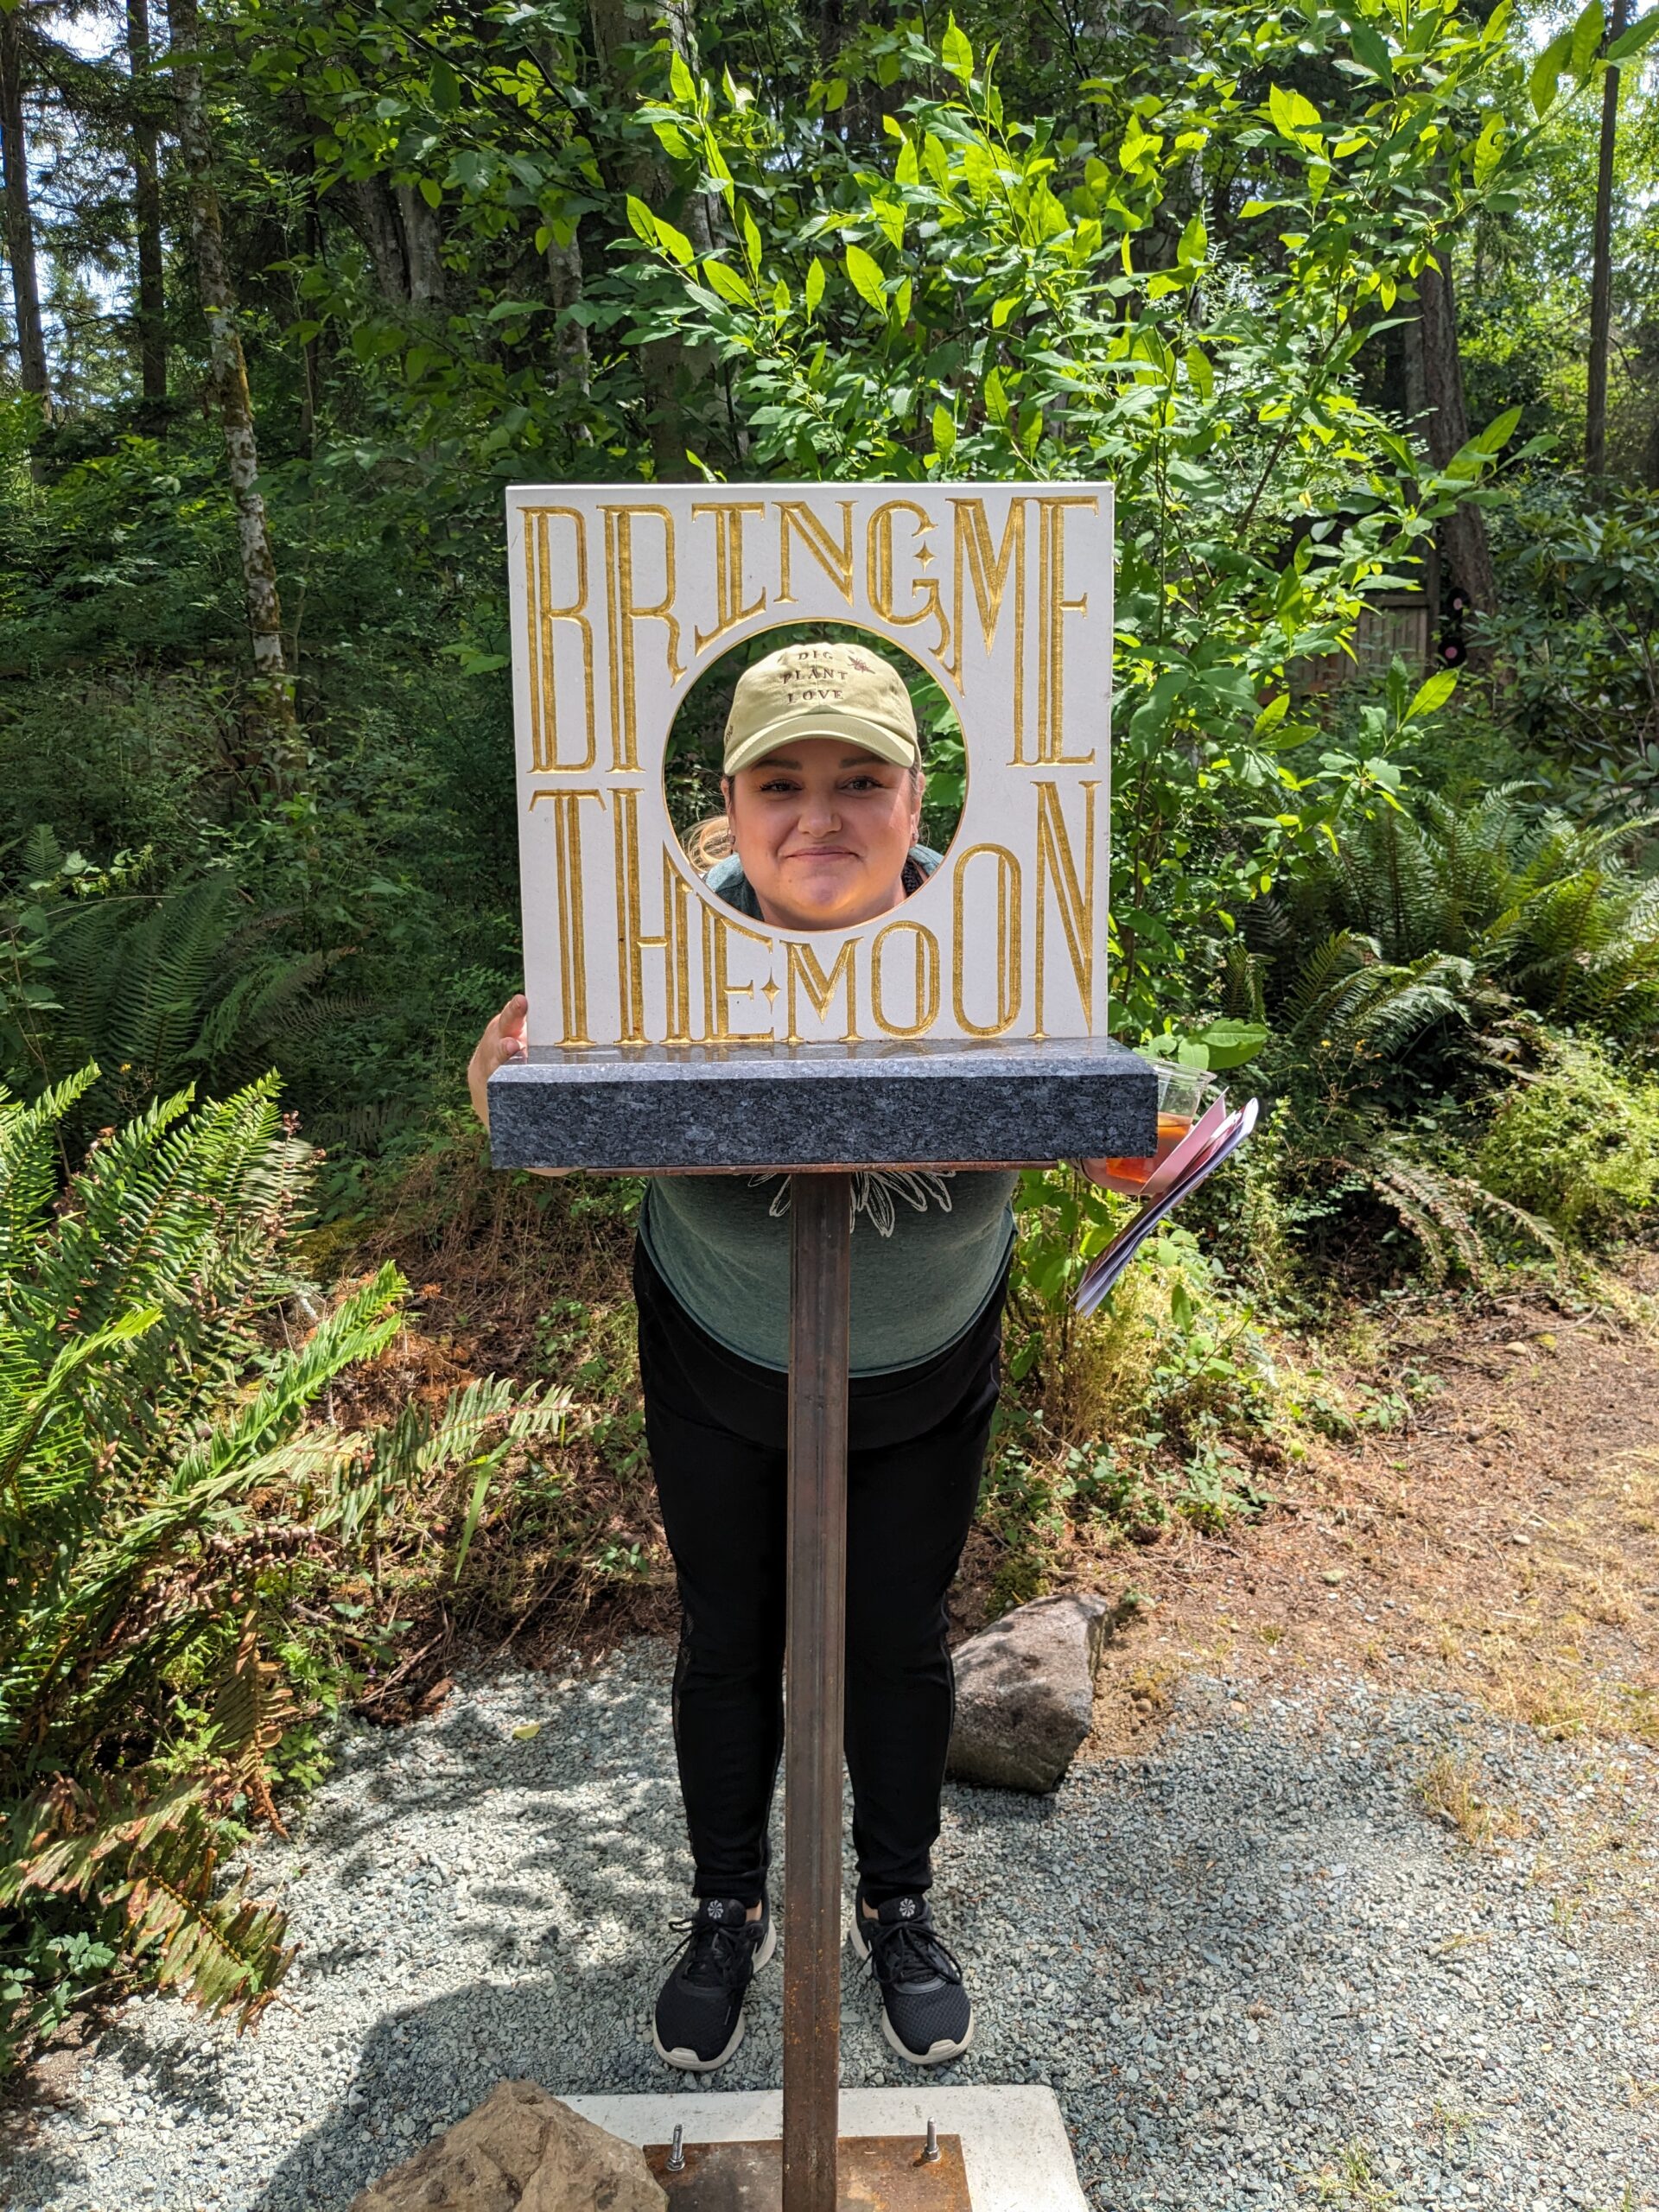
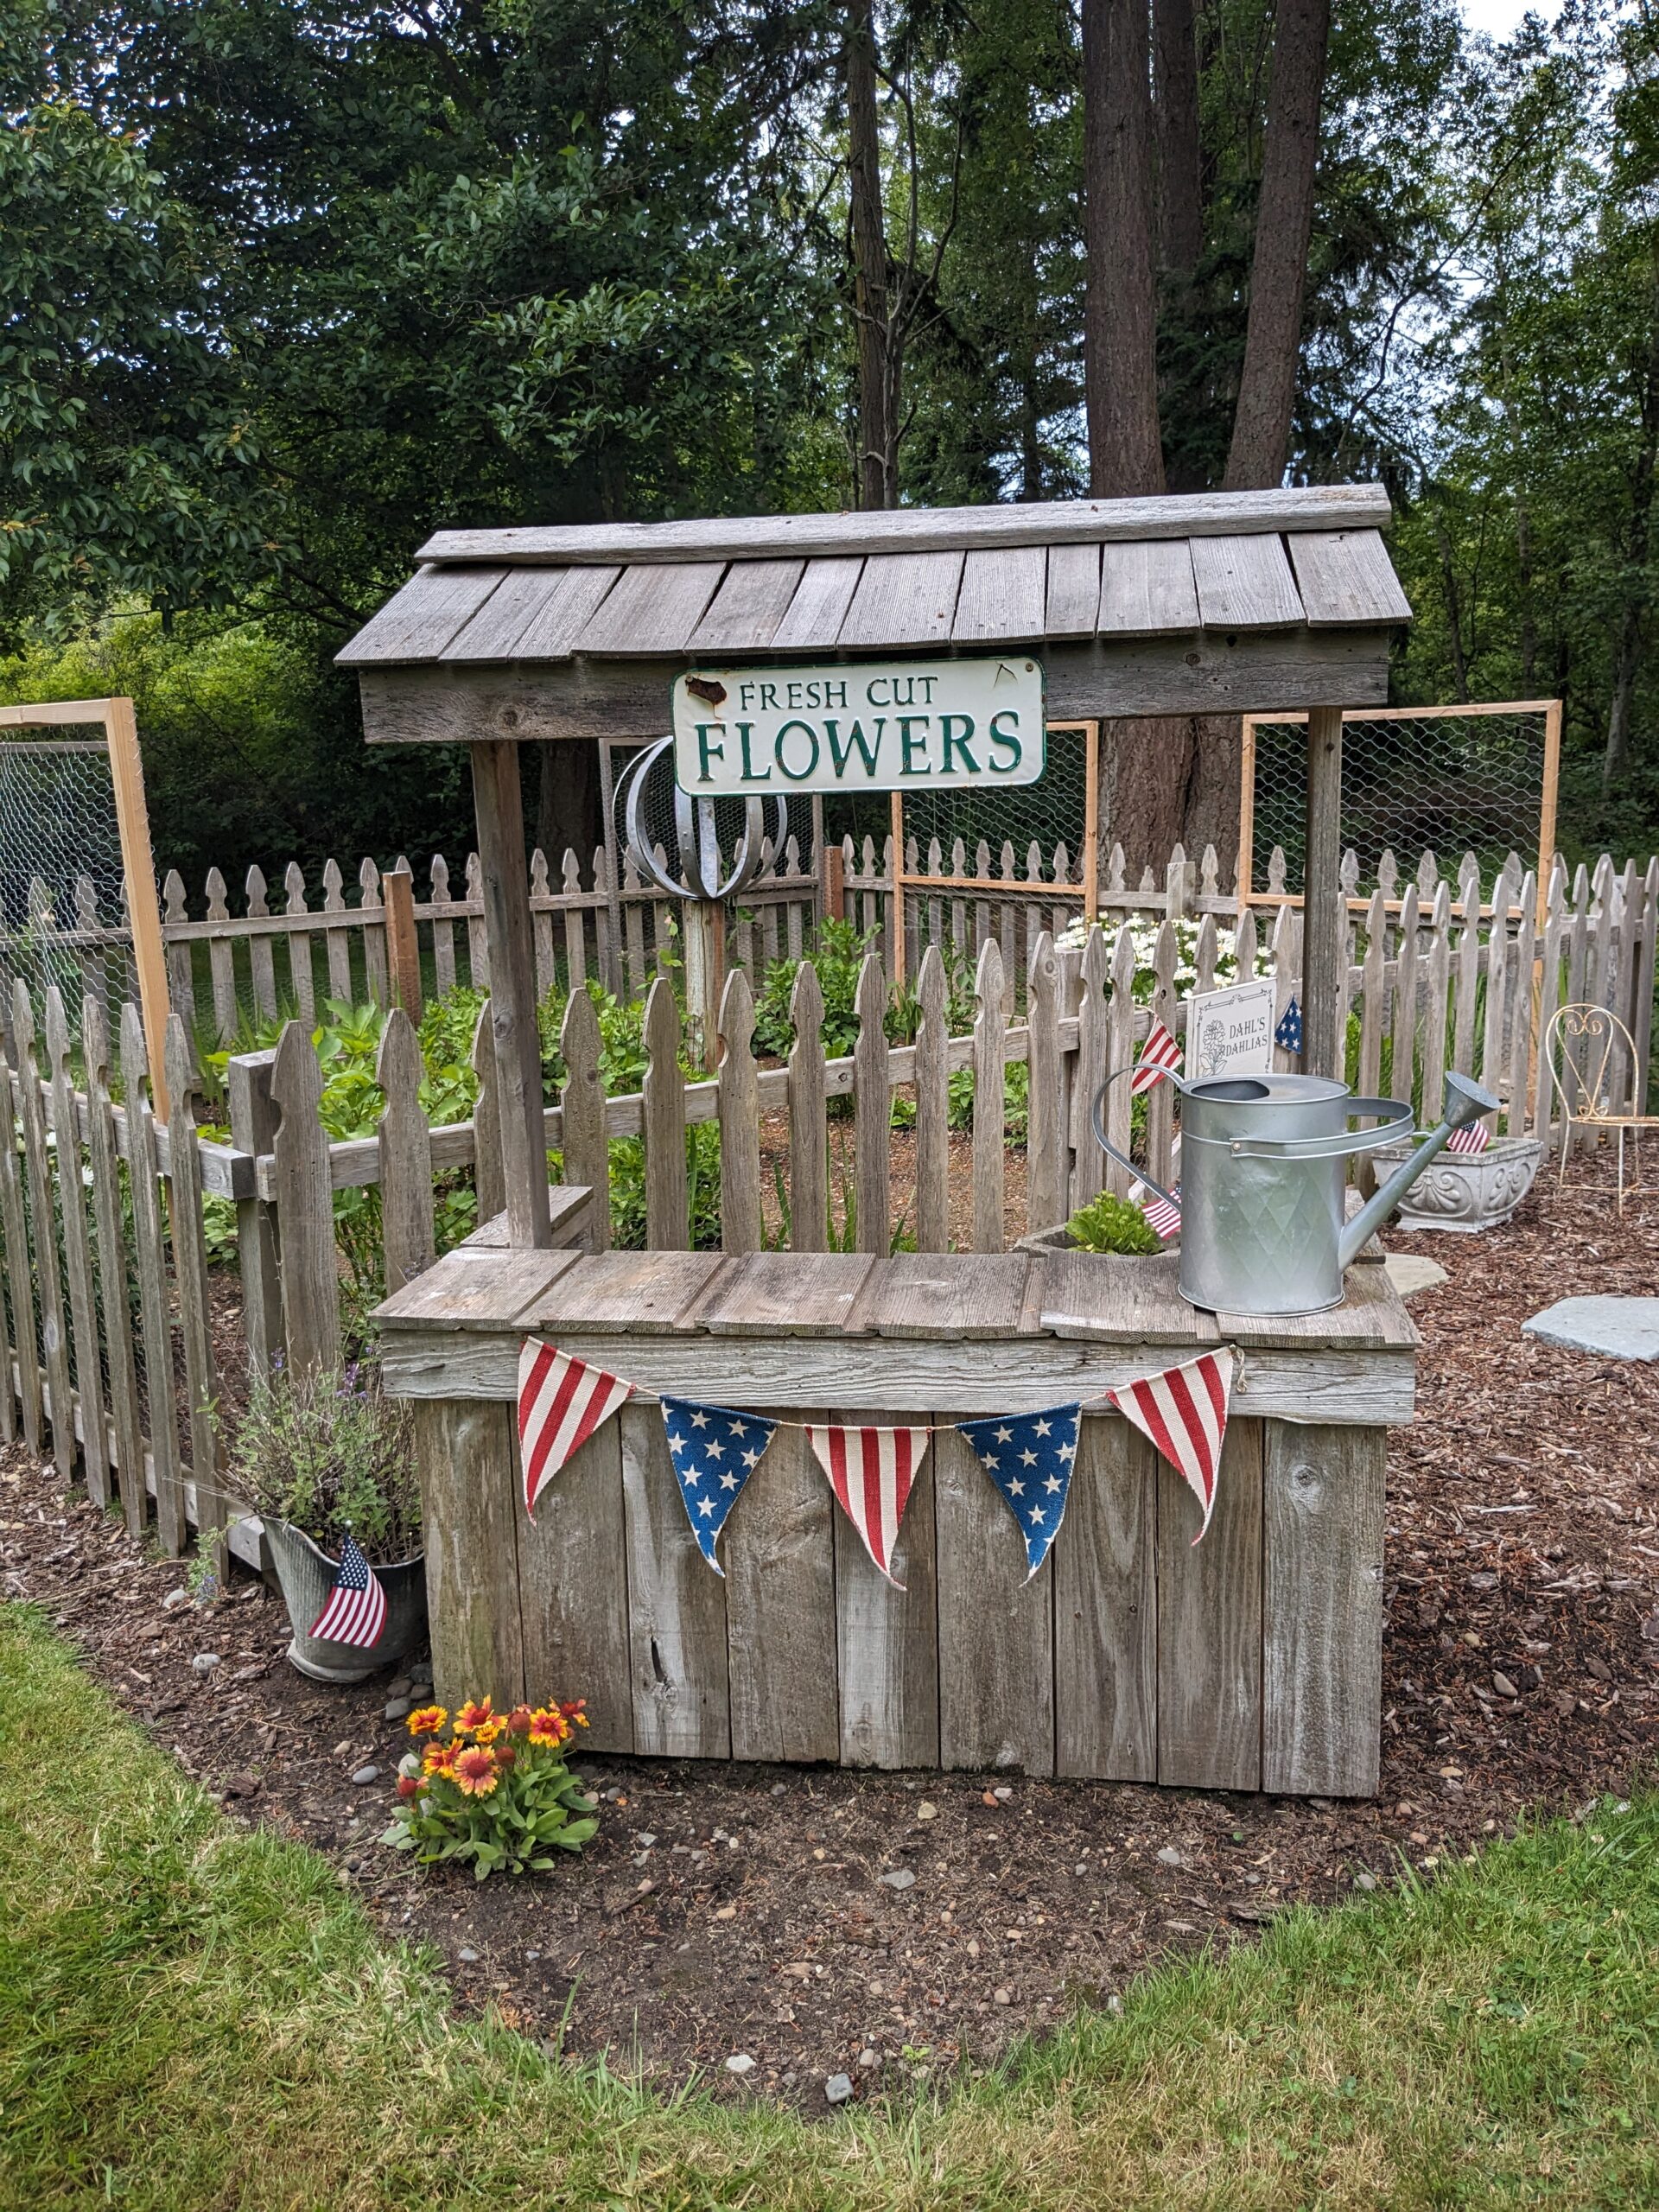
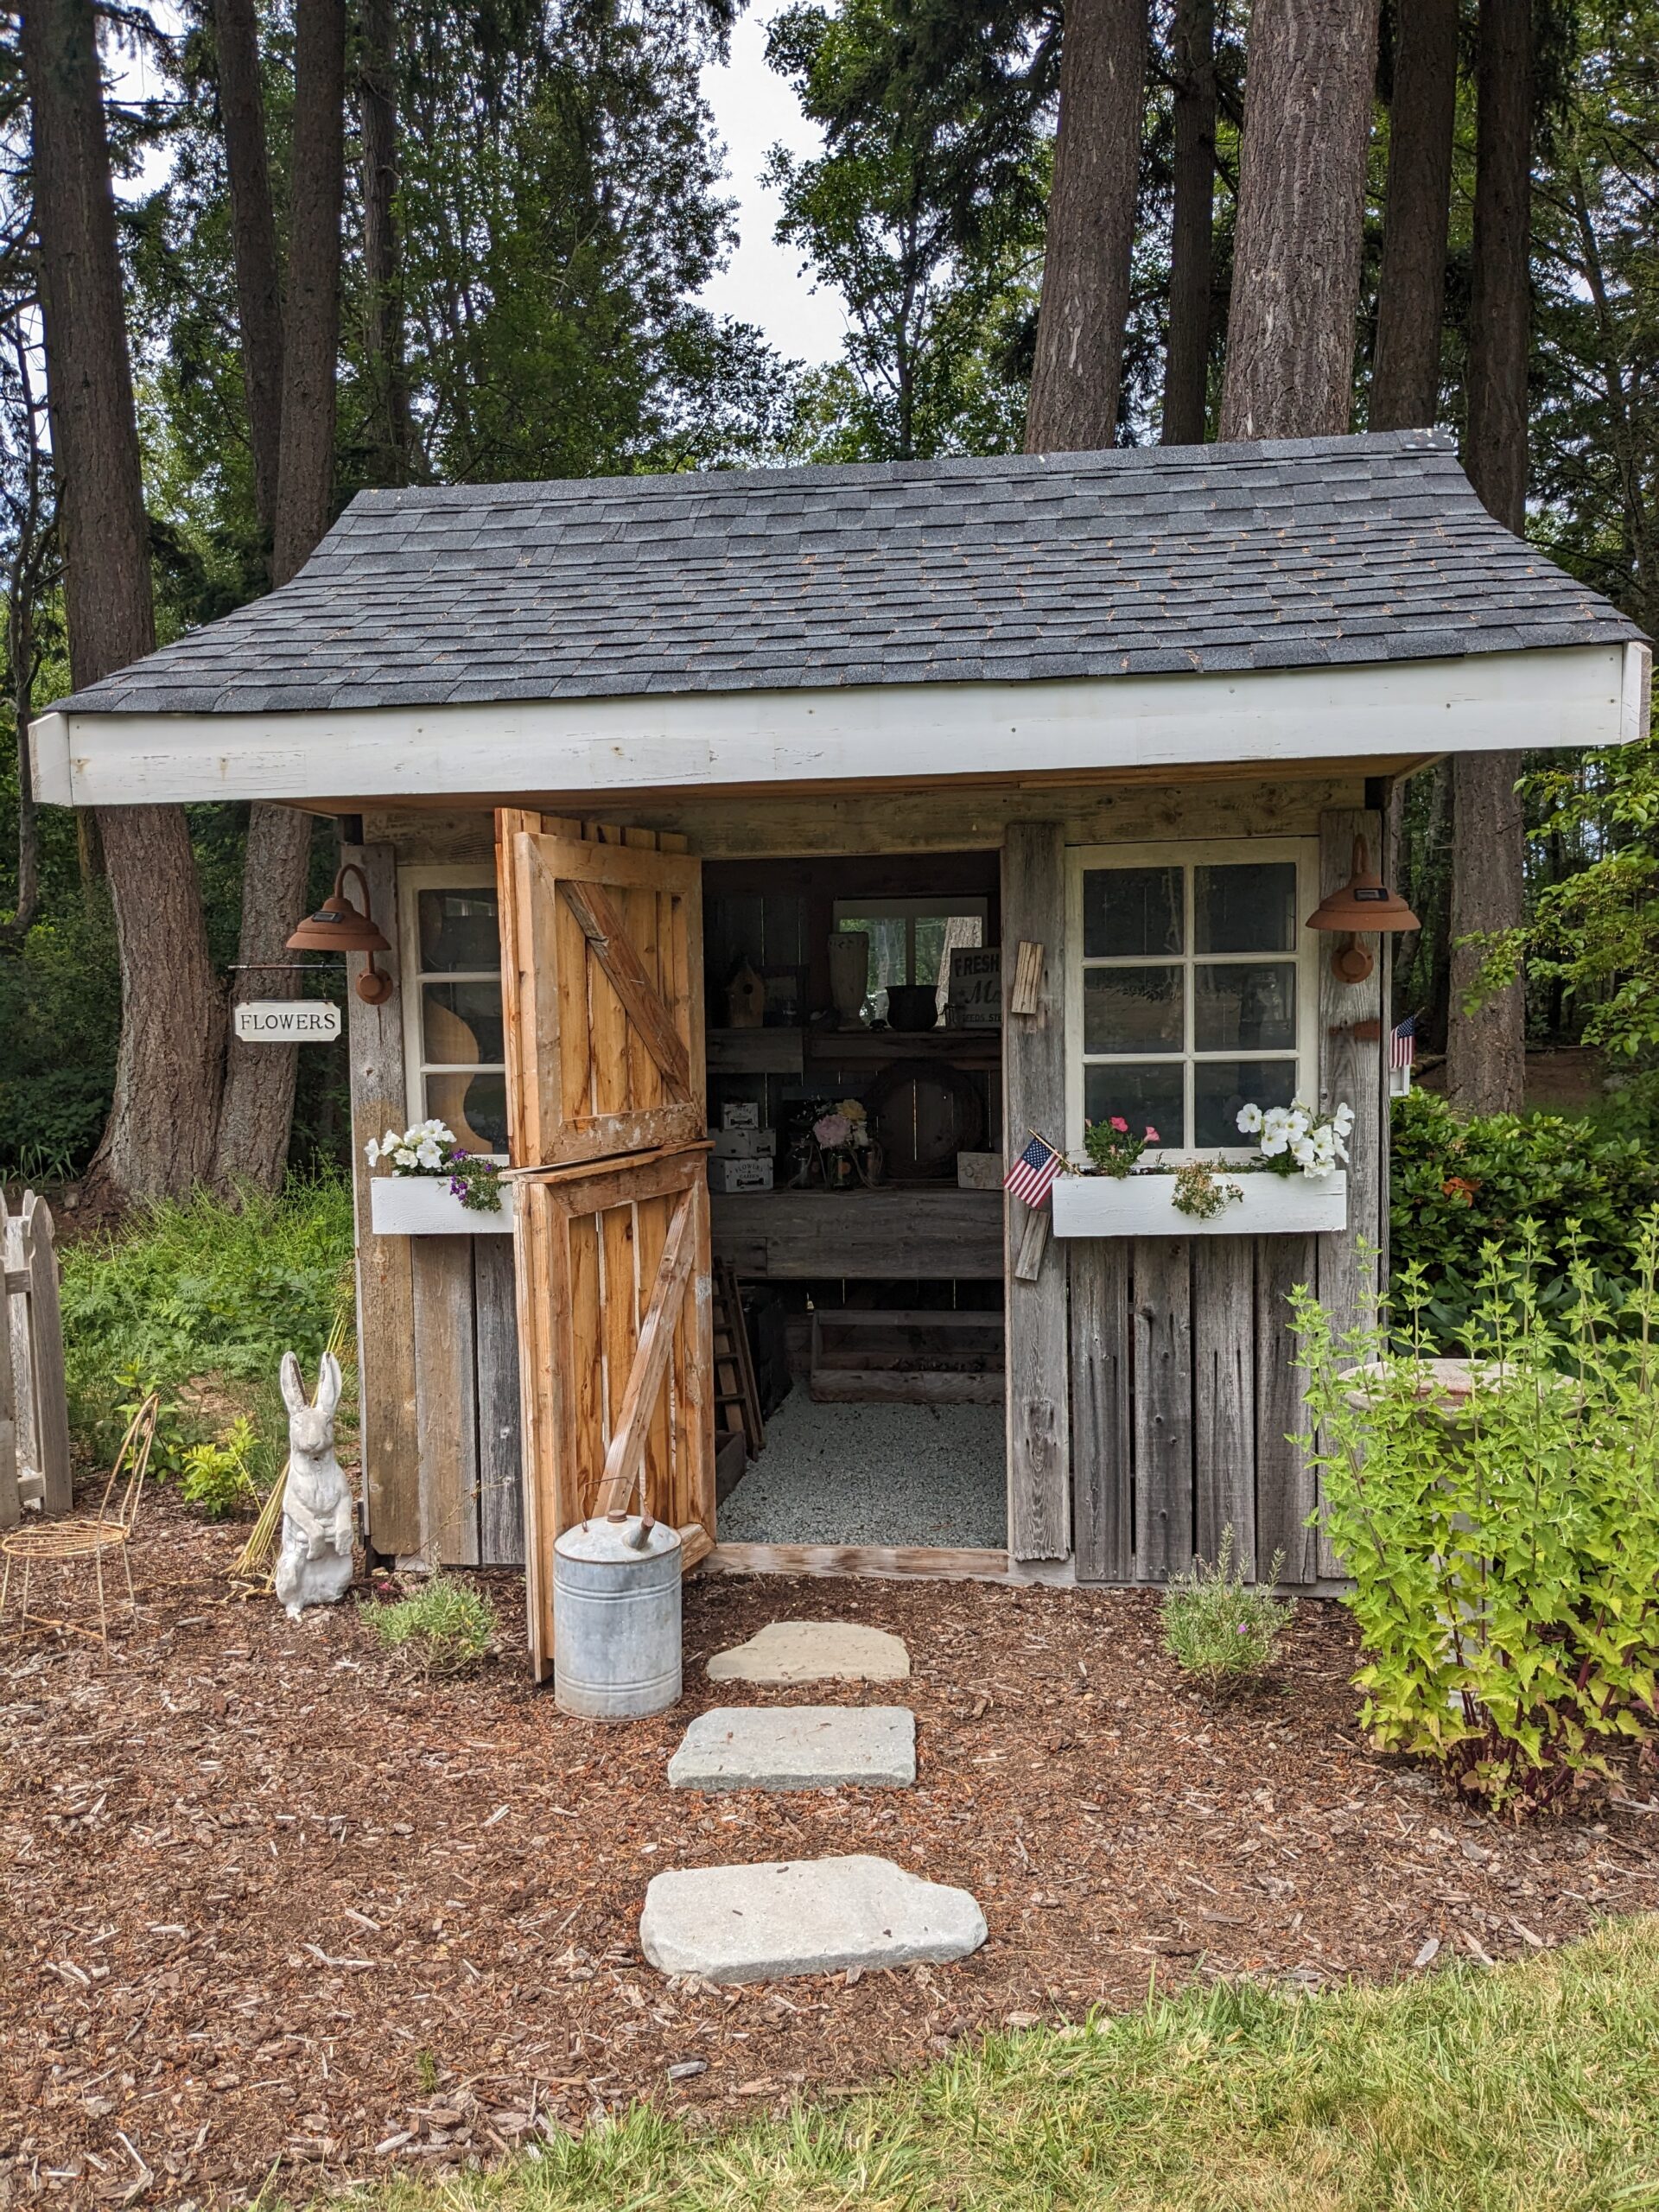
The summer was plentiful with flowers and I started thinking maybe I could turn my hobby into a business. 
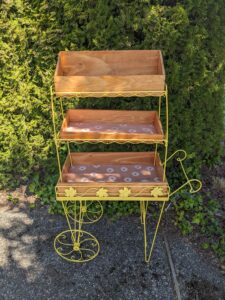
I bought all sorts of books on the topic and started following other flower farmers to get inspiration and to grow my knowledge. By the end of summer I had named my flower farm, made a logo, and bought a flower cart, as well as endless farming supplies. I was planning on selling fresh cut flowers from my driveway in 2024.

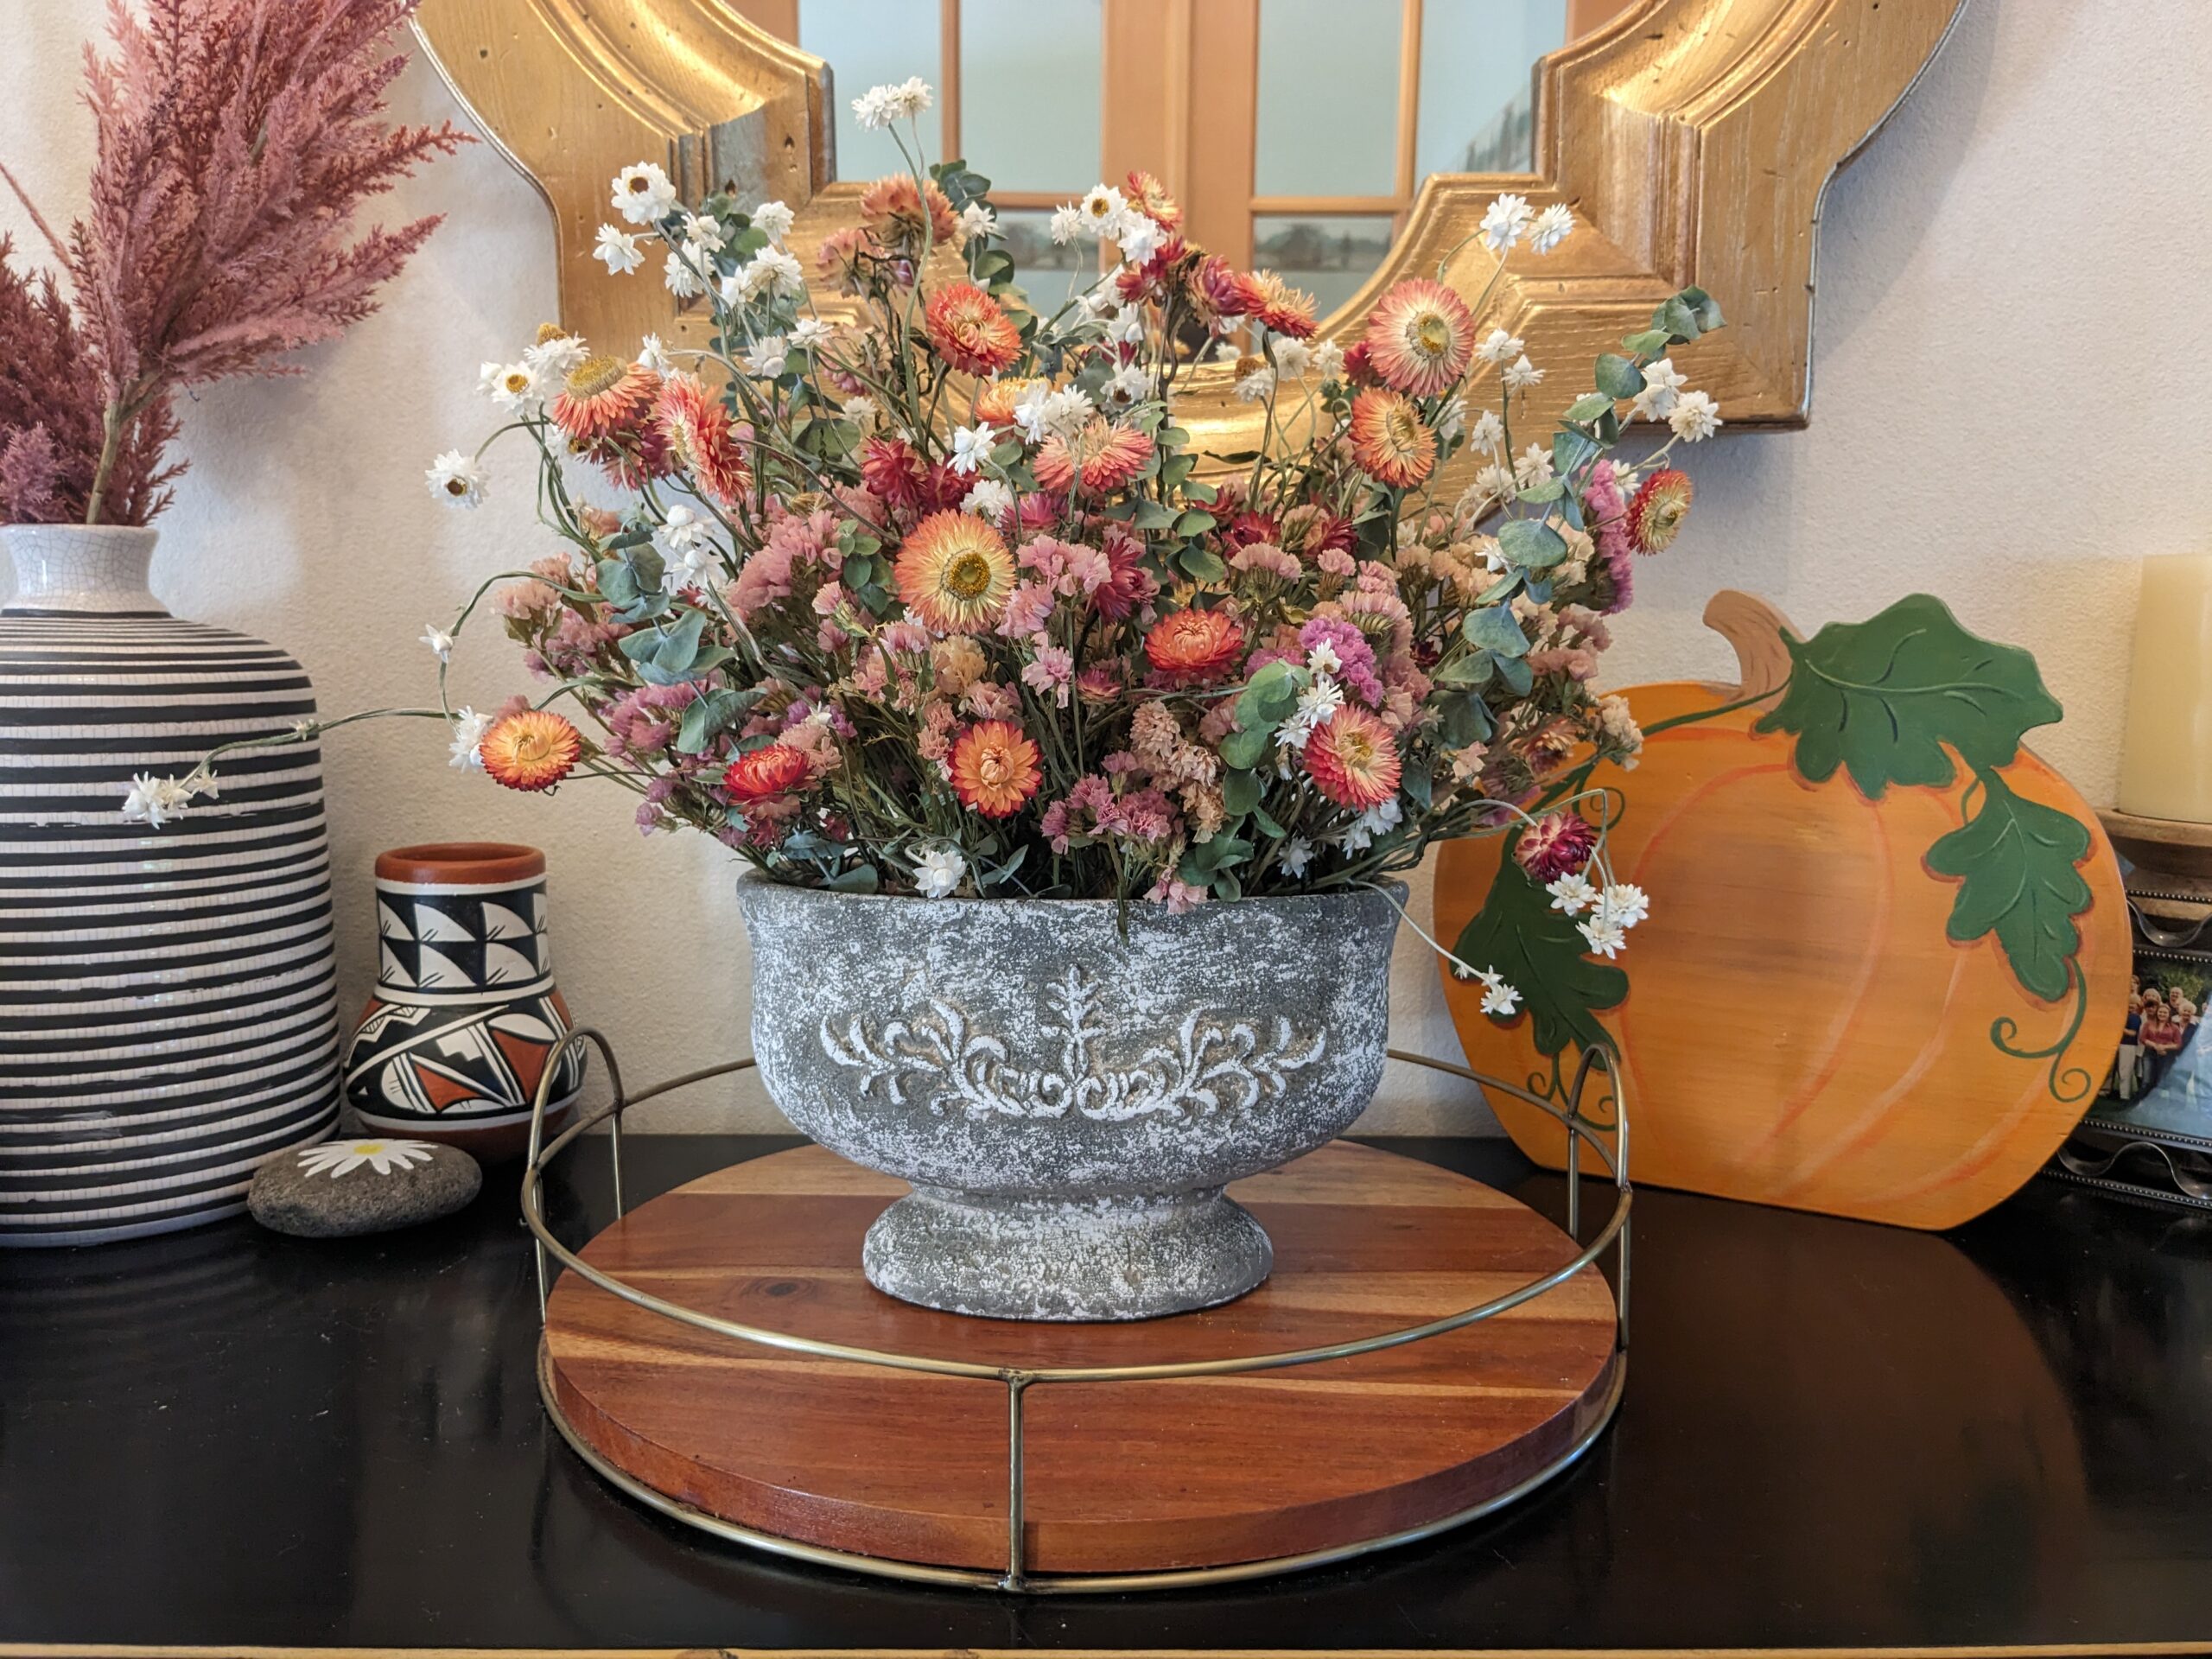
As Fall rolled around and the flowers went away, I started experimenting with dried flowers. I made a beautiful arrangement in an urn to keep in my entryway, where I had been displaying my fresh flower bouquets. Months later it is still there giving me beauty to enjoy. I think it is my favorite arrangement I have made. I love that I can enjoy dried flowers in the off season. I also went with my mom to a dried flower wreath class, to learn how to make one. I just love how it turned out and can have it on my wall for years to come.

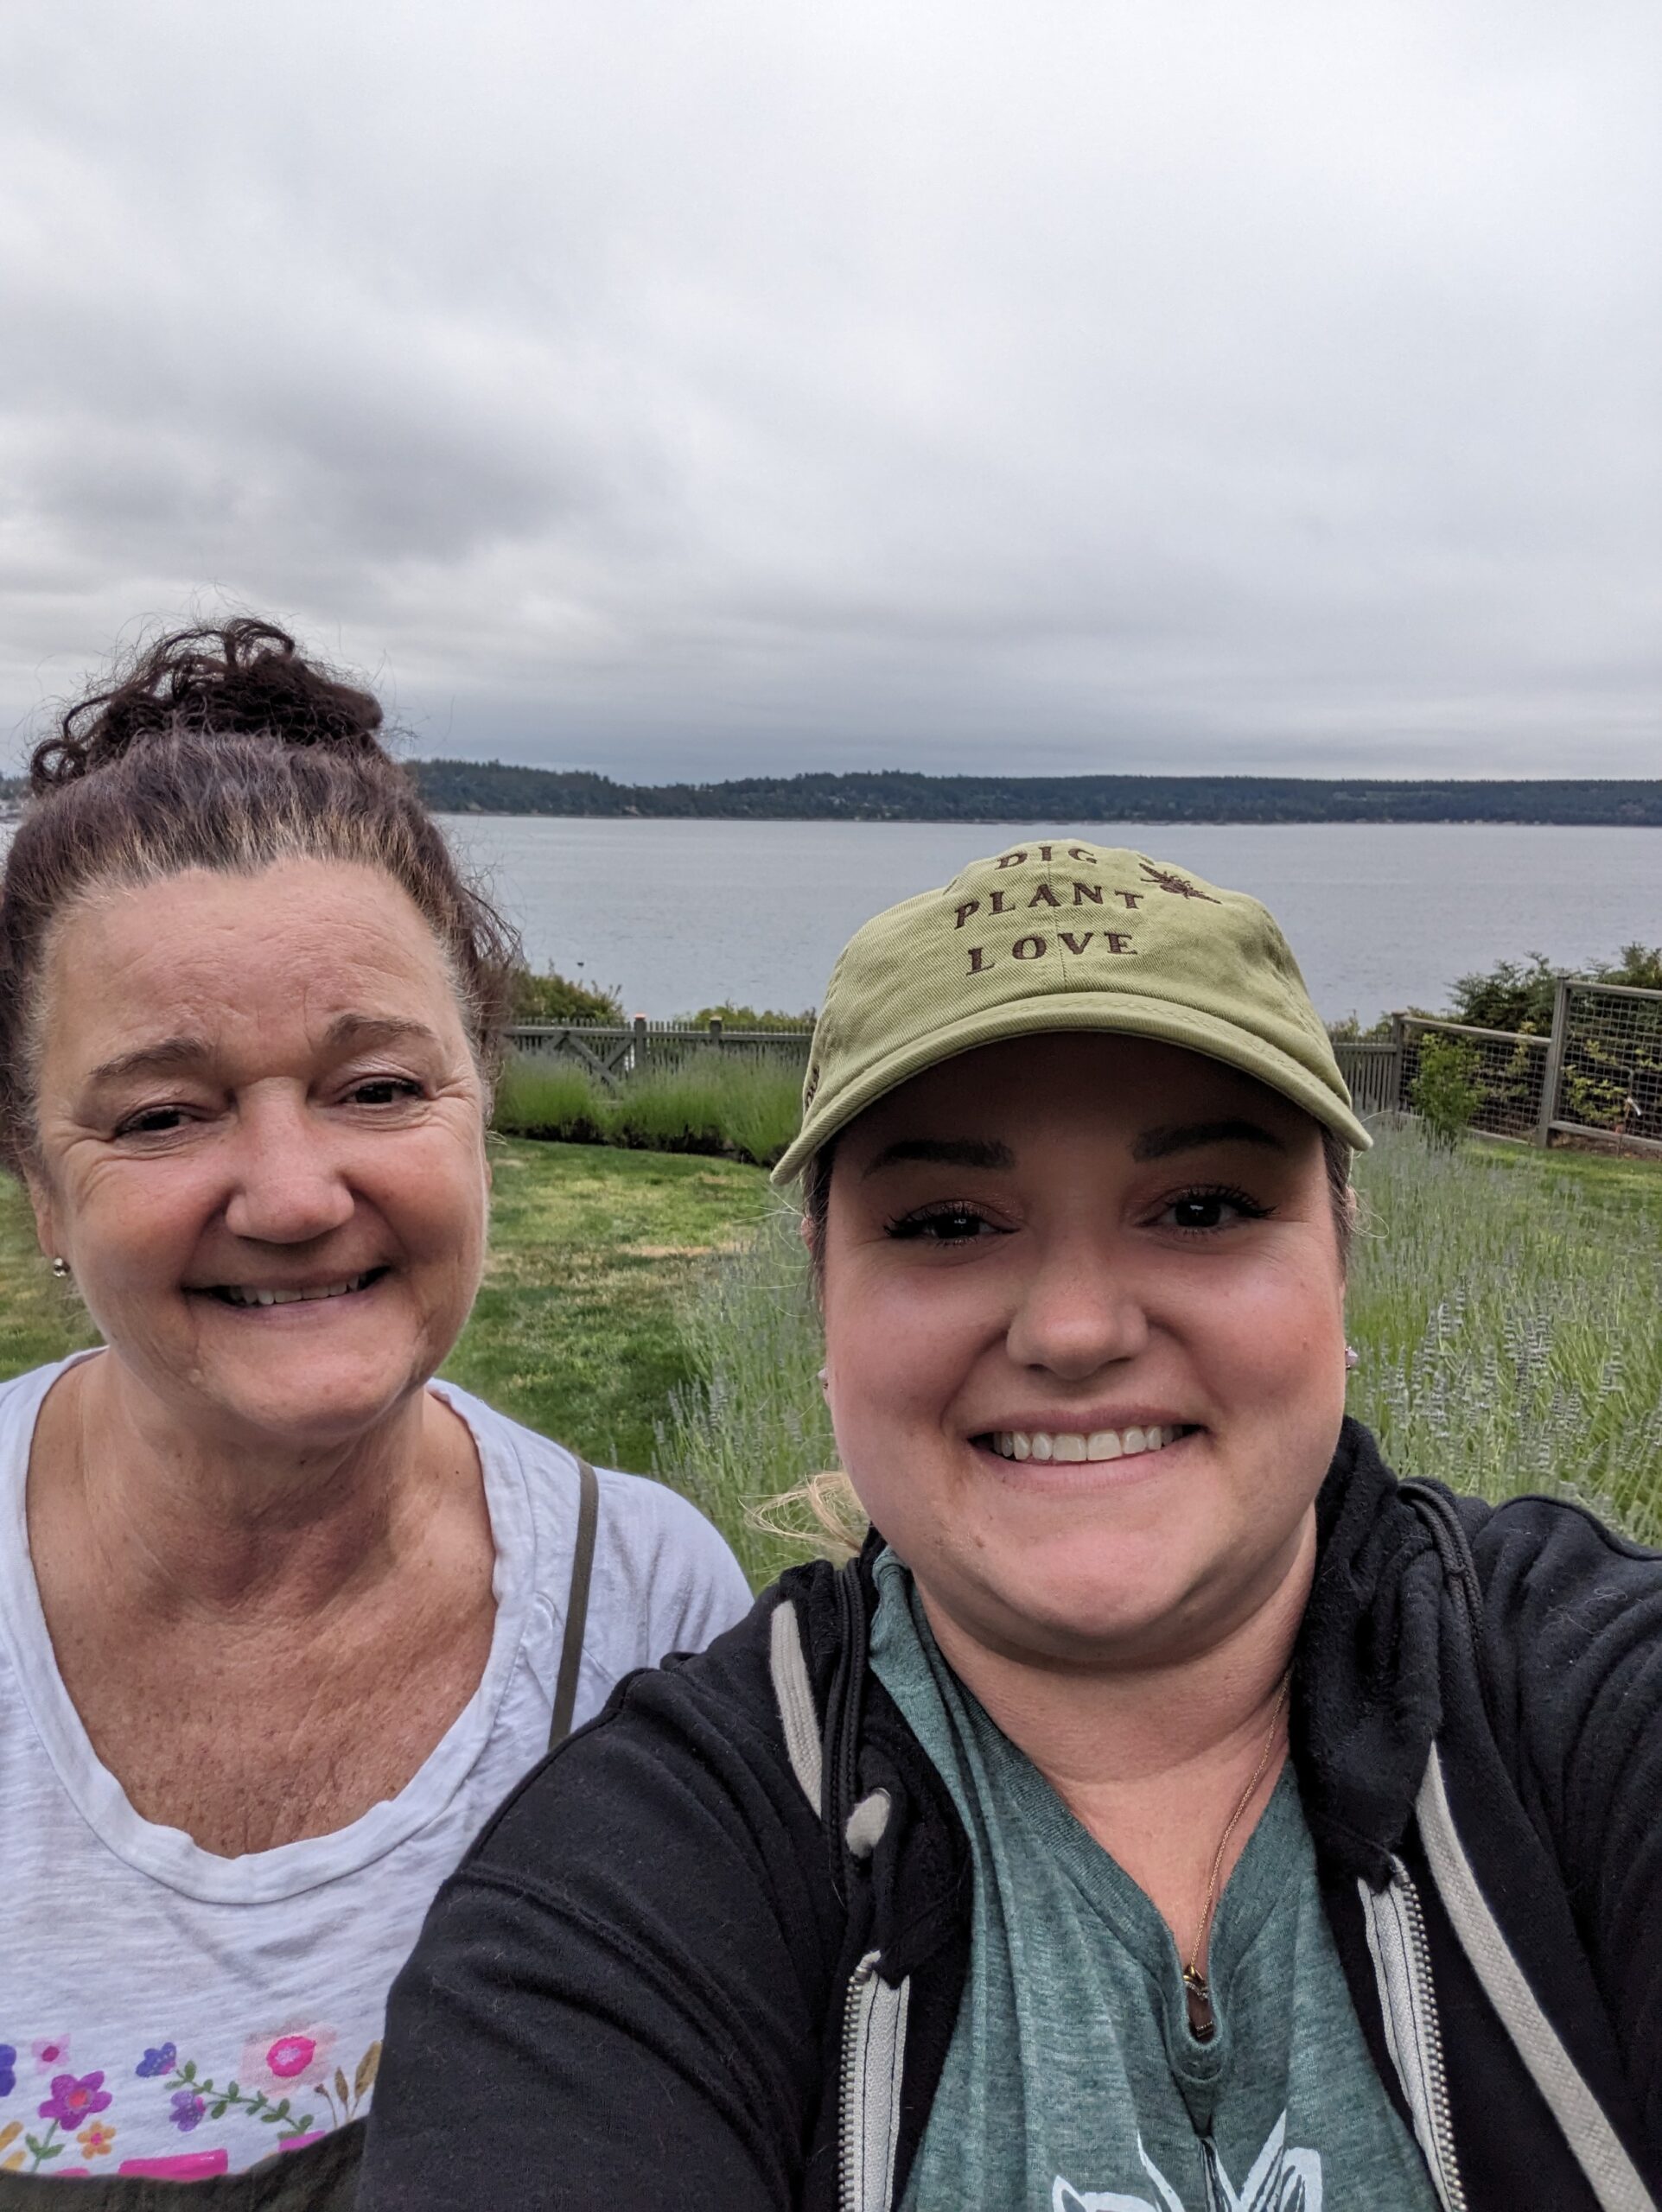
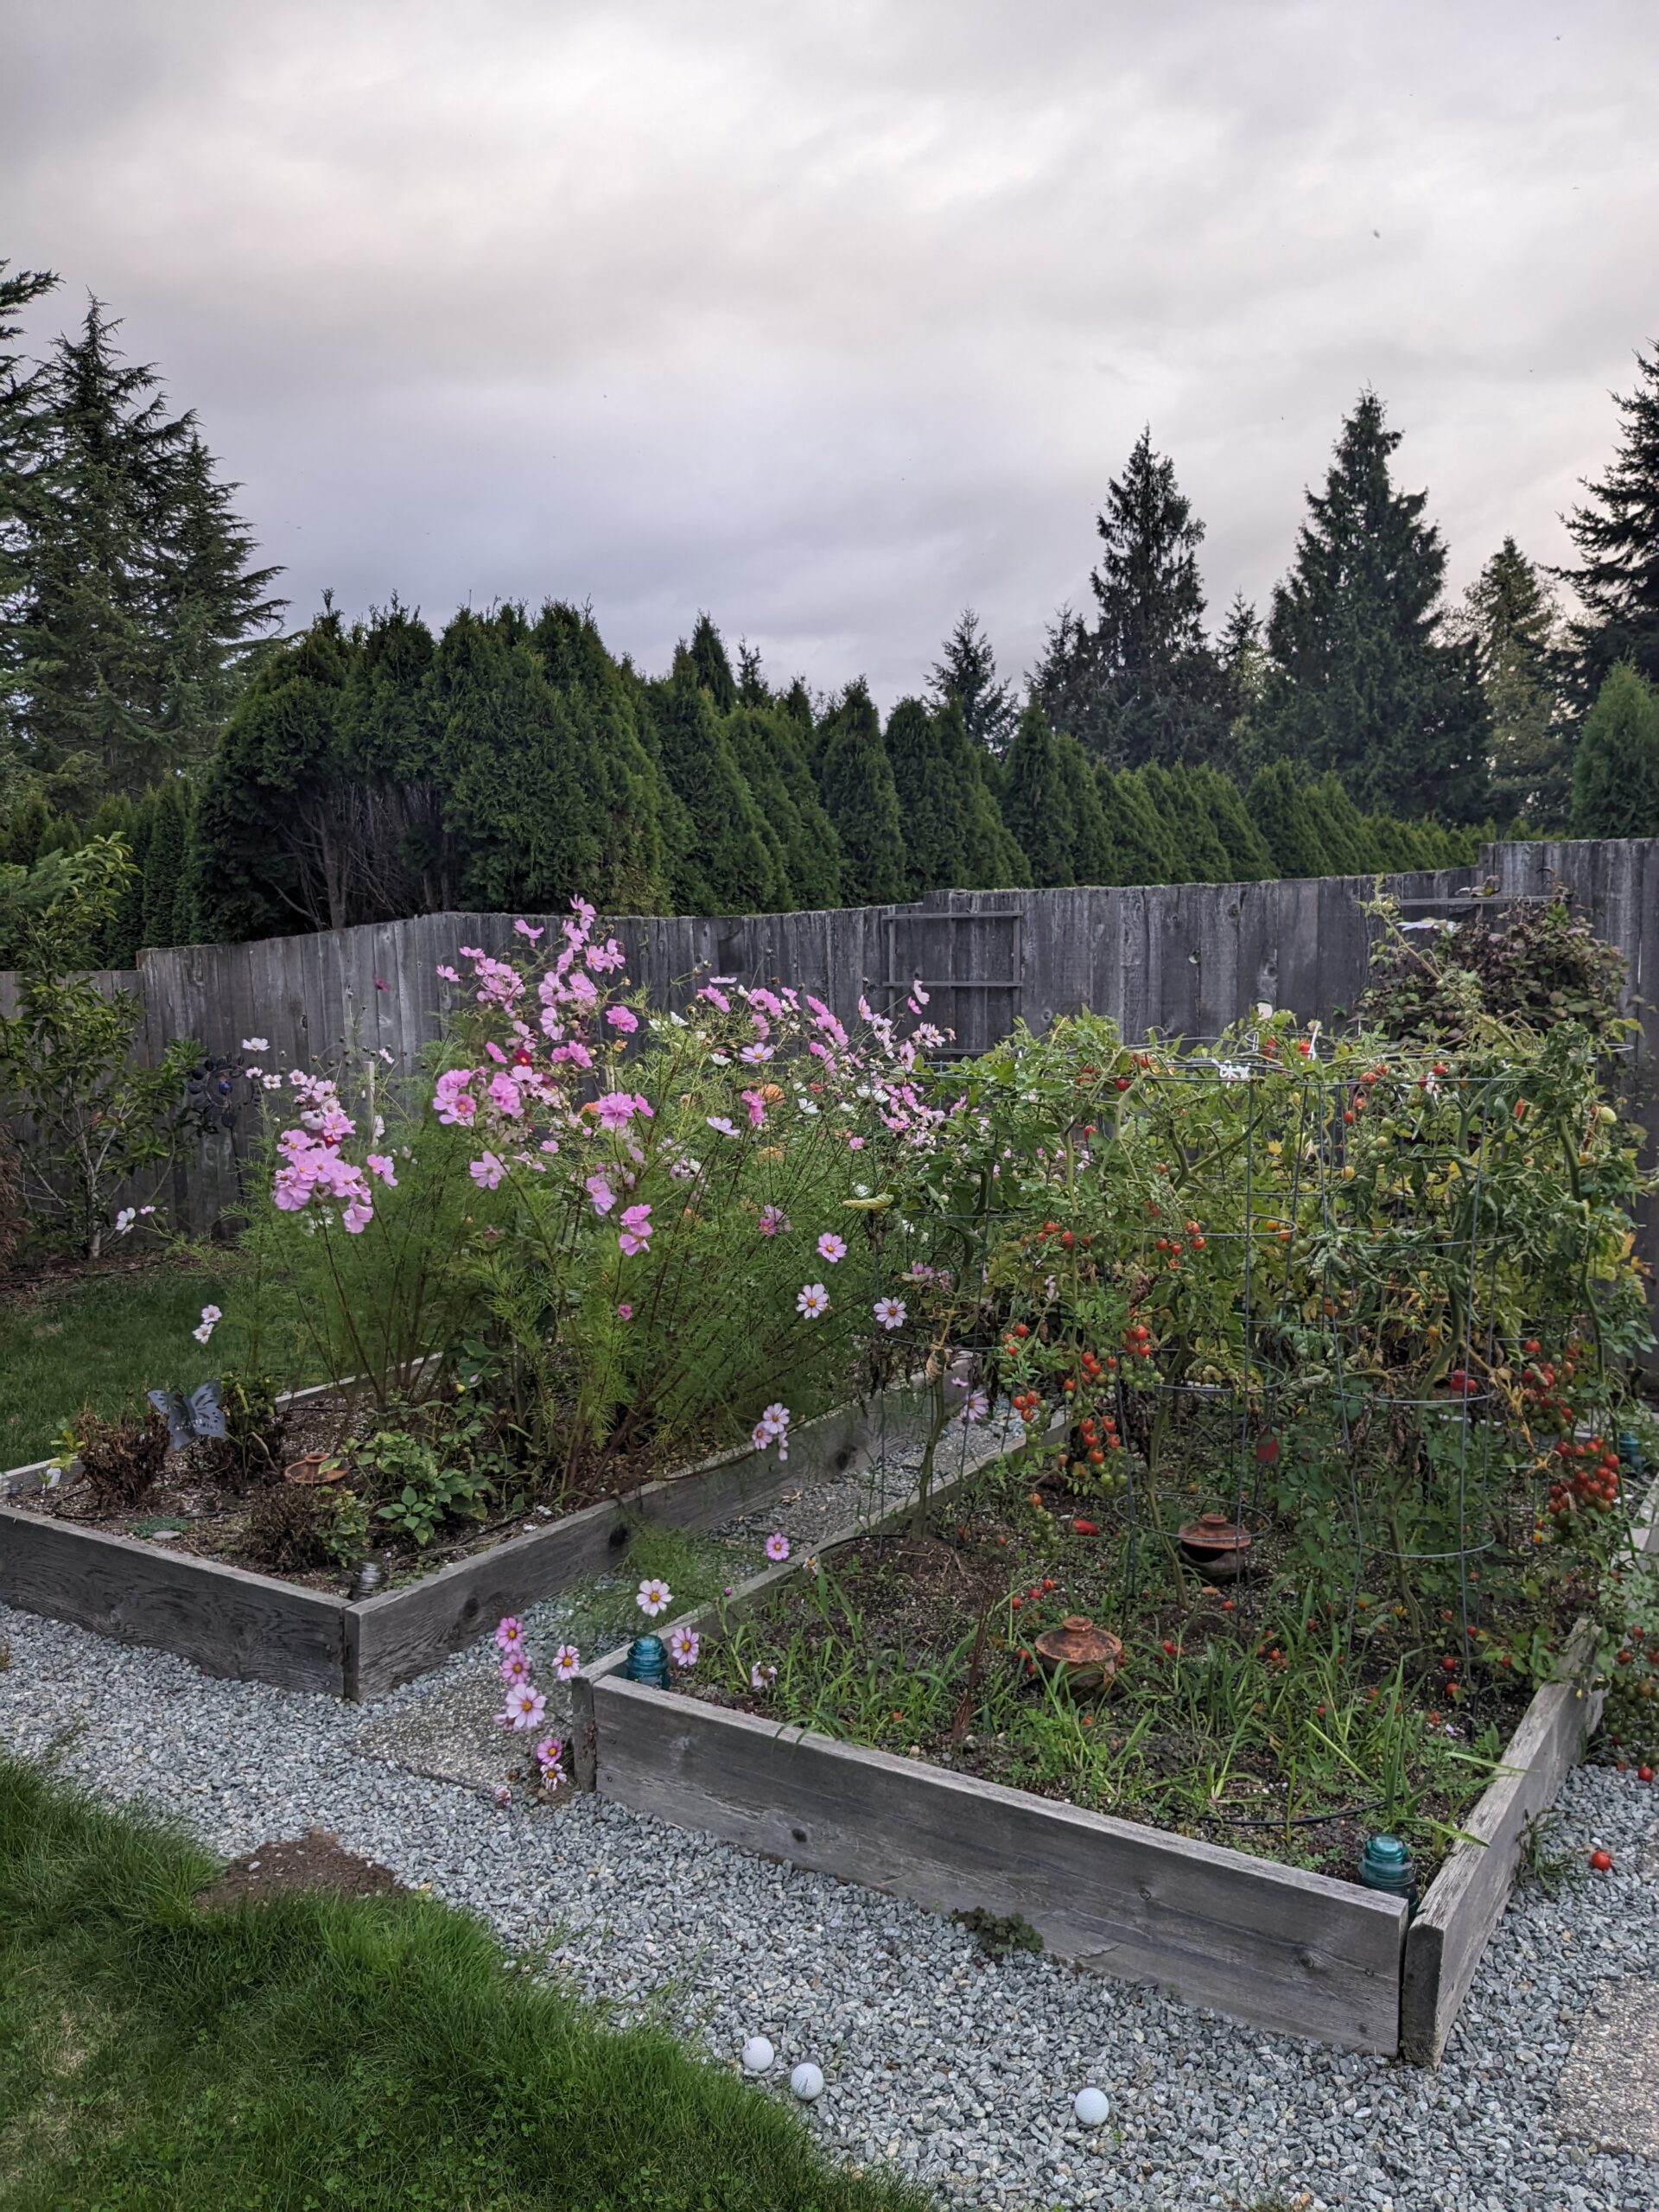
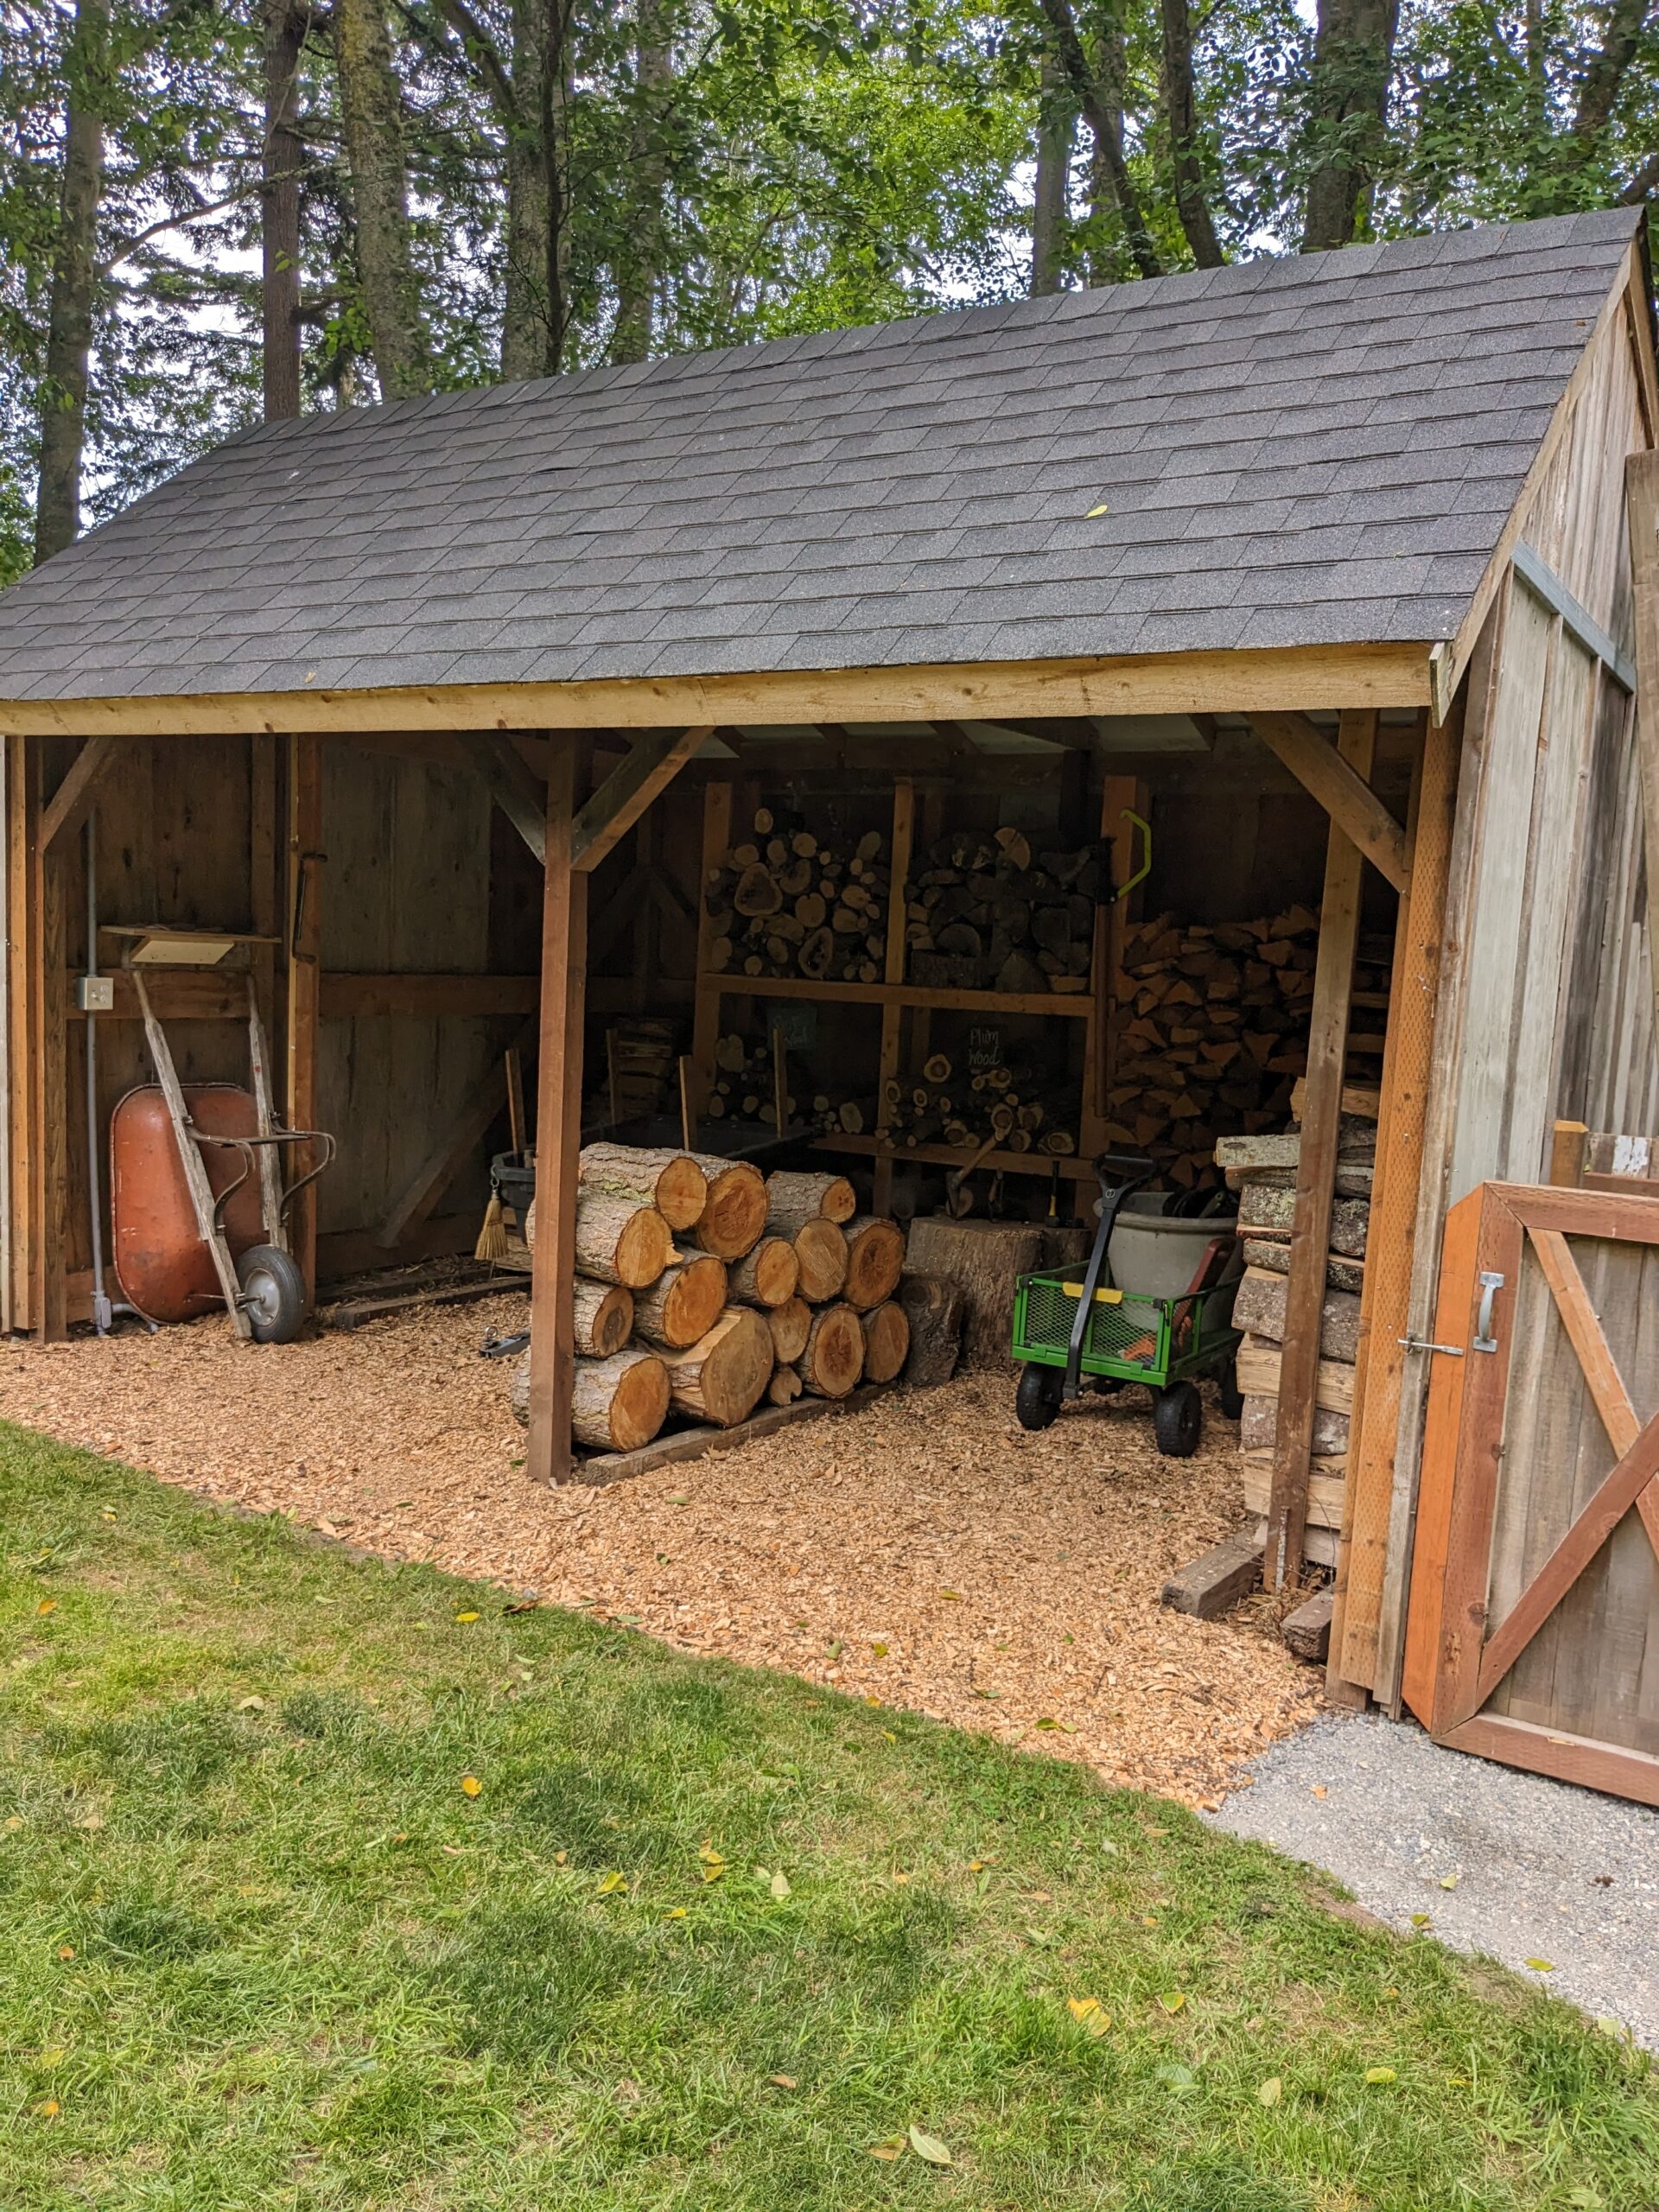
By the end of the Fall I have switched my business plan for next year, from fresh cut flowers to dried. I am planning to grow lots of flowers but rather than sell them as a cut flower, I am going to dry them. I plan to sell dried bouquets, as well as make crafts with the flowers, such as earrings, necklaces, coasters, trays, ornaments, and shadowboxes. I plan to 
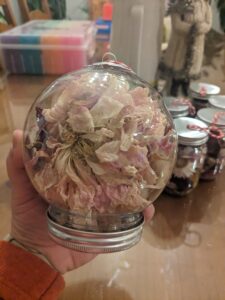
sell my goods at my work, Schuh Farms, as well as local craft markets, with my cart. I like the idea of dried flowers better than fresh for many reasons. There is less pressure to sell them right away when they are freshly cut. I can take my time creating crafts with the flowers. Dried flowers last longer, months or even years so you are making a keepsake product rather than a perishable one.

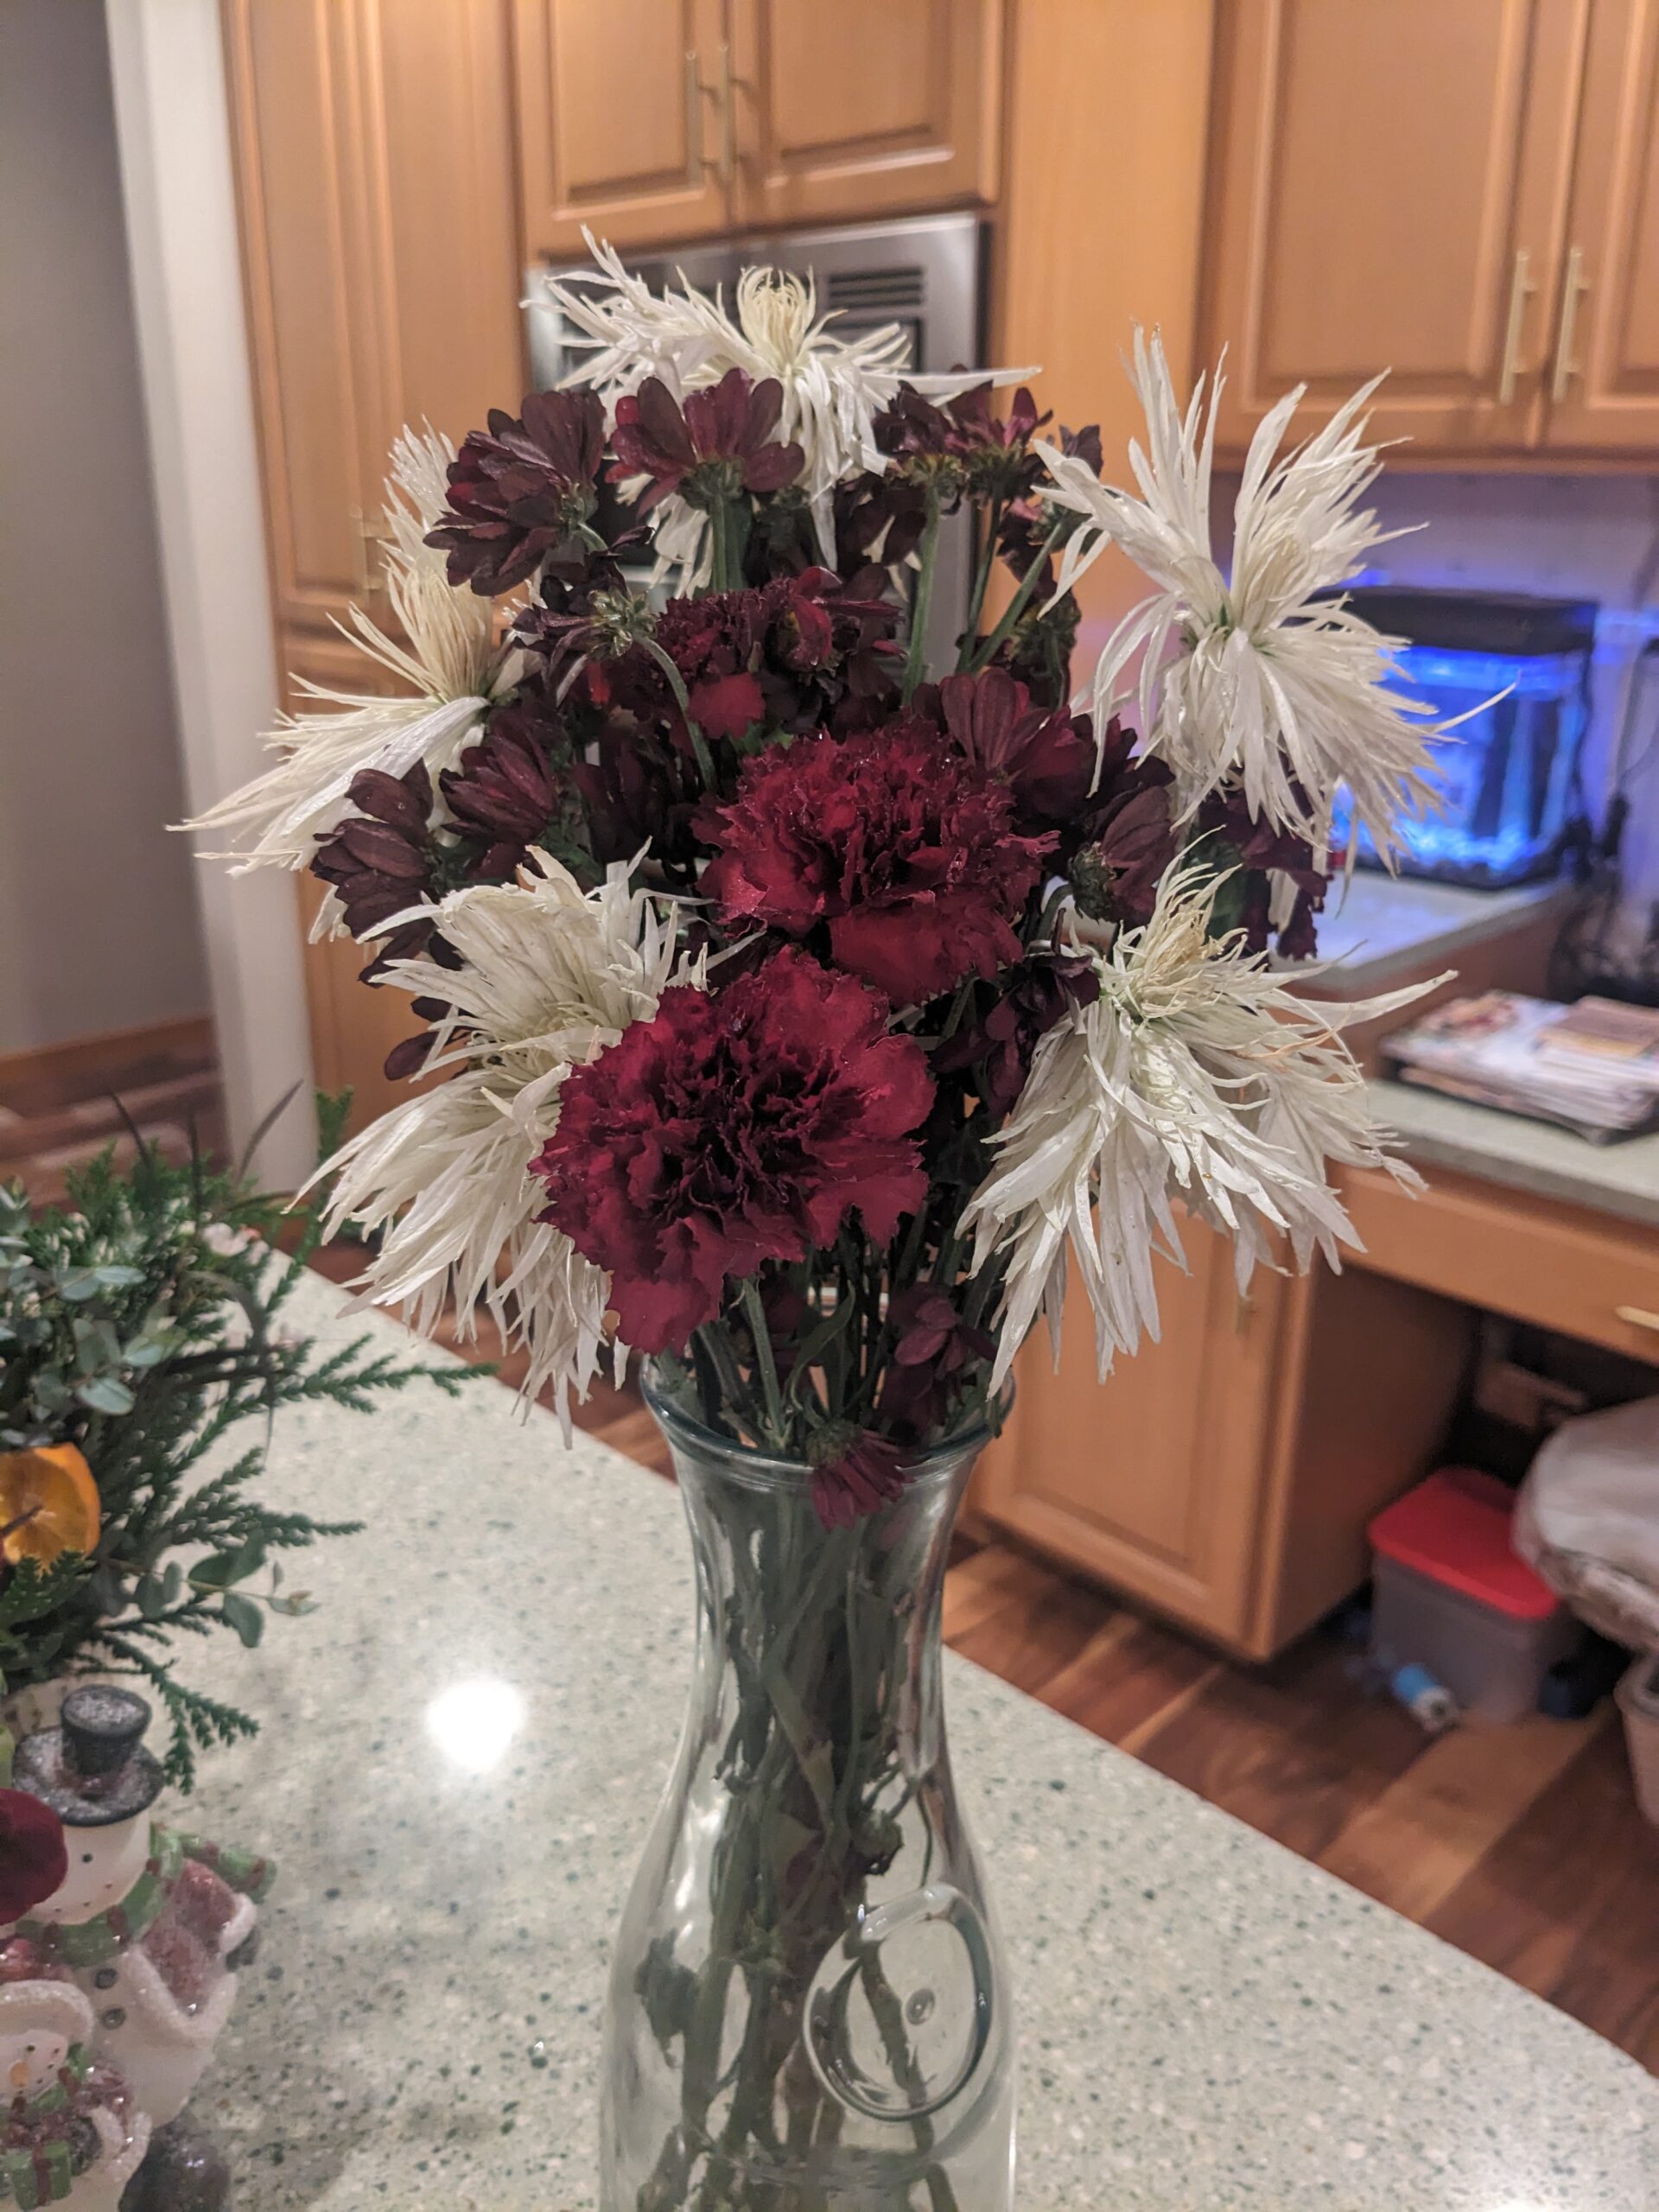
This winter I have been experimenting with different ways to dry flowers. I have used silica gel and hang drying. The silica gel has had mixed results, I think it just depends on the type of flower you are preserving. Hang drying is the easiest, but my cat likes to bat at them lol. For Christmas my husband bought me a flower press and a microwavable flower press. So I will test those out next. I am having to buy flowers from the grocery store to experiment with. I can’t wait until I have my own flowers to work with. Another present from my hubby was resin molds. I am going to try making some earrings and coasters to start with and see how it goes. When I have my flowers I plan to make a bunch to sell and to gift.

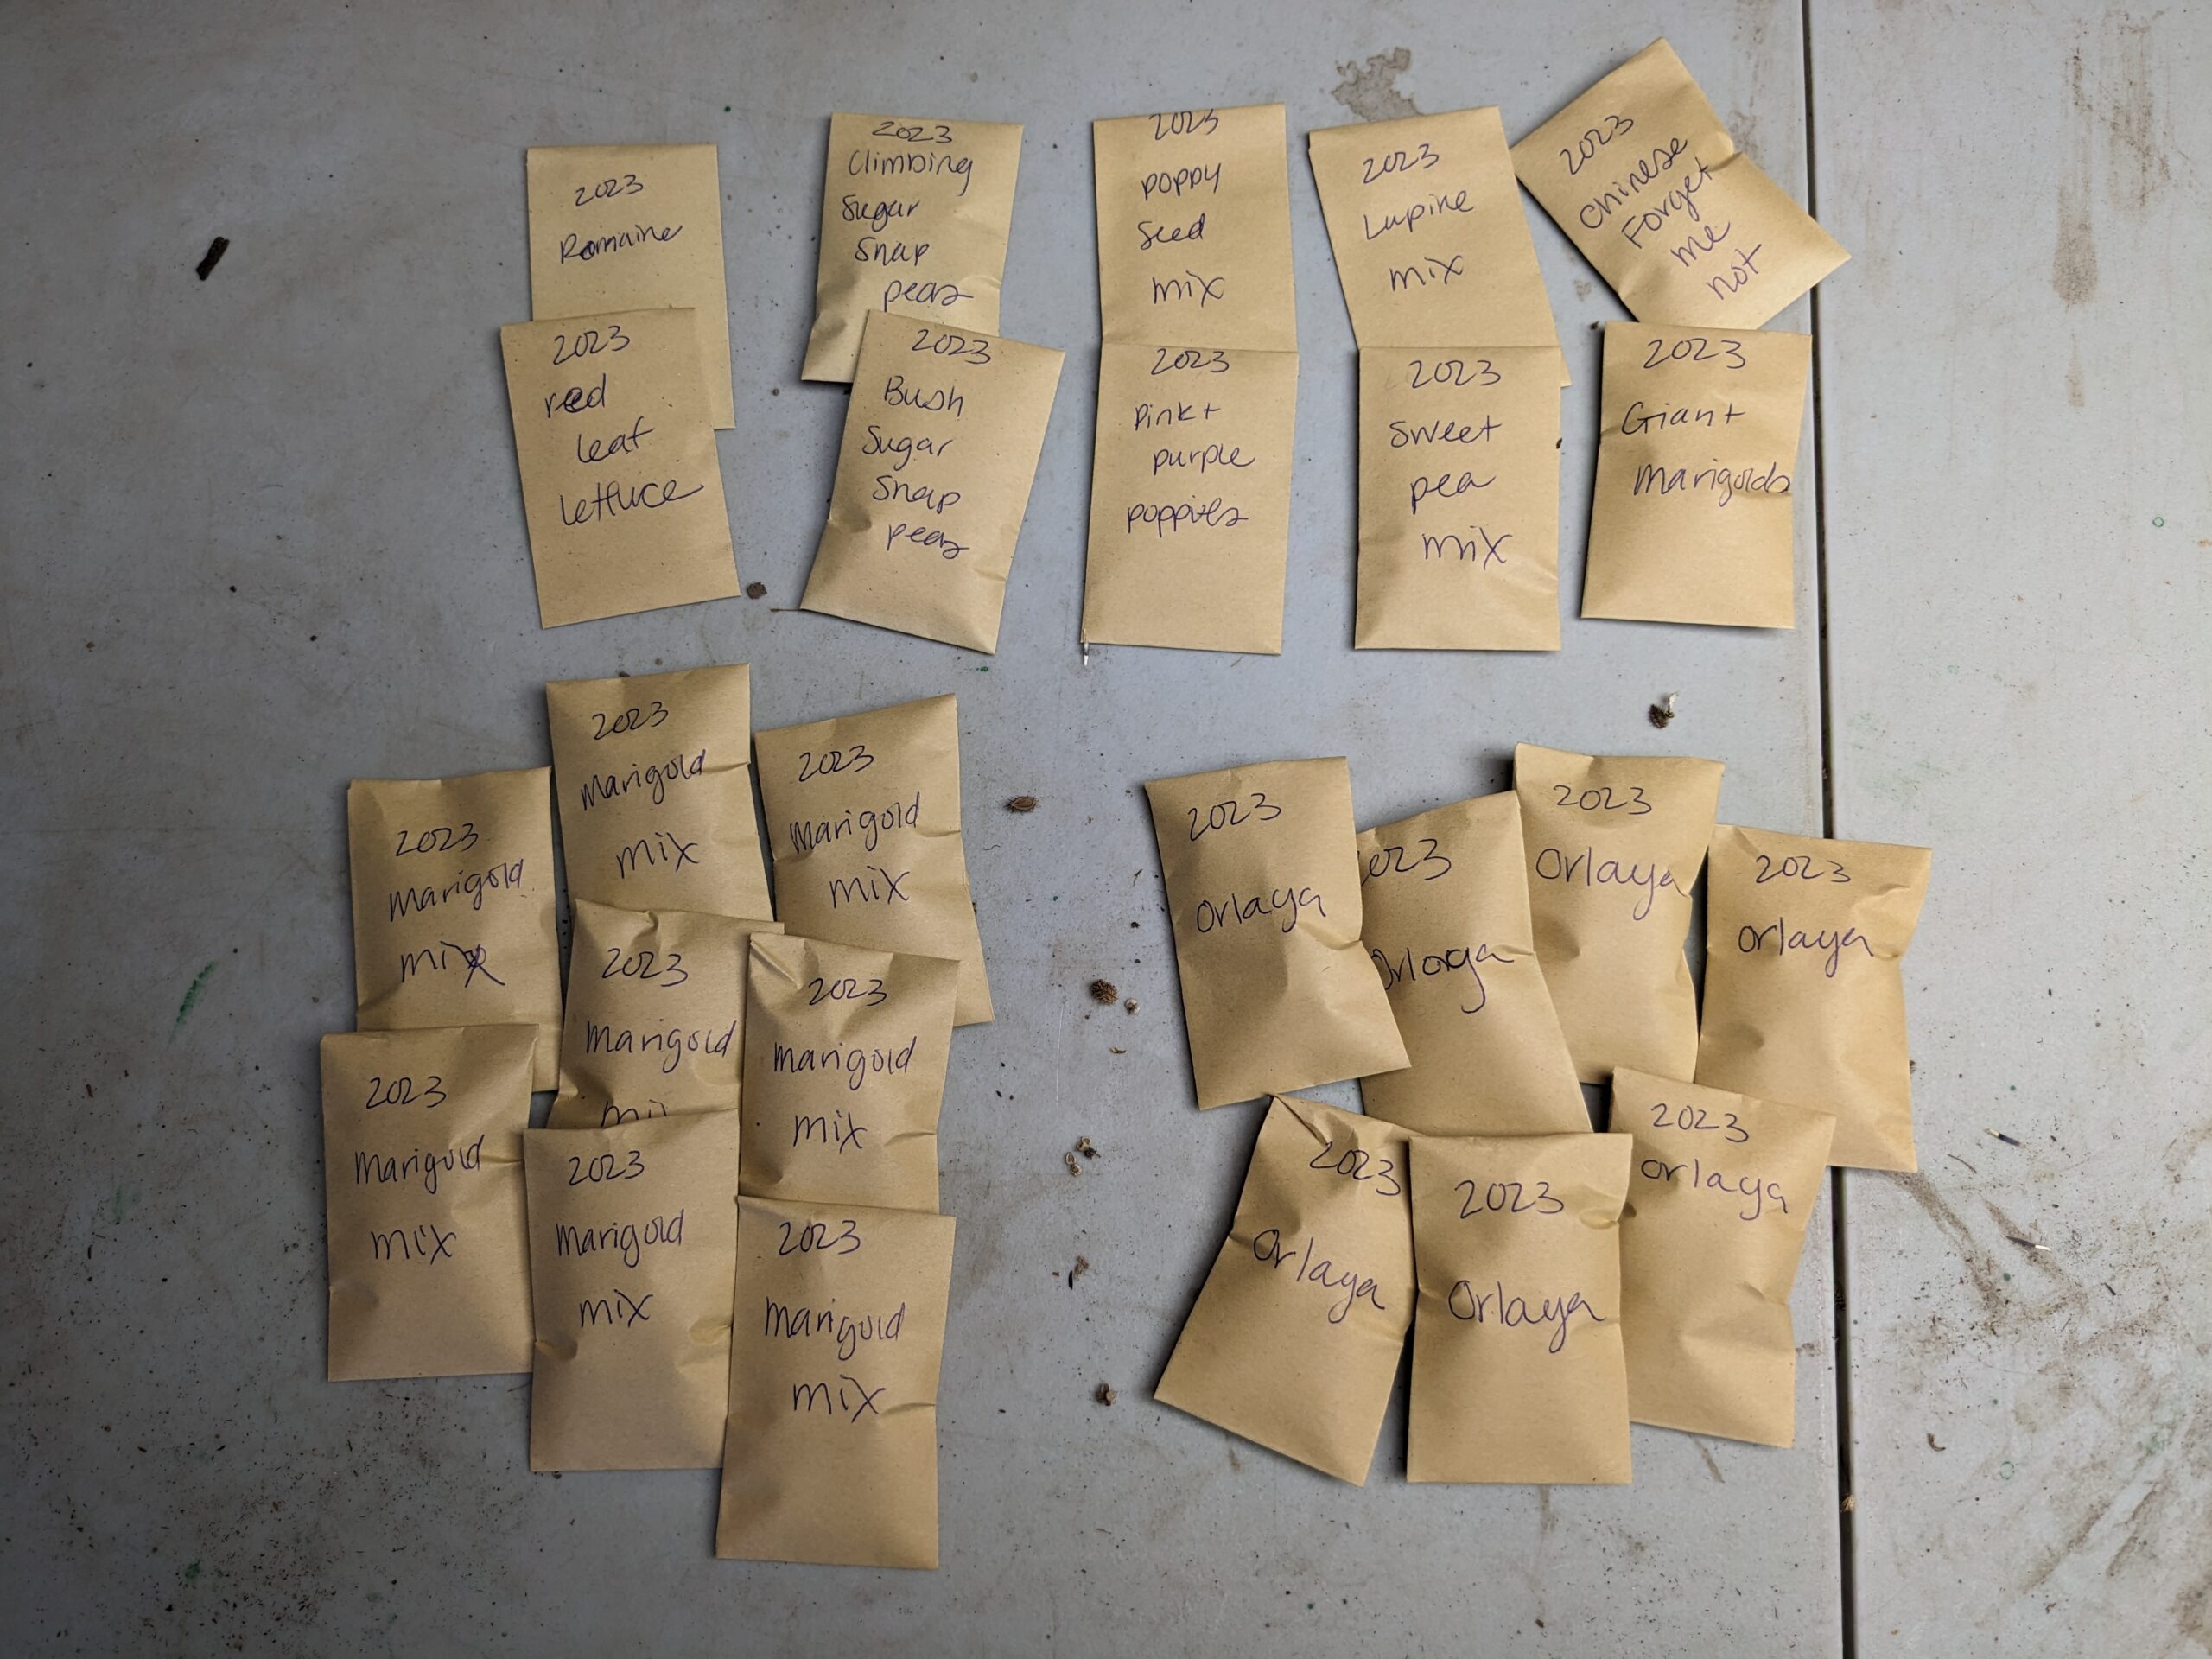
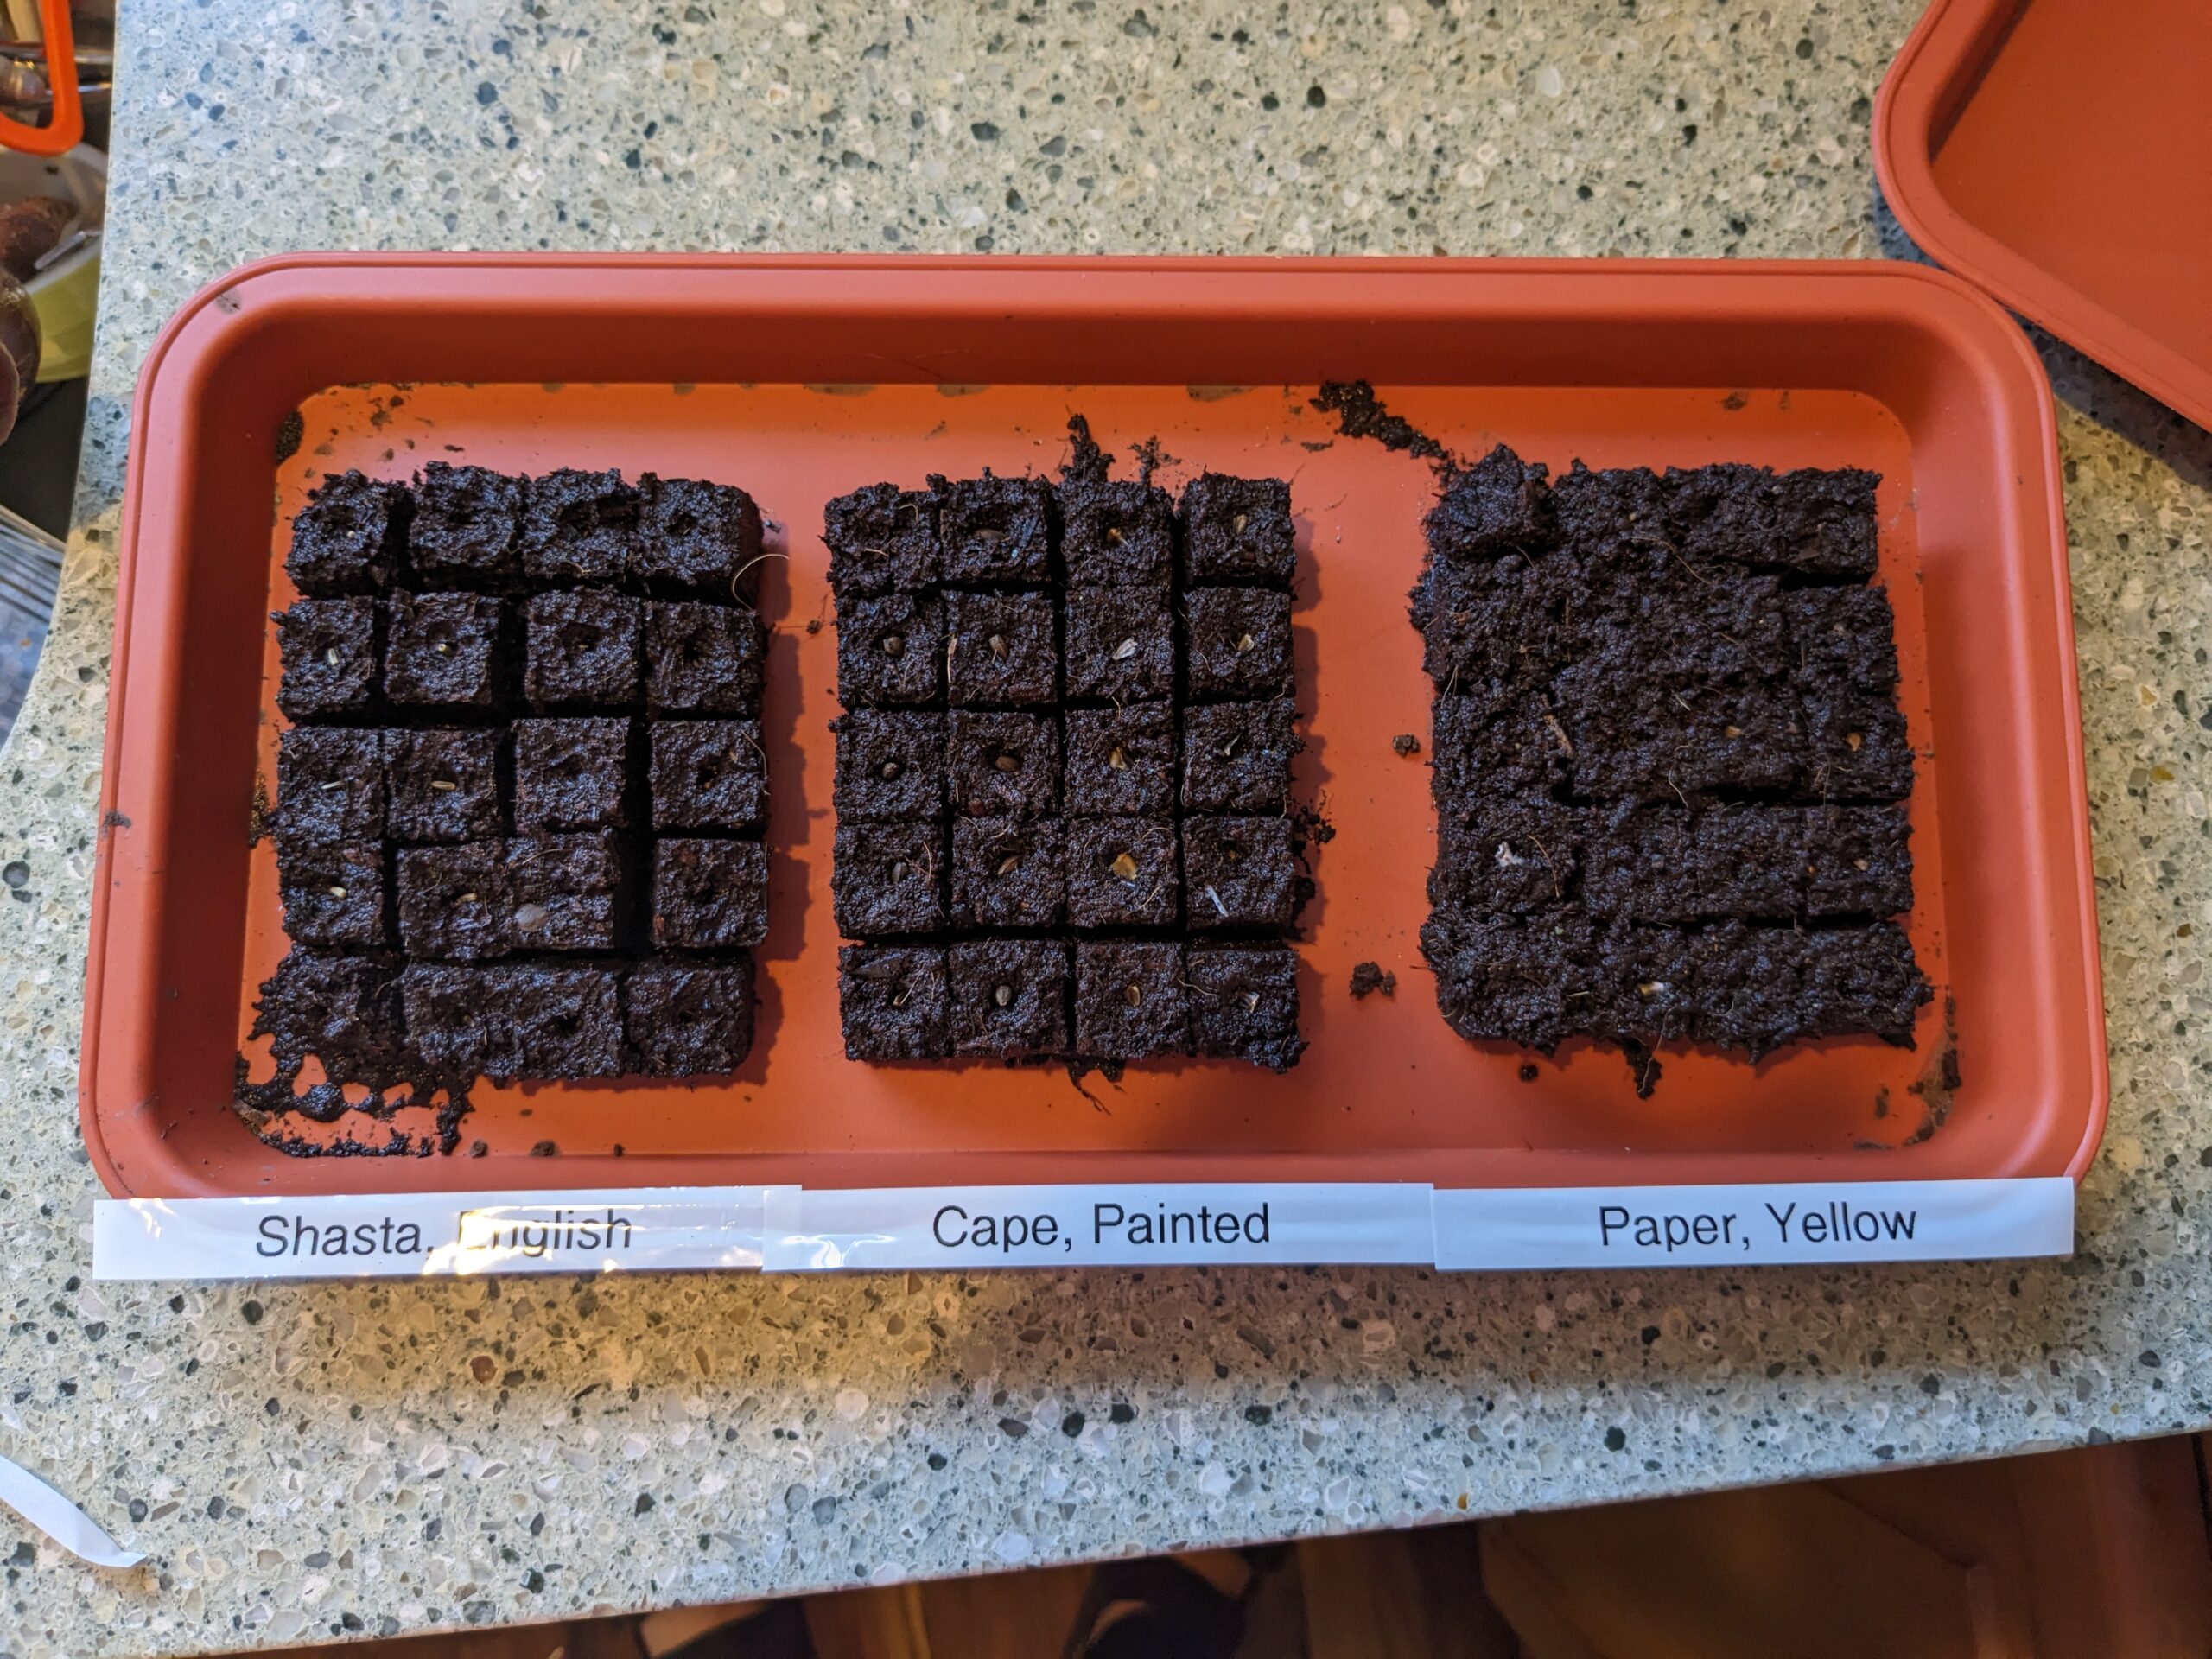
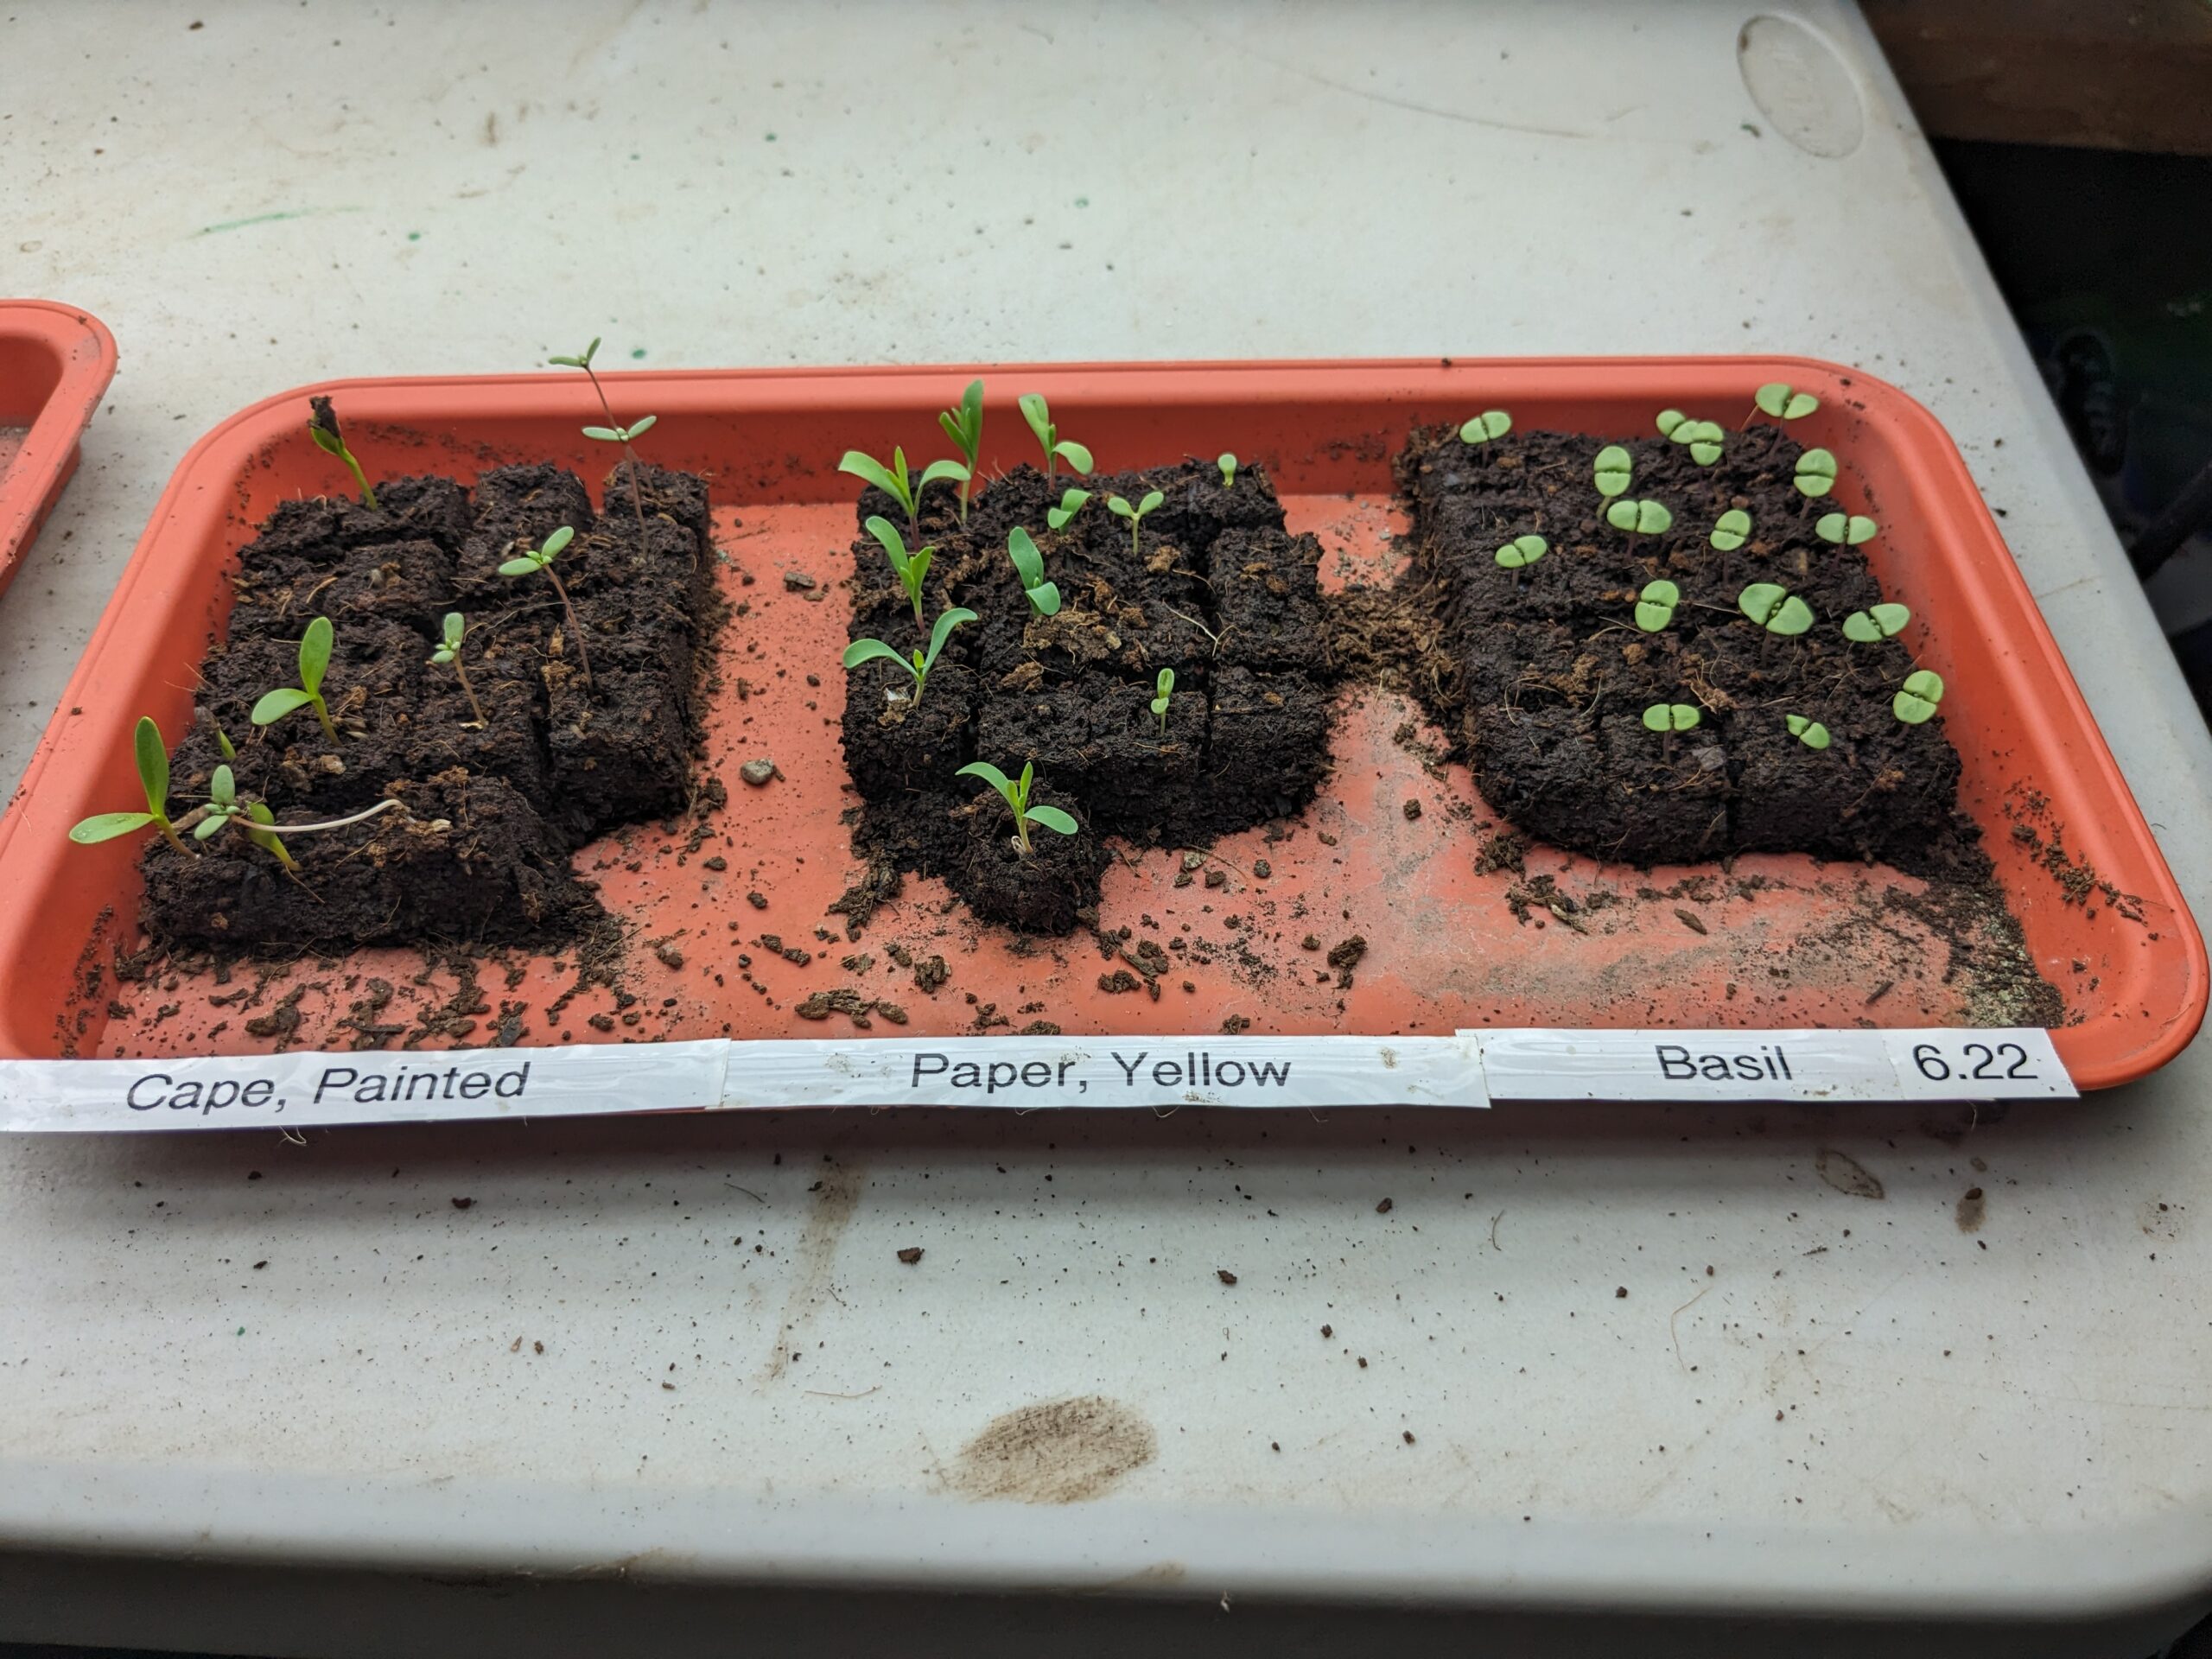
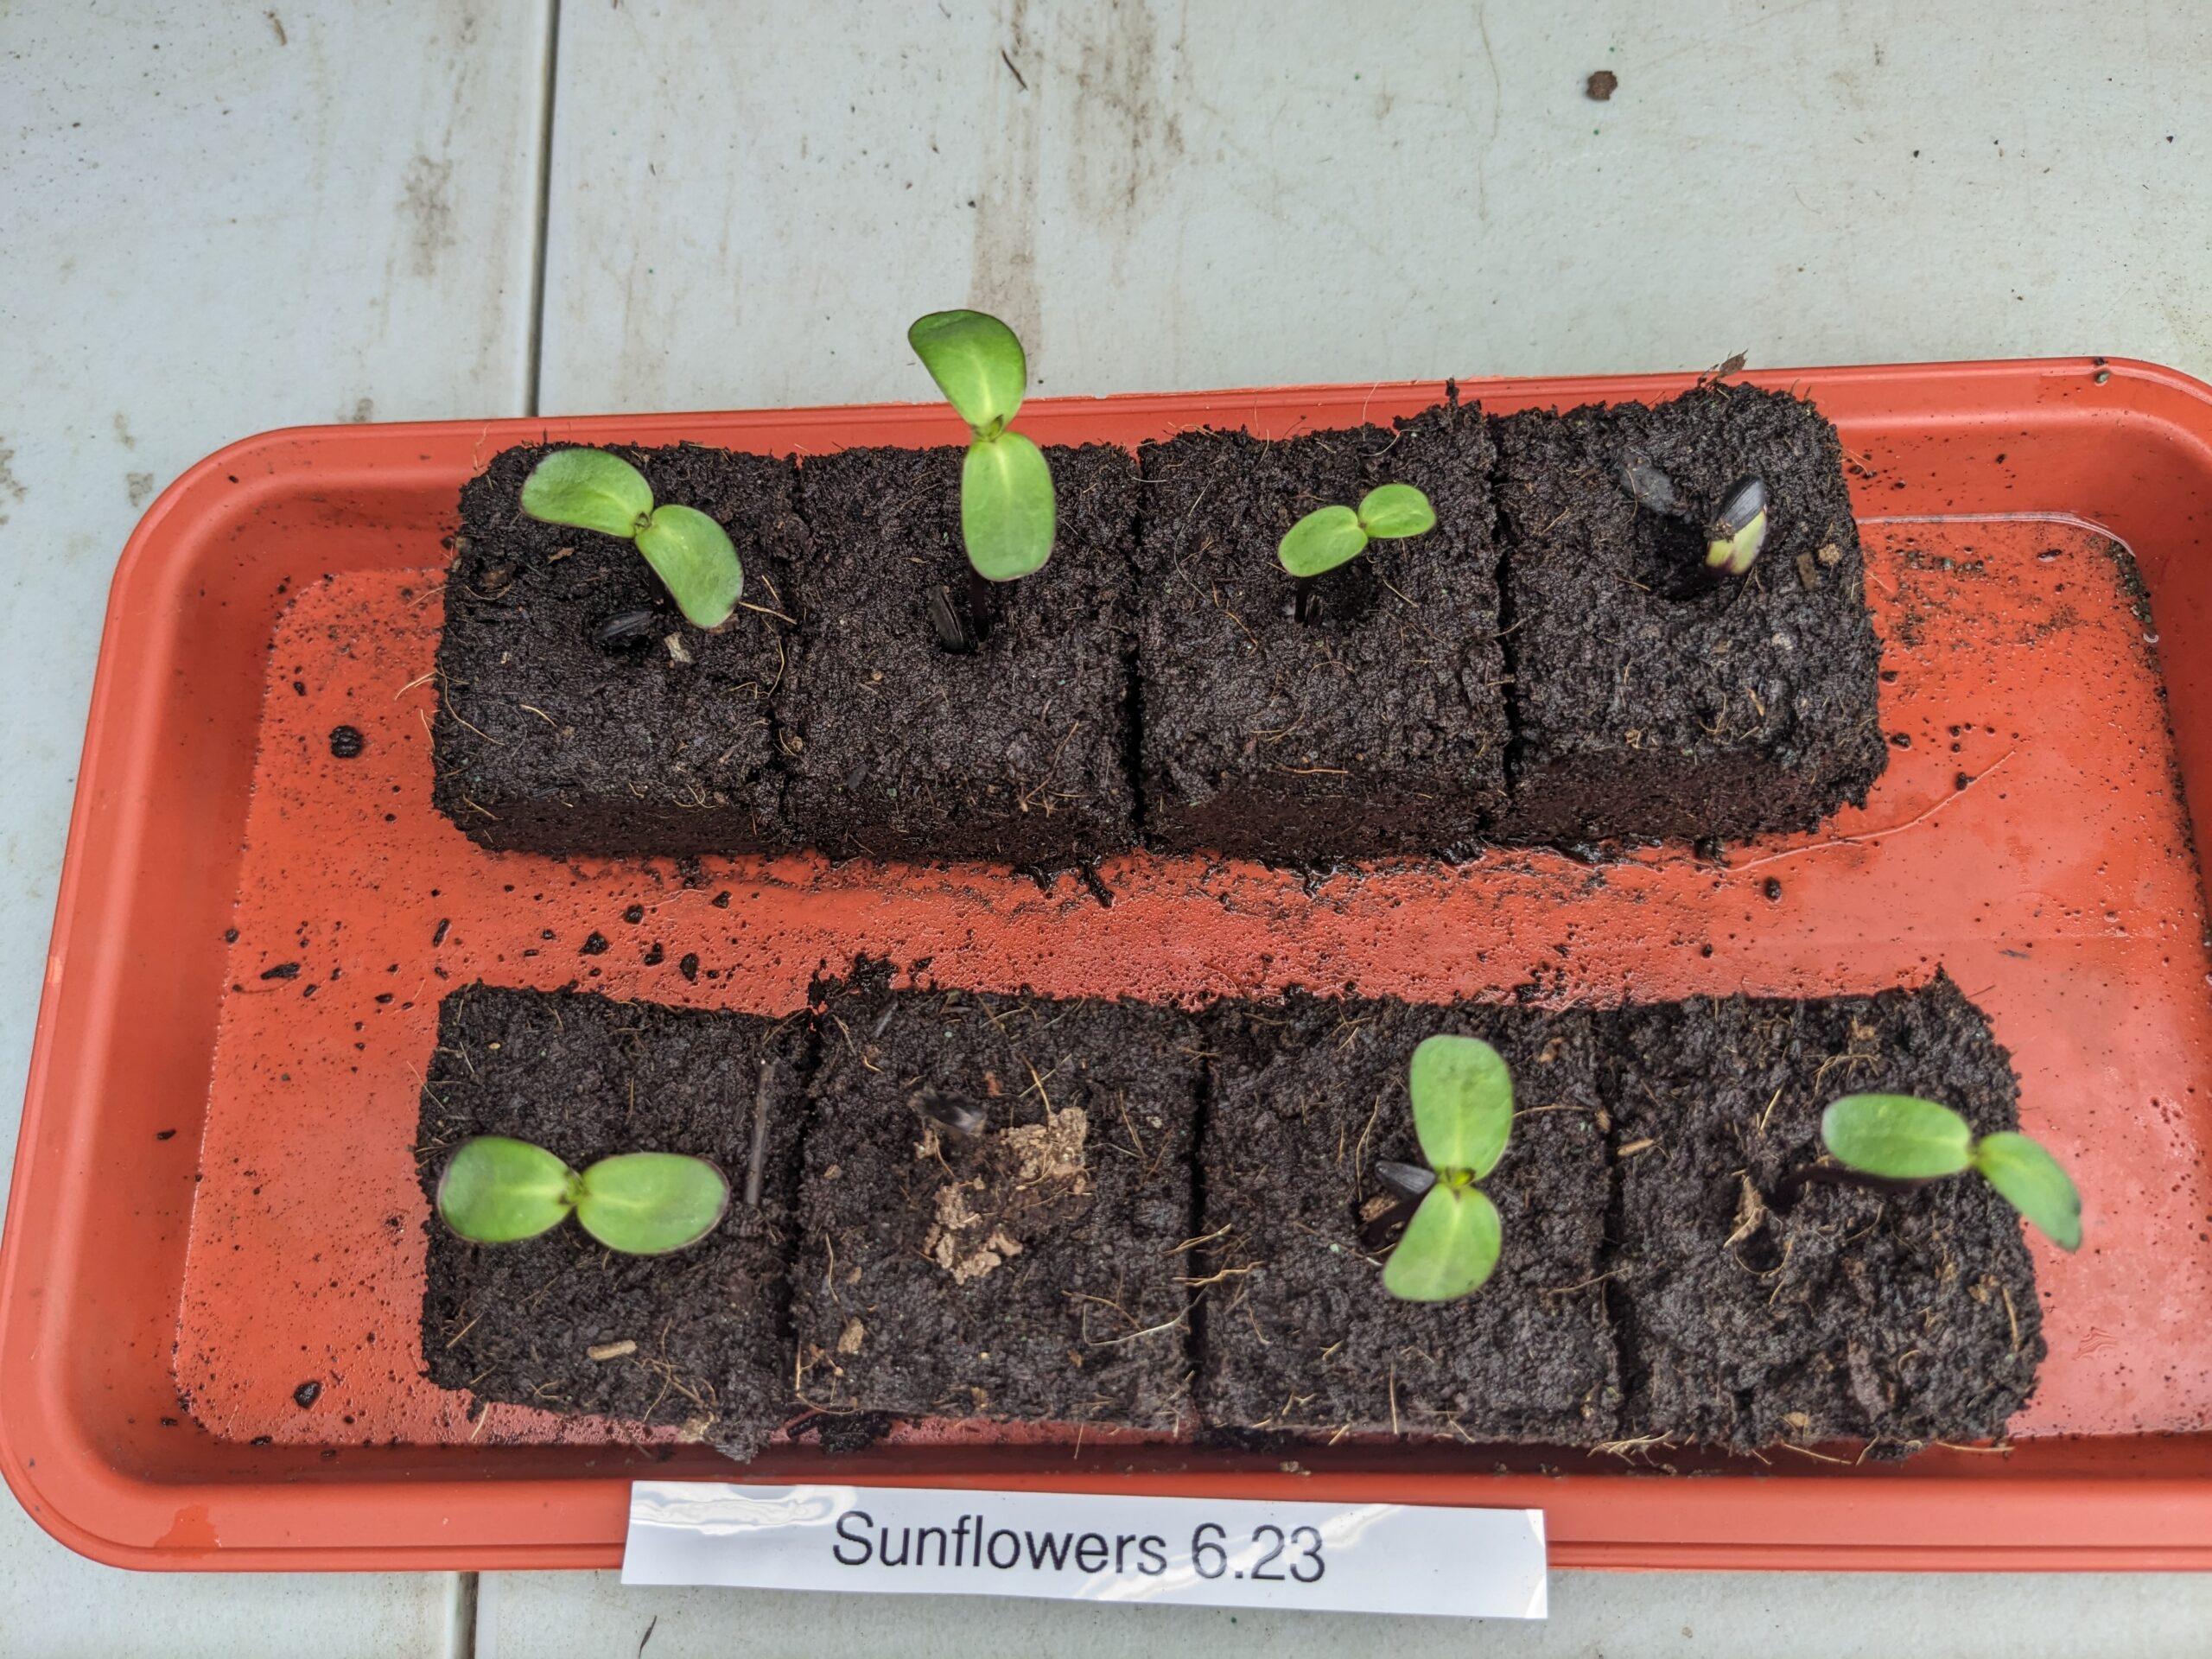
The next thing on the to do list is to organize all my seeds and start planning the schedule of when to start my seeds. I know January is the month to start cool hardy annuals, just have to decide which I want to do, keeping in mind that they will be dried. I have also been looking for flowers with small blooms for the crafts that I want to make.

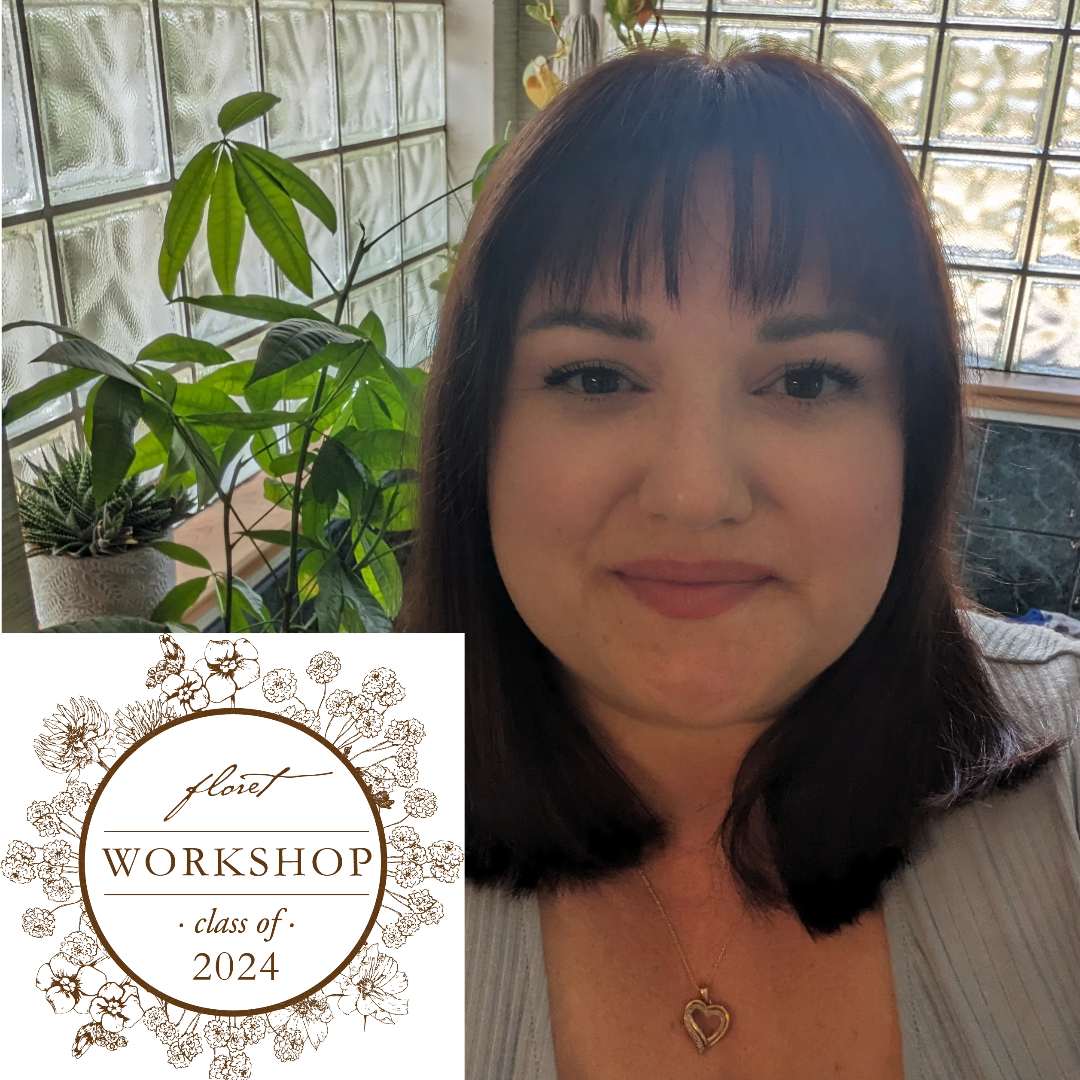
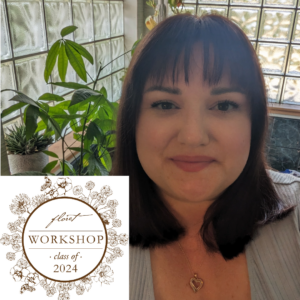
On January 5th I will start the Floret Online Workshop. I am so excited to be a part of this learning community. The class goes for 6 weeks and will be a lot of information to take in. Luckily my work closes down for 11 weeks in the winter, so I will be able to give it my all. I am hopeful and looking forward to 2024. Thank you to everyone who has encouraged me and has followed along this journey with me. Happy New Year!

Fall is here

As fall arrives it’s time to clean up the garden and get it ready for winter. The flower garden this year was pretty successful, for not really knowing what I’m doing lol The dahlias are still blooming and so are the zinnias and cosmos, as well as the sunflowers. They’ve been making some beautiful bouquets that I’ve enjoyed at home, as well as sharing them when we have an abundance of blooms. I had my son go around to the neighbors to deliver flowers. 

The tomatoes have been very bountiful as well. I’ve been freezing them as they ripen so that I can make some sauce, once they’re all done producing. I am going to get rid of the strawberry bed with a tarp over the winter, so that I can have more room for flowers next year. I’m also planning to leave my Dahlia tubers in the ground over the winter. For preparations, I am going to get some leaves to put down for mulch then I’m going to put down a very large tarp that I bought from Billboards Vinyls to help keep them dry during the wet months ahead.

I went to a workshop at Blackburn Gardens all about Hardy Annuals. I’m still learning about which plants to to start in the fall and winter. I have an order of bulbs to pick up from The Farmhouse Flower Farm and I will be planting those at the end of October. I plan to use my soil blockers to start seeds in January as well. I was able to save a bunch of seeds from the blooms this year, so I have a head start on next summer!

This year I learned that I need to plant a lot more flowers as well as fillers to make enough beautiful bouquets to have a flower cart be successful. I bought a flower cart at a local antique store and had a local carpenter make boxes for it. I am going to wait to start having flowers for sale at the cart until next spring. I just feel like I didn’t have enough flowers to be consistent with starting it this year, but I’ll be all ready to go for next year.

I have also applied for the Floret Online Workshop scholarship. I hope to be able to take that class so I can learn as much as possible for a successful year next year. So fingers crossed that I can attend 🤞

Soil Blocking

I tried something new, it’s called soil blocking. It’s a way to germinate seeds without using the plastic seed trays. I have never been very good at germination. I would say I got lucky with a lot of what I did start! I have lost so many seeds to not getting the right conditions for massive seed starting results. While I have been learning, someone I came across is a flower farmer named Lisa Mason Ziegler. She runs the website The Gardener’s Workshop, where she teaches anything and everything flower farming. I signed up for a class on soil blocking and away I went. I ordered the correct tools you need to make the blocks and the special soil. Once I had all the equipment in hand I felt like quite the scientist, or farmer I guess! Making the soil the right level of wetness is tricky at first but now that I have made it a few times I think I have the right consistency down. Making the blocks is easy to do and kind of fun. I have two sizes that I can make, 3/4″ or 2″. I like using the smallest size block, I can fit 20 seeds into one grid and 60 seeds on one tray. That is a lot of flowers 🙂 I started 60 Daisy seeds, 10 seeds each of 6 different Daisy varieties. Then a few days later I started 8 Sunflower seeds. These seeds are much larger so they needed to be started in the 2″ blocks. Just a week later and they are so tall! I am hooked! What else can I start?

Oak Harbor Garden Tours

I have dedicated this next year to learning all I can about flowers. Part of my self imposed curriculum is going to see how others are doing it. I want to visit other flower farms as well as go see gardens of all kinds. When I learned that the Oak Harbor Garden Club was hosting their 100 year celebration with self-guided garden tours, I knew I wanted to go and take my mom.

We started the day with delicious breakfast at Calico Cupboard and then on to the first tour.  It was a beautiful home overlooking Penn Cove in Coupeville. They had the grandest lavender pathway, truly majestic. You could tell Jen’s garden was a labor of love. The next garden was by a man named Albert. His garden was so packed with perennials and annuals it was a great site to see. It made me realize I can fit a lot  more plants in my small space, always a good thing 🙂

The third garden on the tour was an experience. There were great sculptures around the property mixed in the landscape. They had vendors selling goods and tea and cookies! It was a nice time to just relax and enjoy the company of like minded plant people. I also bought a cute little  pink Astilble plant that just had to come home to my garden. Now I know what to plant in the shade, more Astilbe!

The next stop on the tour was my favorite, the dream location and set up. Dahl’s Dahlias and Gardens was the home of Heather and Shawn, on their wooded 2.5 acres. They had the cutest little flower stand and shed by the front of their property. Walking to the backyard you walk past the neatest wood shed I’ve ever seen. The backyard was the best, gardens were fenced in white, a greenhouse, fireplace with a hammock, sheds full of tools neatly put away, and chickens in their coop. It was just pure bliss. Maybe someday we will live with a little more room to spread out.. Until then I will make my own little oasis.

The final stop was a lavender farm with the coolest entertainment center:  bird and squirrel feeders right off the back patio for hours of fun. To finish off the flower filled day we decided to go to Christianson’s Nursery for their Annual Rosy Day Out Festival.  The guest speaker was none other than Ciscoe Morris, talking all about Roses, “Oh la la!” Well that was worth showing up for, what a character! All in all it was a great day with my mom. I learned a lot and did it in a fun way that was memorable. To many more garden tours!

Welcome Back To The Blog

Well I did it again, I totally forgot about the blog for a few years. Life happens, you get busy 🙂  But I have been busy gardening, crocheting, mom-ing and working at the farm. 2022 was a great year. I will share some photos later on of the adventures we had. Right now I want to share with you what is going on in the garden.

I have made the switch to flower farming! I have grown flowers in the past here and there, but only with the intention of drawing in the bees to pollinate the vegetable garden. This year I wanted to focus on flowers. I am still growing tomatoes for summer snacking and canning sauce. I grew 22 tomato plants from seed in the shed. They are my babies! So healthy and beautiful. I only have room for 9 plants, so I am going to sell some and give away the rest. I also grew flowers from seed, 19 babies! I grew Orlaya, Stock, Bachelor Buttons, Milkweed, and a lot of Chinese Forget-Me-Not. The rest that I tried to start did not germinate. I need to learn how to have more successful germination.. For another day.

I started the season focused on filling in the Secret Garden, my English Cottage style garden in the front yard. I filled her in with lots of perennials, Marigolds, and Hollyhock. I will add Daffodils and Tulips in the fall for next year. I also painted some pots black and added white Hydrangea plants to those. Love how they turned out! I love a good black and white moment.

Moving to the back yard, I have one bed for flowers and potatoes, one for tomatoes and garlic, and one full of strawberries and lettuce.  For the flower bed, I have some Dwarf Dahlias from work at Schuh Farms and Dahlia tubers from Blackburn Gardens. In the fall I went to Blackburn Gardens for a Dahlia tuber workshop. It was awesome, I learned how to divide and store the tubers. I was able to keep them alive through the winter! 🙂 5 tubers sprouted and are in the bed growing lovely. Can’t wait to see what the babies look like in bloom. Recently I found my first podcast to listen to, about flowers of course! Let’s Grow, Girls is hosted by Nicole and Sarah out of England. I have learned so much and found my people. My Nana Dorothy was from England and her and my grandpa always grew roses, I feel like they are here with me on this journey.

My next project is just unfolding. I am going to convert some grass to a flower bed for more Dahlias! This area of grass was previously a garden that I filled in when we first moved in…lol All that work for grass, but really it’s not level and full of clover. So happy to see it go! I have 14 more tubers to plant, thanks to a fellow Skagit Garden Geek, Steve in Anacortes. Some will be a surprise but I am most excited to see Cafe au Lait, she looks to be beautiful. It has been fun making bouquets with the flowers that have been growing so far, can’t wait to see what comes this summer. I promise to post more and see you on my Instagram!

Back at it

Well I did the classic blog issue…didn’t post anything for 4 years! Lol Going to give it another shot. A lot has happened in 4 years. We moved last year, but I had a few years of gardens in our last house. I’ll post pictures about that later. I have built new garden beds at the current house. I have taught myself how to crochet, made many blankets and lots of little fun goodies. A few DIY projects to decorate the new house. So many items to blog! 🙂

Starting Garden Blog

My first blog post. A little background I guess. I am a mom, wife, artist, wanna-be teacher, and lover of nature and all things naturally made. I started my garden for many reasons: to be creative, to grow my own food, to make meals and store food for the winter months (or the apocalypse, whichever comes first) ;-). This year winter is upon us and I didn’t get the biggest harvest so I will stick to ordering my fruits and vegetables from Klesick Farms. They rock. It is fun and easy to order food online and have it delivered right to the front door. I still need to learn all about canning and storing food but that is for another day.

First food delivery from Klesick Farms.

Today I want to go over what I have done so far. This is how I plan to blog, going over what I have done. I started planning and designing my garden in January 2016, in the cold winter months while listening to my husband play guitar. I read, pinned, and created what I wanted to do. I like to use the yellow legal pads to keep all the ideas and information all in one place. It is my old school blog if you will.

One of many sketches in my planner.

Once I had all the plans drawn out and measurements estimated. I bought the supplies from local stores, I like to keep it as local as possible with all my purchases. Vote with your dollars is a good motto of mine. I want to support local companies, employees, and taxes to support the town I live in. I ordered seeds from Osborne Seed Co., soil delivered from Salazar’s Nursery, bought wood at Sound Cedar, screws from Kaptein’s Ace Hardware, had Ollas made by Sauk Mountain Pottery, and collected tools from garage sales or the local pawn shop. With all the supplies in hand then it was time to start moving plants and building the raised beds.

The location of the beds was planned from the aerial photo from Google maps. The image showed the sunniest spots and it was also where we hang out the most, right outside the front door.

Google photo to plan placement of garden beds.

The first step was getting help moving the shrubs to the front yard. The guys from Alison Yard Maintenance (they rock too!) did that part. Thank goodness because that was a lot of heavy moving and digging and I was saving energy for the rest (hindsight is so much clearer). With the design in mind and a rough sketch to go by, the fun began. My hubby showed me how to use the tools and helped when I needed help moving the really long boards or needed help designing when it was not on paper. He helped me along the way but I was determined to do it and help is hard to ask for sometimes. I appreciate all the help that’s for sure.

The photos I took along the way will show the step by step process of building the beds, adding the filler (Hugelkultur is the method I followed and modified), adding in the soil and ollas, growing the seeds, adding the starts to the beds, and finally harvesting and getting the beds ready to sleep for the winter. I will add descriptions along the way to explain what I was doing to accomplish this seasons harvest. This first growing season was an experimental phase. One of many experiments I presume as growing food goes outdoors in the Pacific Northwest. I love the area we live in and wouldn’t trade it for anything. I may run out of growing space if I get really good at it but I can always expand to new areas of the yard. For now I want to make the most out of the spaces I have and eventually grow food year round and can the fruits of my labor. All a labor of love.