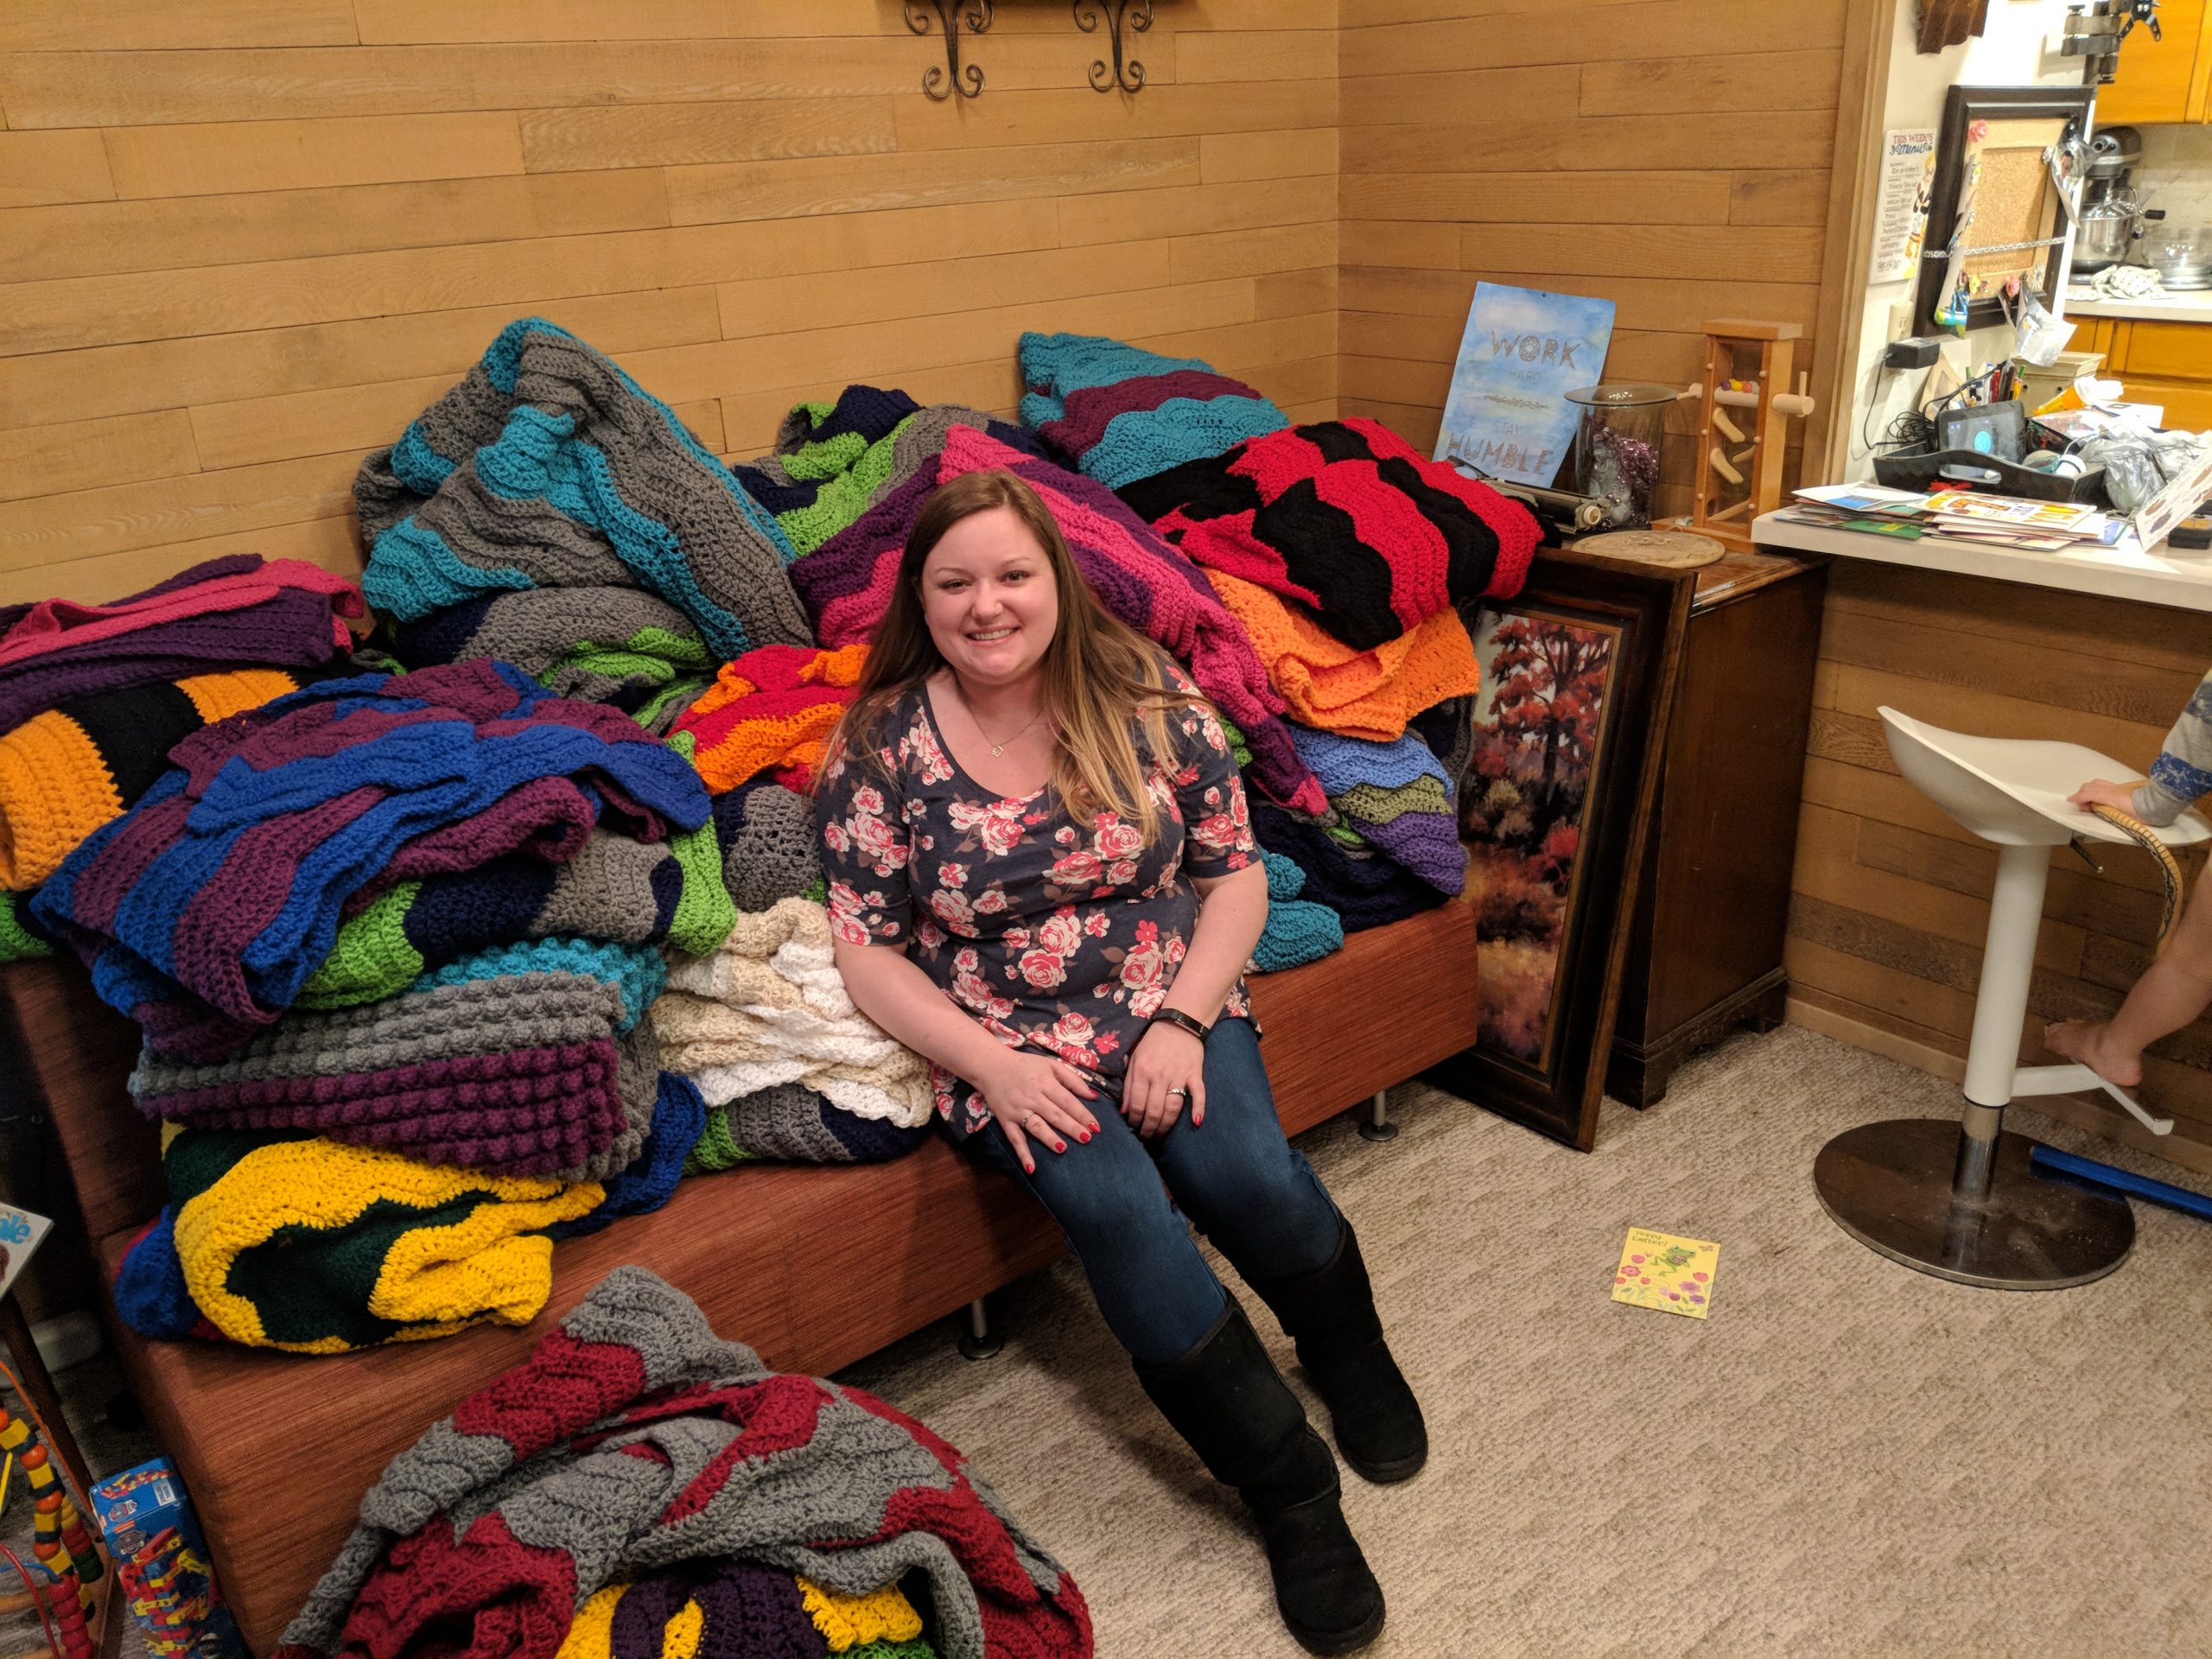
A few years ago I taught myself how to crochet. I am so glad I took the time to do that. I have made many projects, and many many blankets. I mostly crochet at night, I can listen to tv while working on a peice. I find it really relaxing and very satisfying when I complete a project. I am still working on reading patterns. I usually can watch a YouTube video and make a pattern out of that. I continue to learn new skills and that is what I love about crocheting, there are endless projects to try.
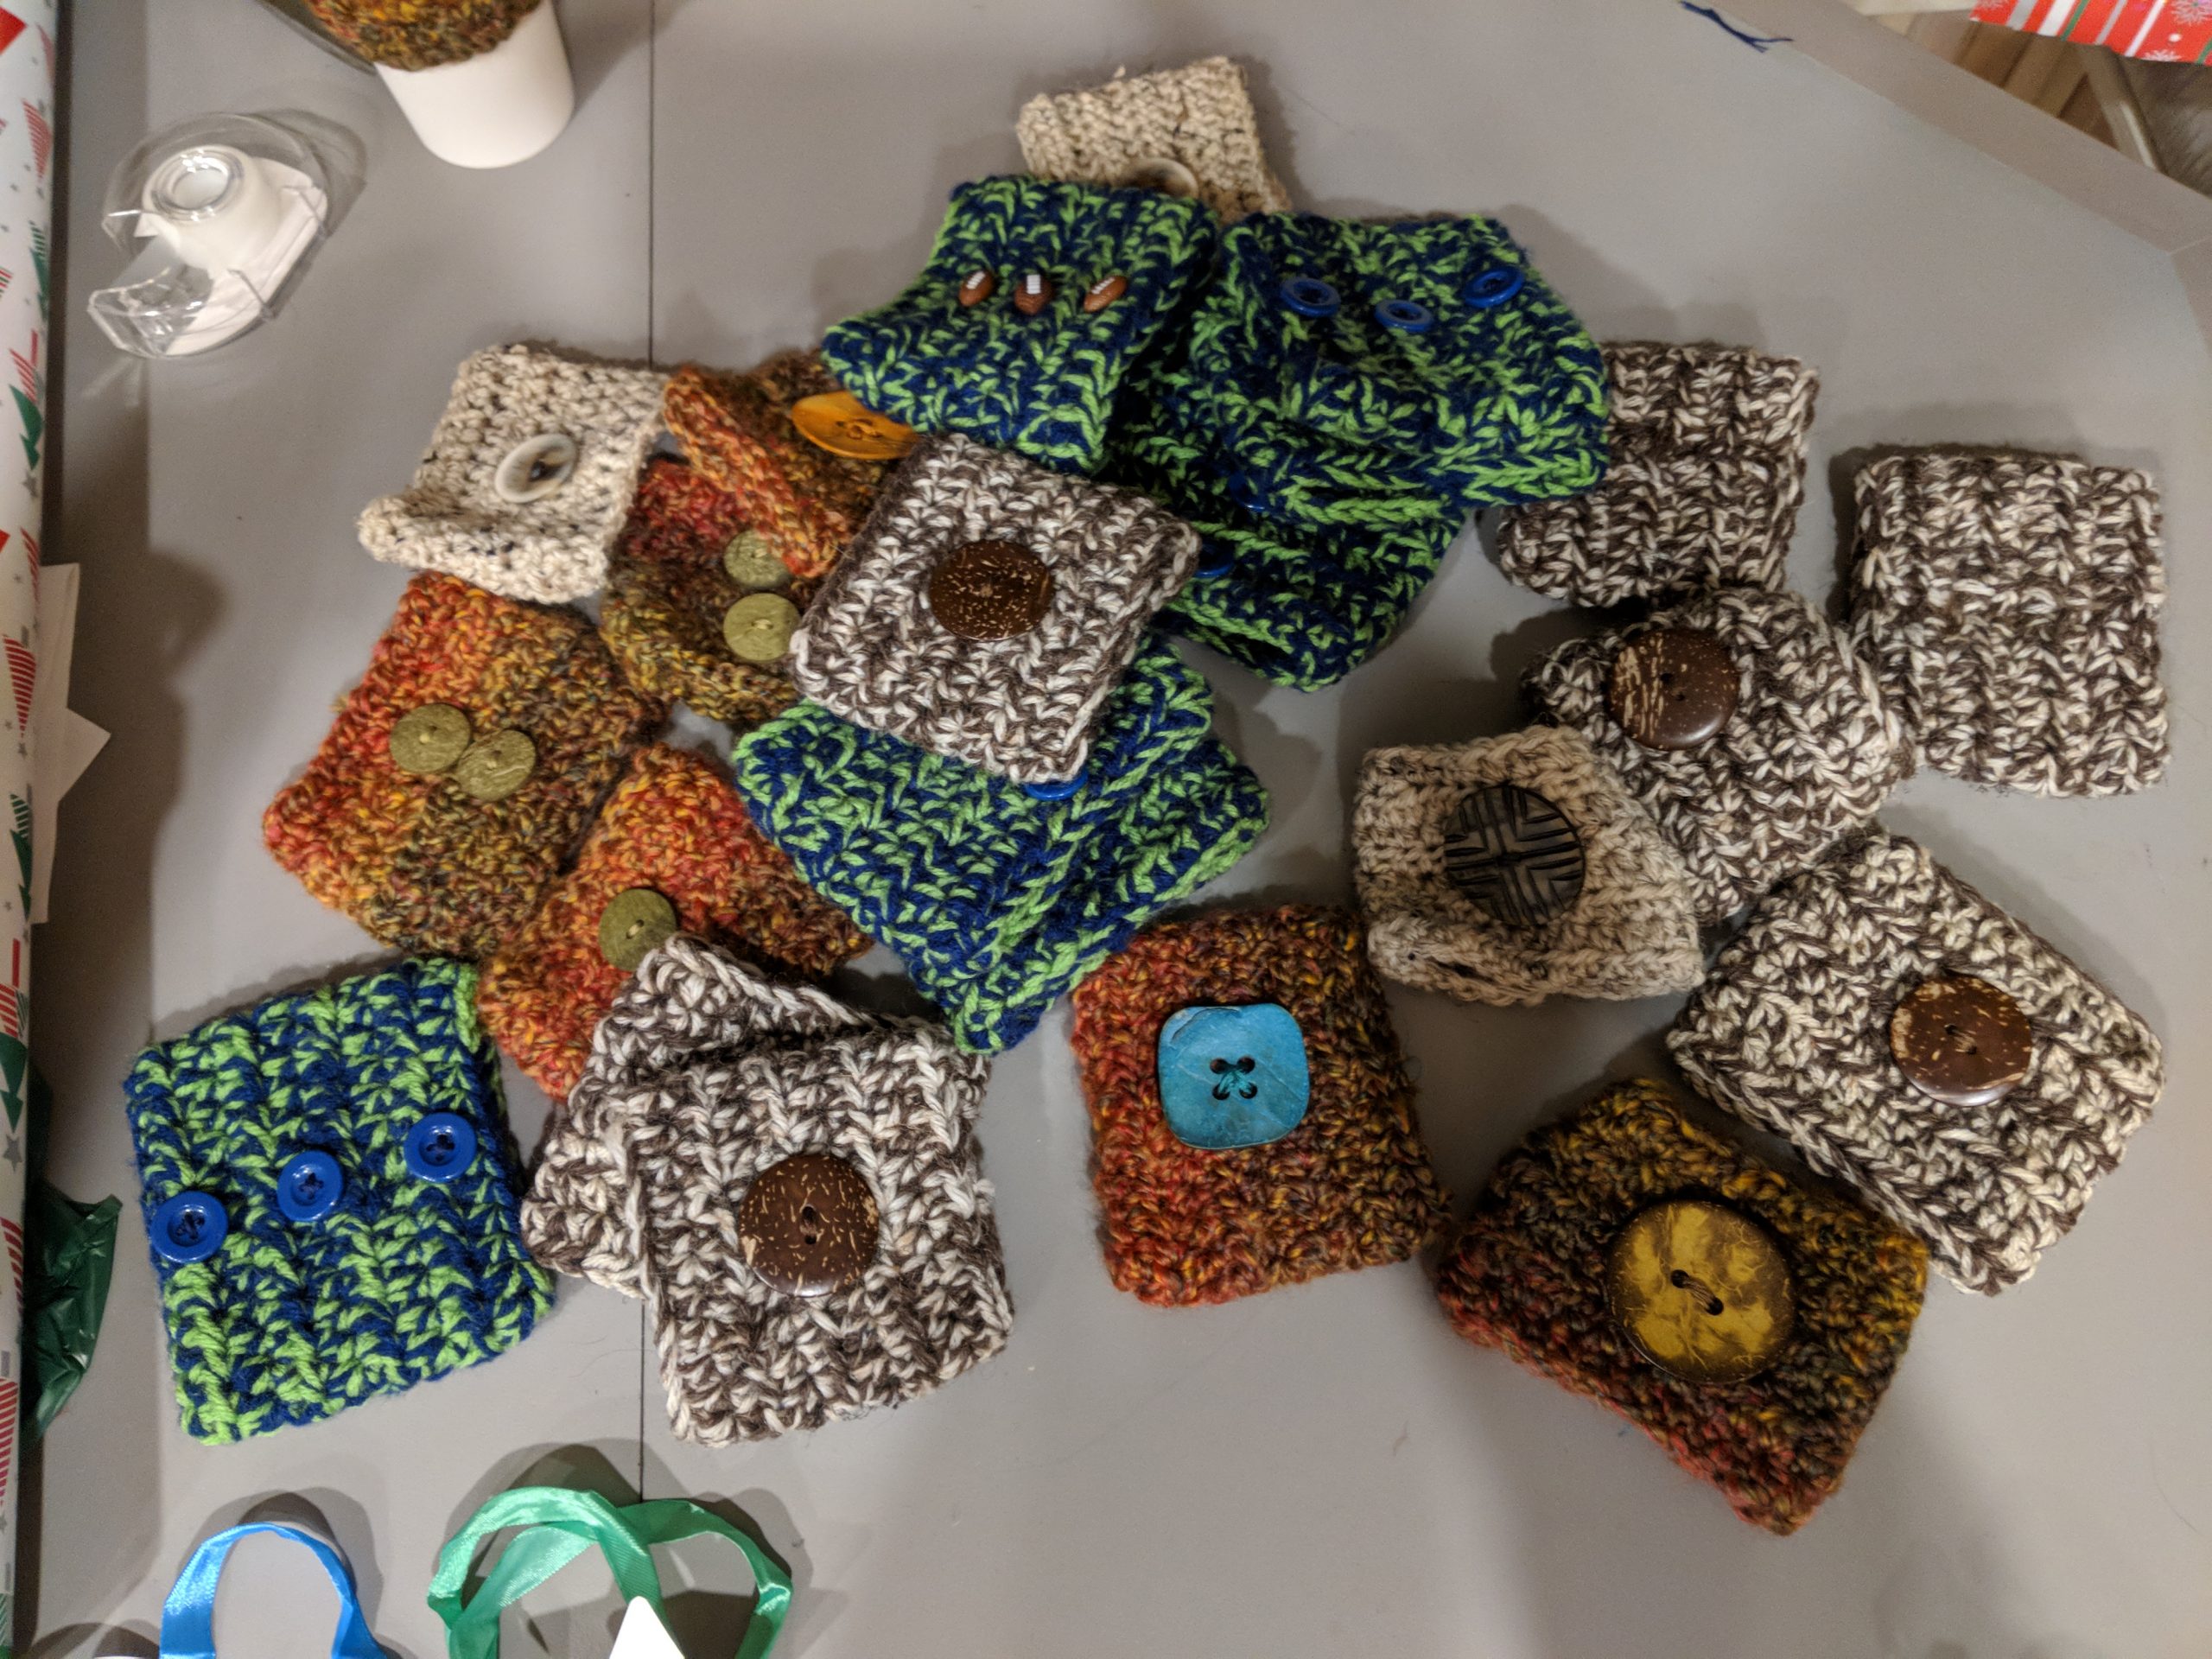
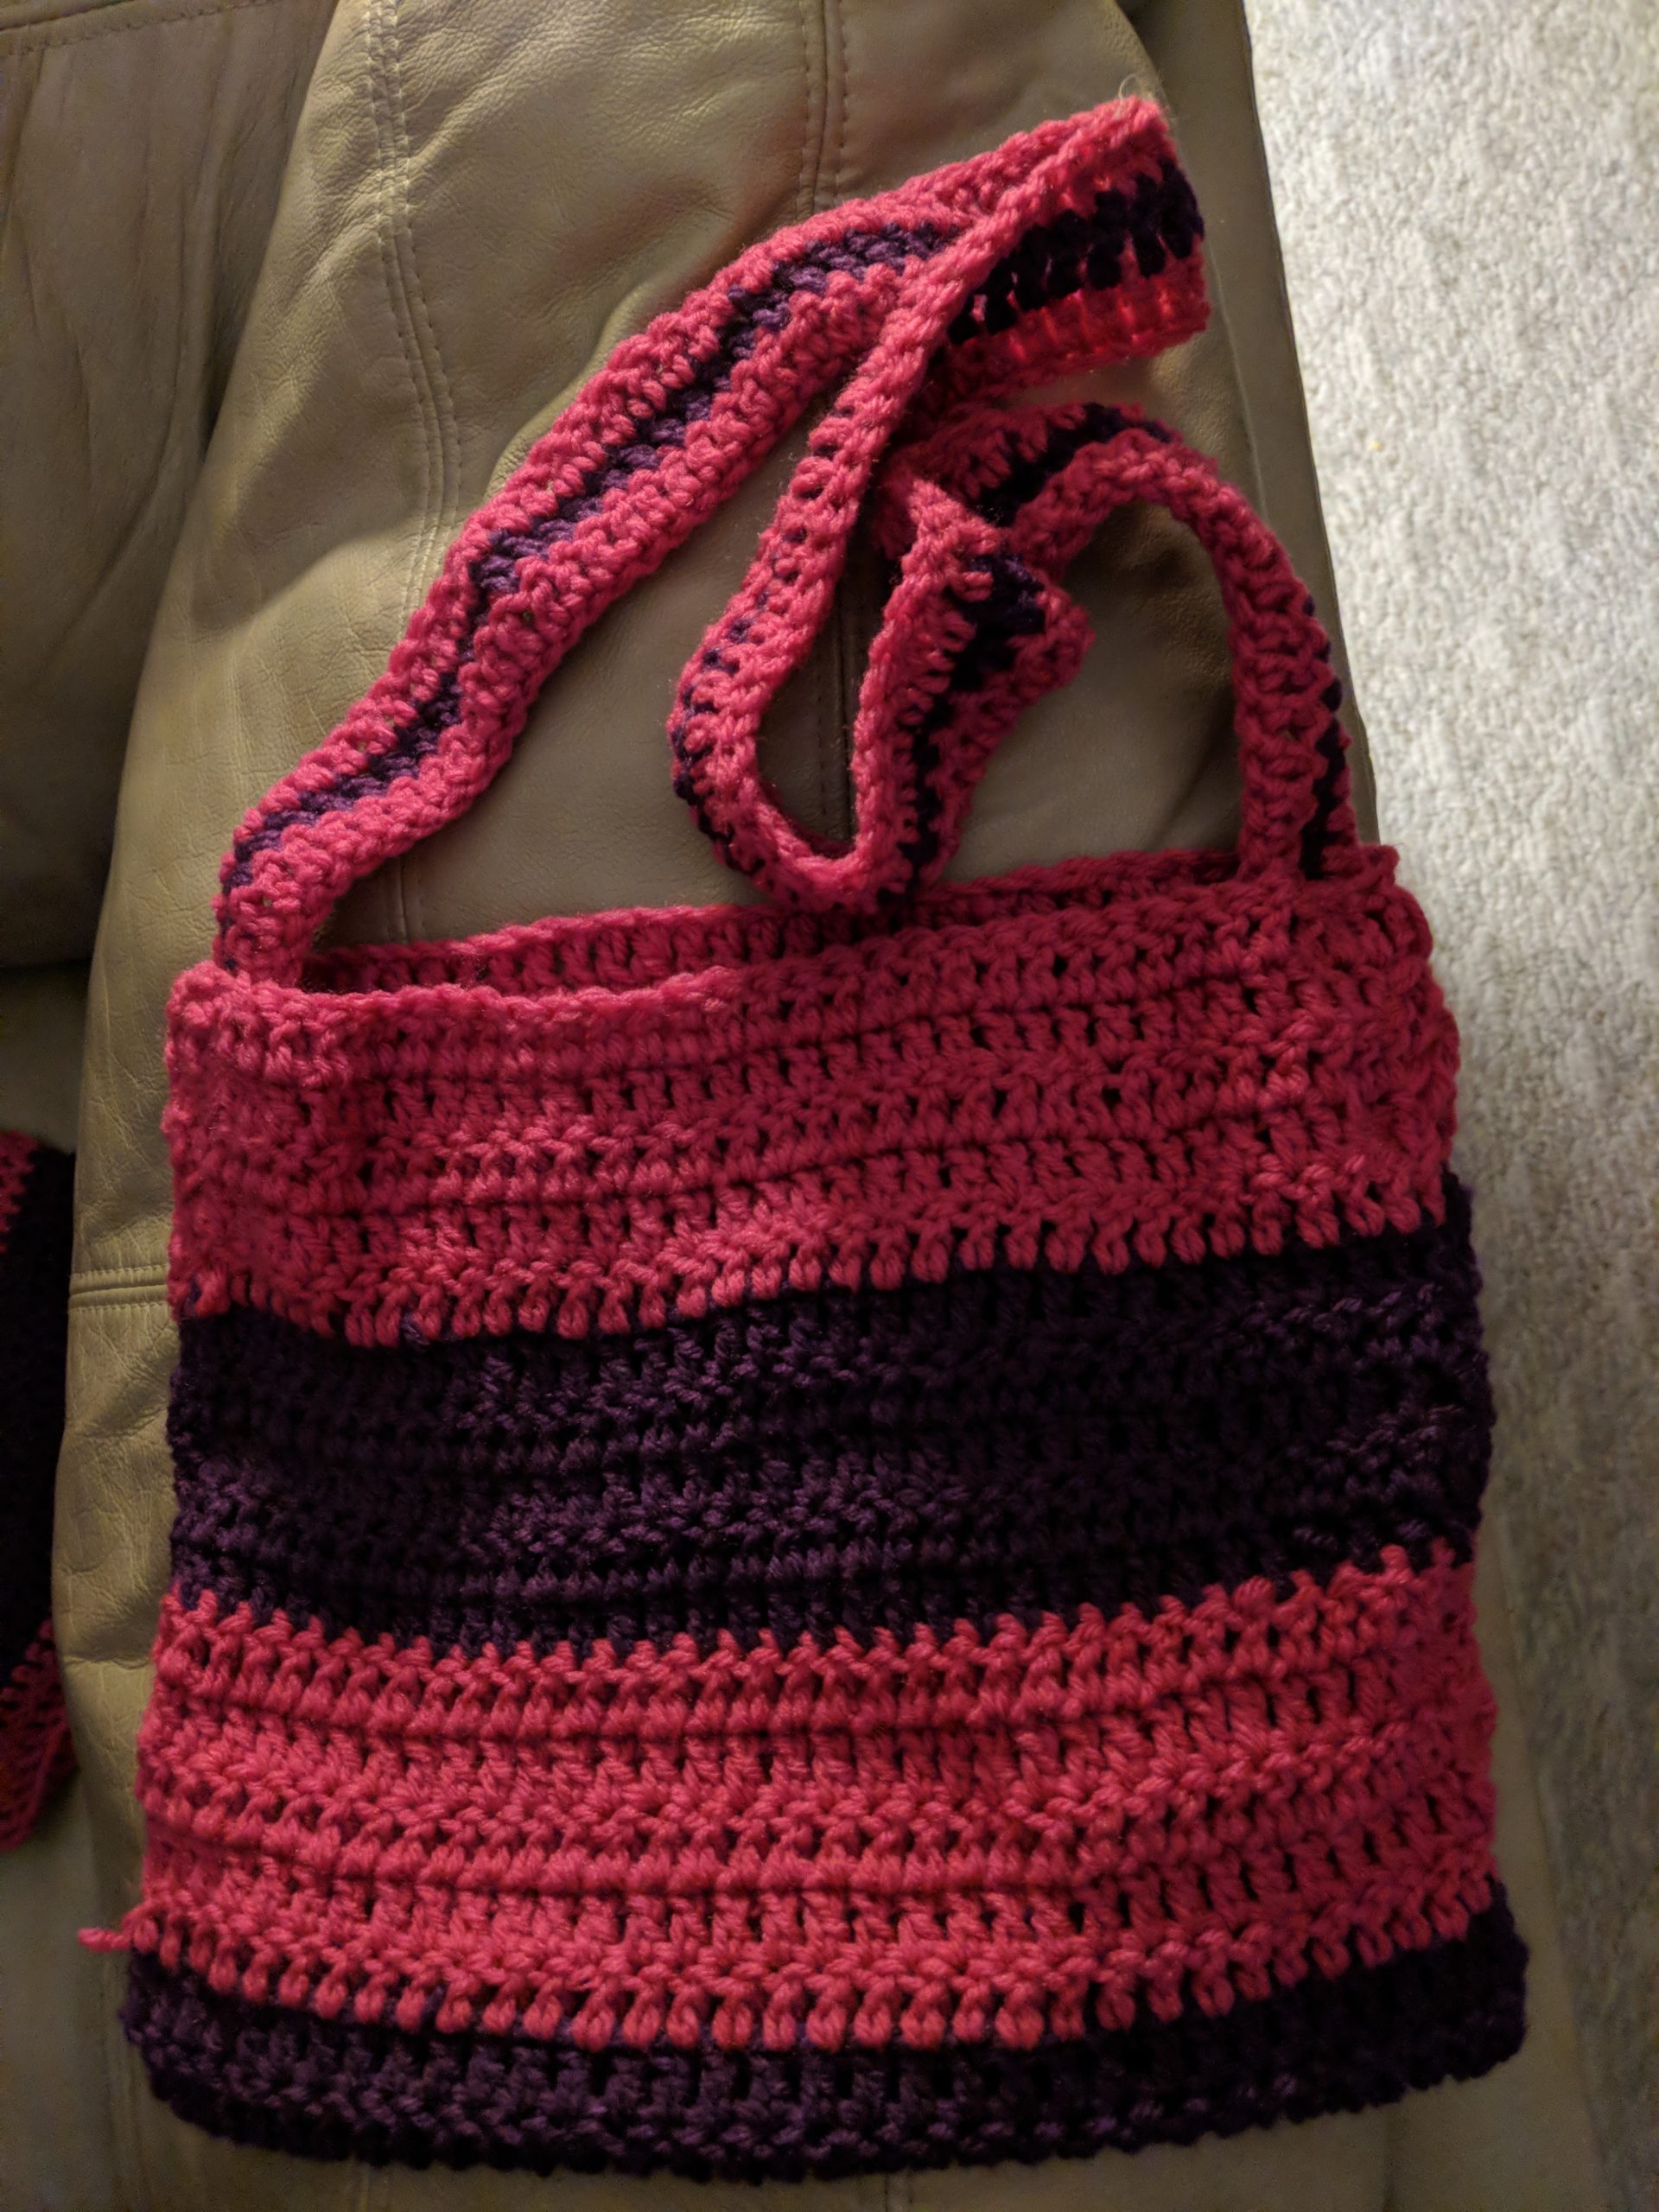
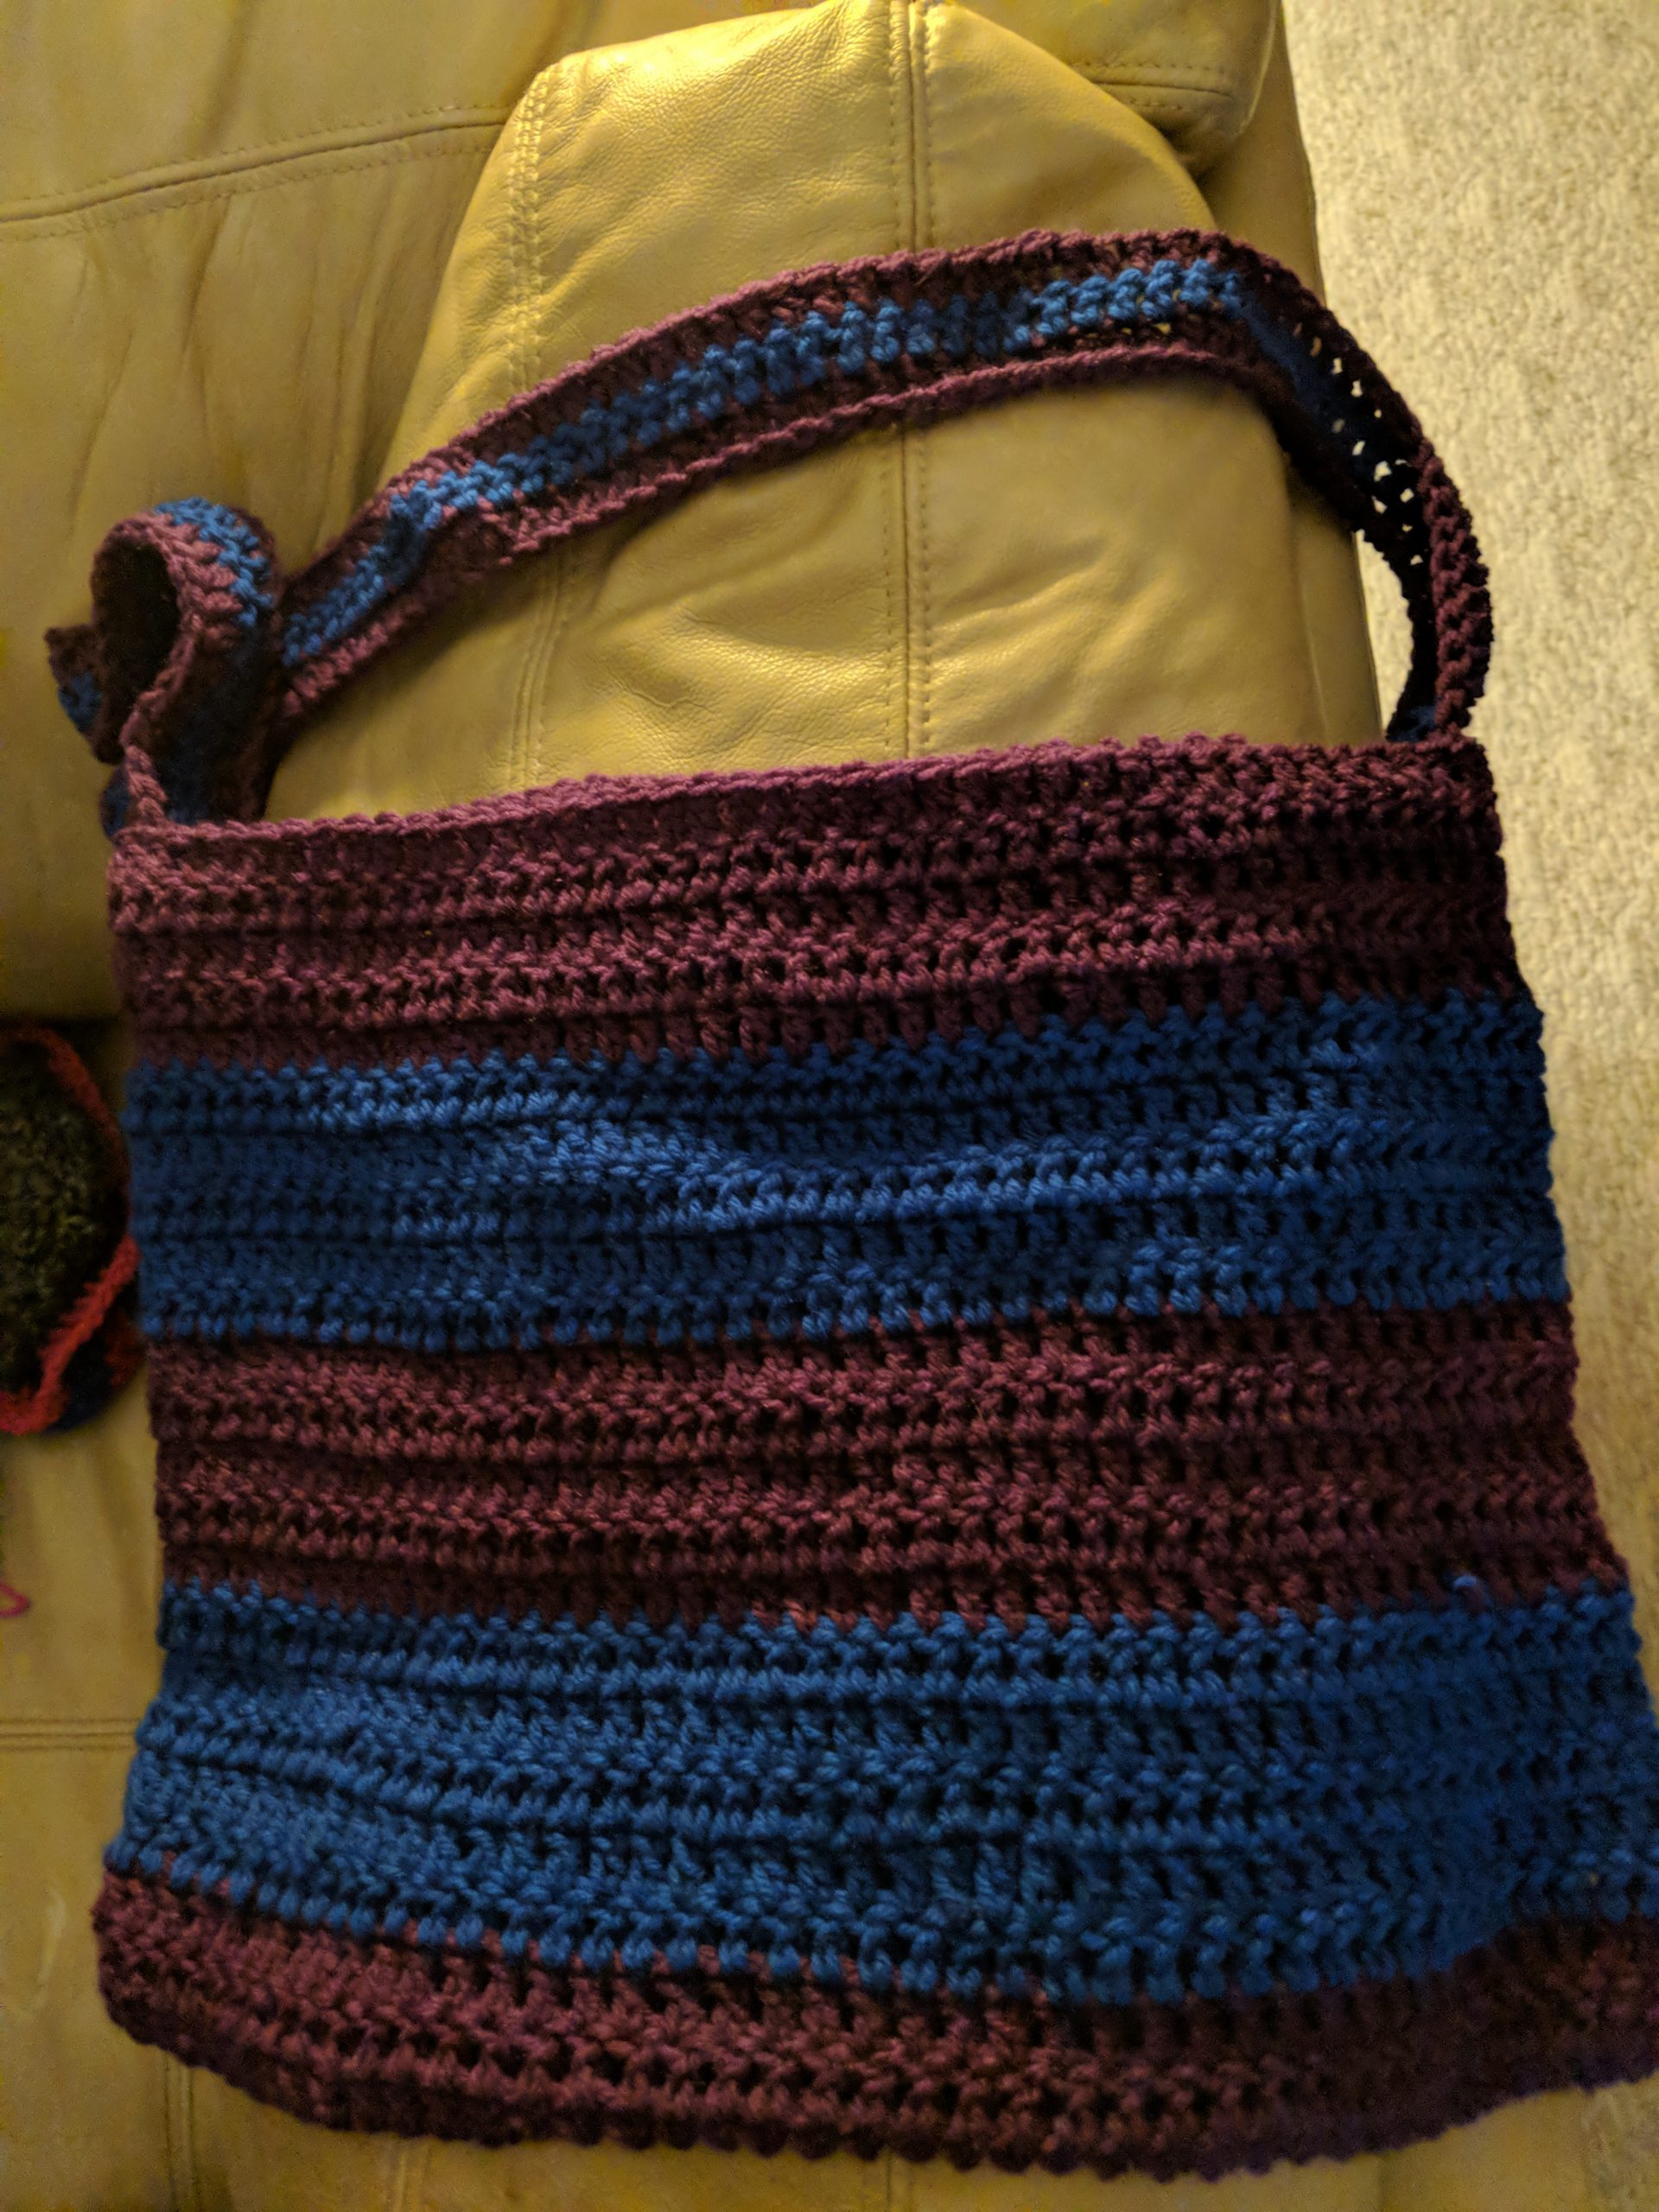
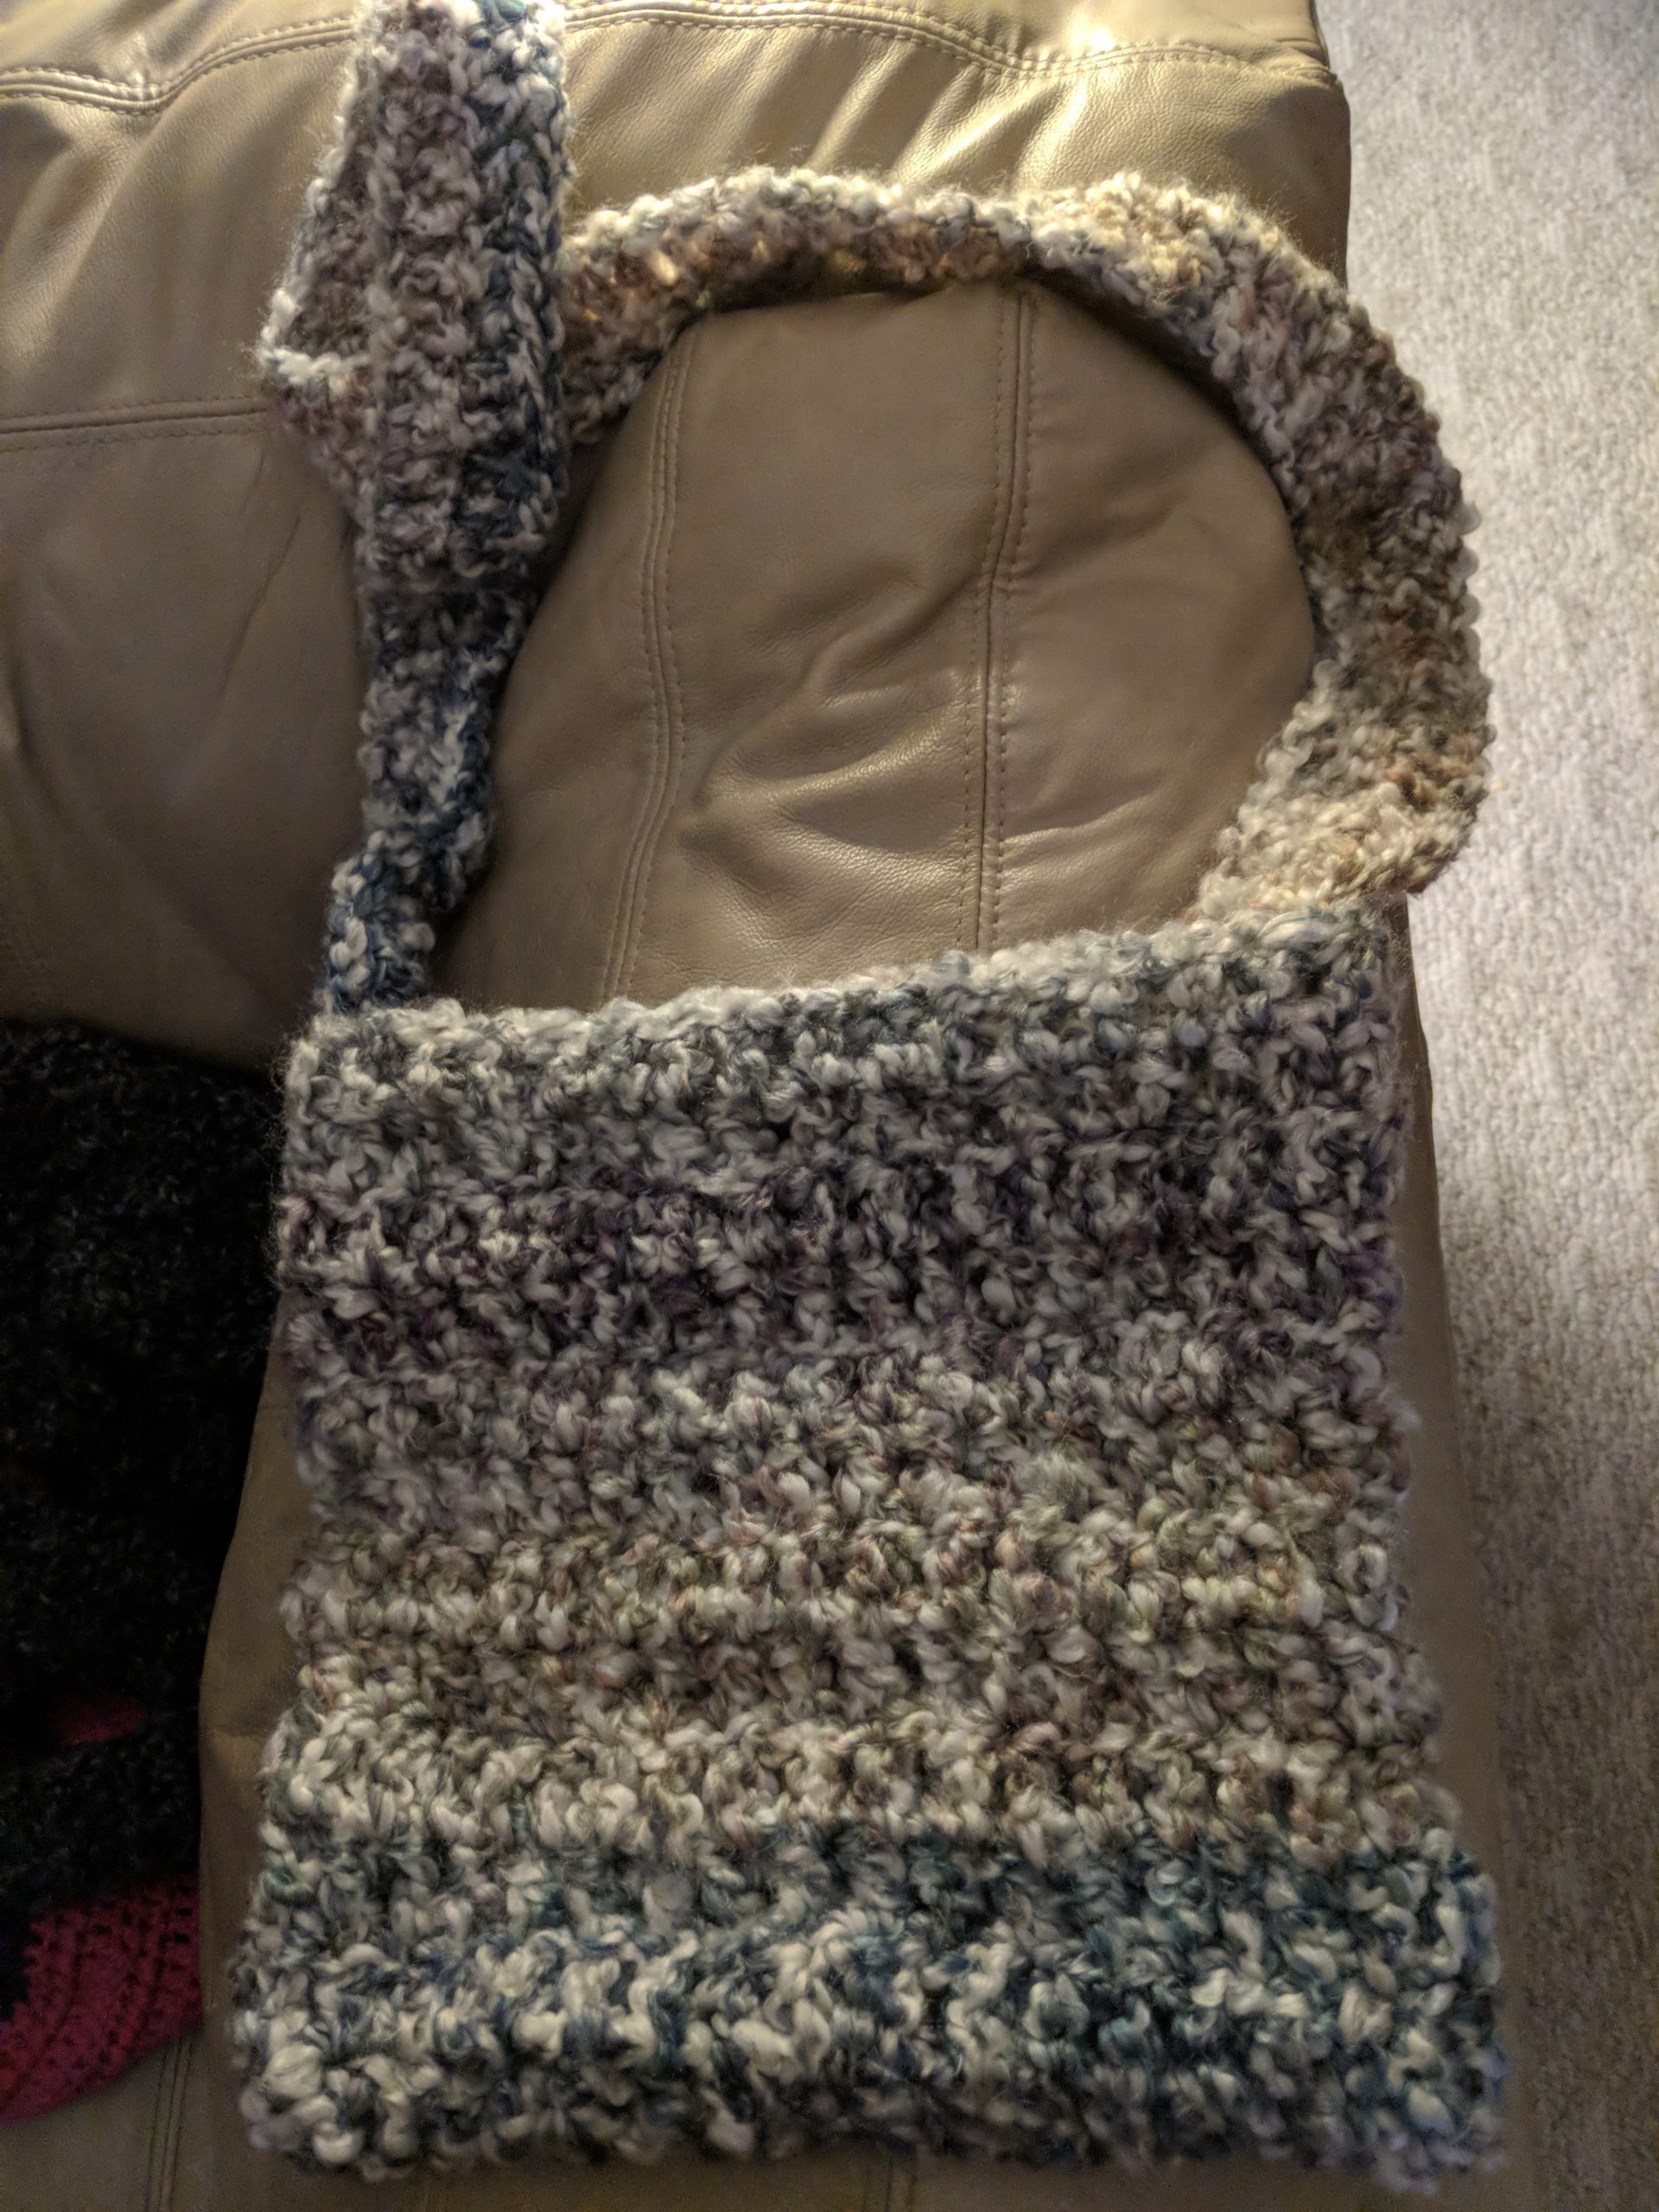
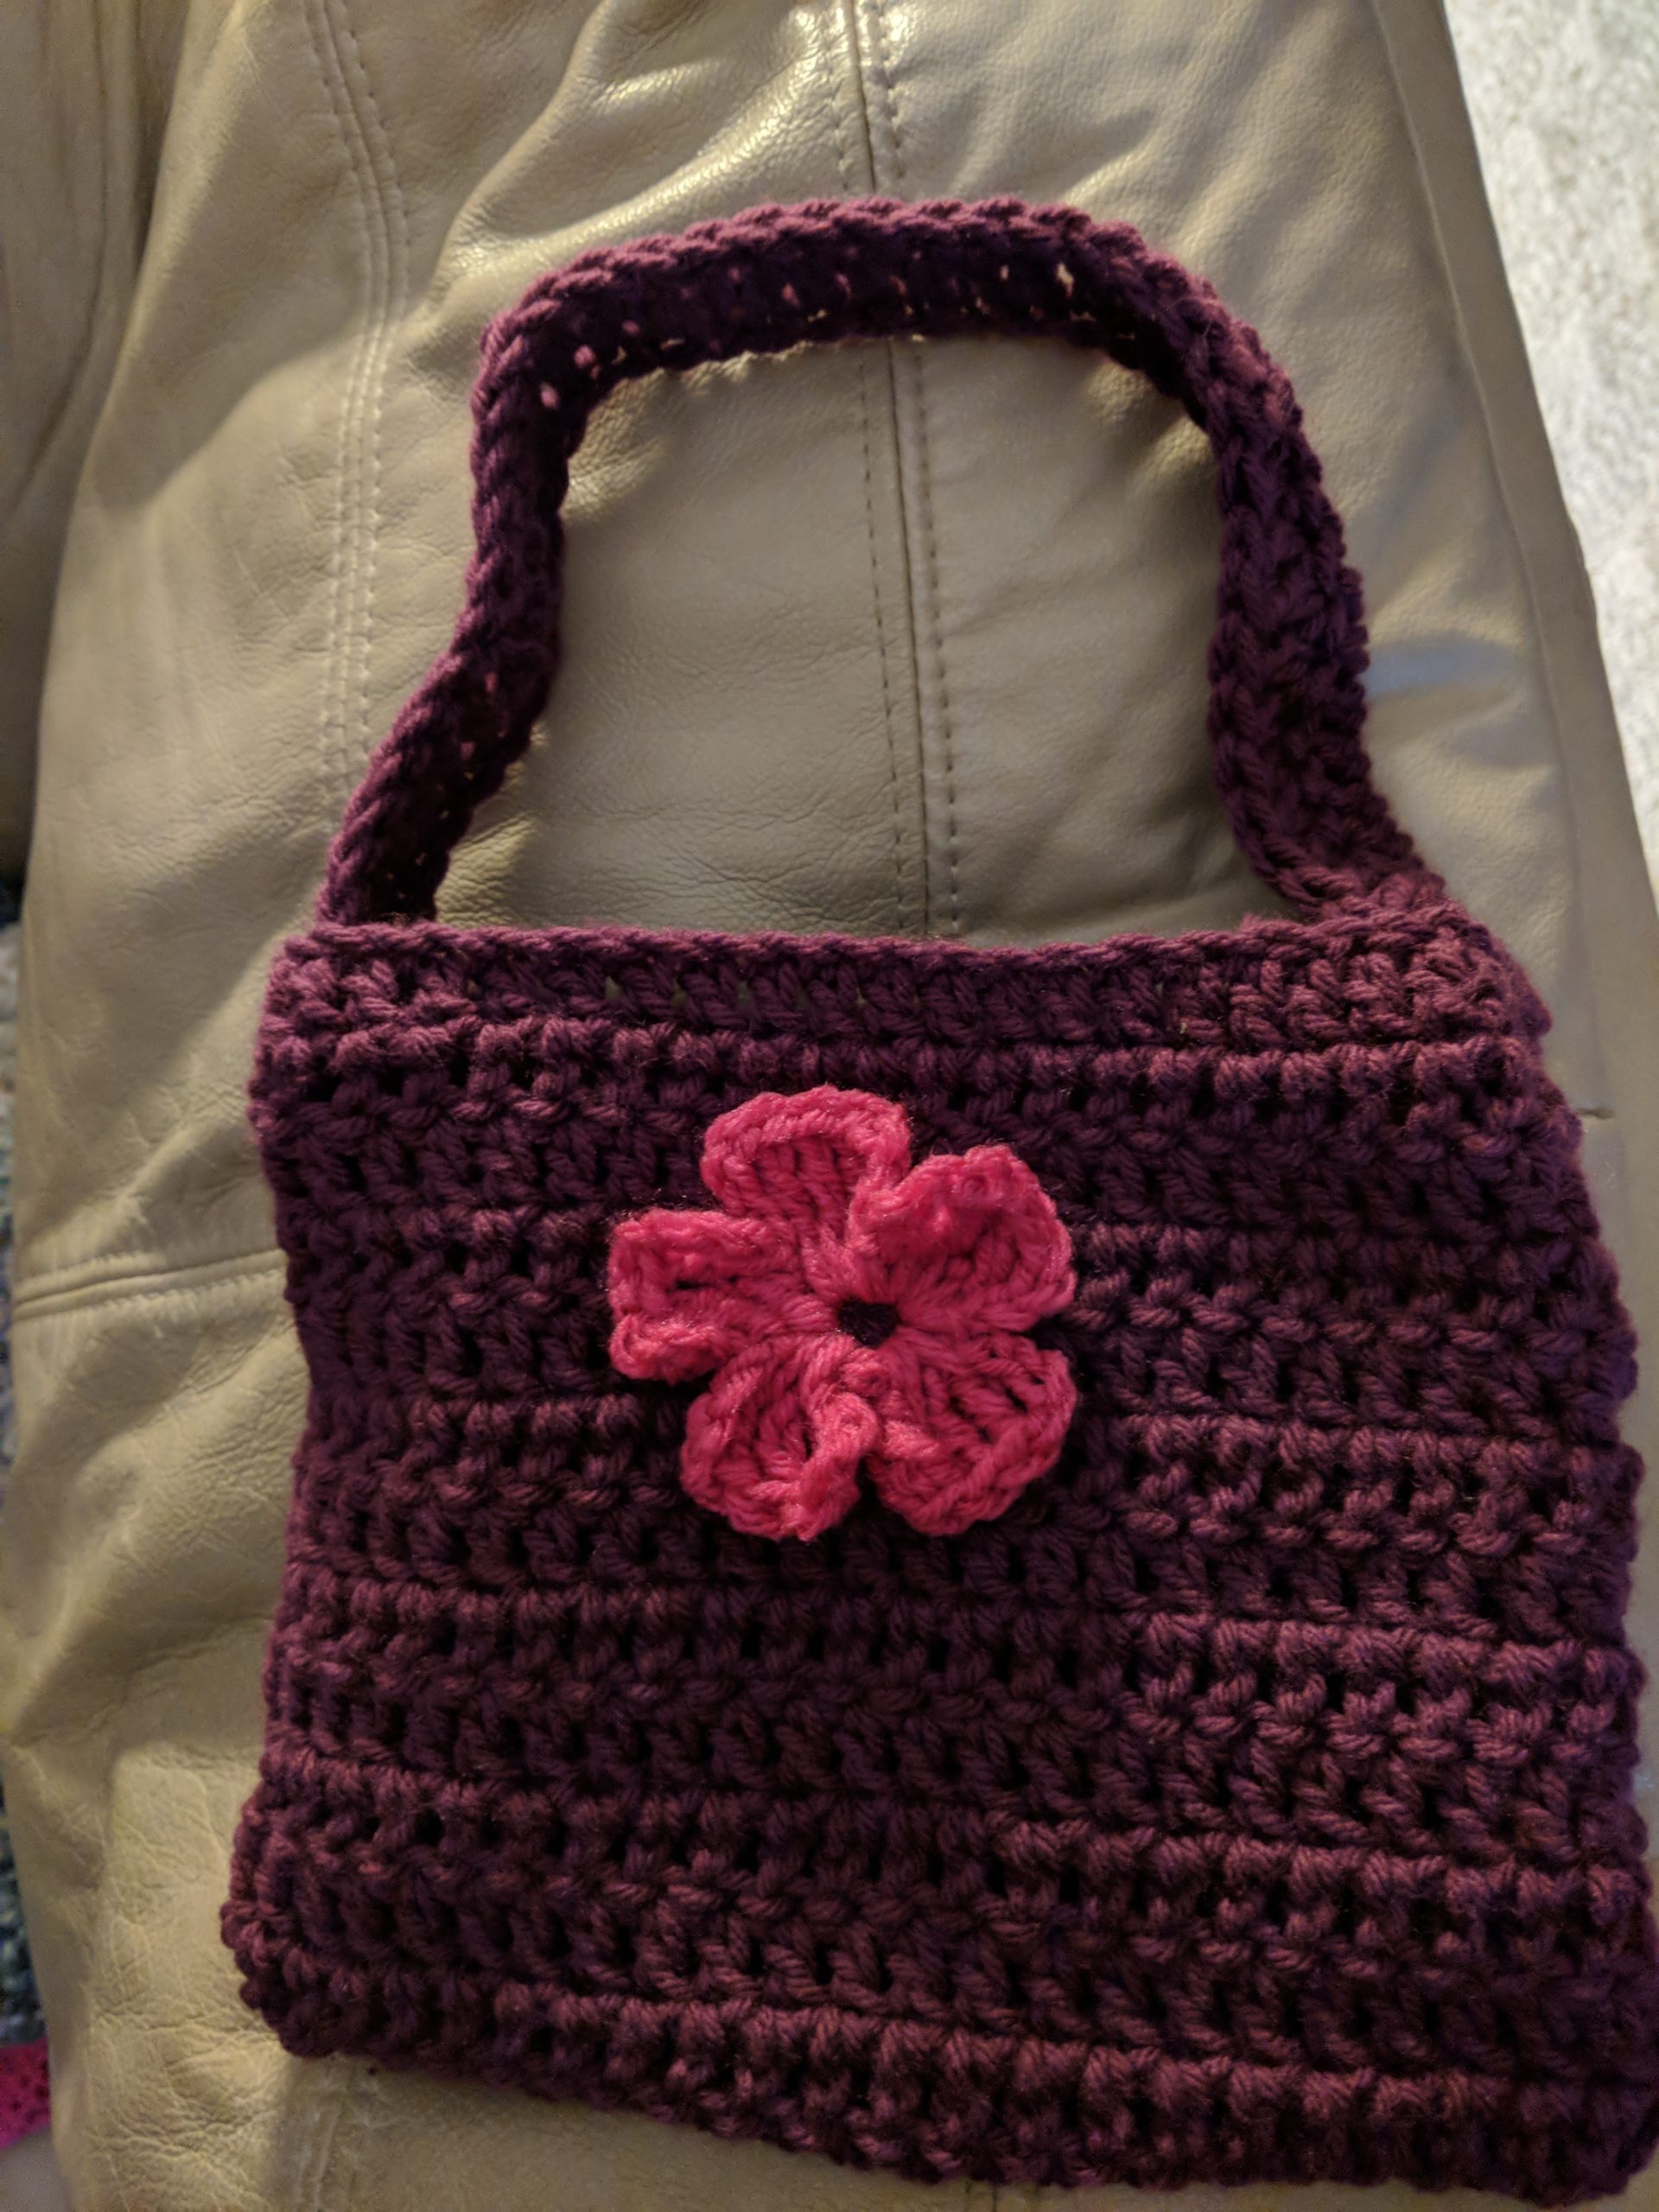
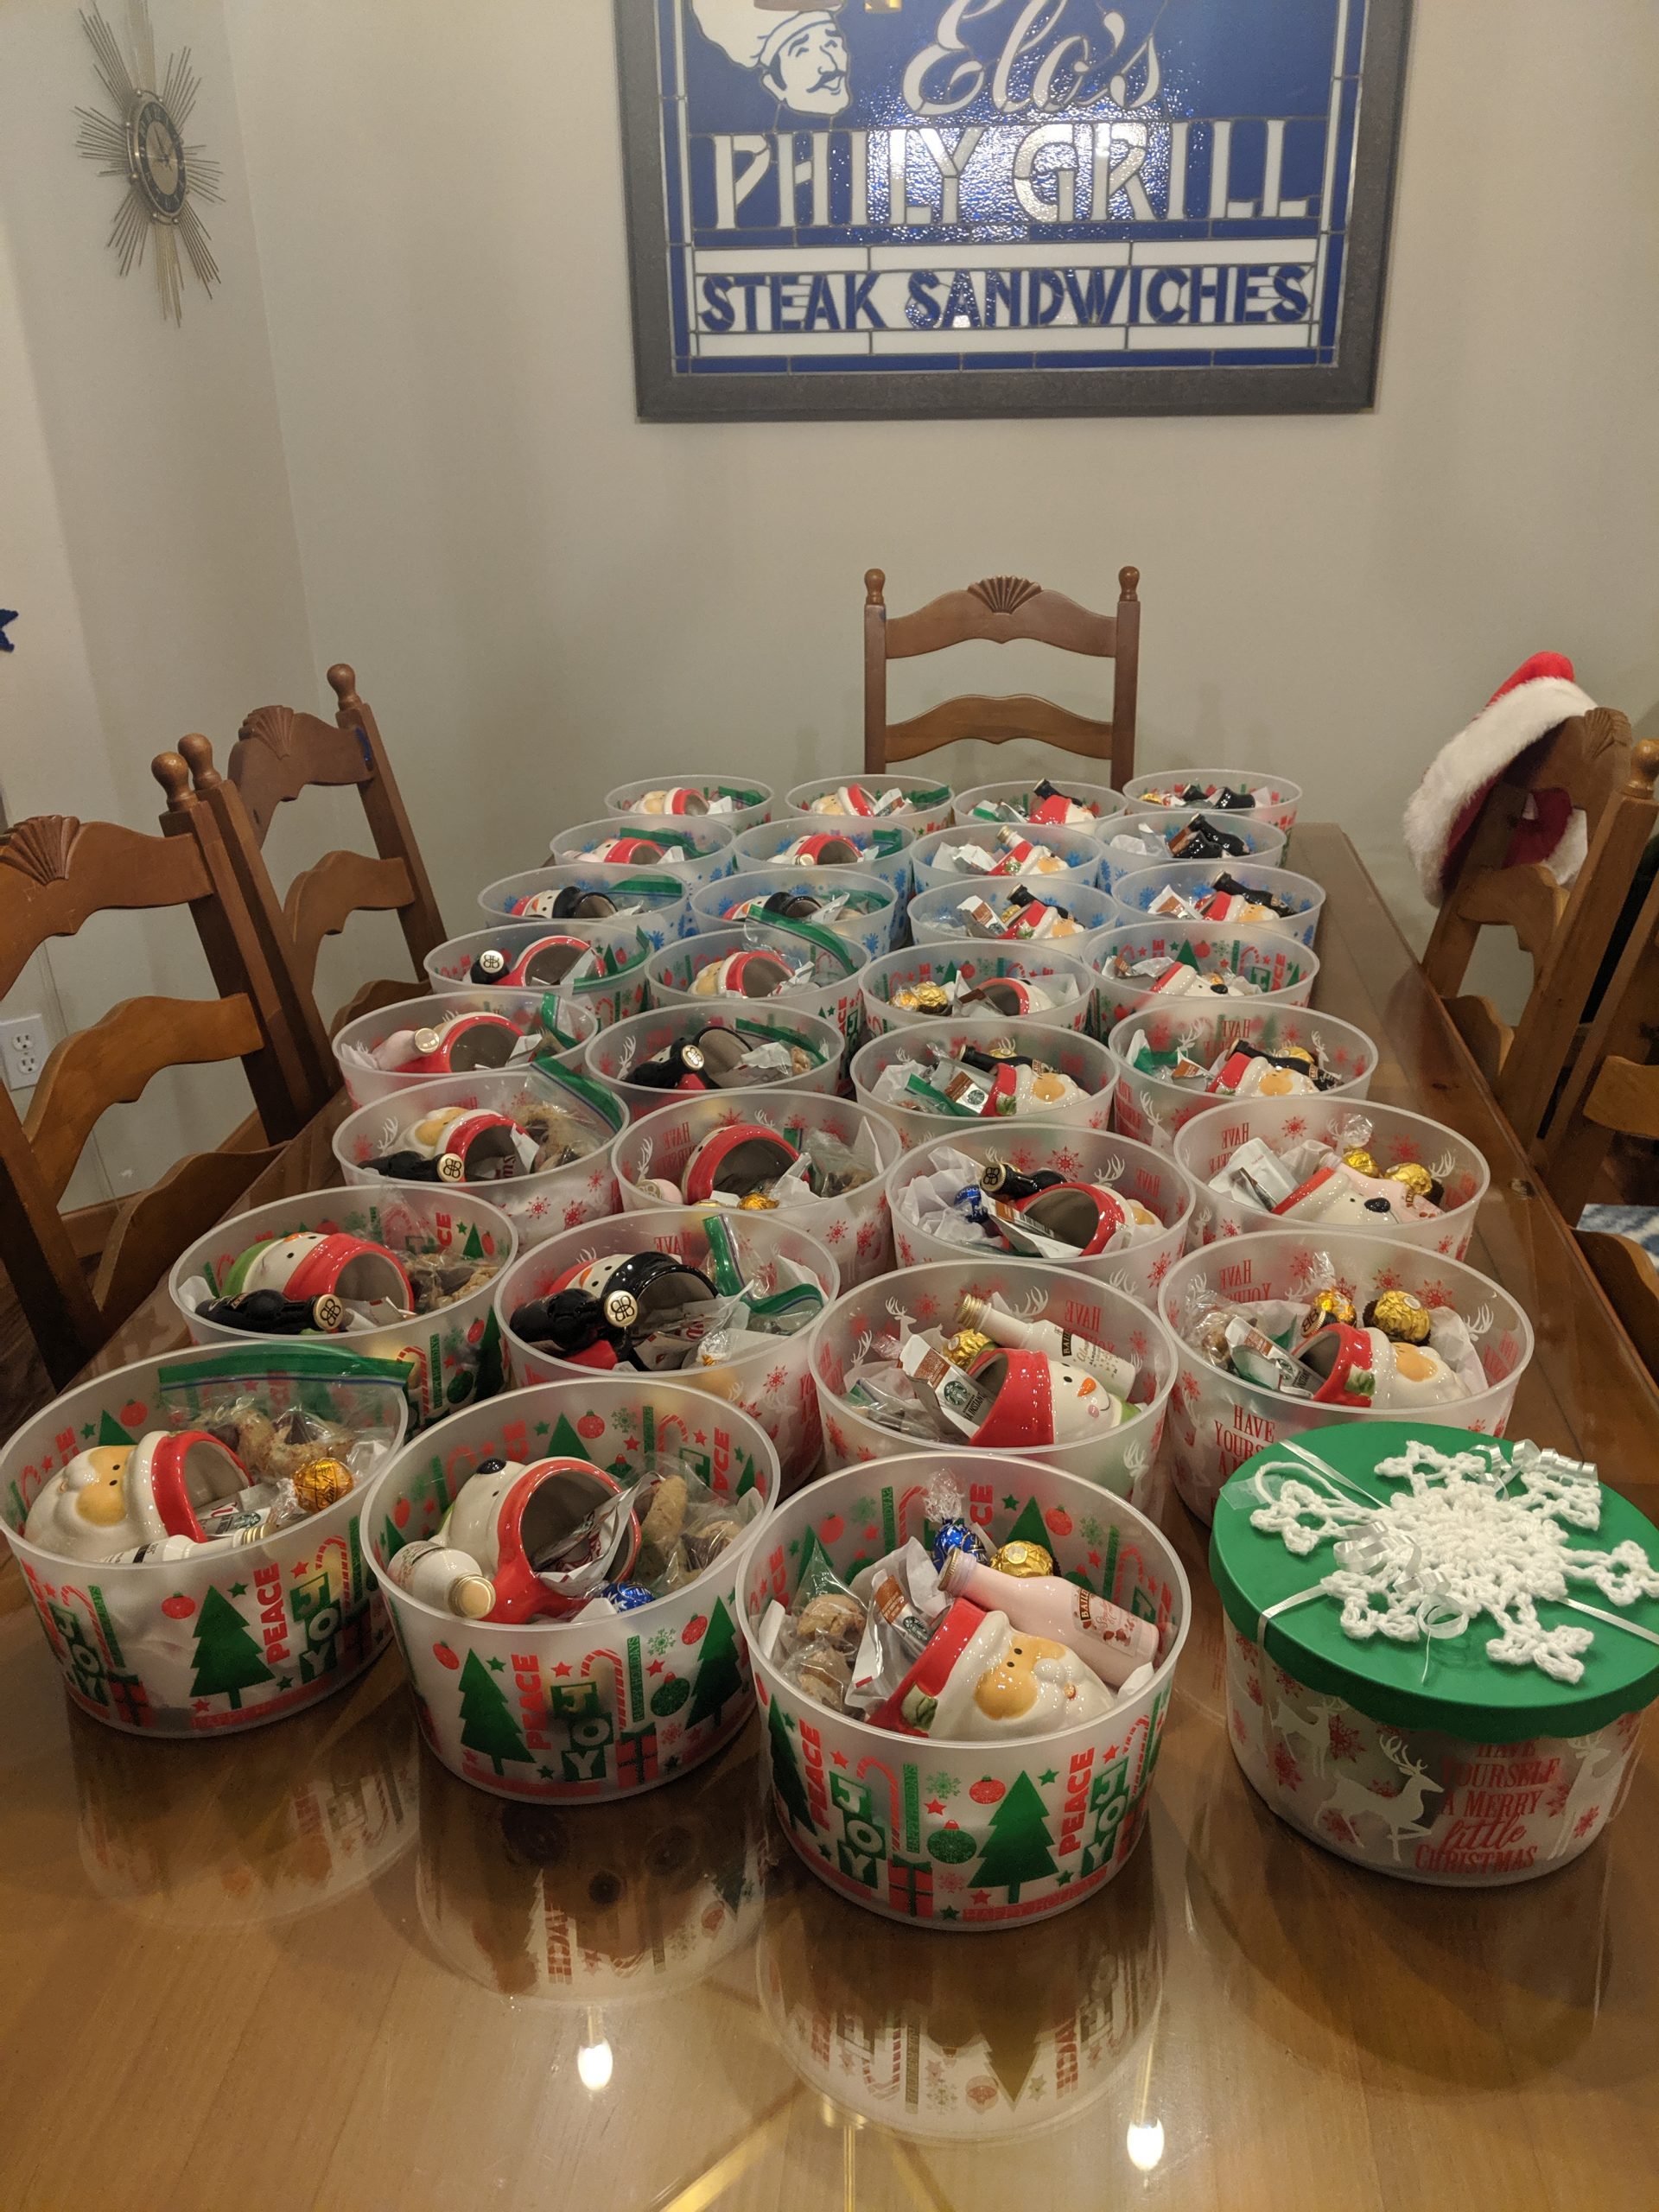
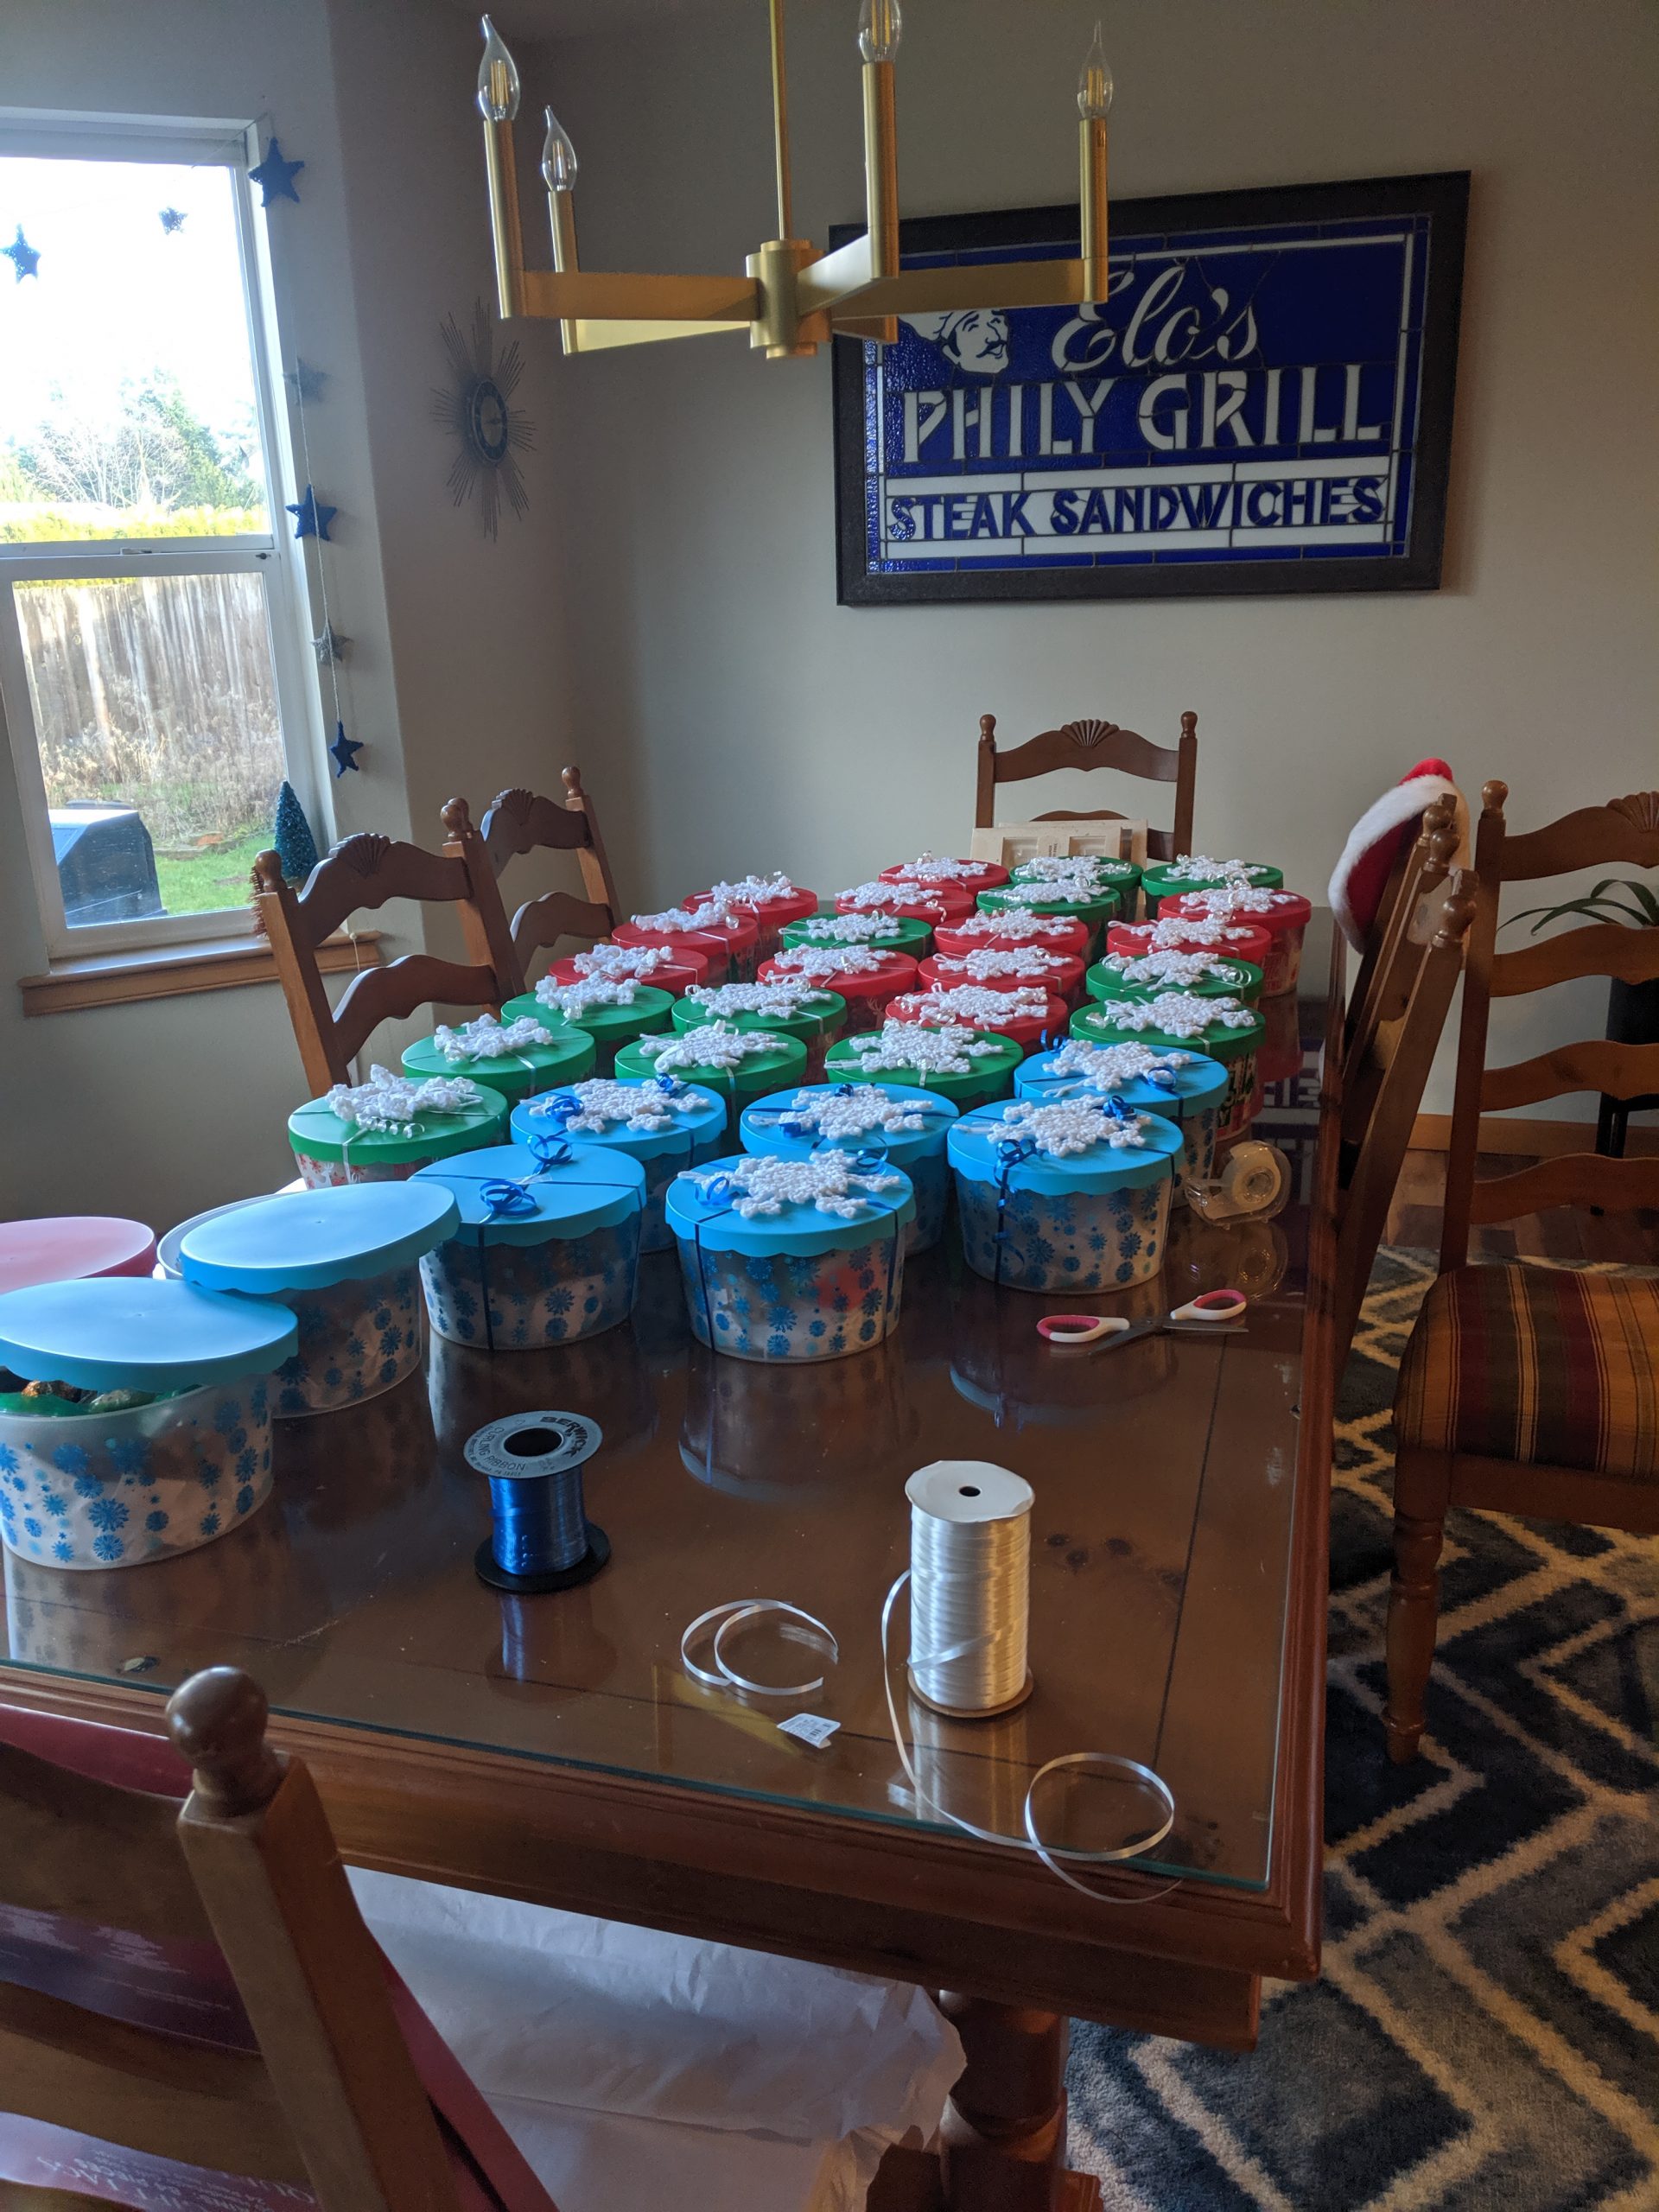
My first Christmas with this new skill I made everyone mug warmers and all the girls purses. They were easy to make and didn’t take much time. For the next Christmas I started in January, I made everyone a full size blanket. I made 44 blankets!
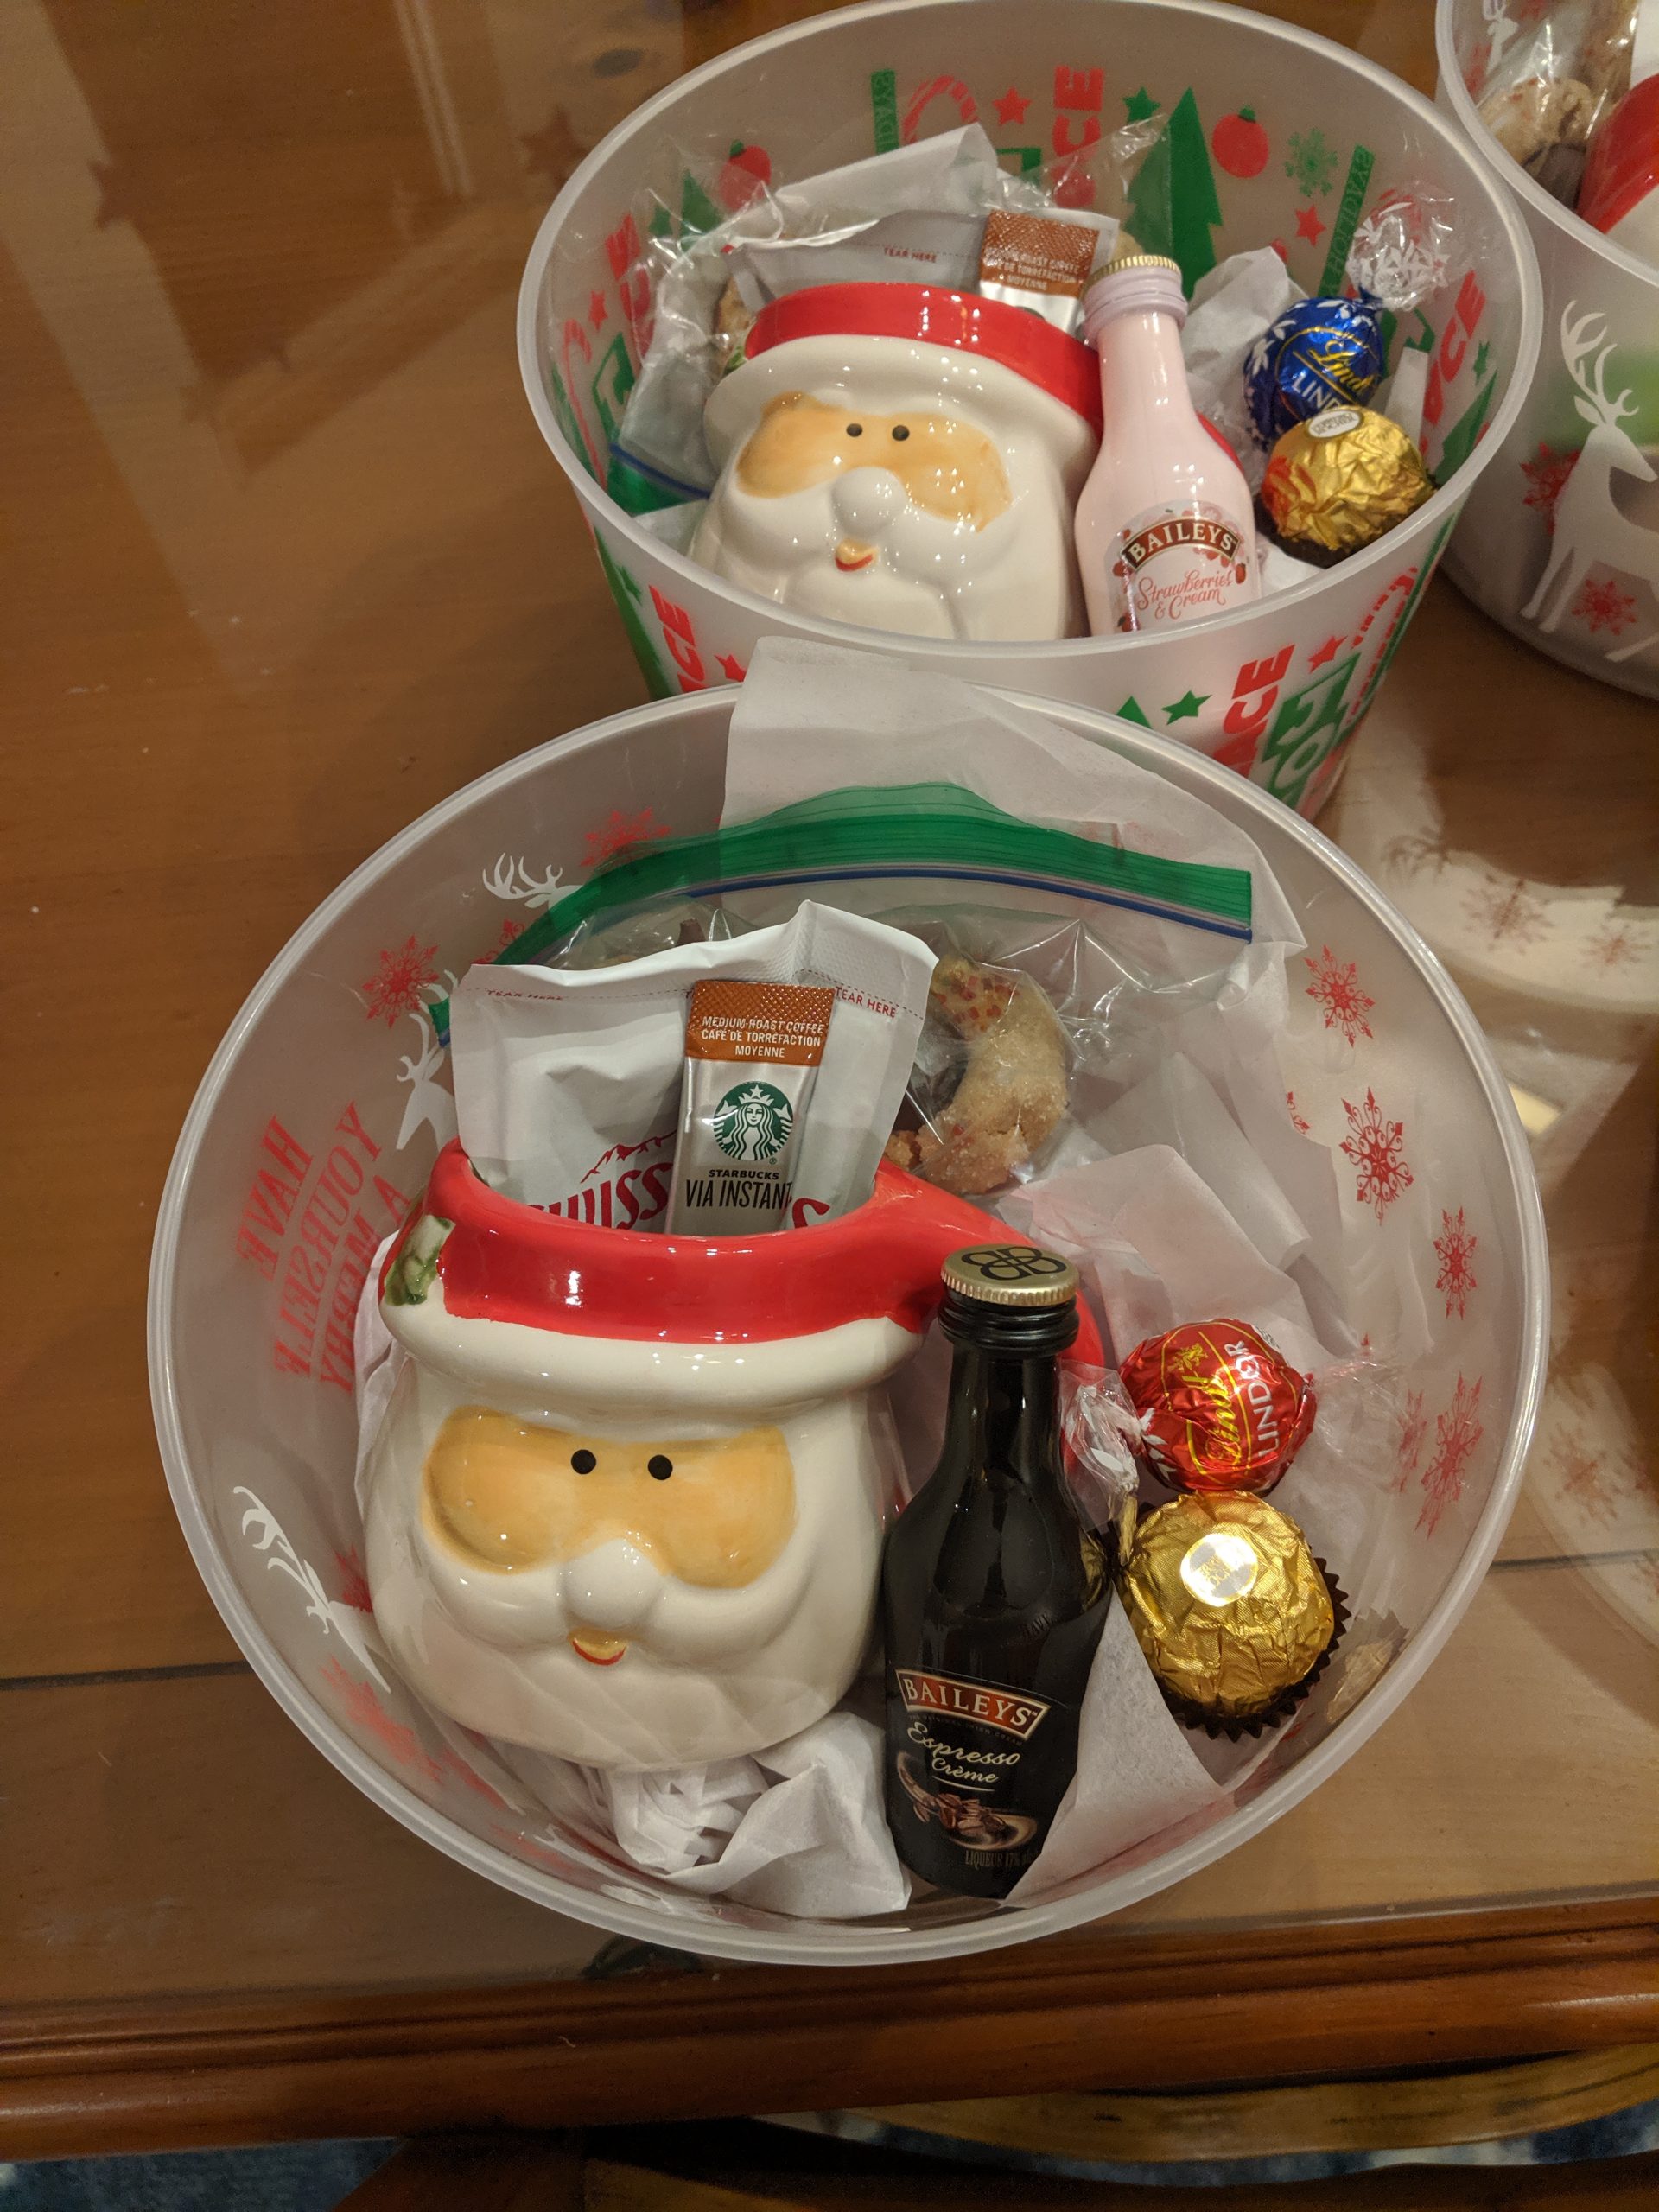
Blankets ready to wrap
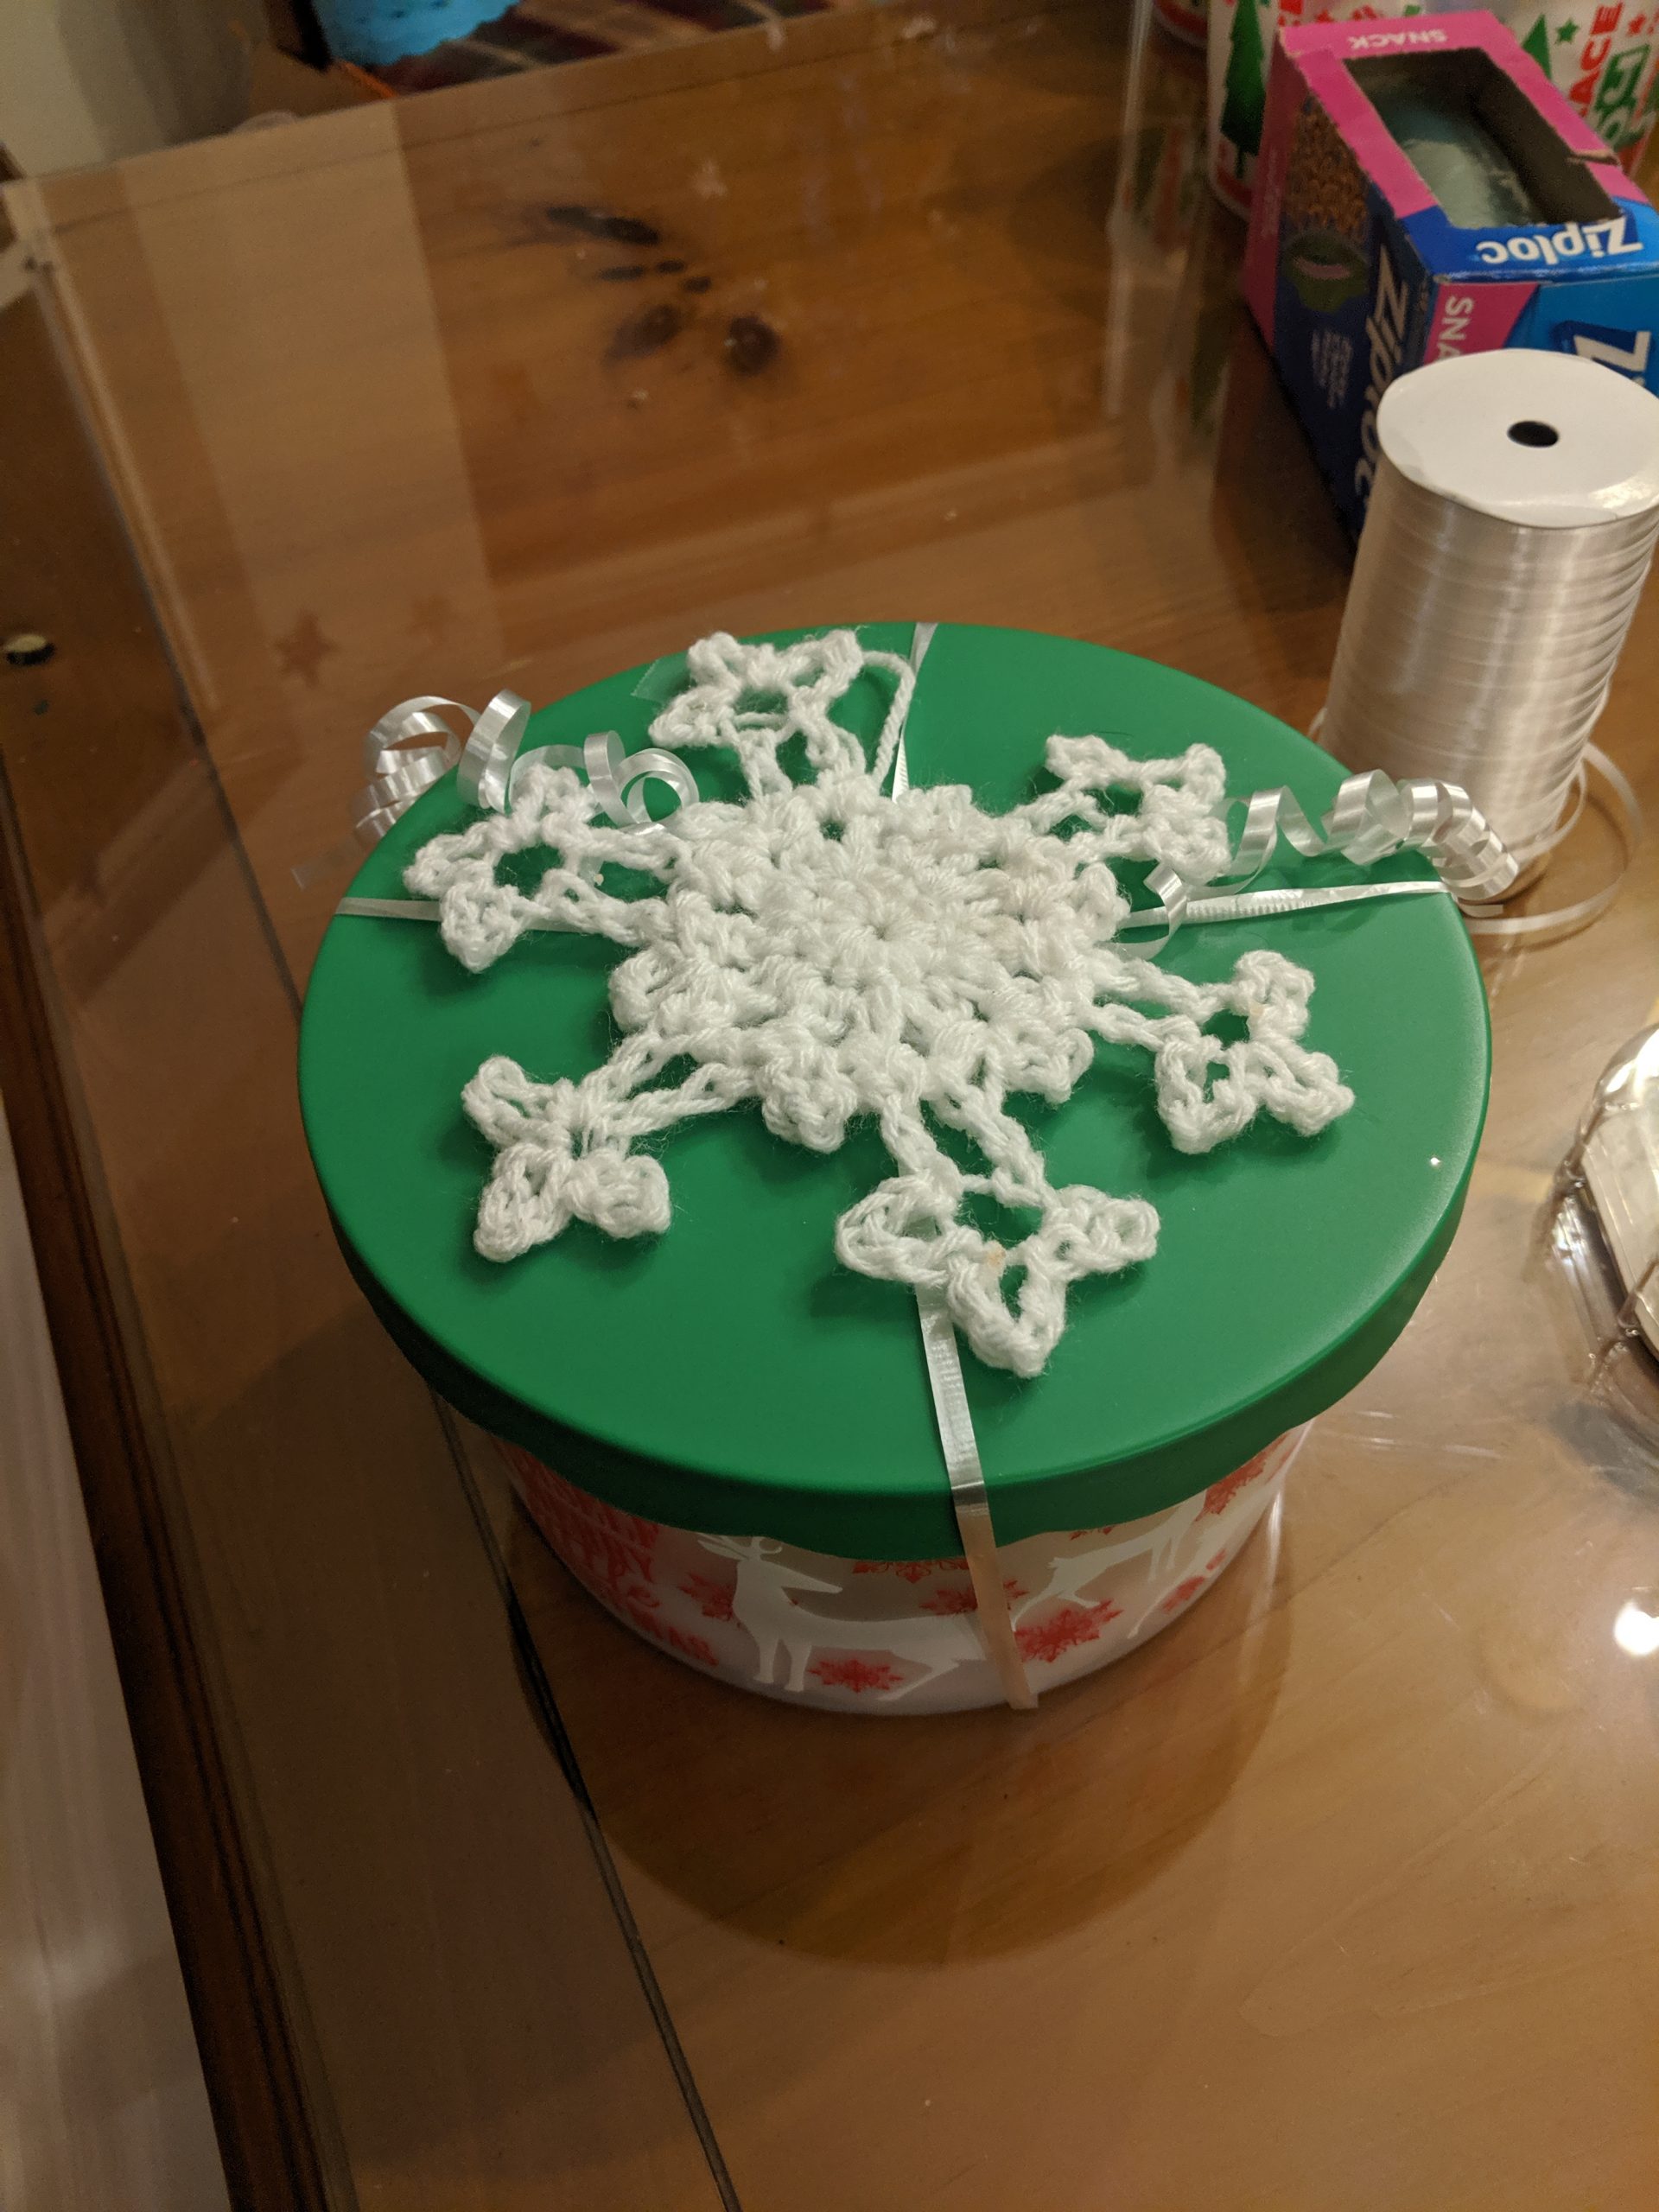
It took me about a week per blanket. Just working on them at night and in my spare time. Everyone loved their present! Last year for Christmas, I made everyone snowflake ornaments to go on top of their gift basket. The snowflakes turned out so good ❄️
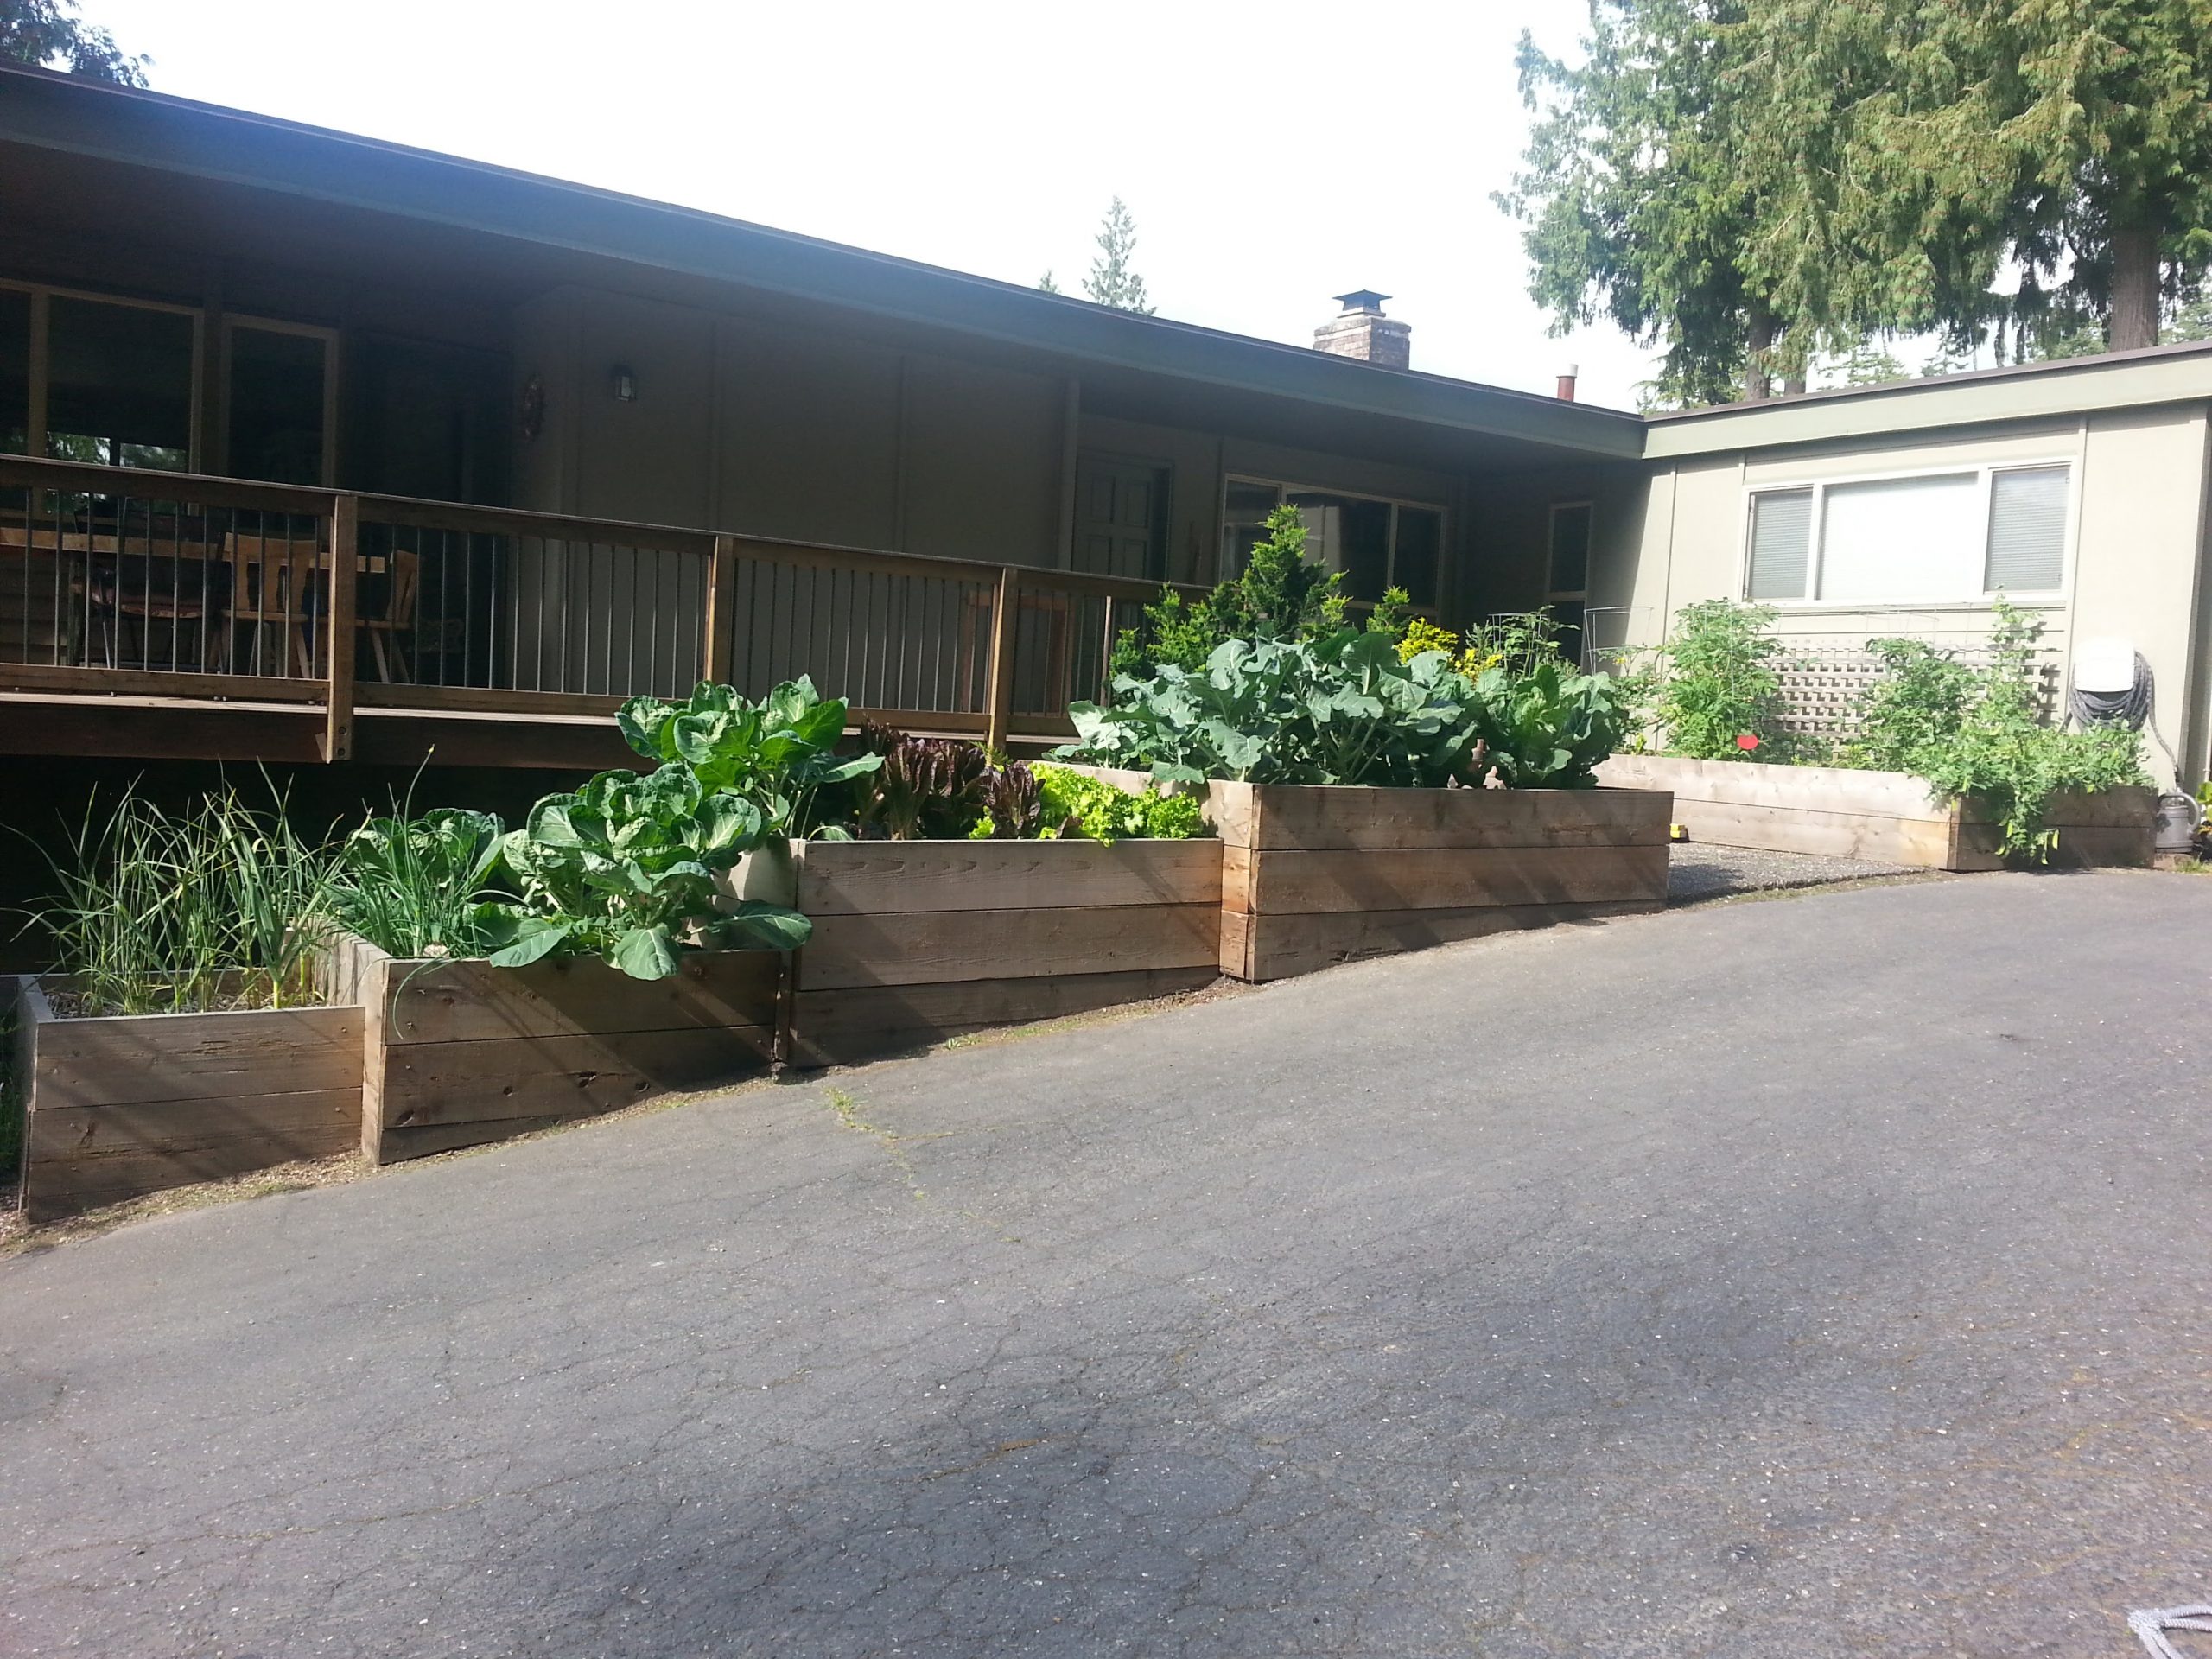
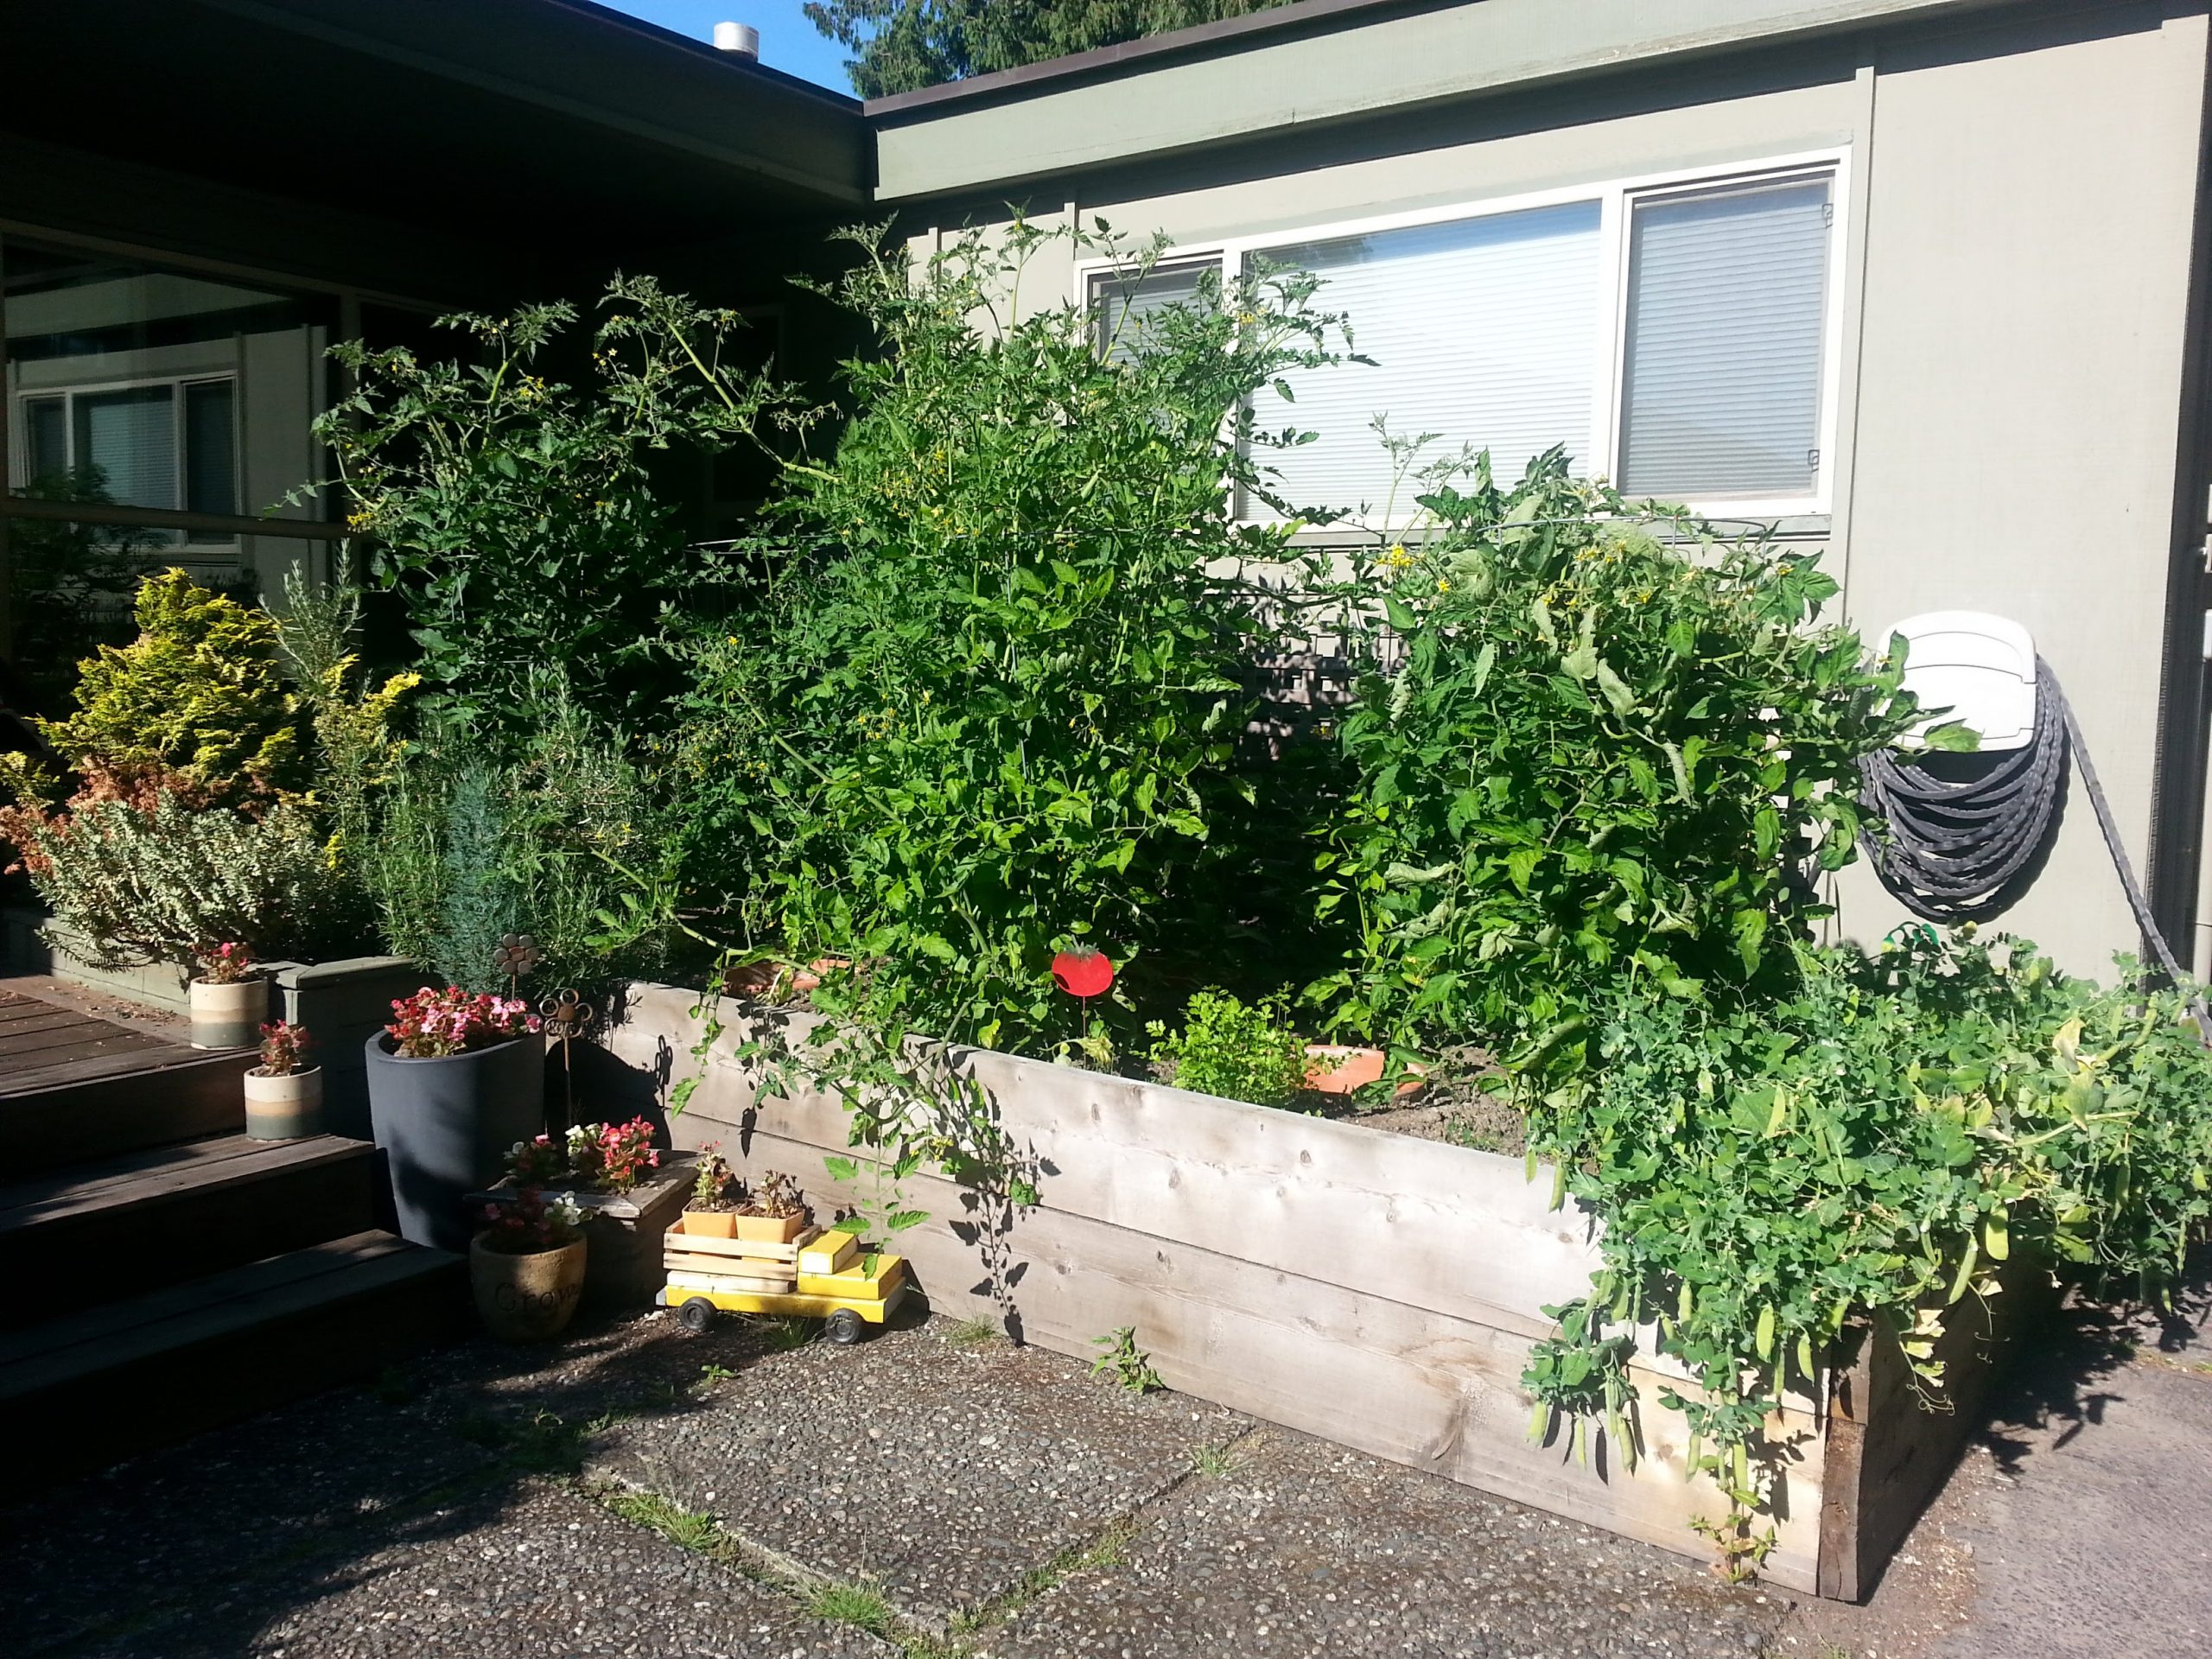
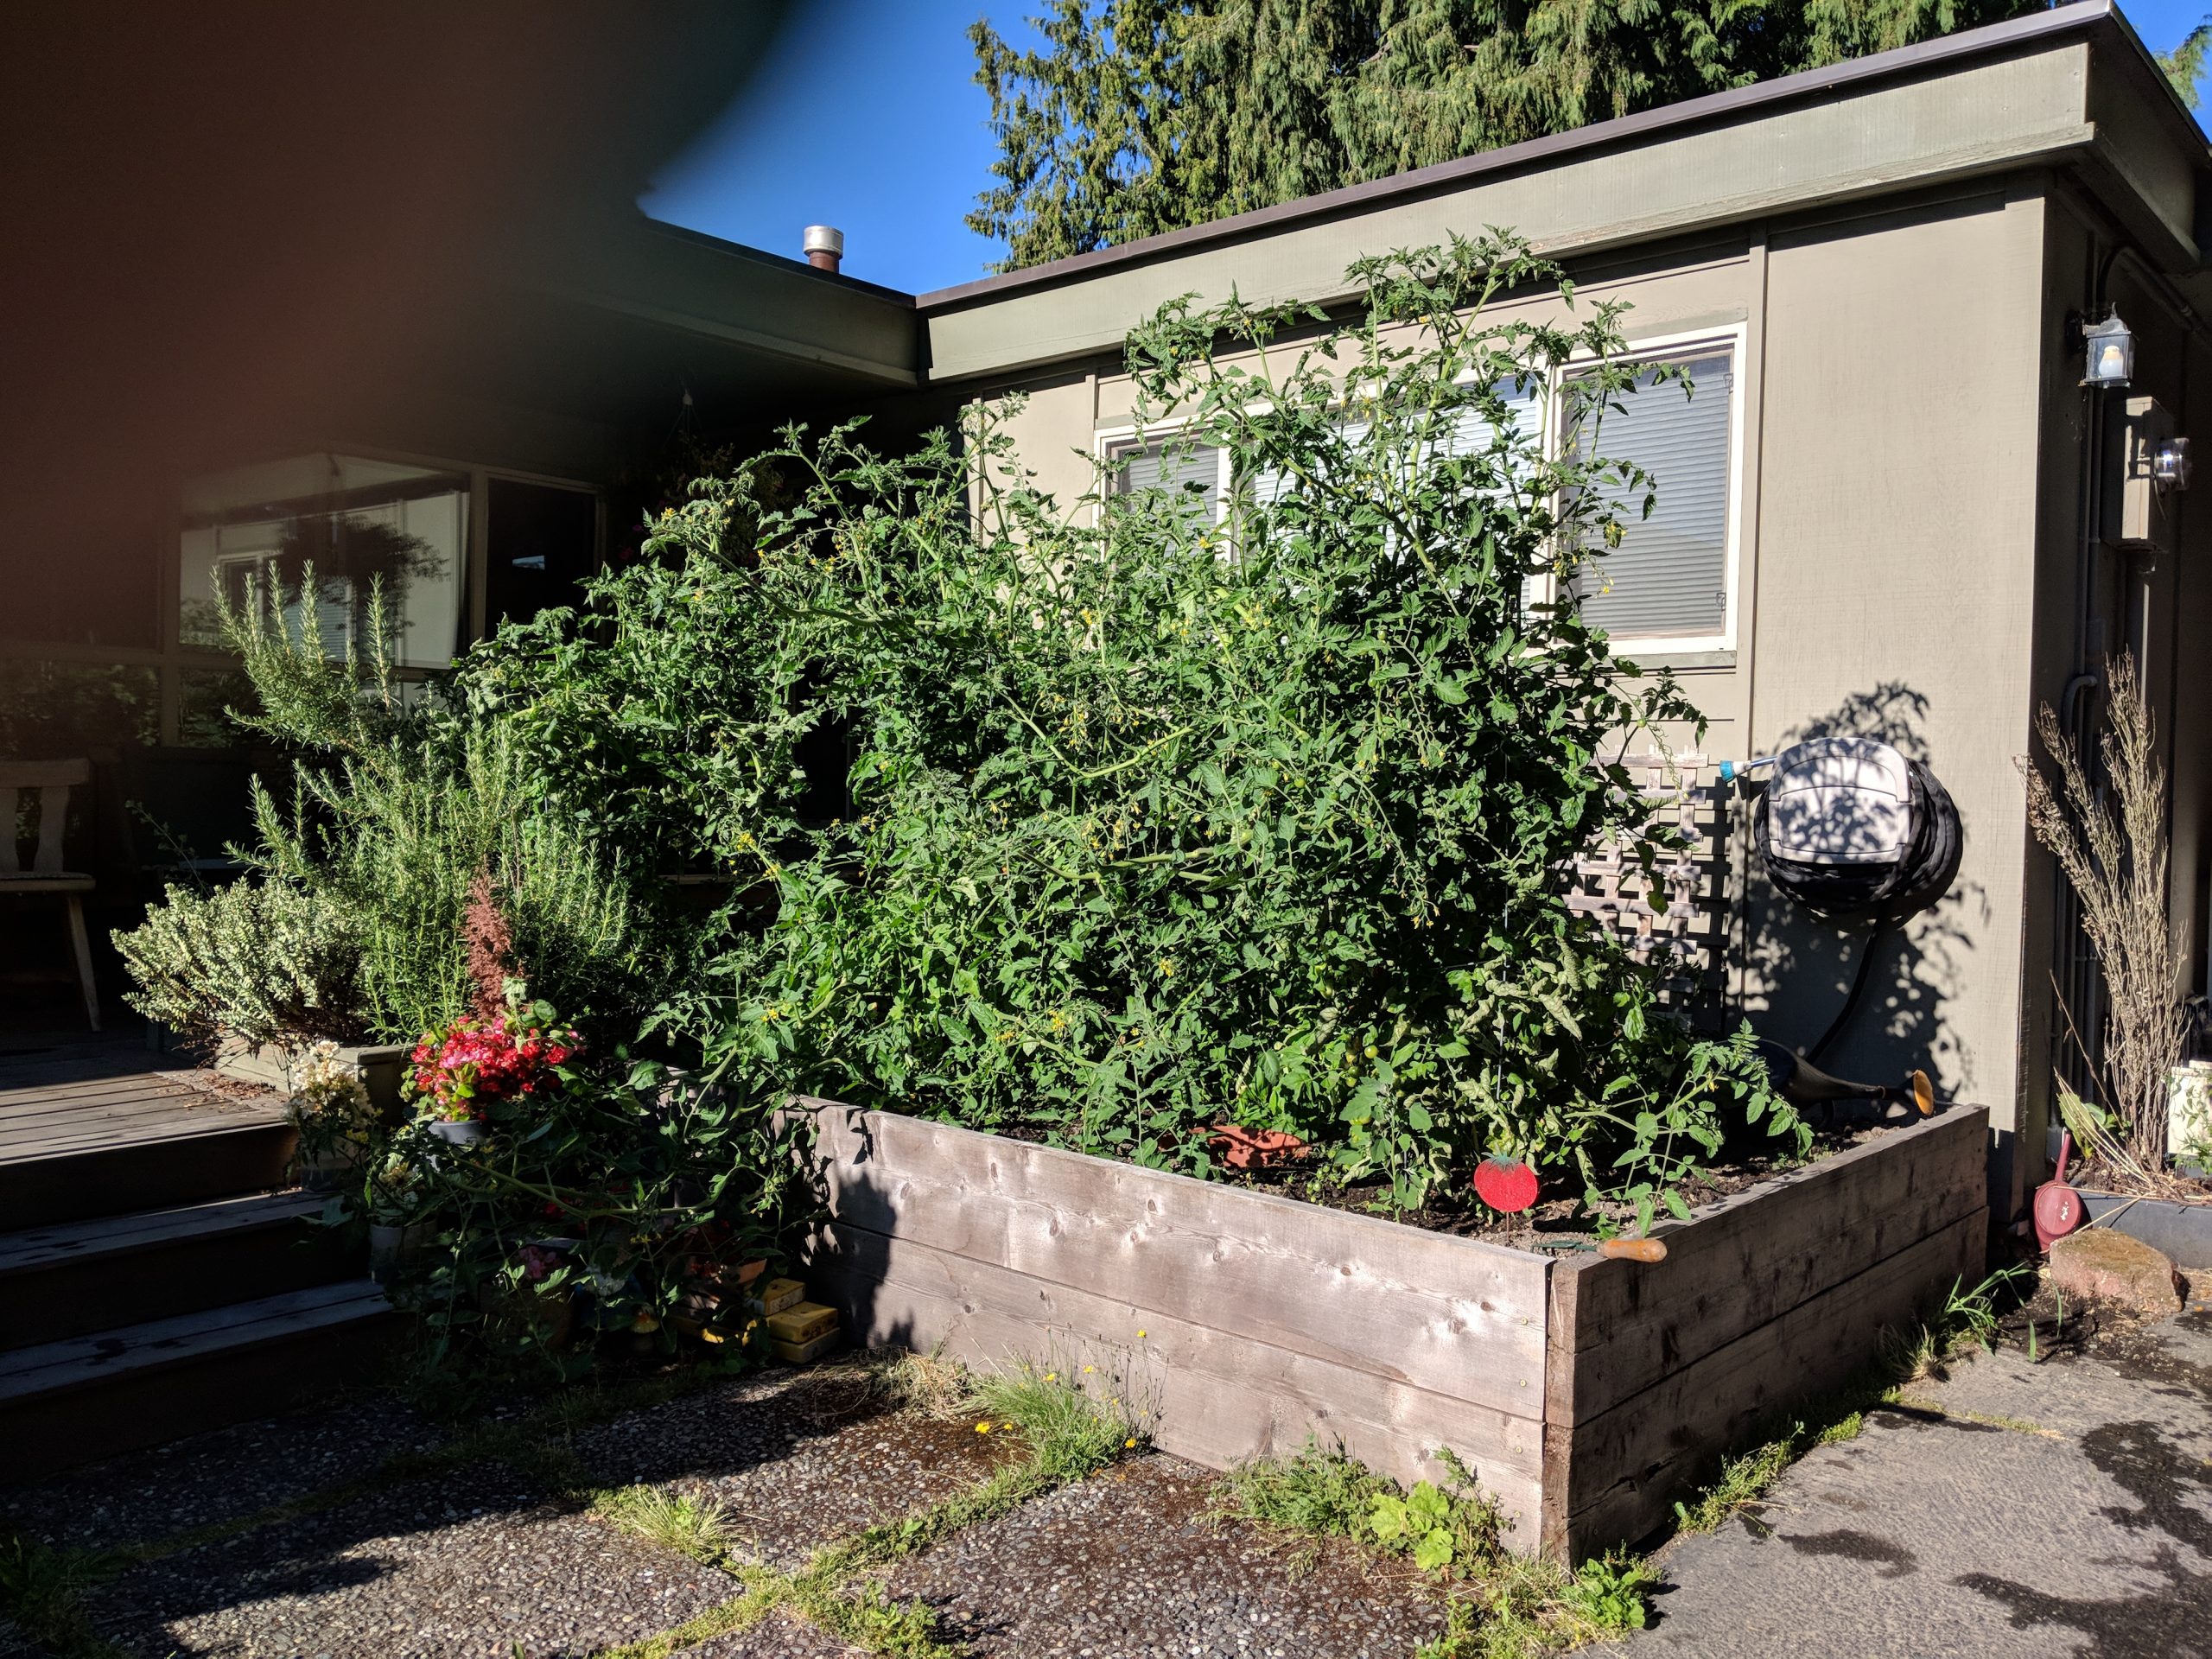
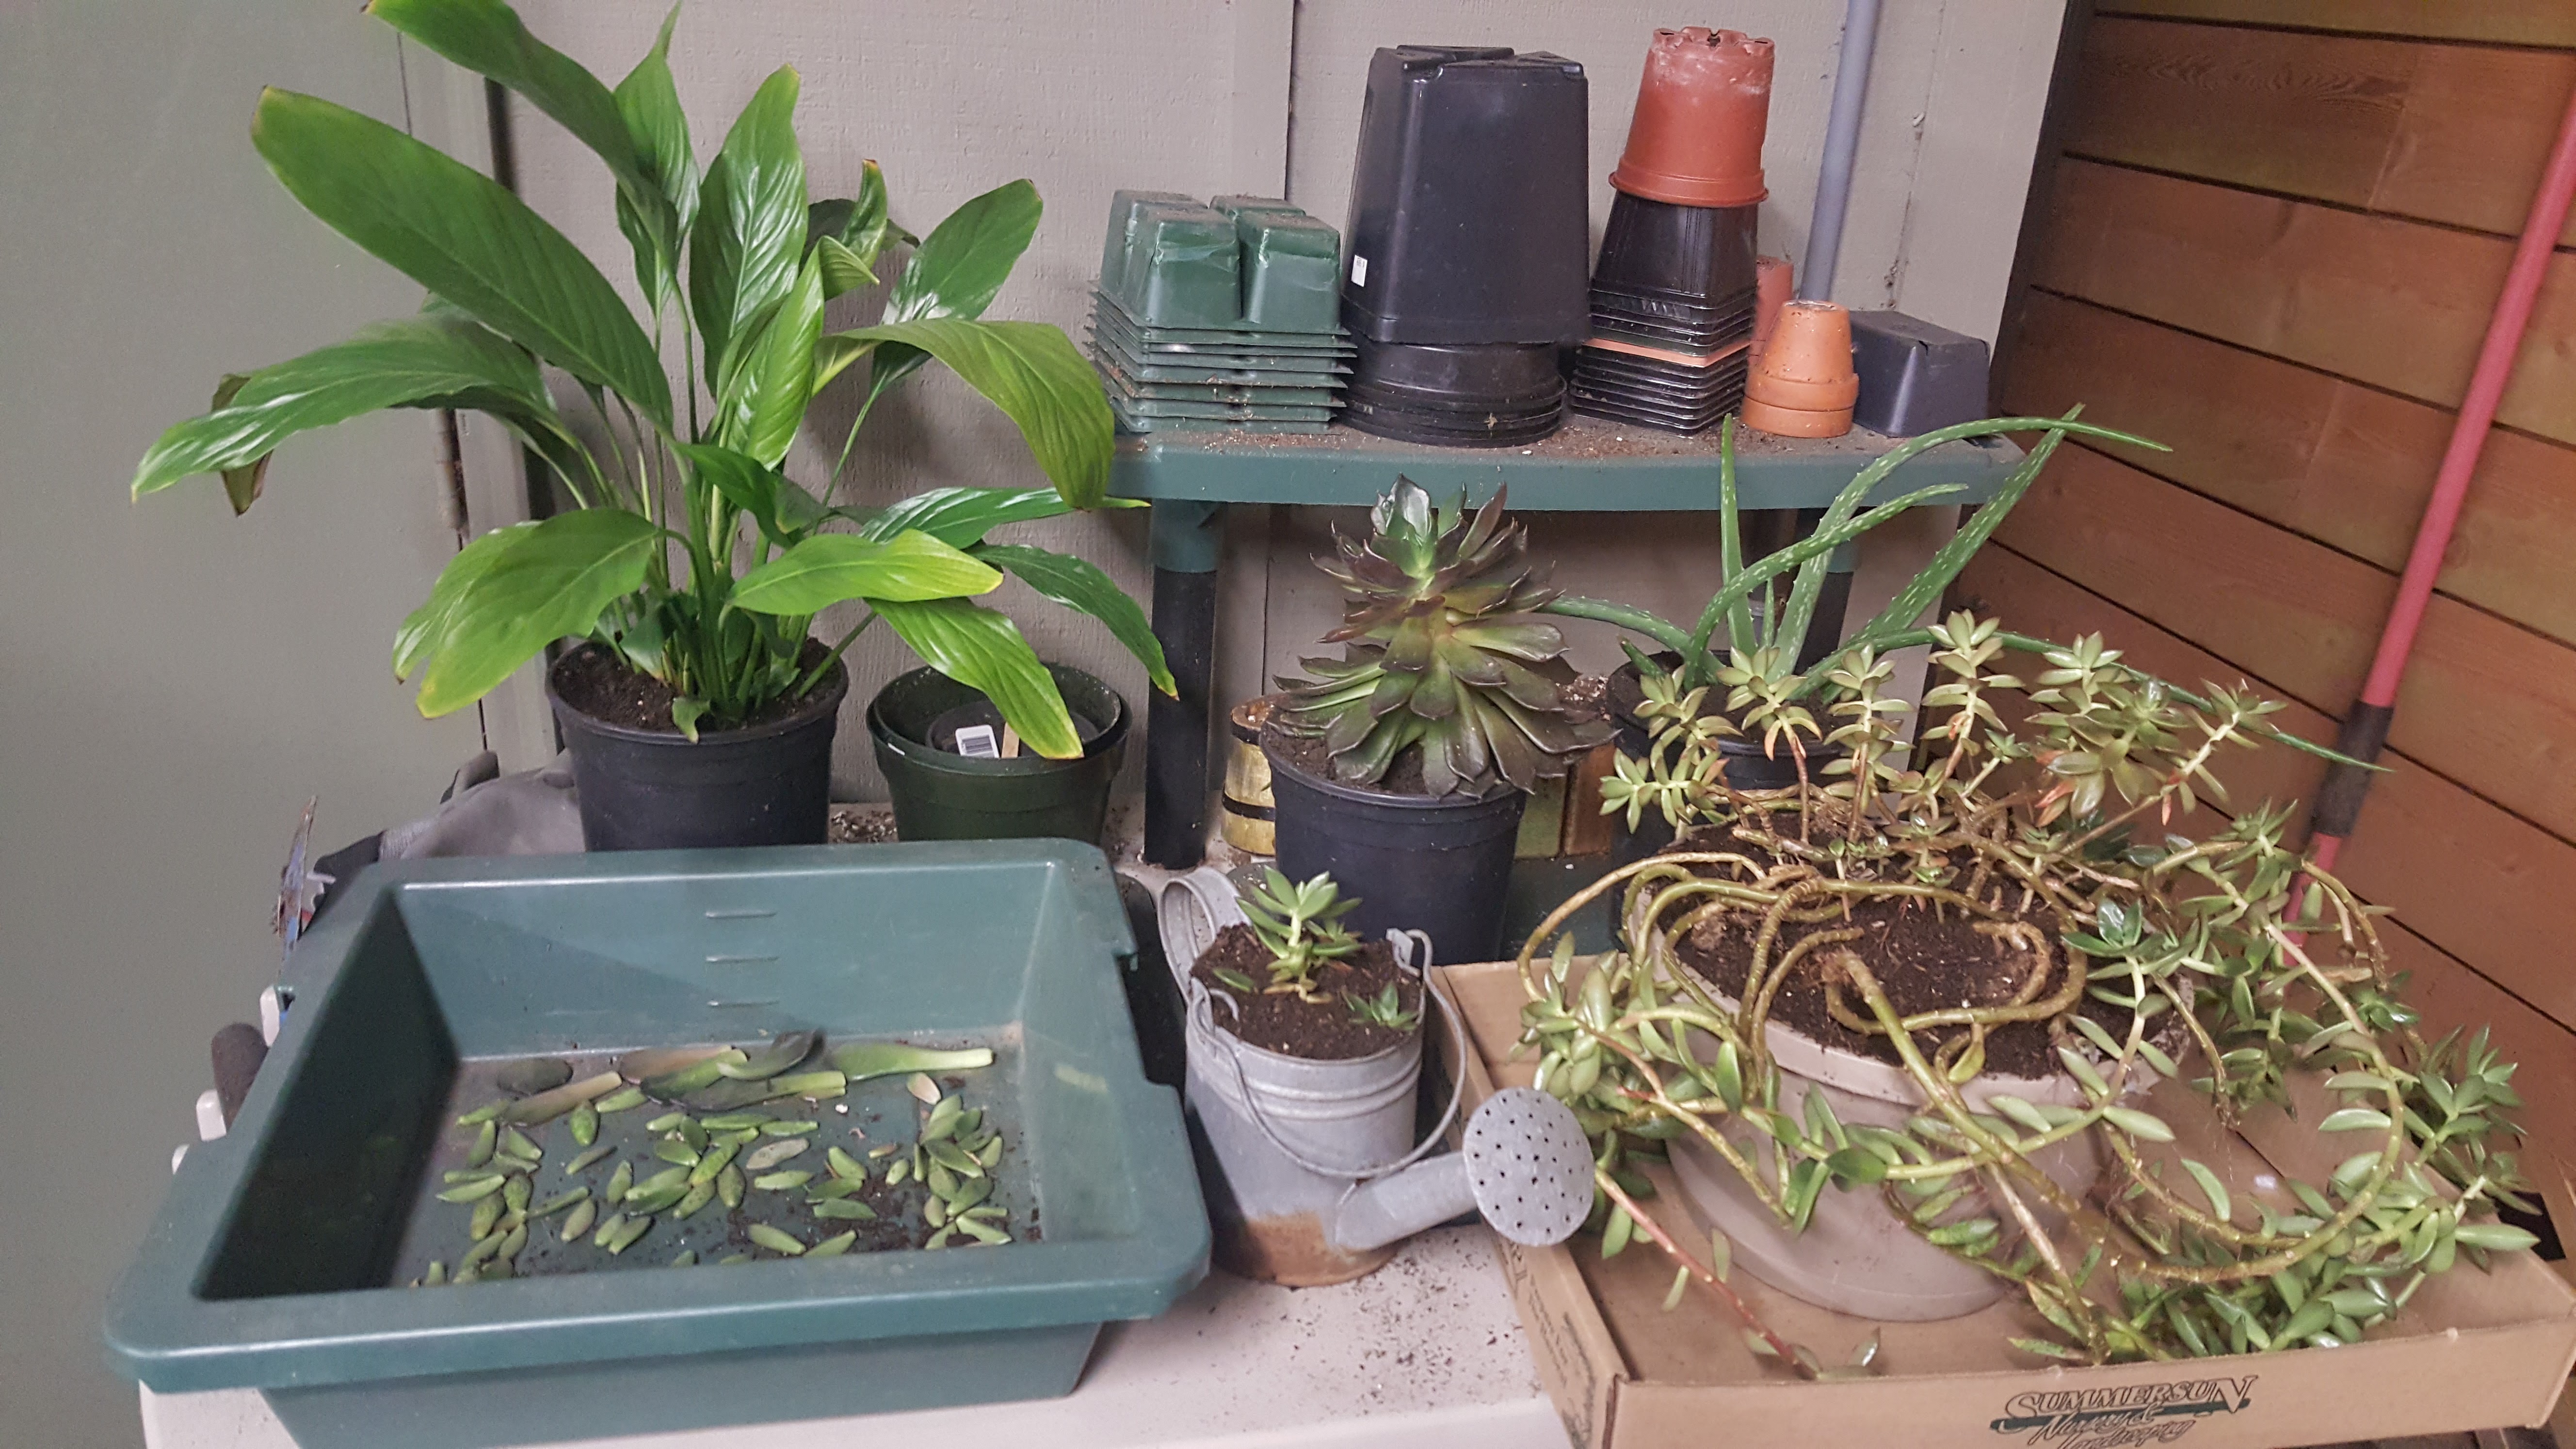
As I am looking back on this blog I realized I never posted the process of building the garden beds. I will show our last house on Crosby first. Crosby was a lot bigger project but both were very satisfying to build. I used hugelkultur and ollas in each bed for maximum nutrients and watering needs.
The garden at our last house did really well. We didn’t have a garden in 2019 because we were moving in the spring and unpacking all summer long.
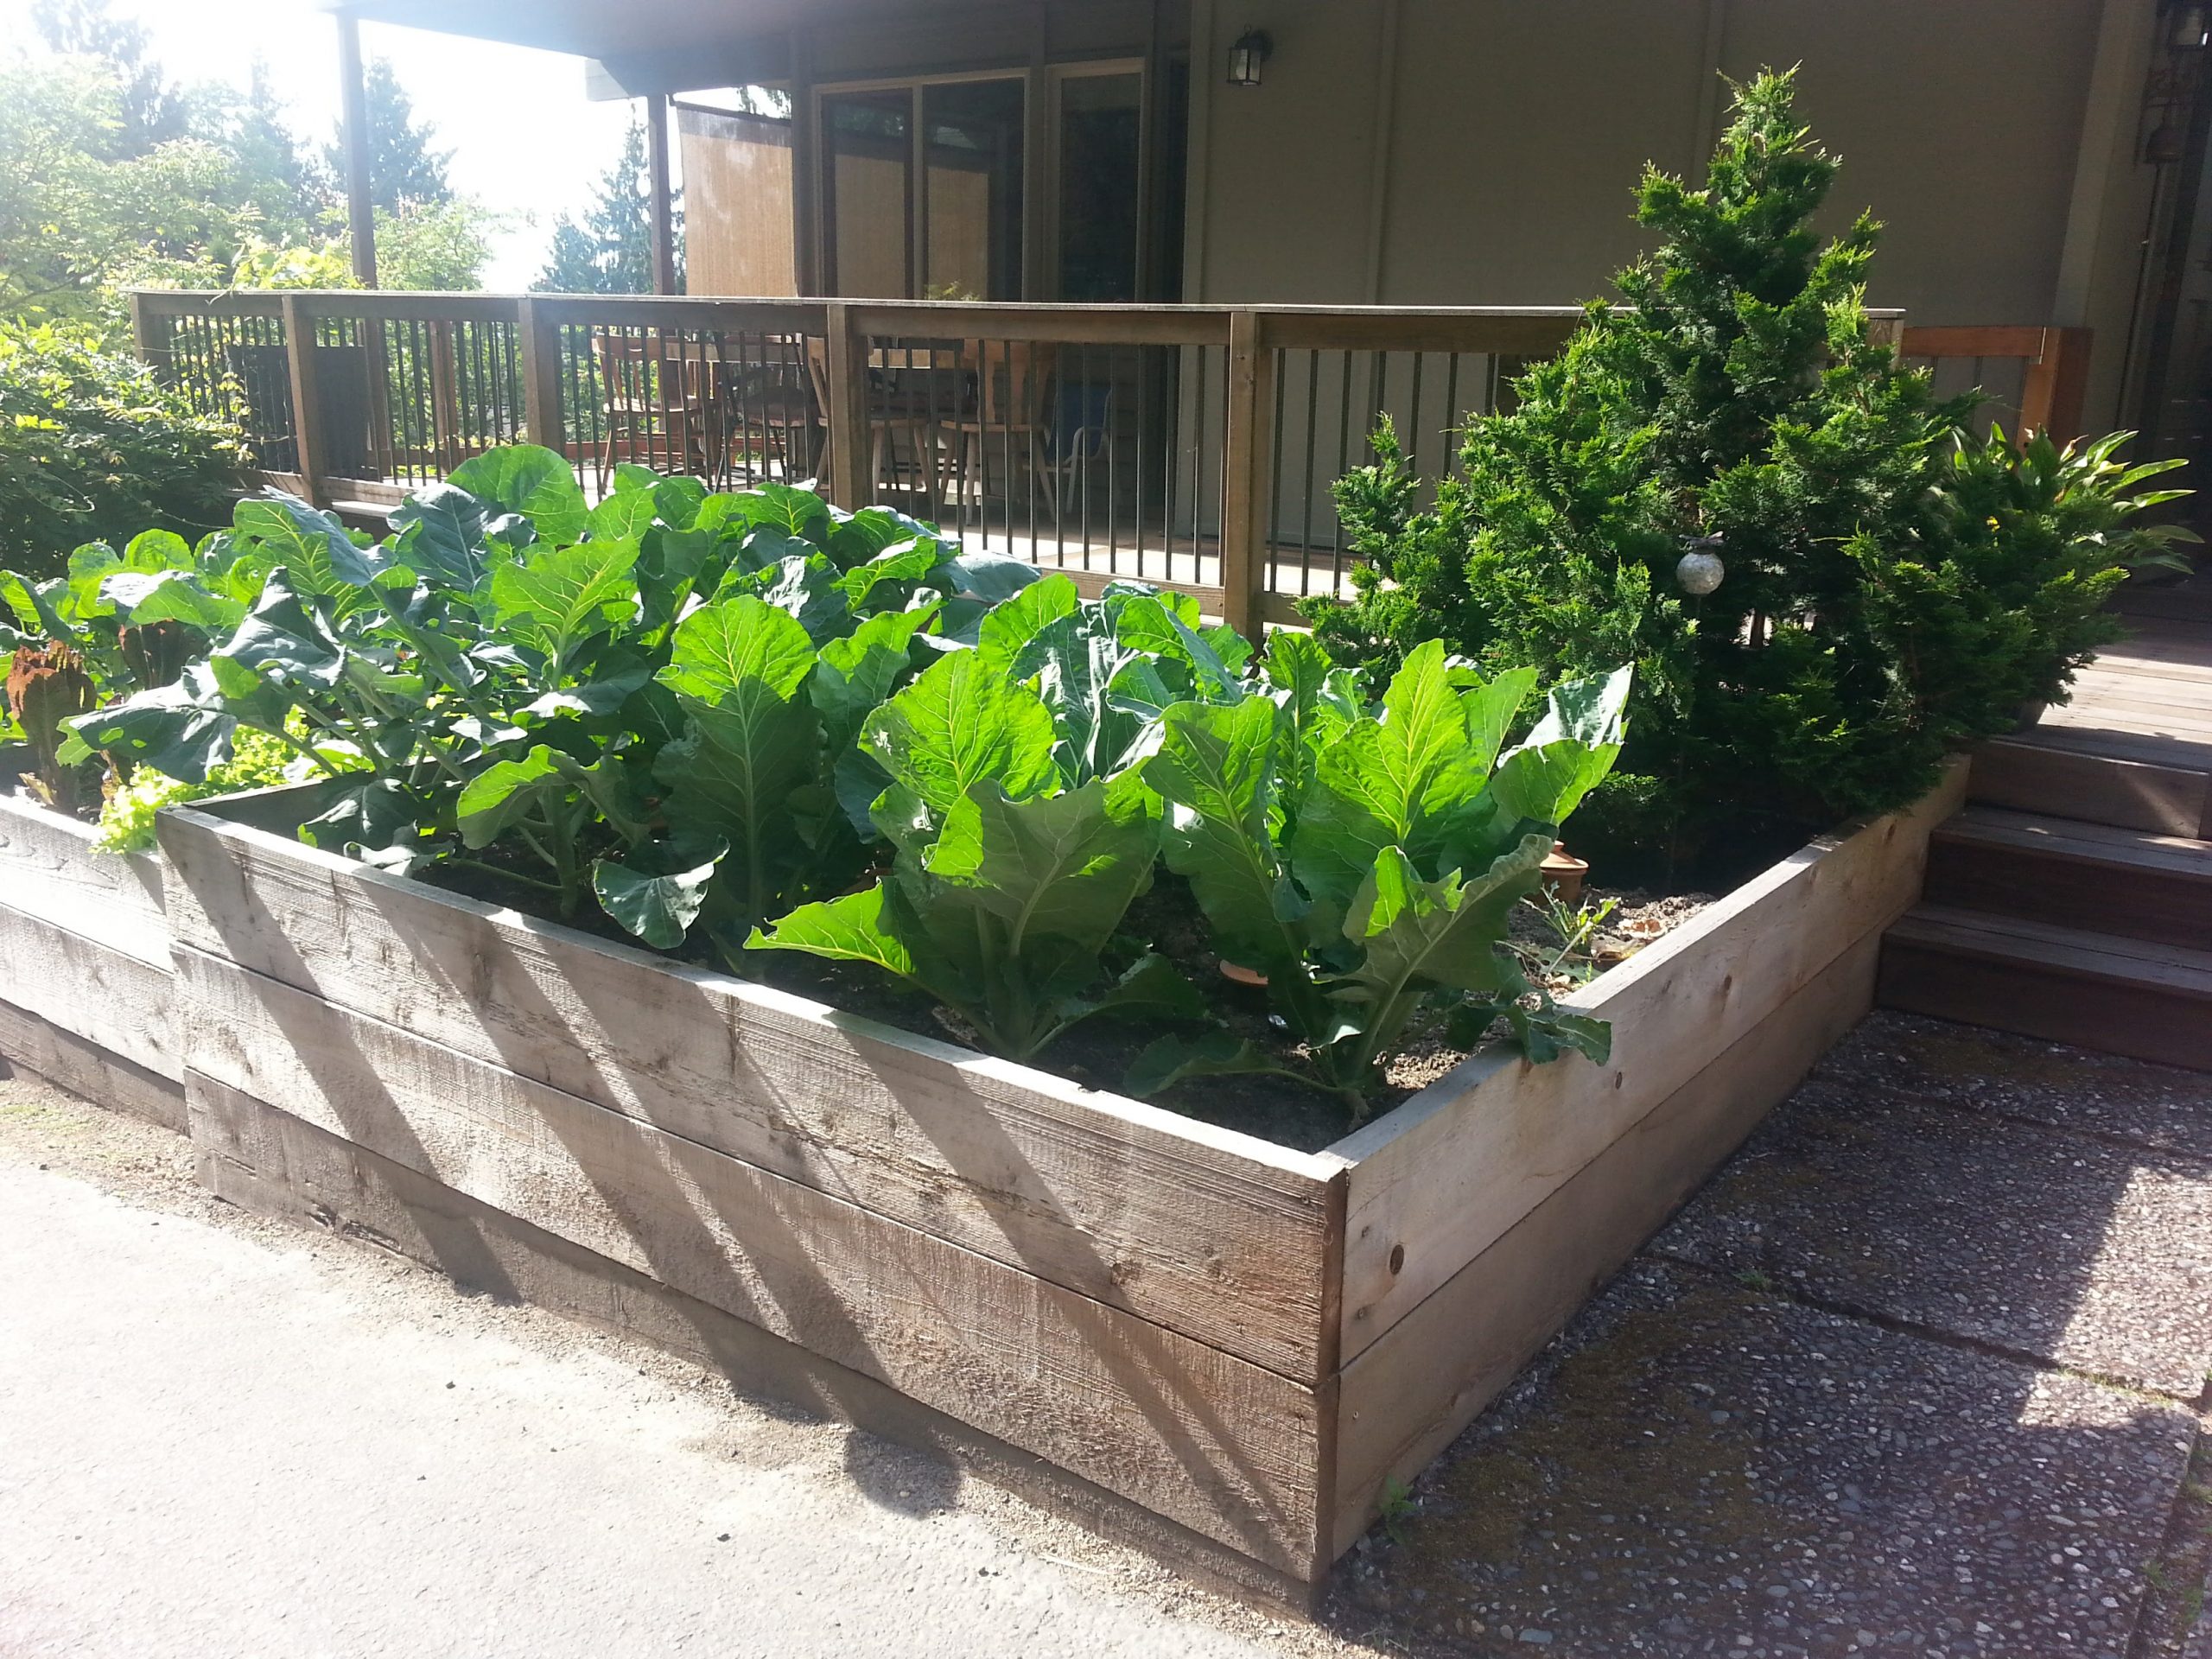
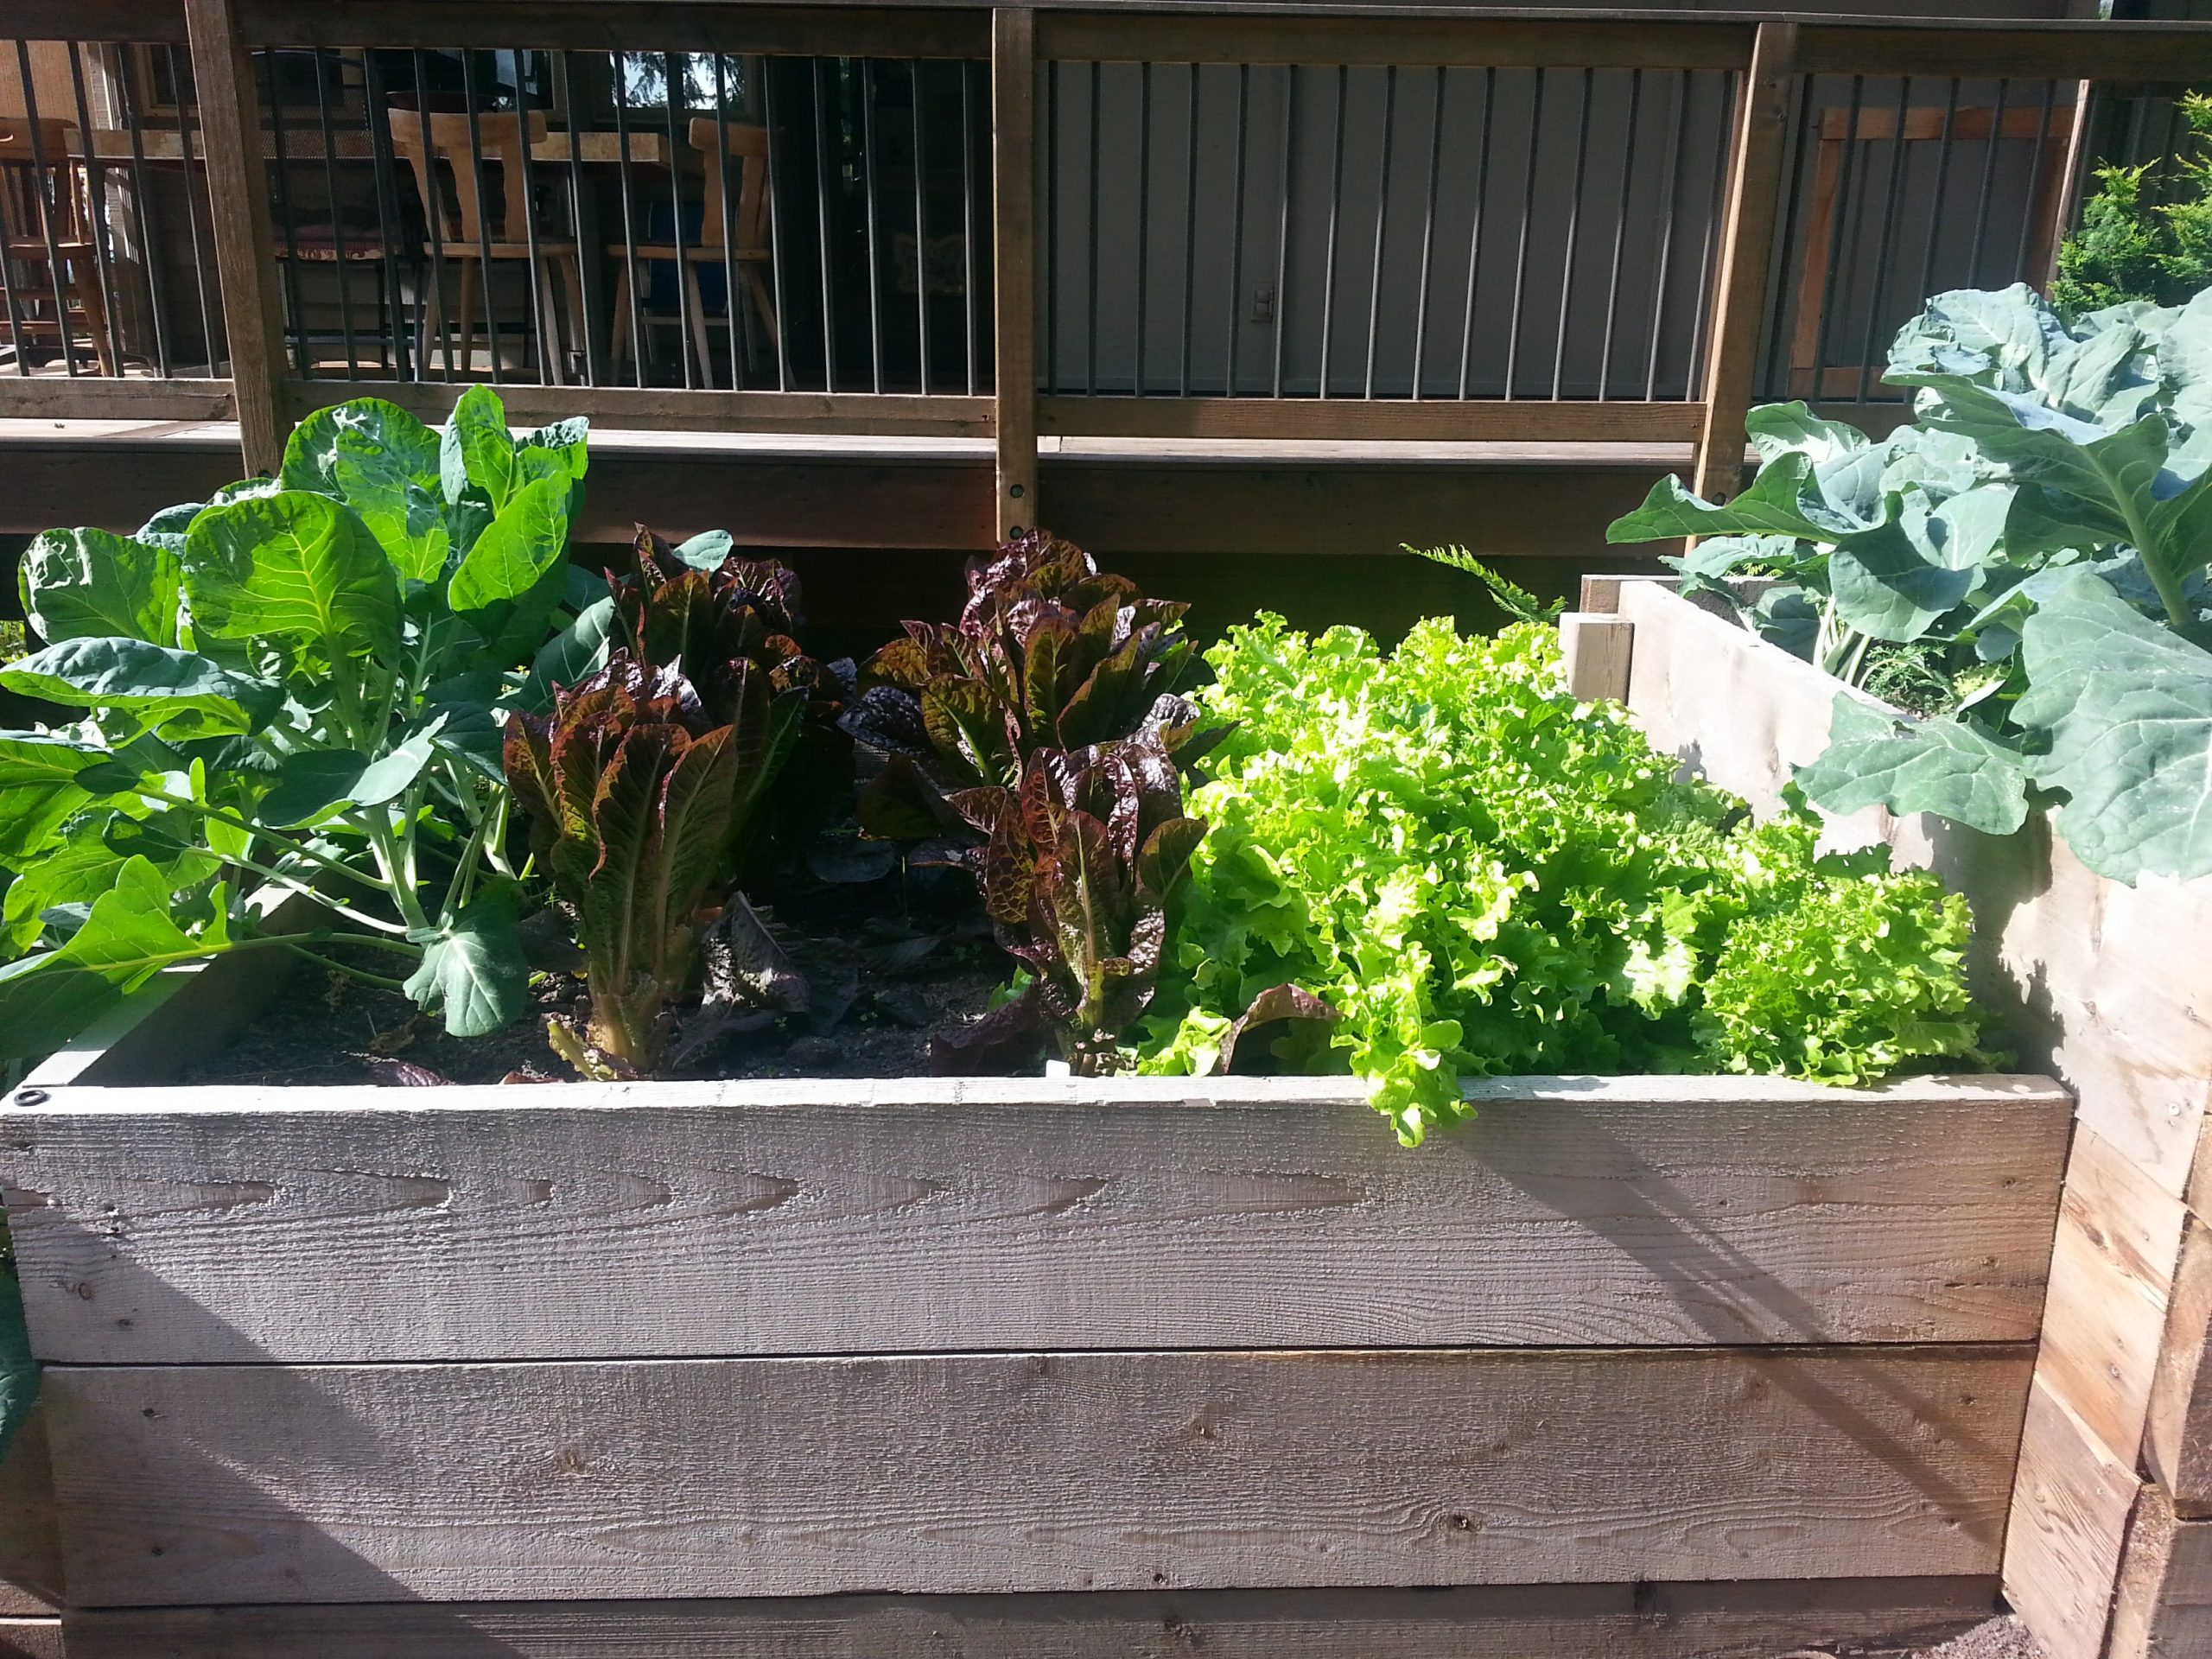
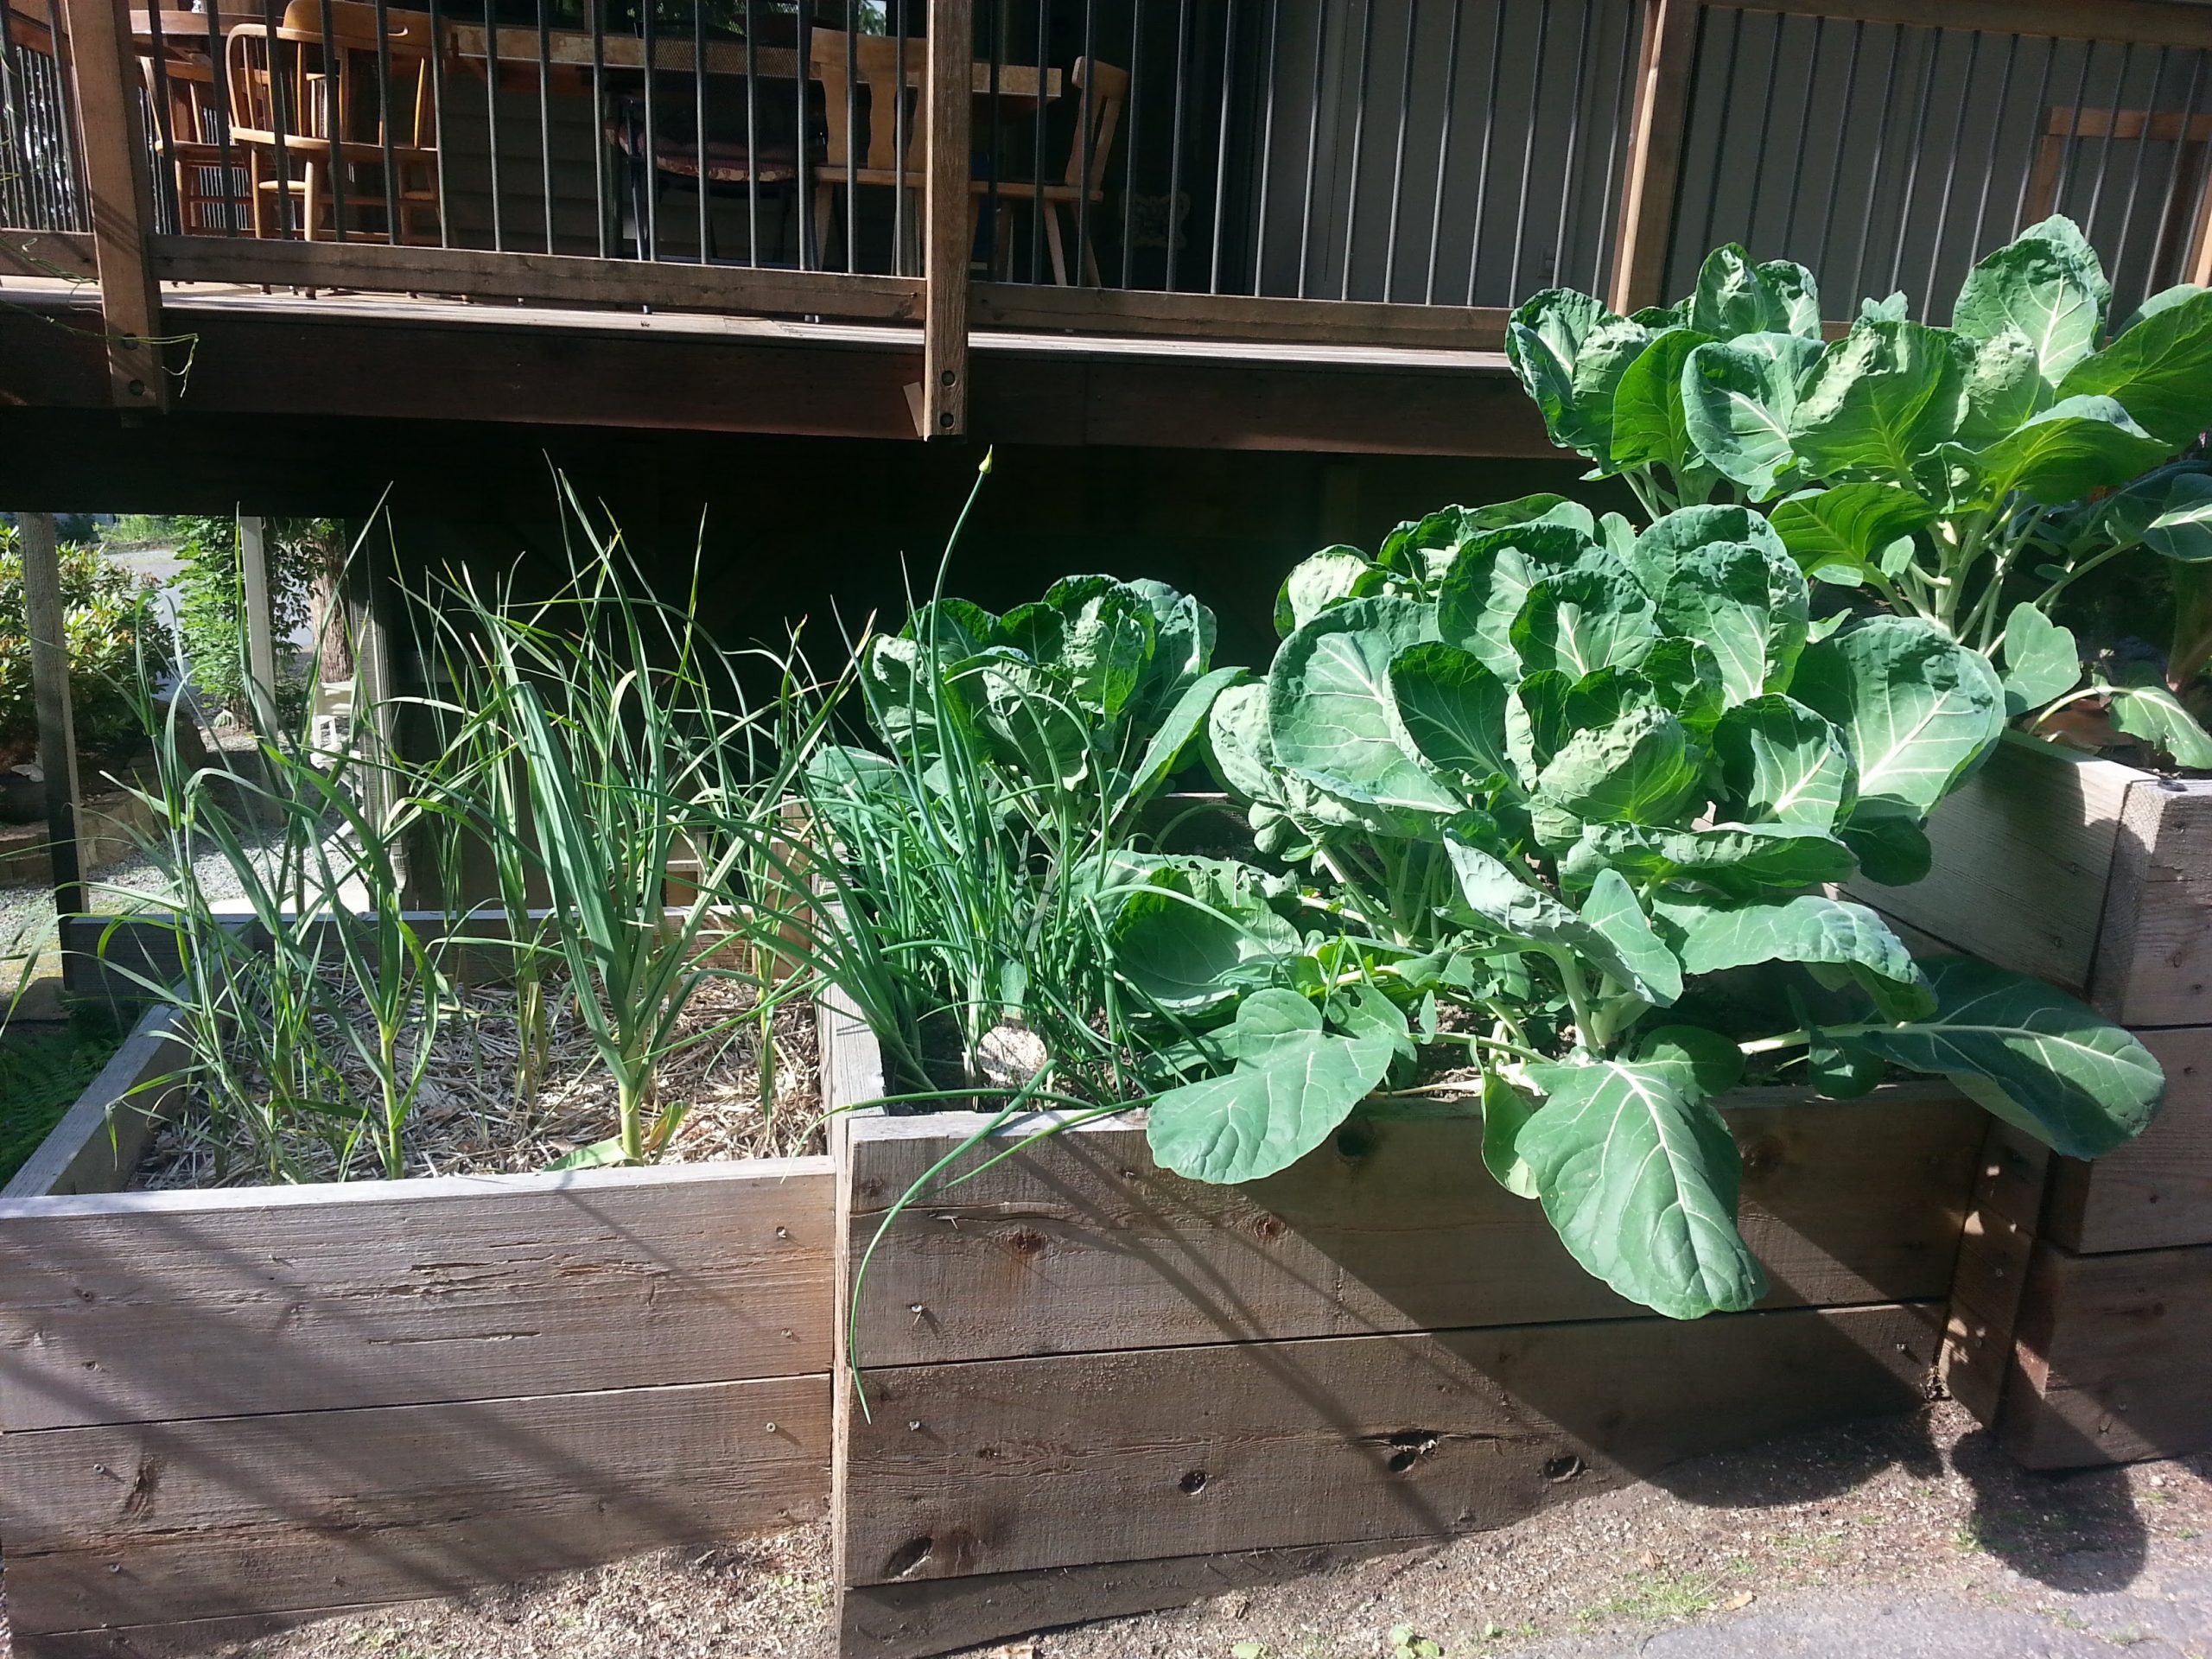
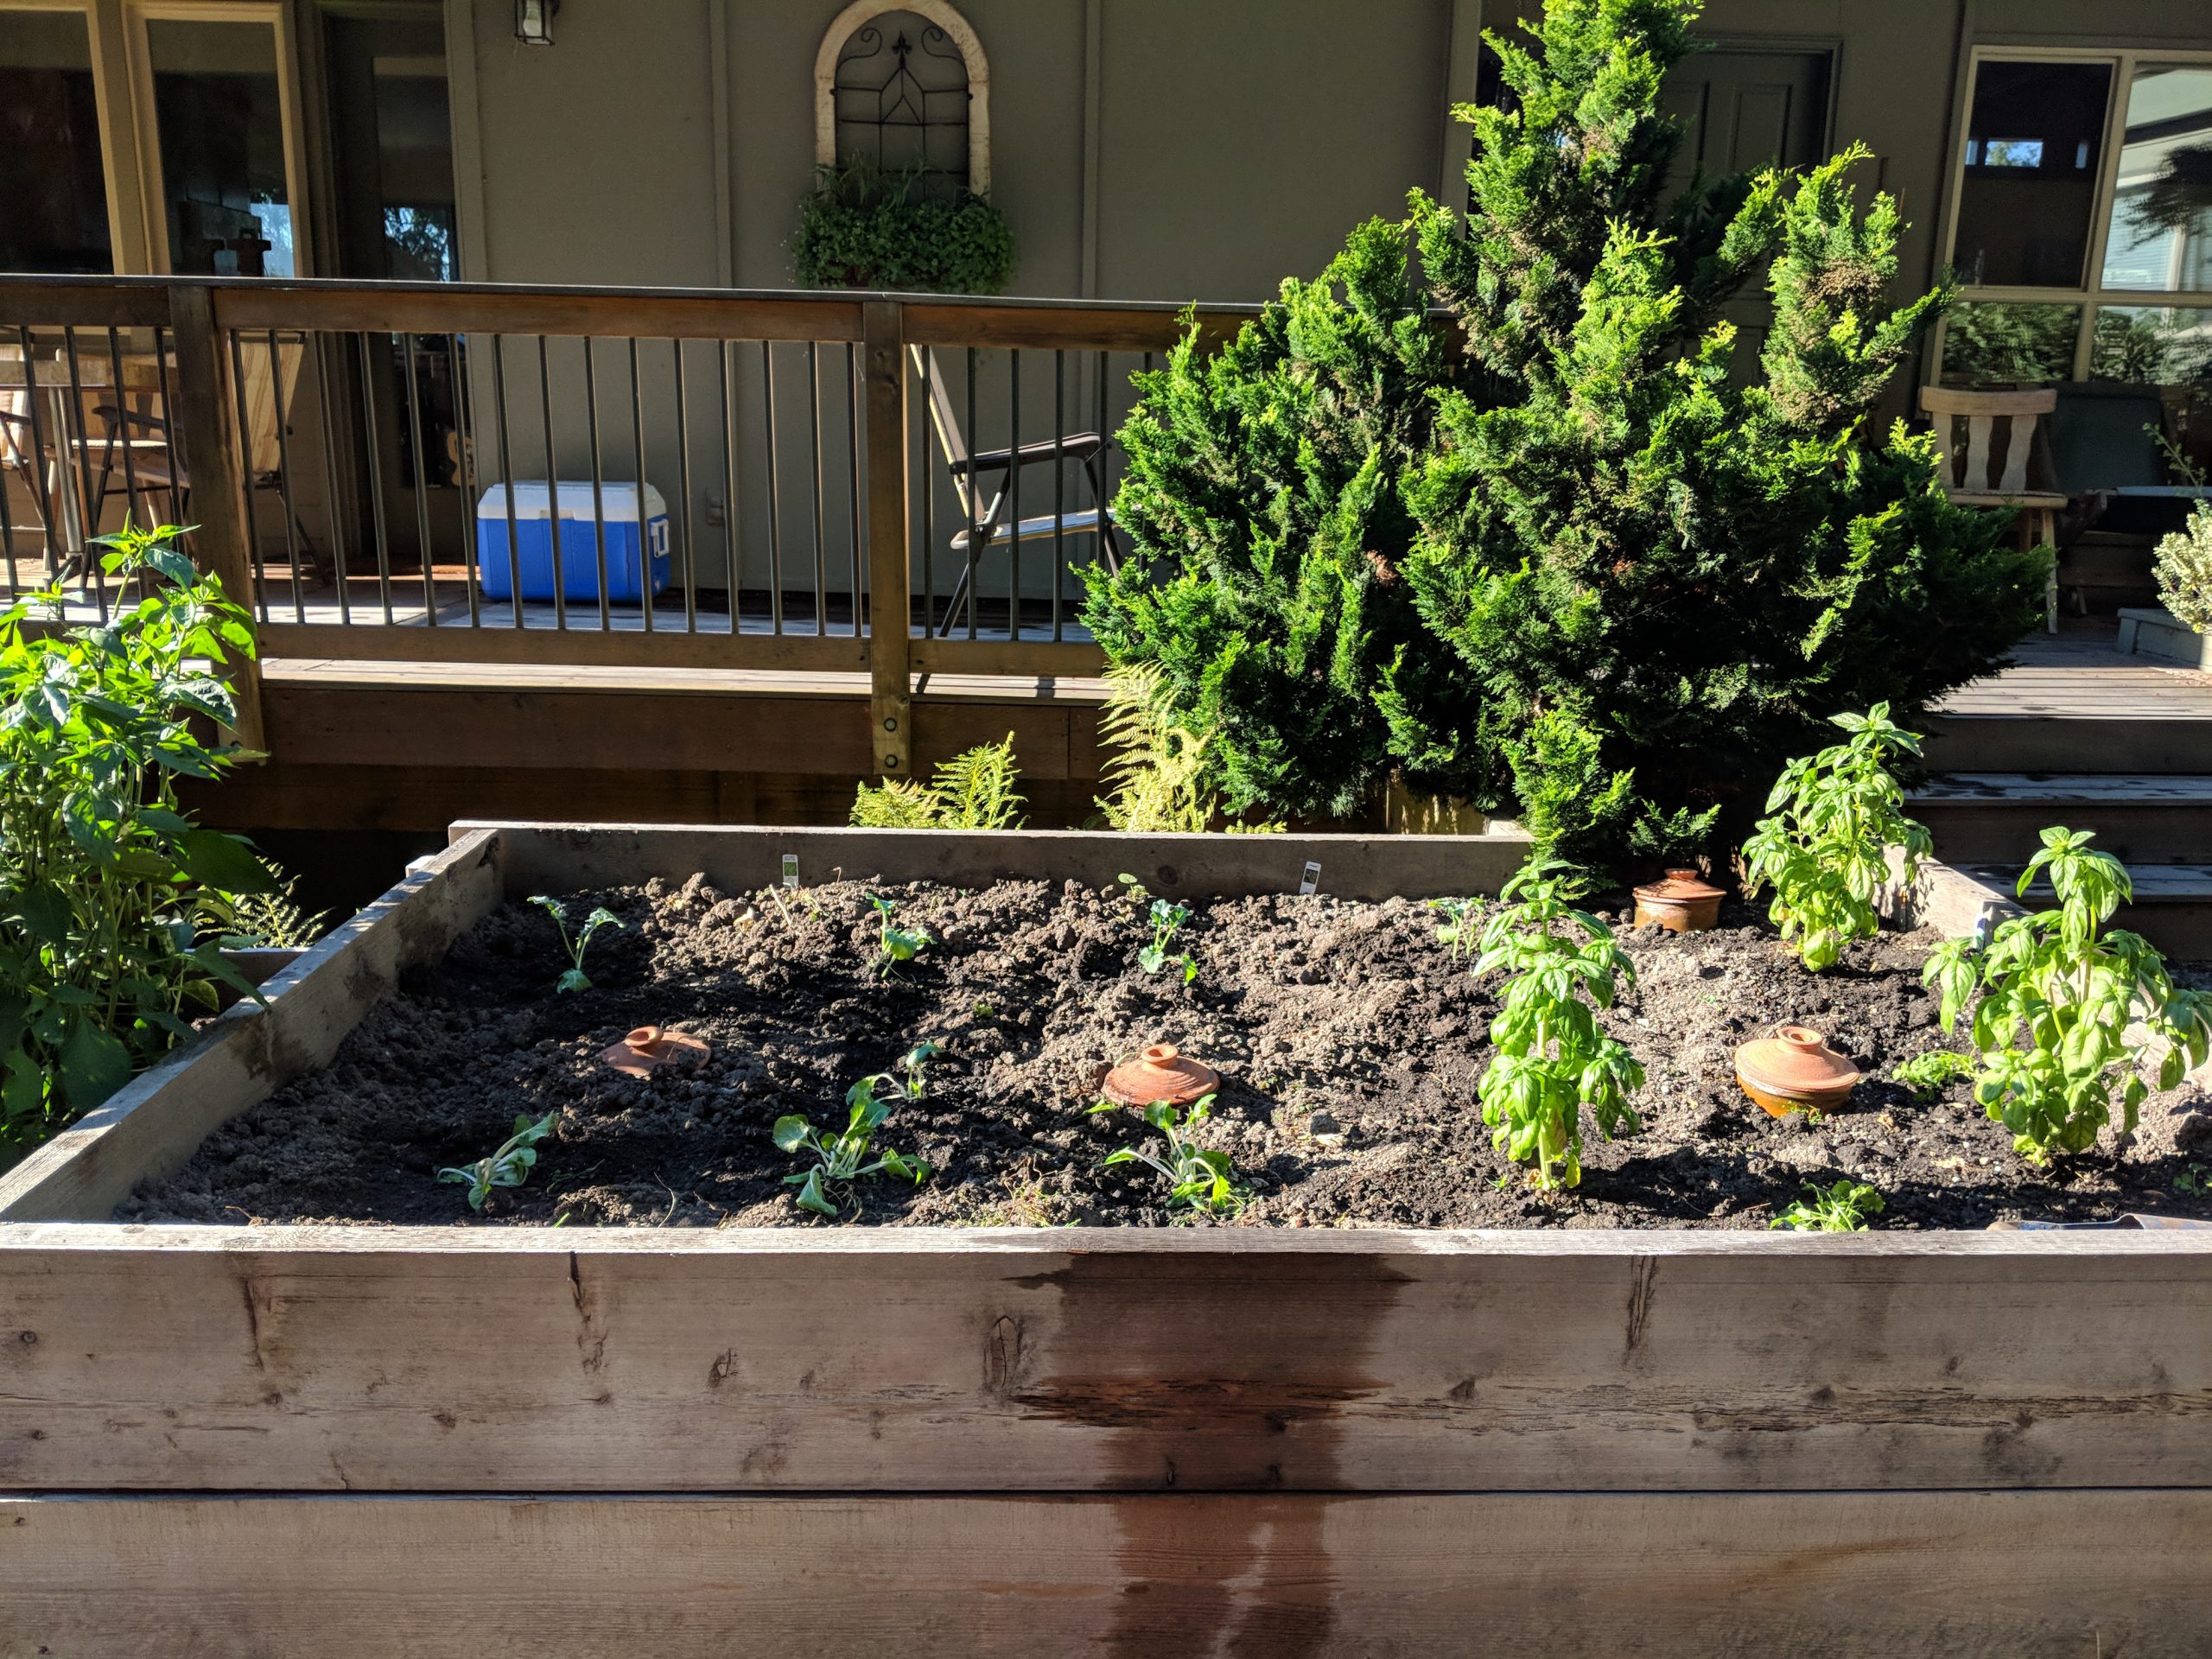
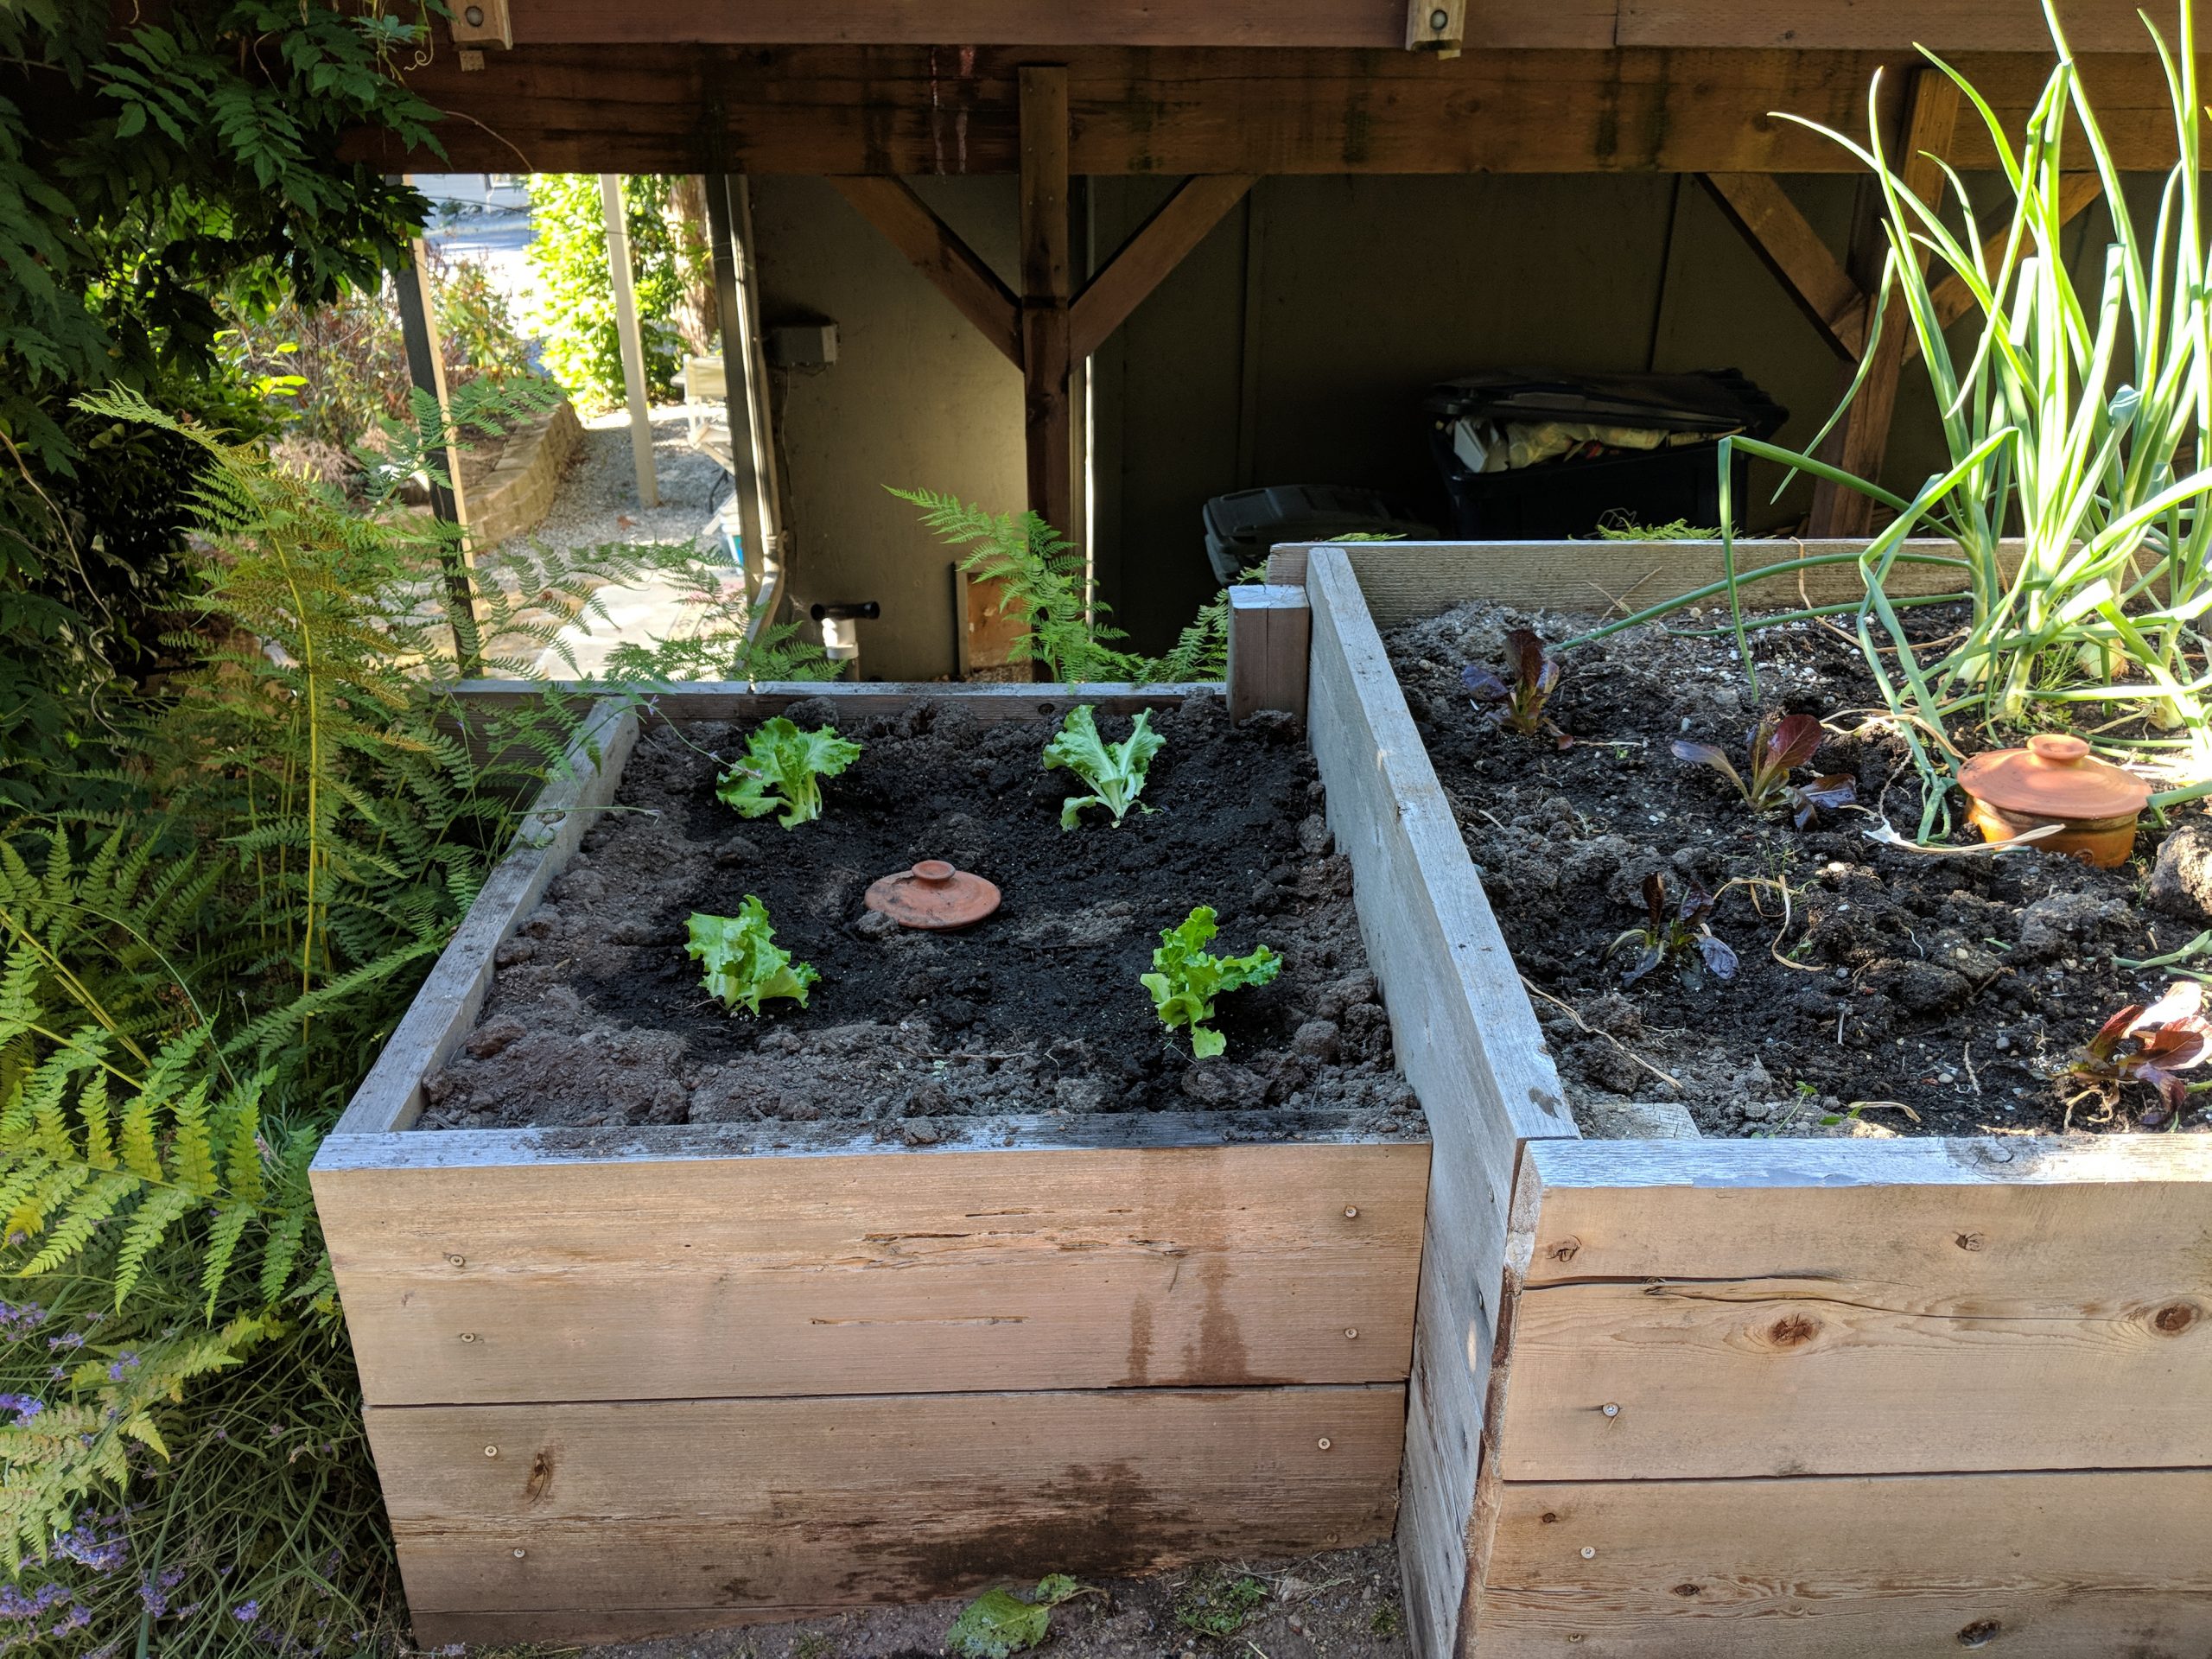
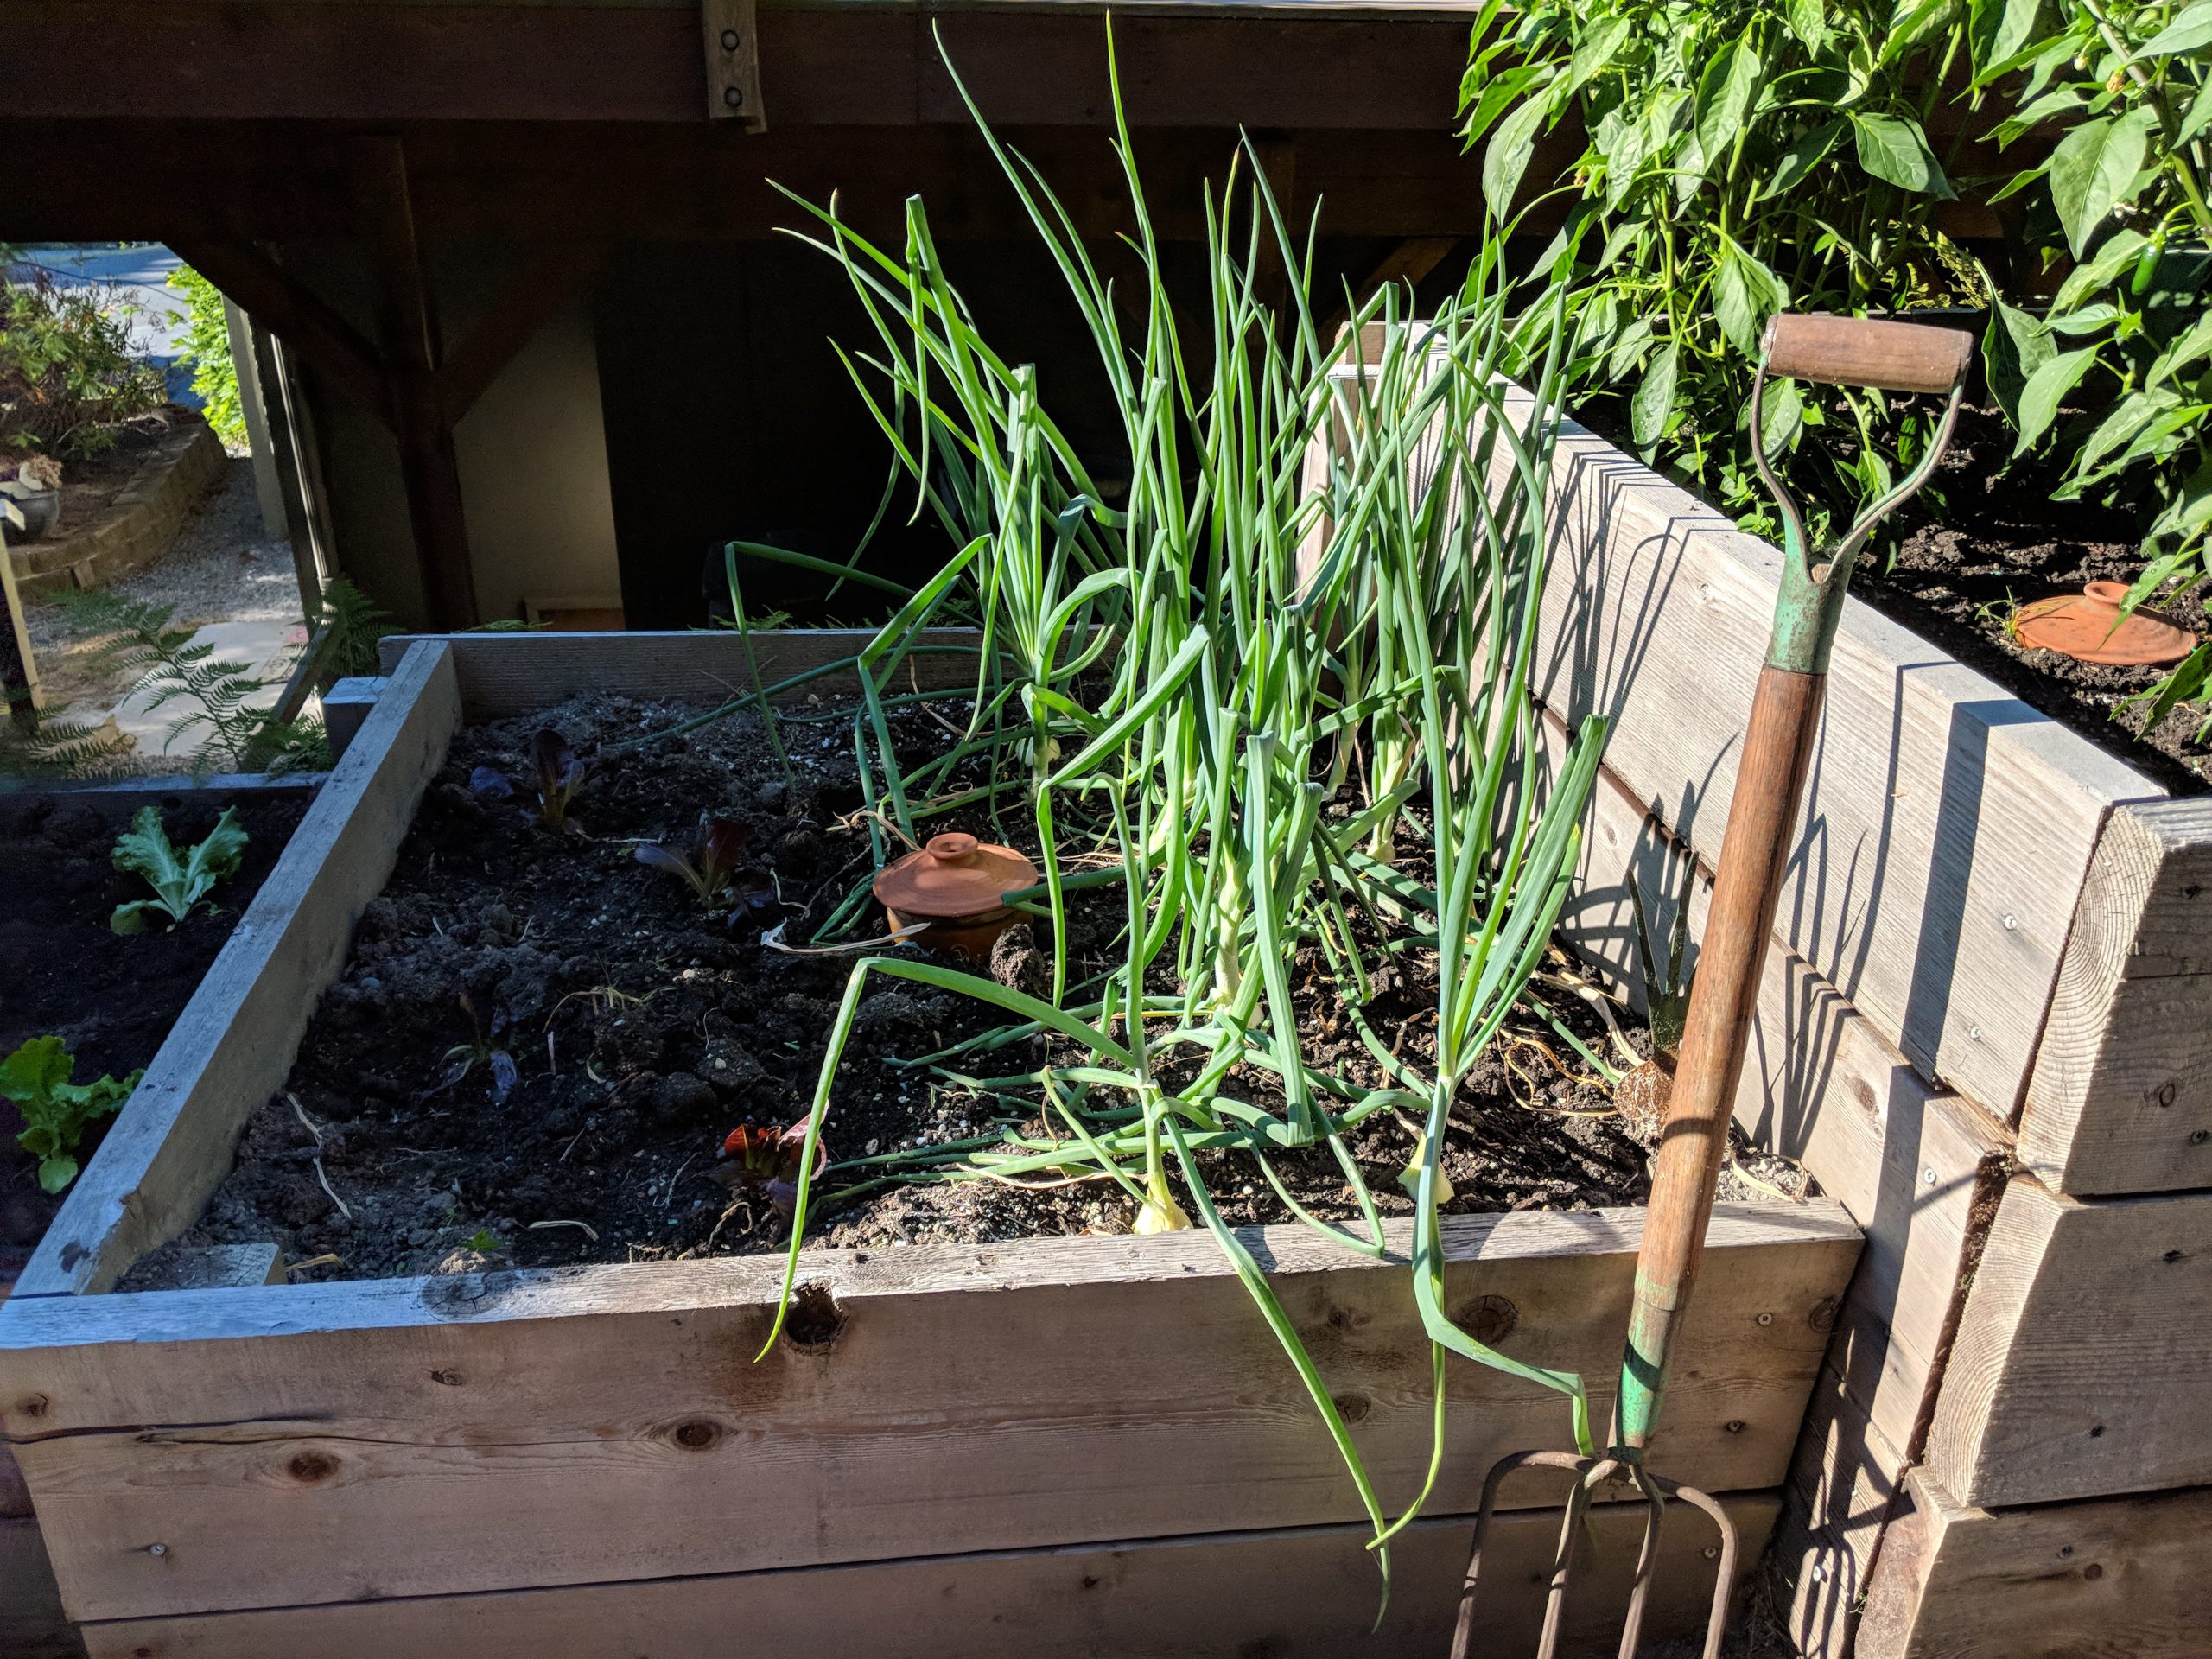
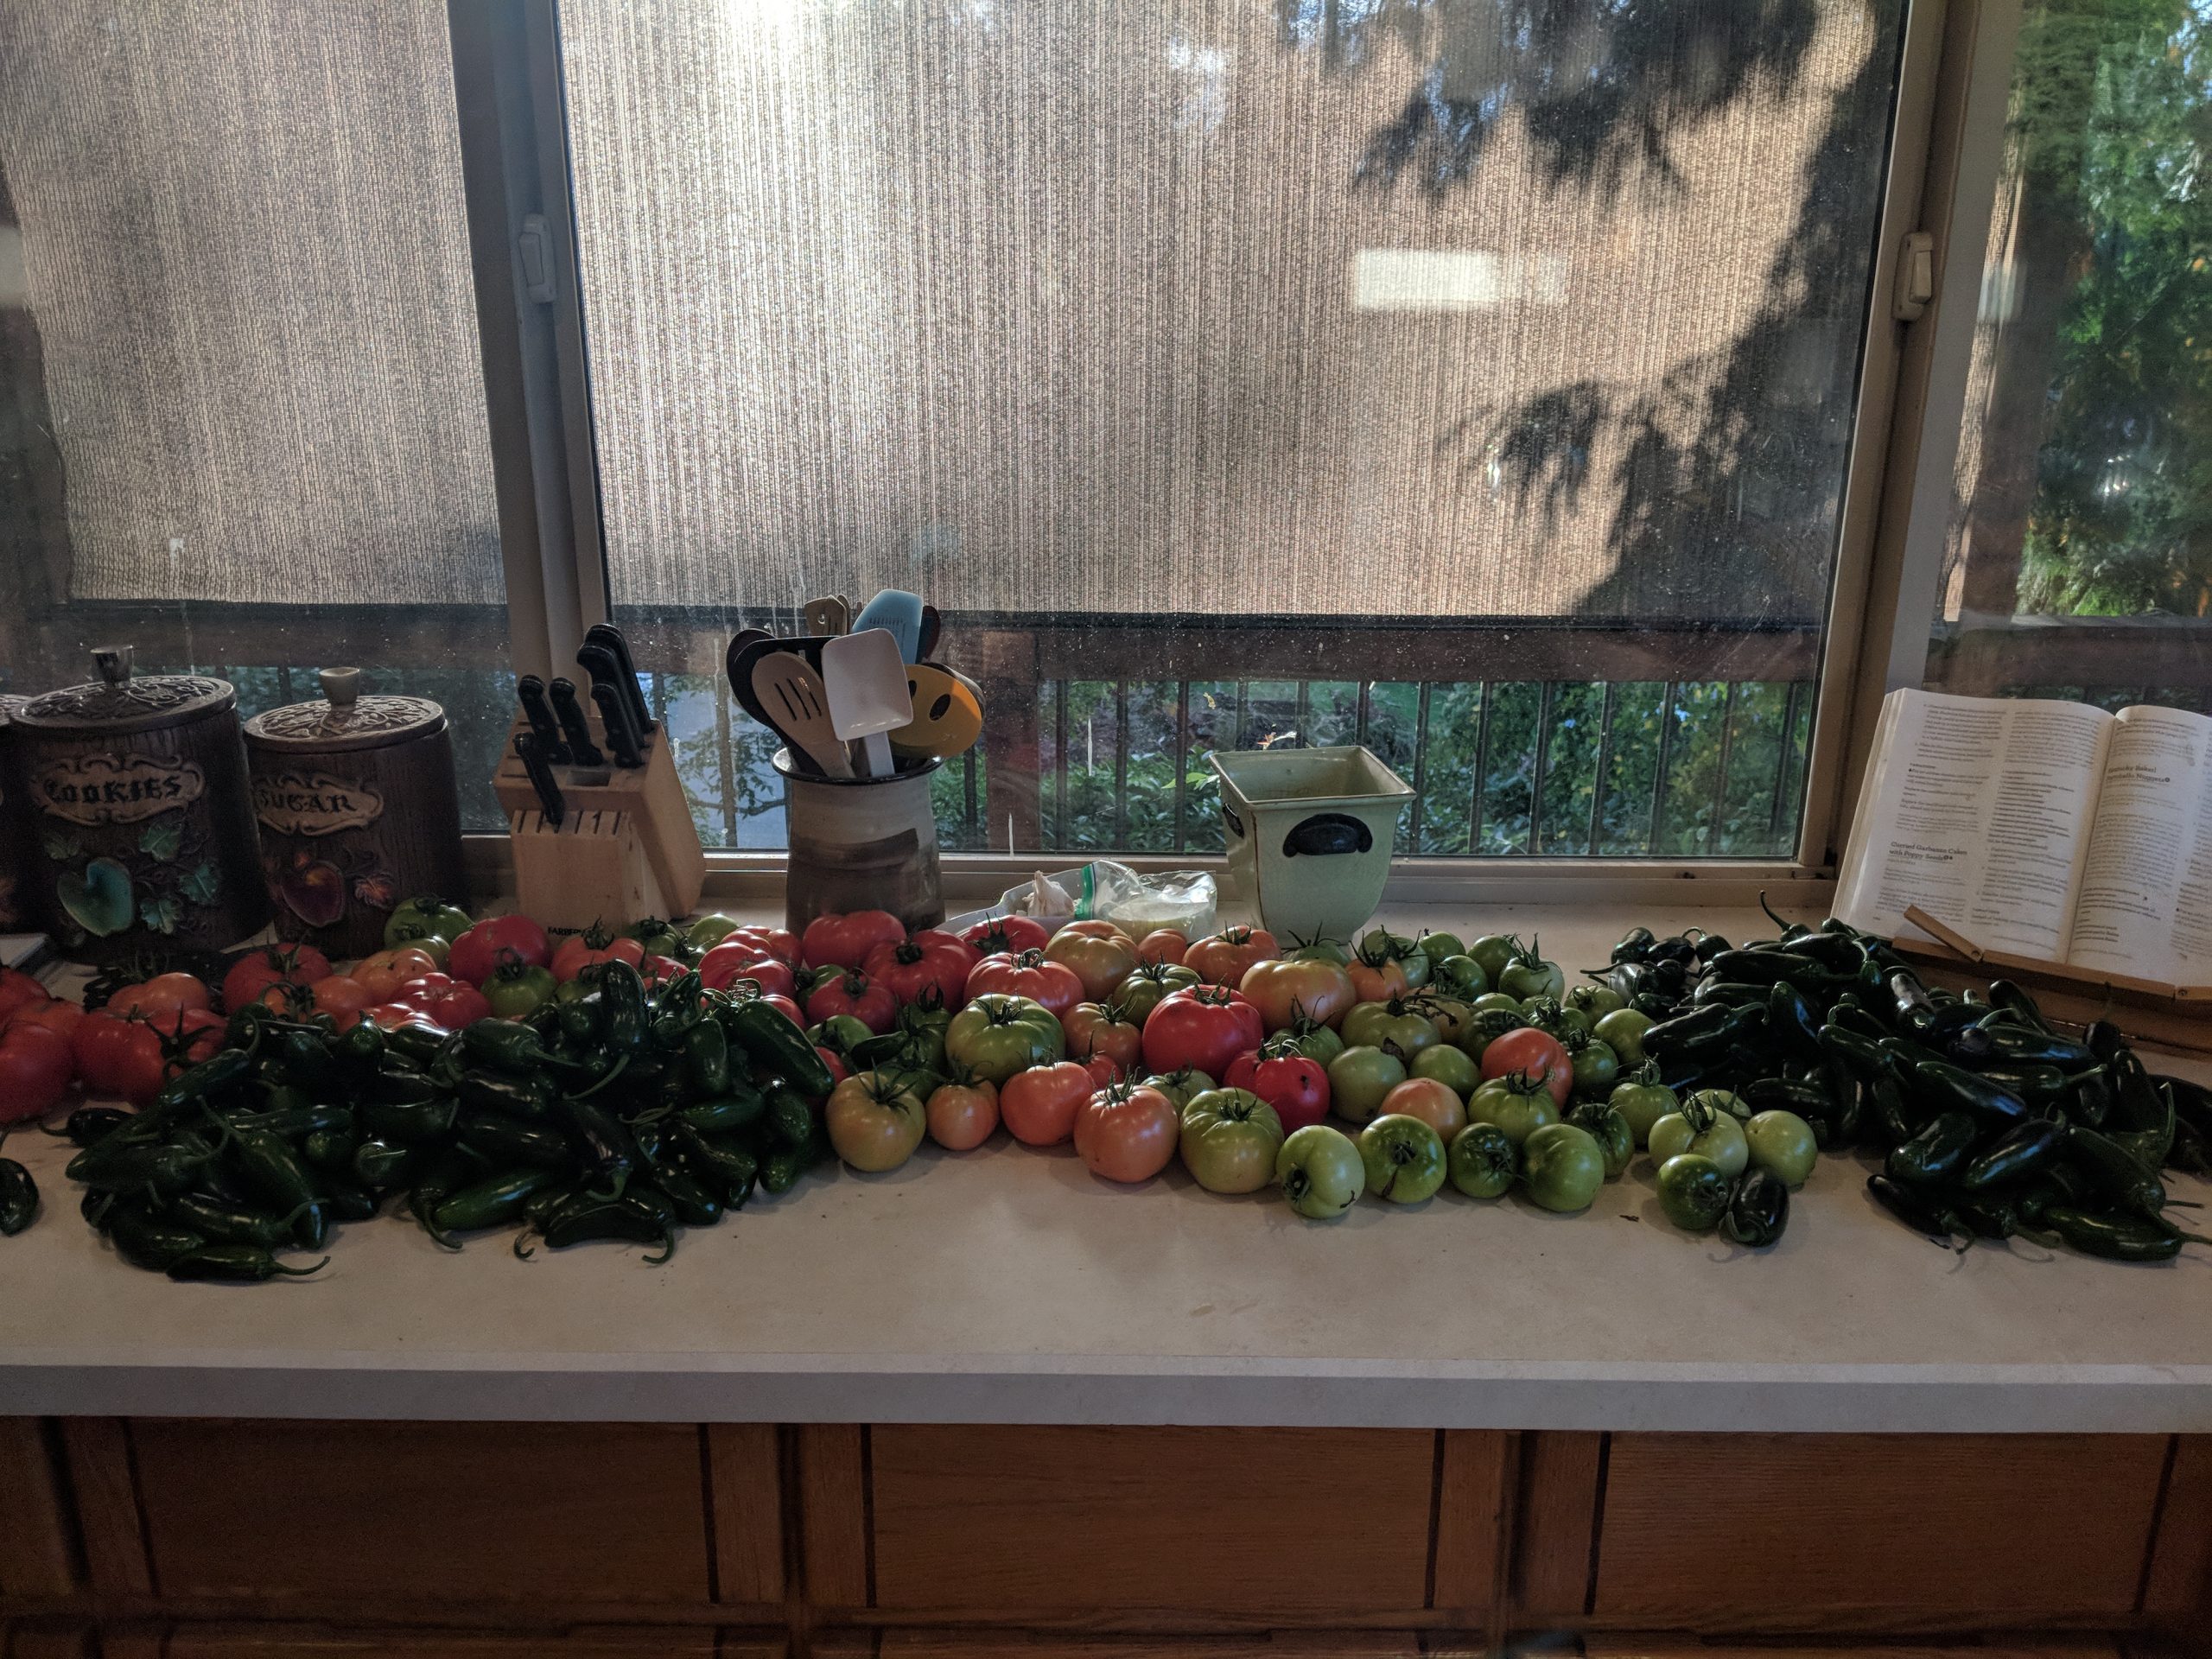
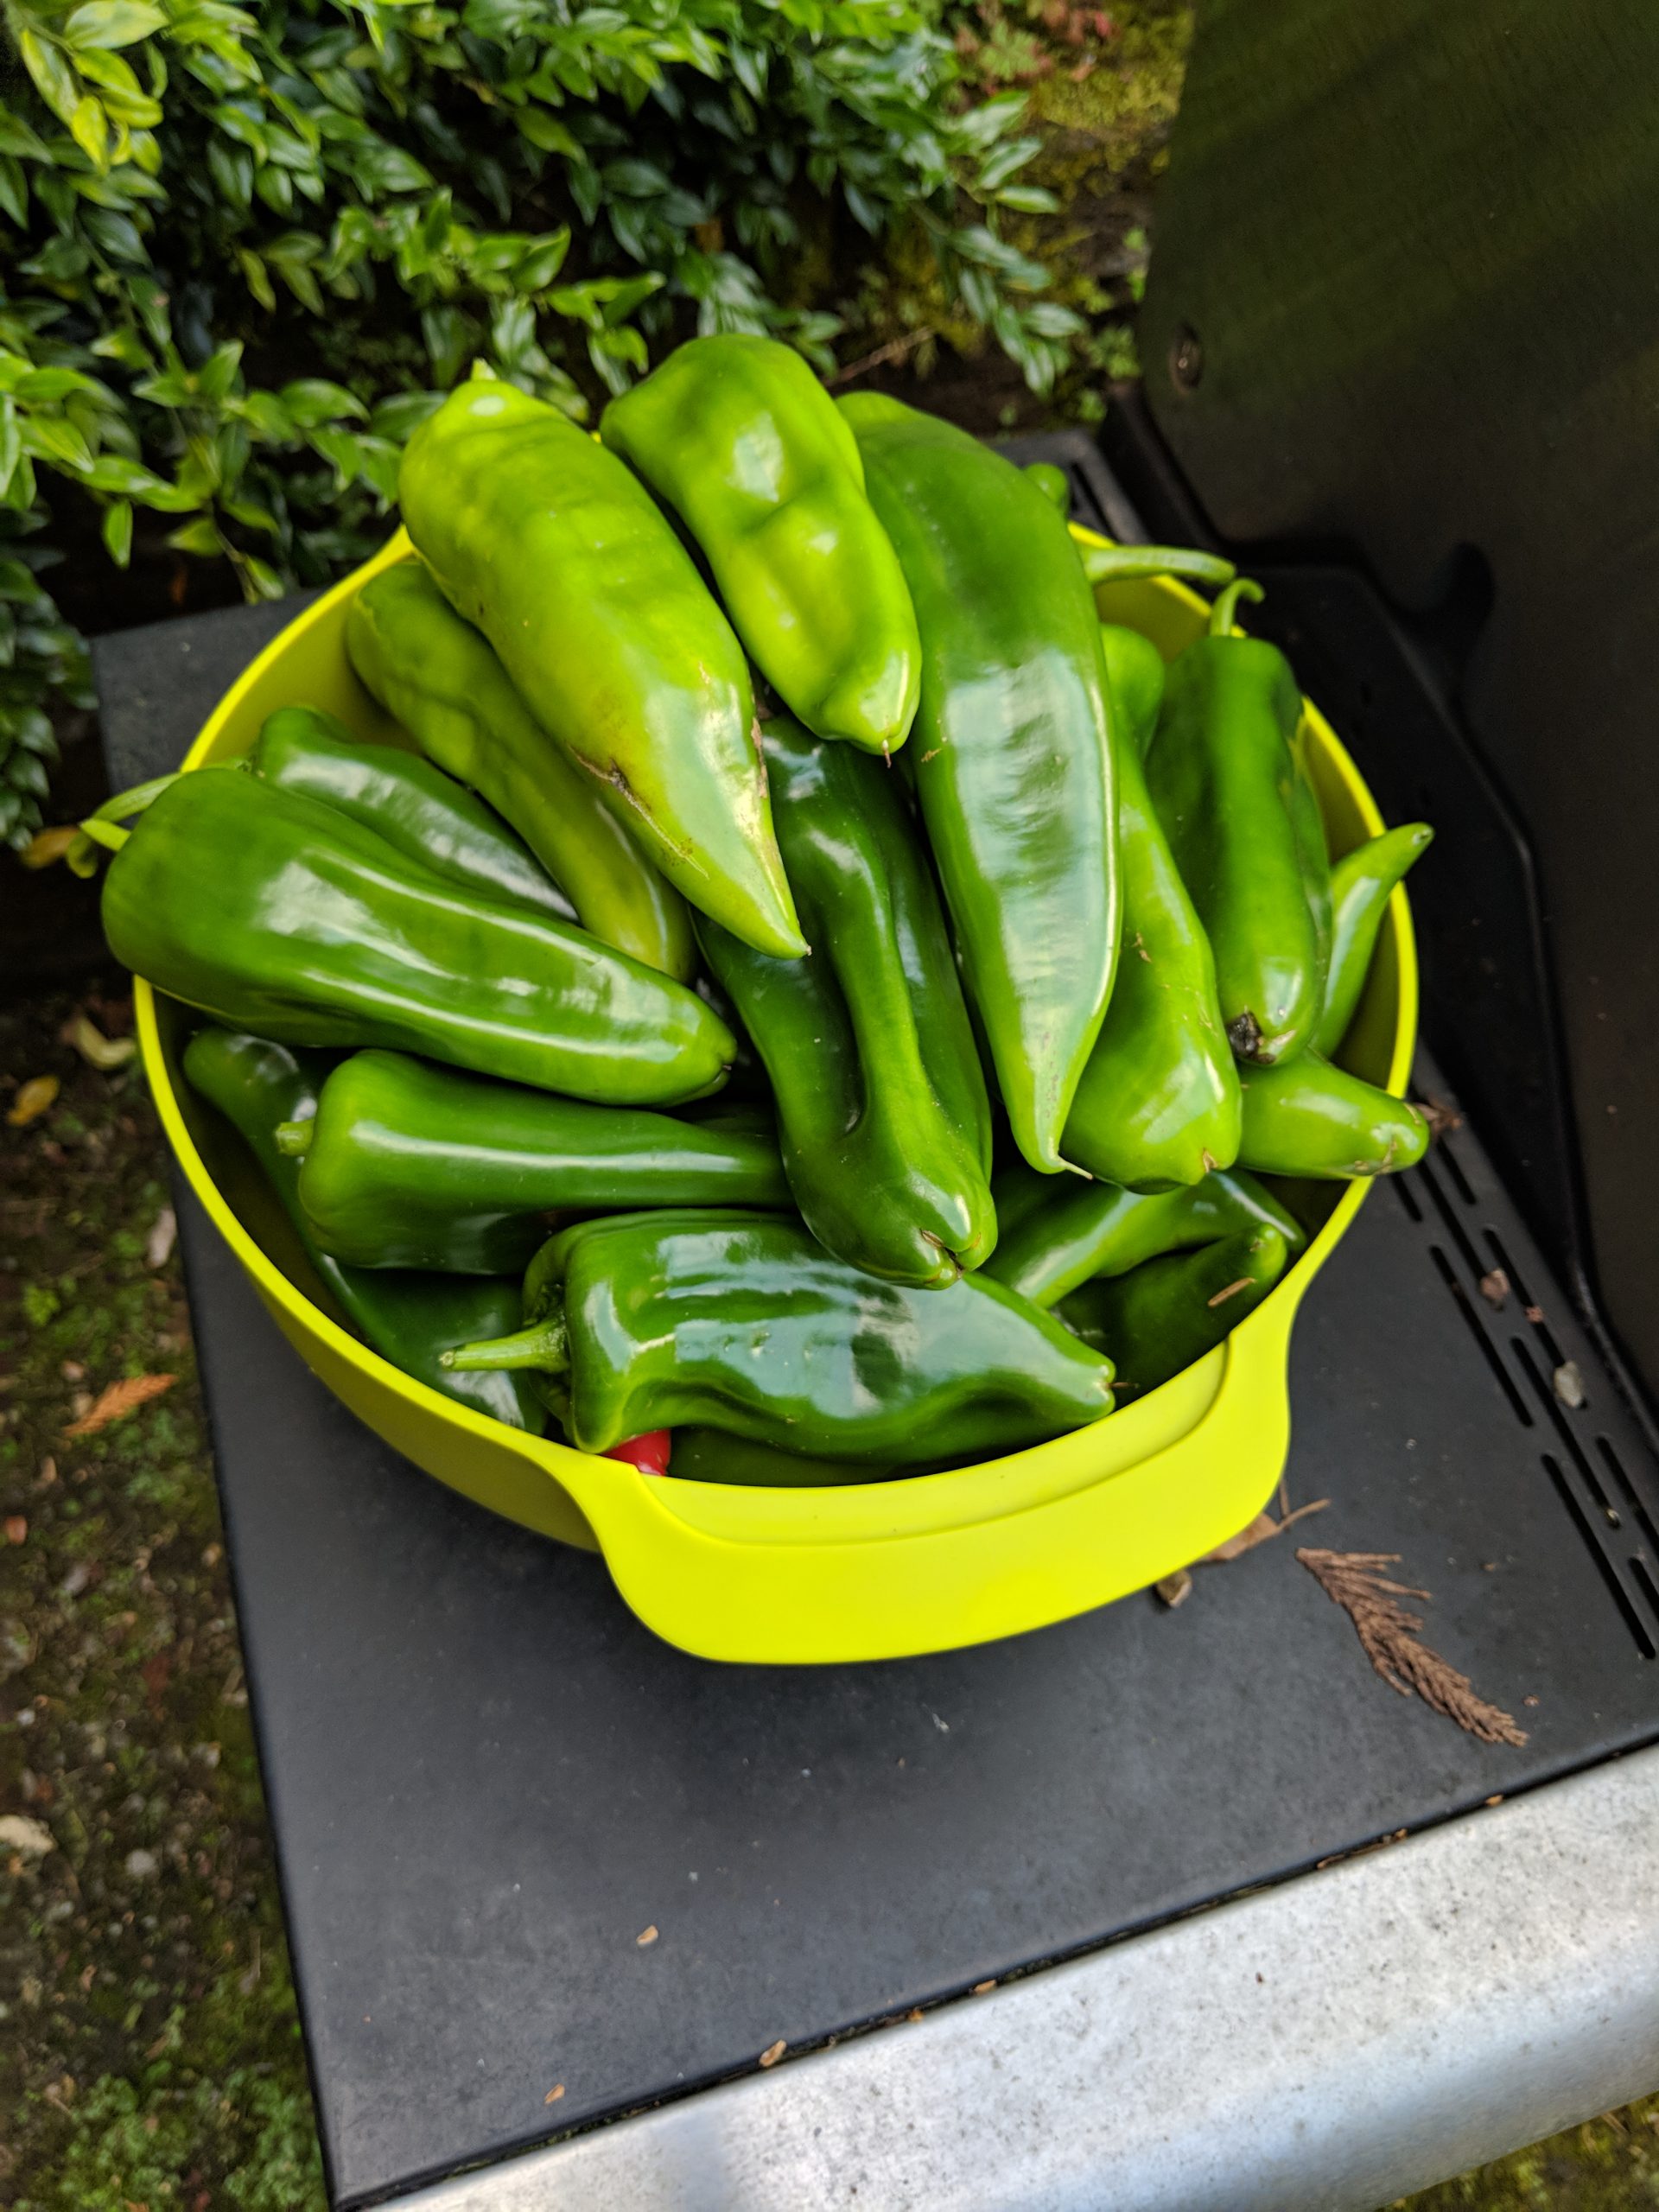
2017 broccoli2017 lettuce2017 brussels sprouts and onions2017 garden2017 tomatoes2018201820182018 tomatoesAbout to can salsa with this haulSalsa timeAnaheim peppers going on the bbq then will freeze
Well I did the classic blog issue…didn’t post anything for 4 years! Lol Going to give it another shot. A lot has happened in 4 years. We moved last year, but I had a few years of gardens in our last house. I’ll post pictures about that later. I have built new garden beds at the current house. I have taught myself how to crochet, made many blankets and lots of little fun goodies. A few DIY projects to decorate the new house. So many items to blog! 🙂
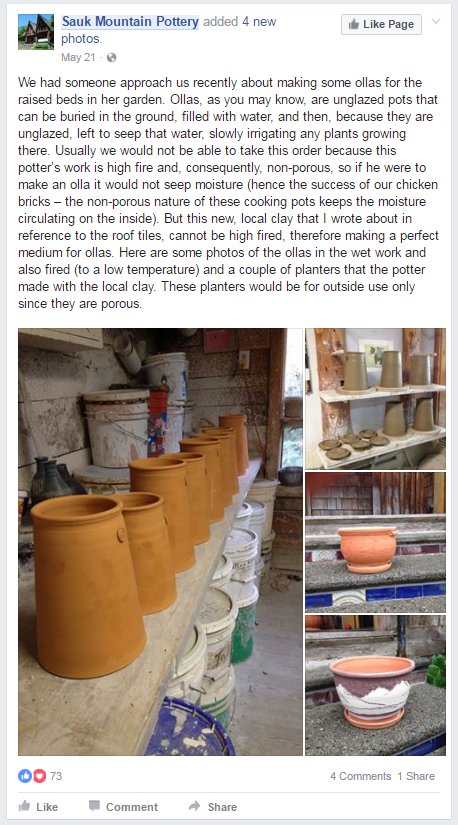
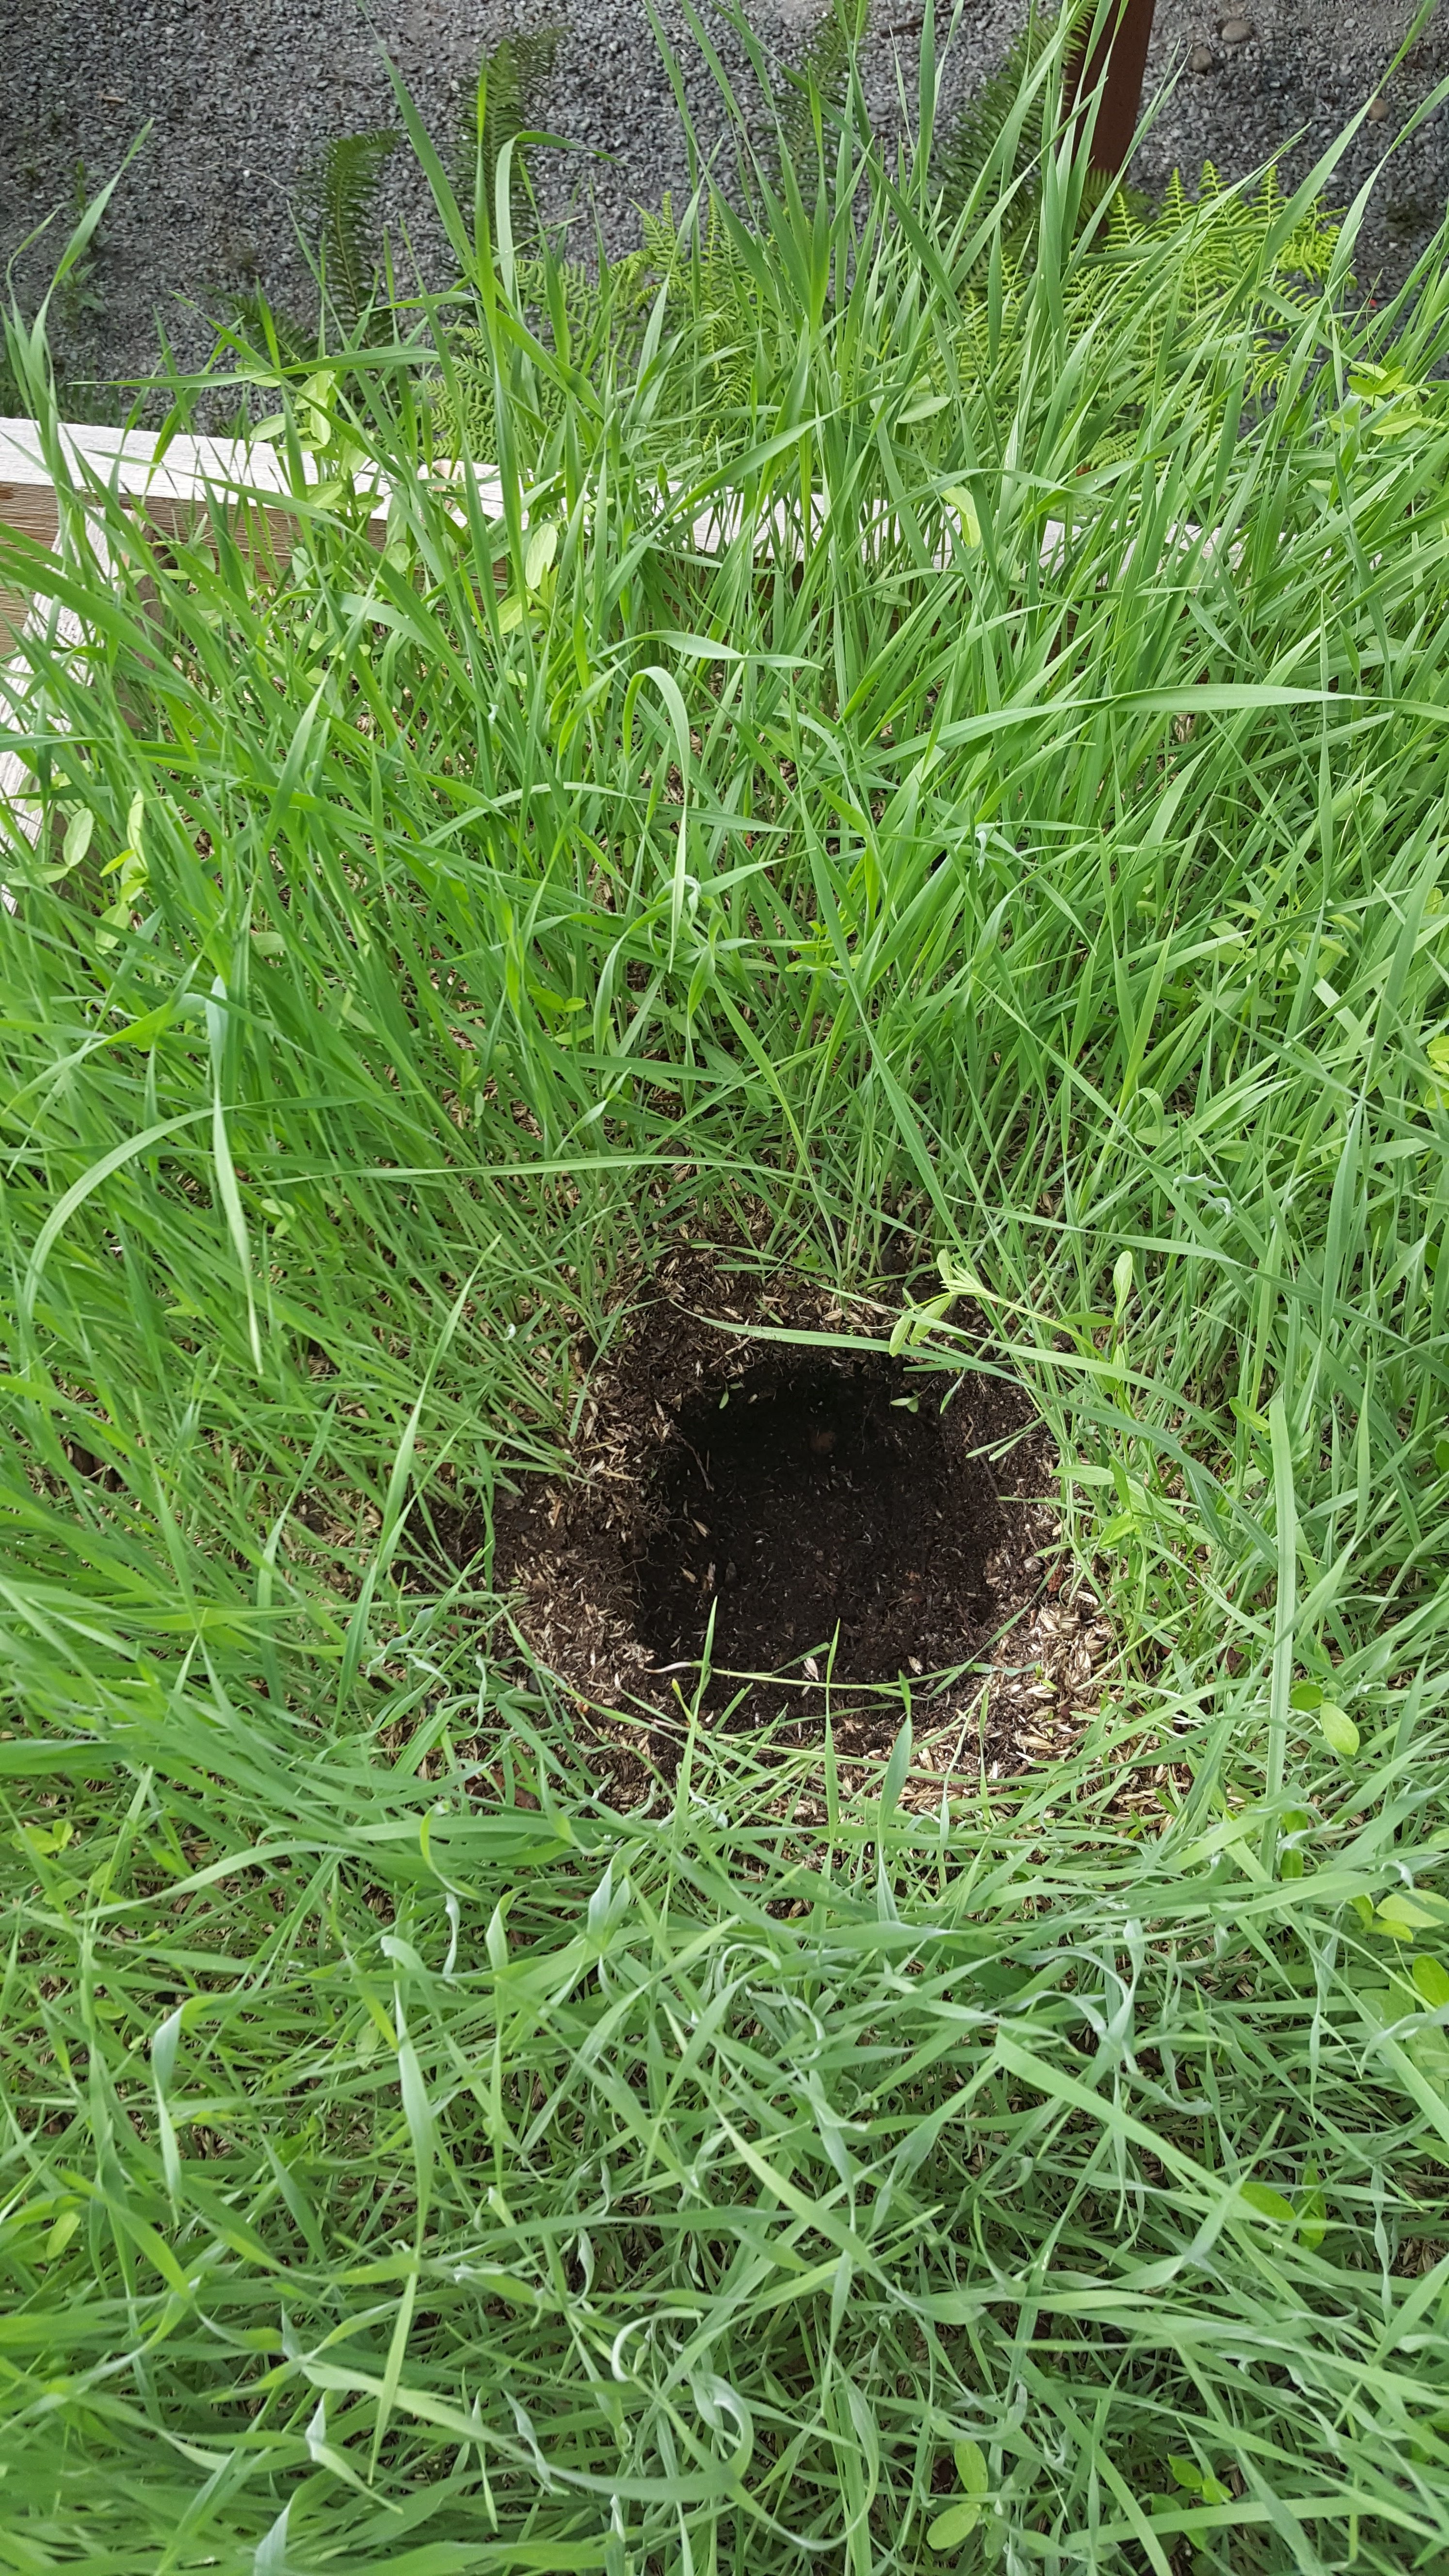
When I was researching an efficient way to water my garden I came across an ancient Indian method using Ollas. Trying to find them online to purchase was a more of a task than learning about them. I decided to contact Stephen, a local potter to see if he could make them for me. He was up for the challenge. He had recently come across some local clay from a mudslide in the North Cascades, near his home. Below is what he wrote about them on his Facebook page.
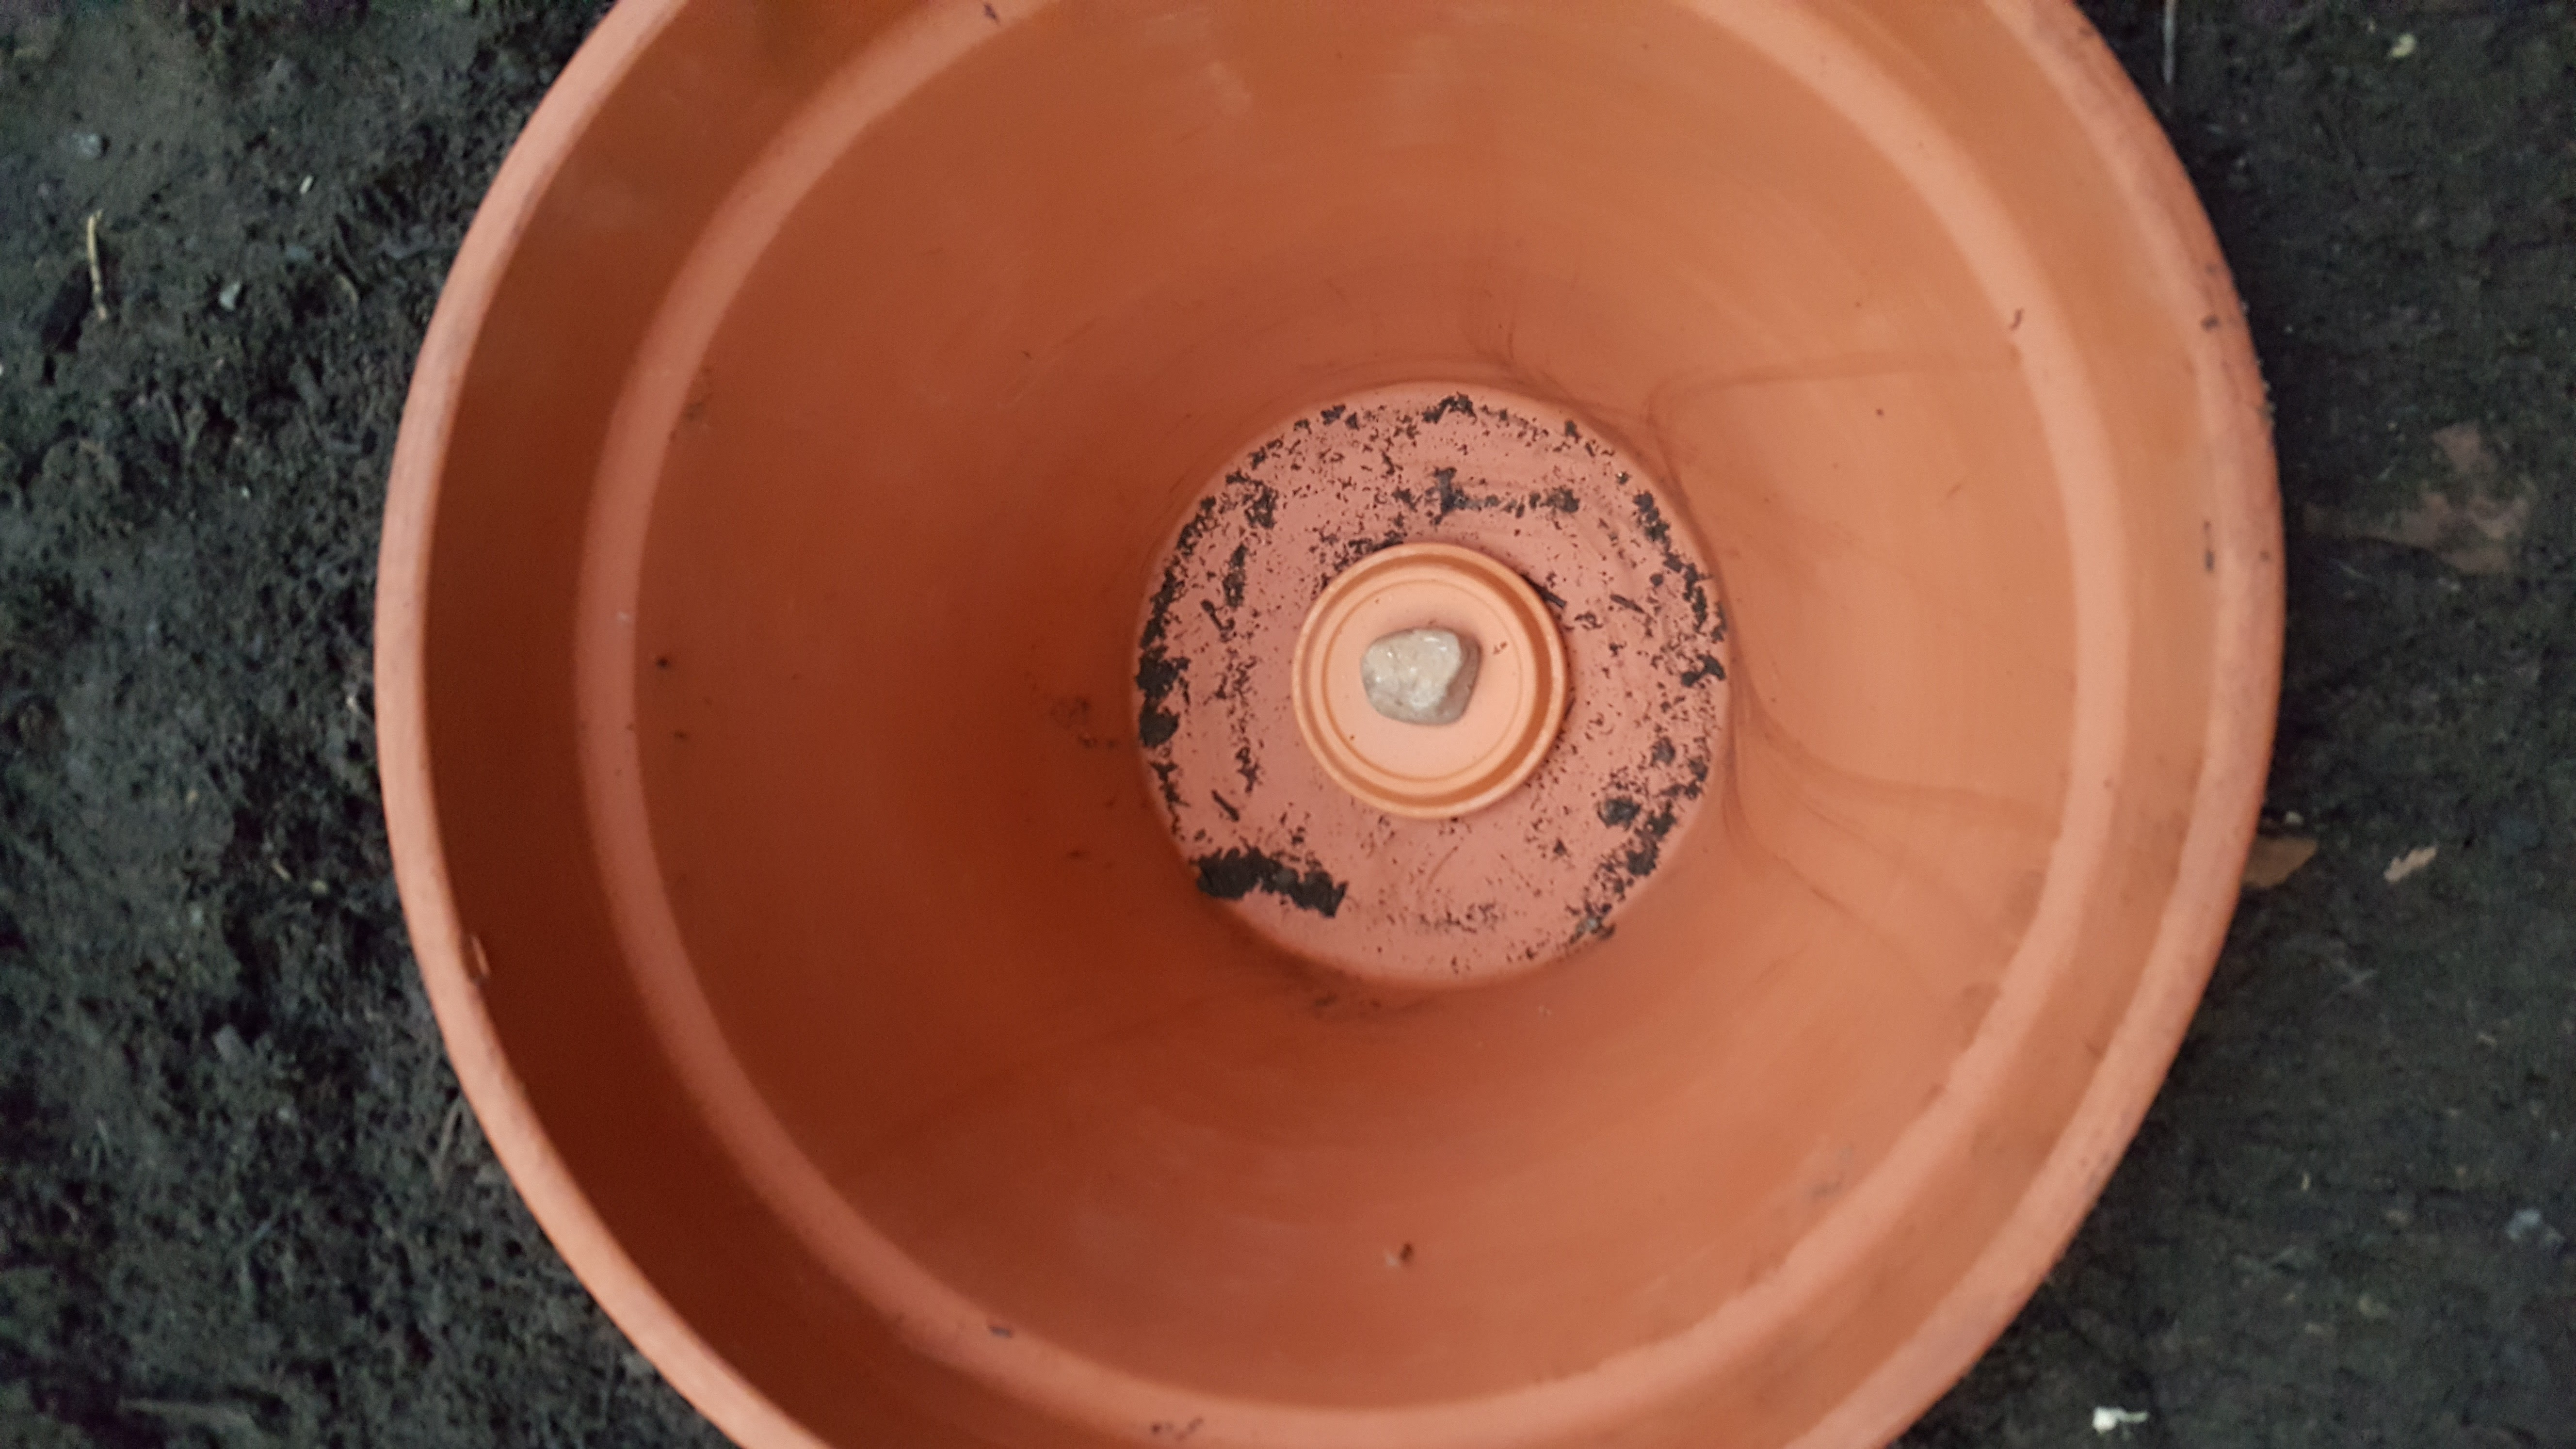
From Sauk Mountain Pottery: “We had someone approach us recently about making some ollas for the raised beds in her garden. Ollas, as you may know, are unglazed pots that can be buried in the ground, filled with water, and then, because they are unglazed, left to seep that water, slowly irrigating any plants growing there. Usually we would not be able to take this order because this potter’s work is high fire and, consequently, non-porous, so if he were to make an olla it would not seep moisture (hence the success of our chicken bricks – the non-porous nature of these cooking pots keeps the moisture circulating on the inside). But this new, local clay that I wrote about in reference to the roof tiles, cannot be high fired, therefore making a perfect medium for ollas. Here are some photos of the ollas in the wet work and also fired (to a low temperature) and a couple of planters that the potter made with the local clay. These planters would be for outside use only since they are porous.”
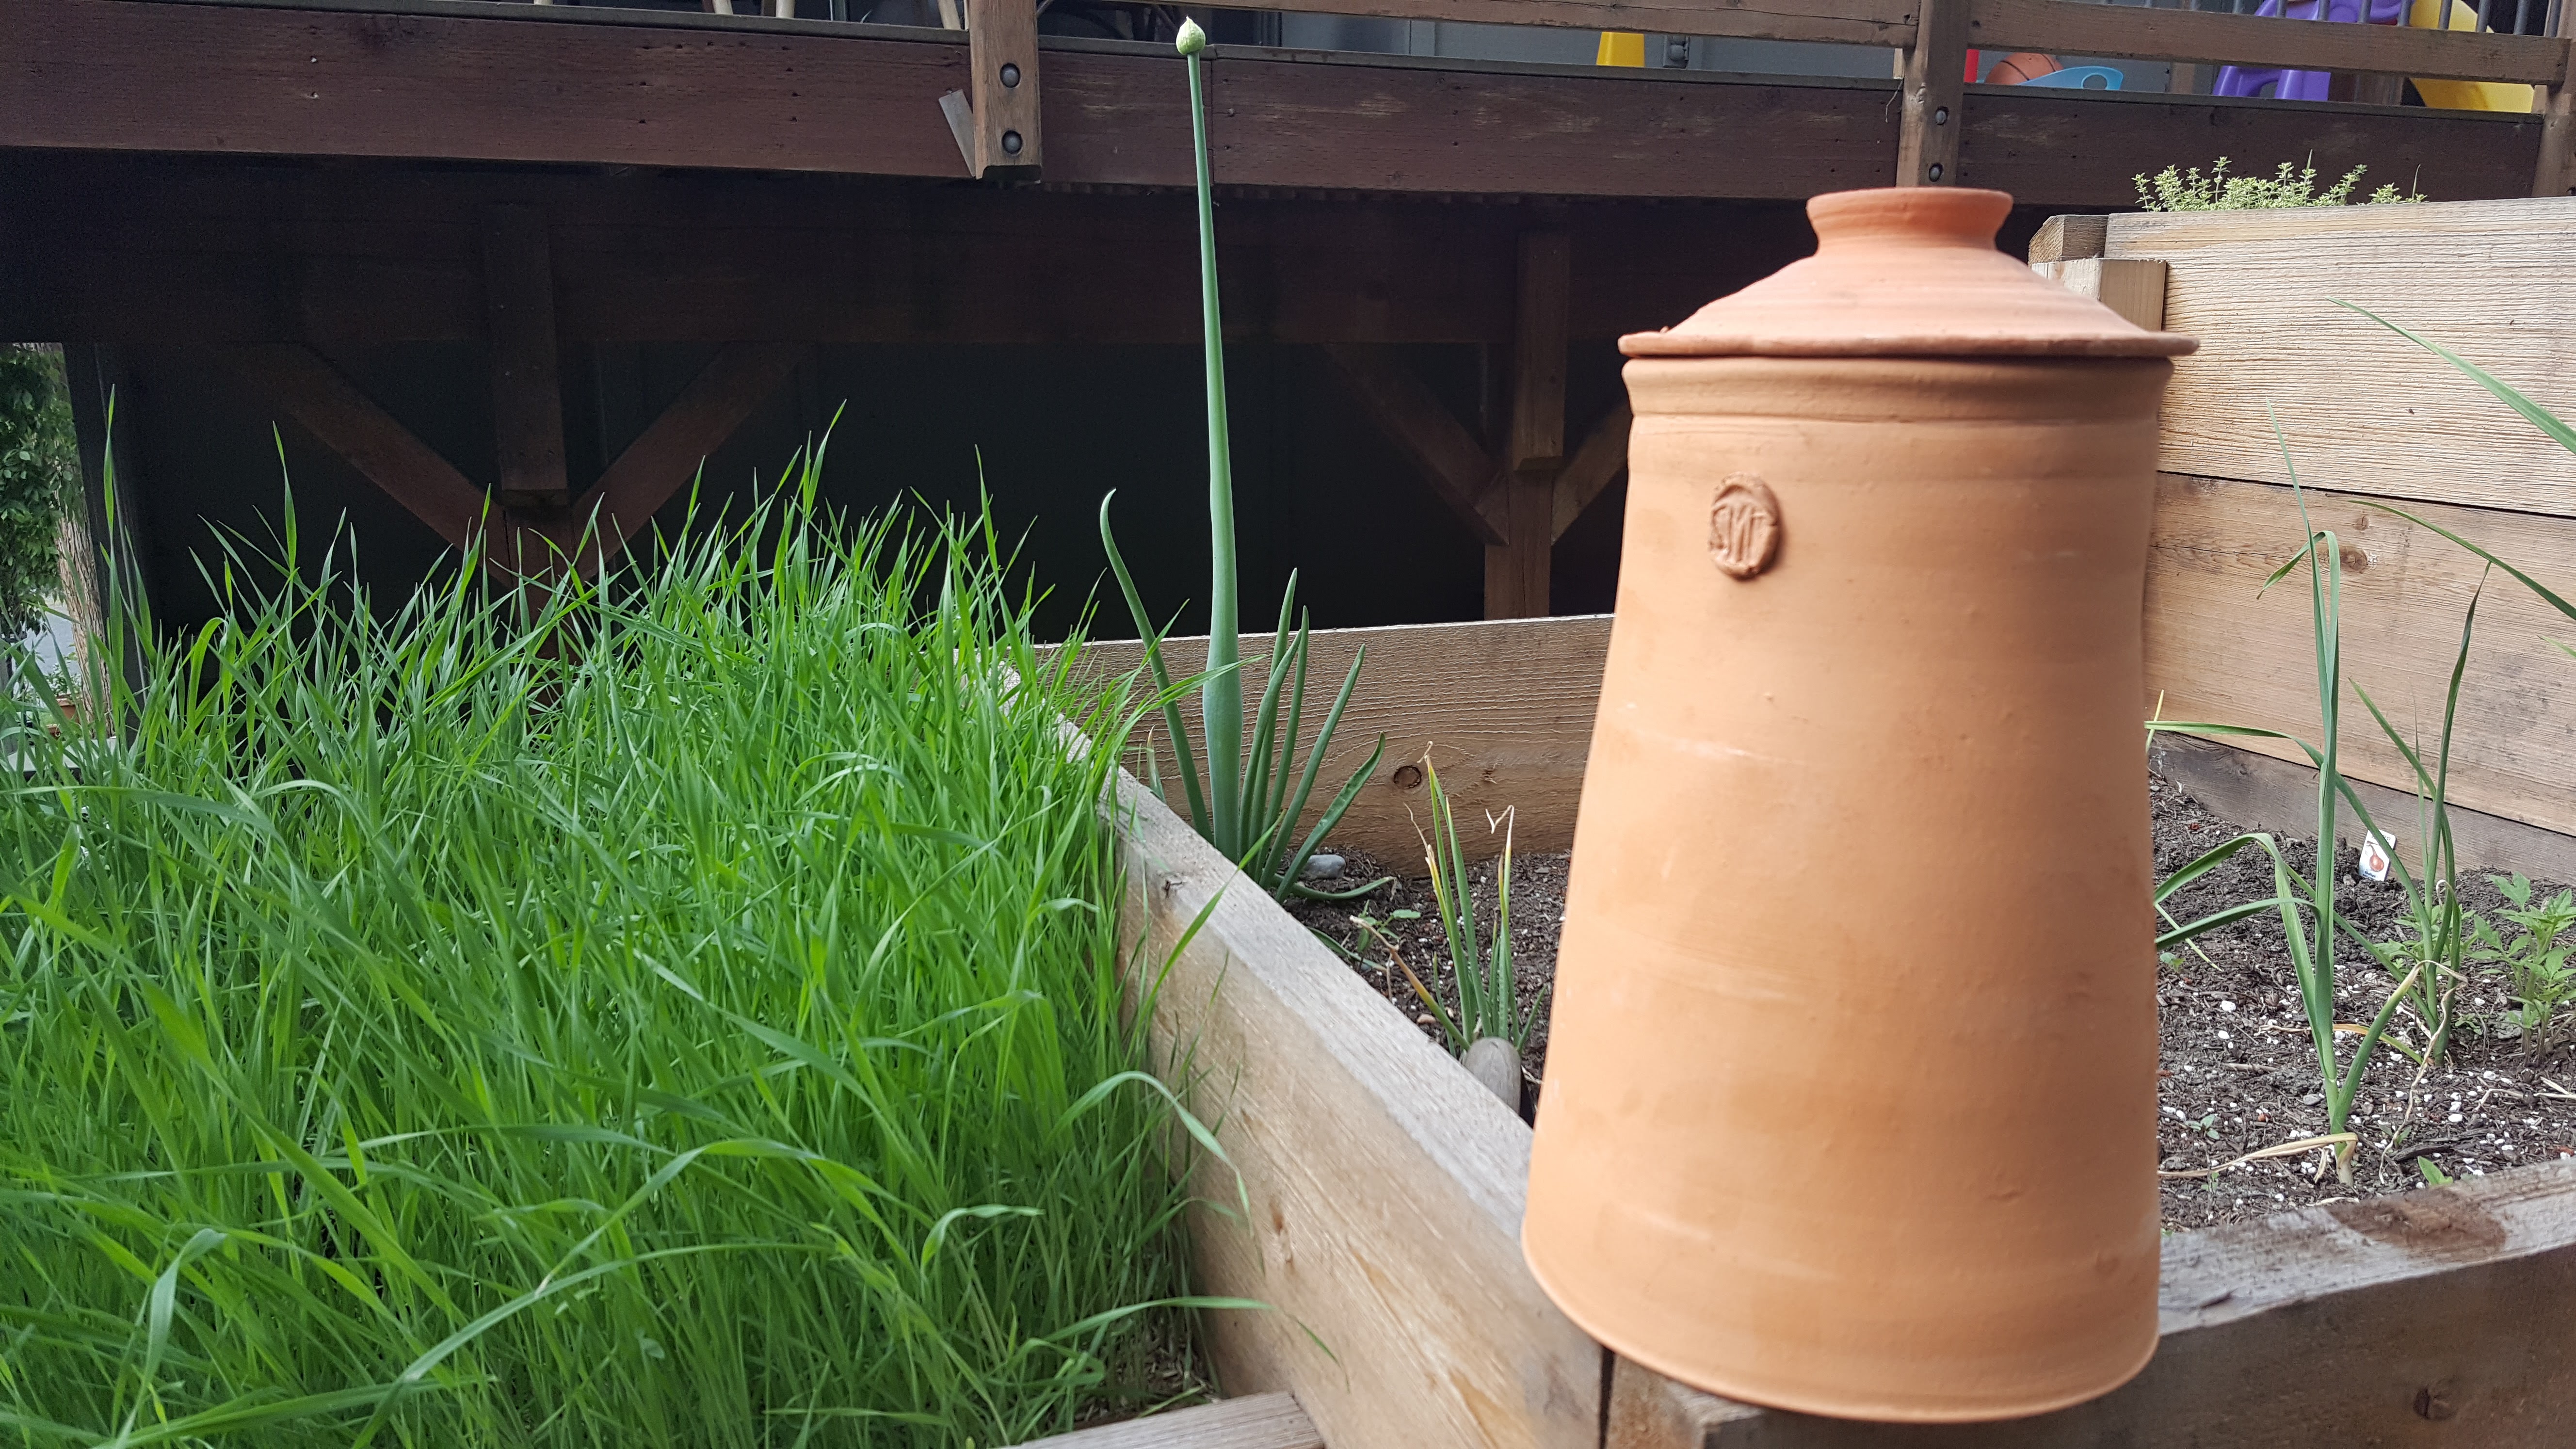
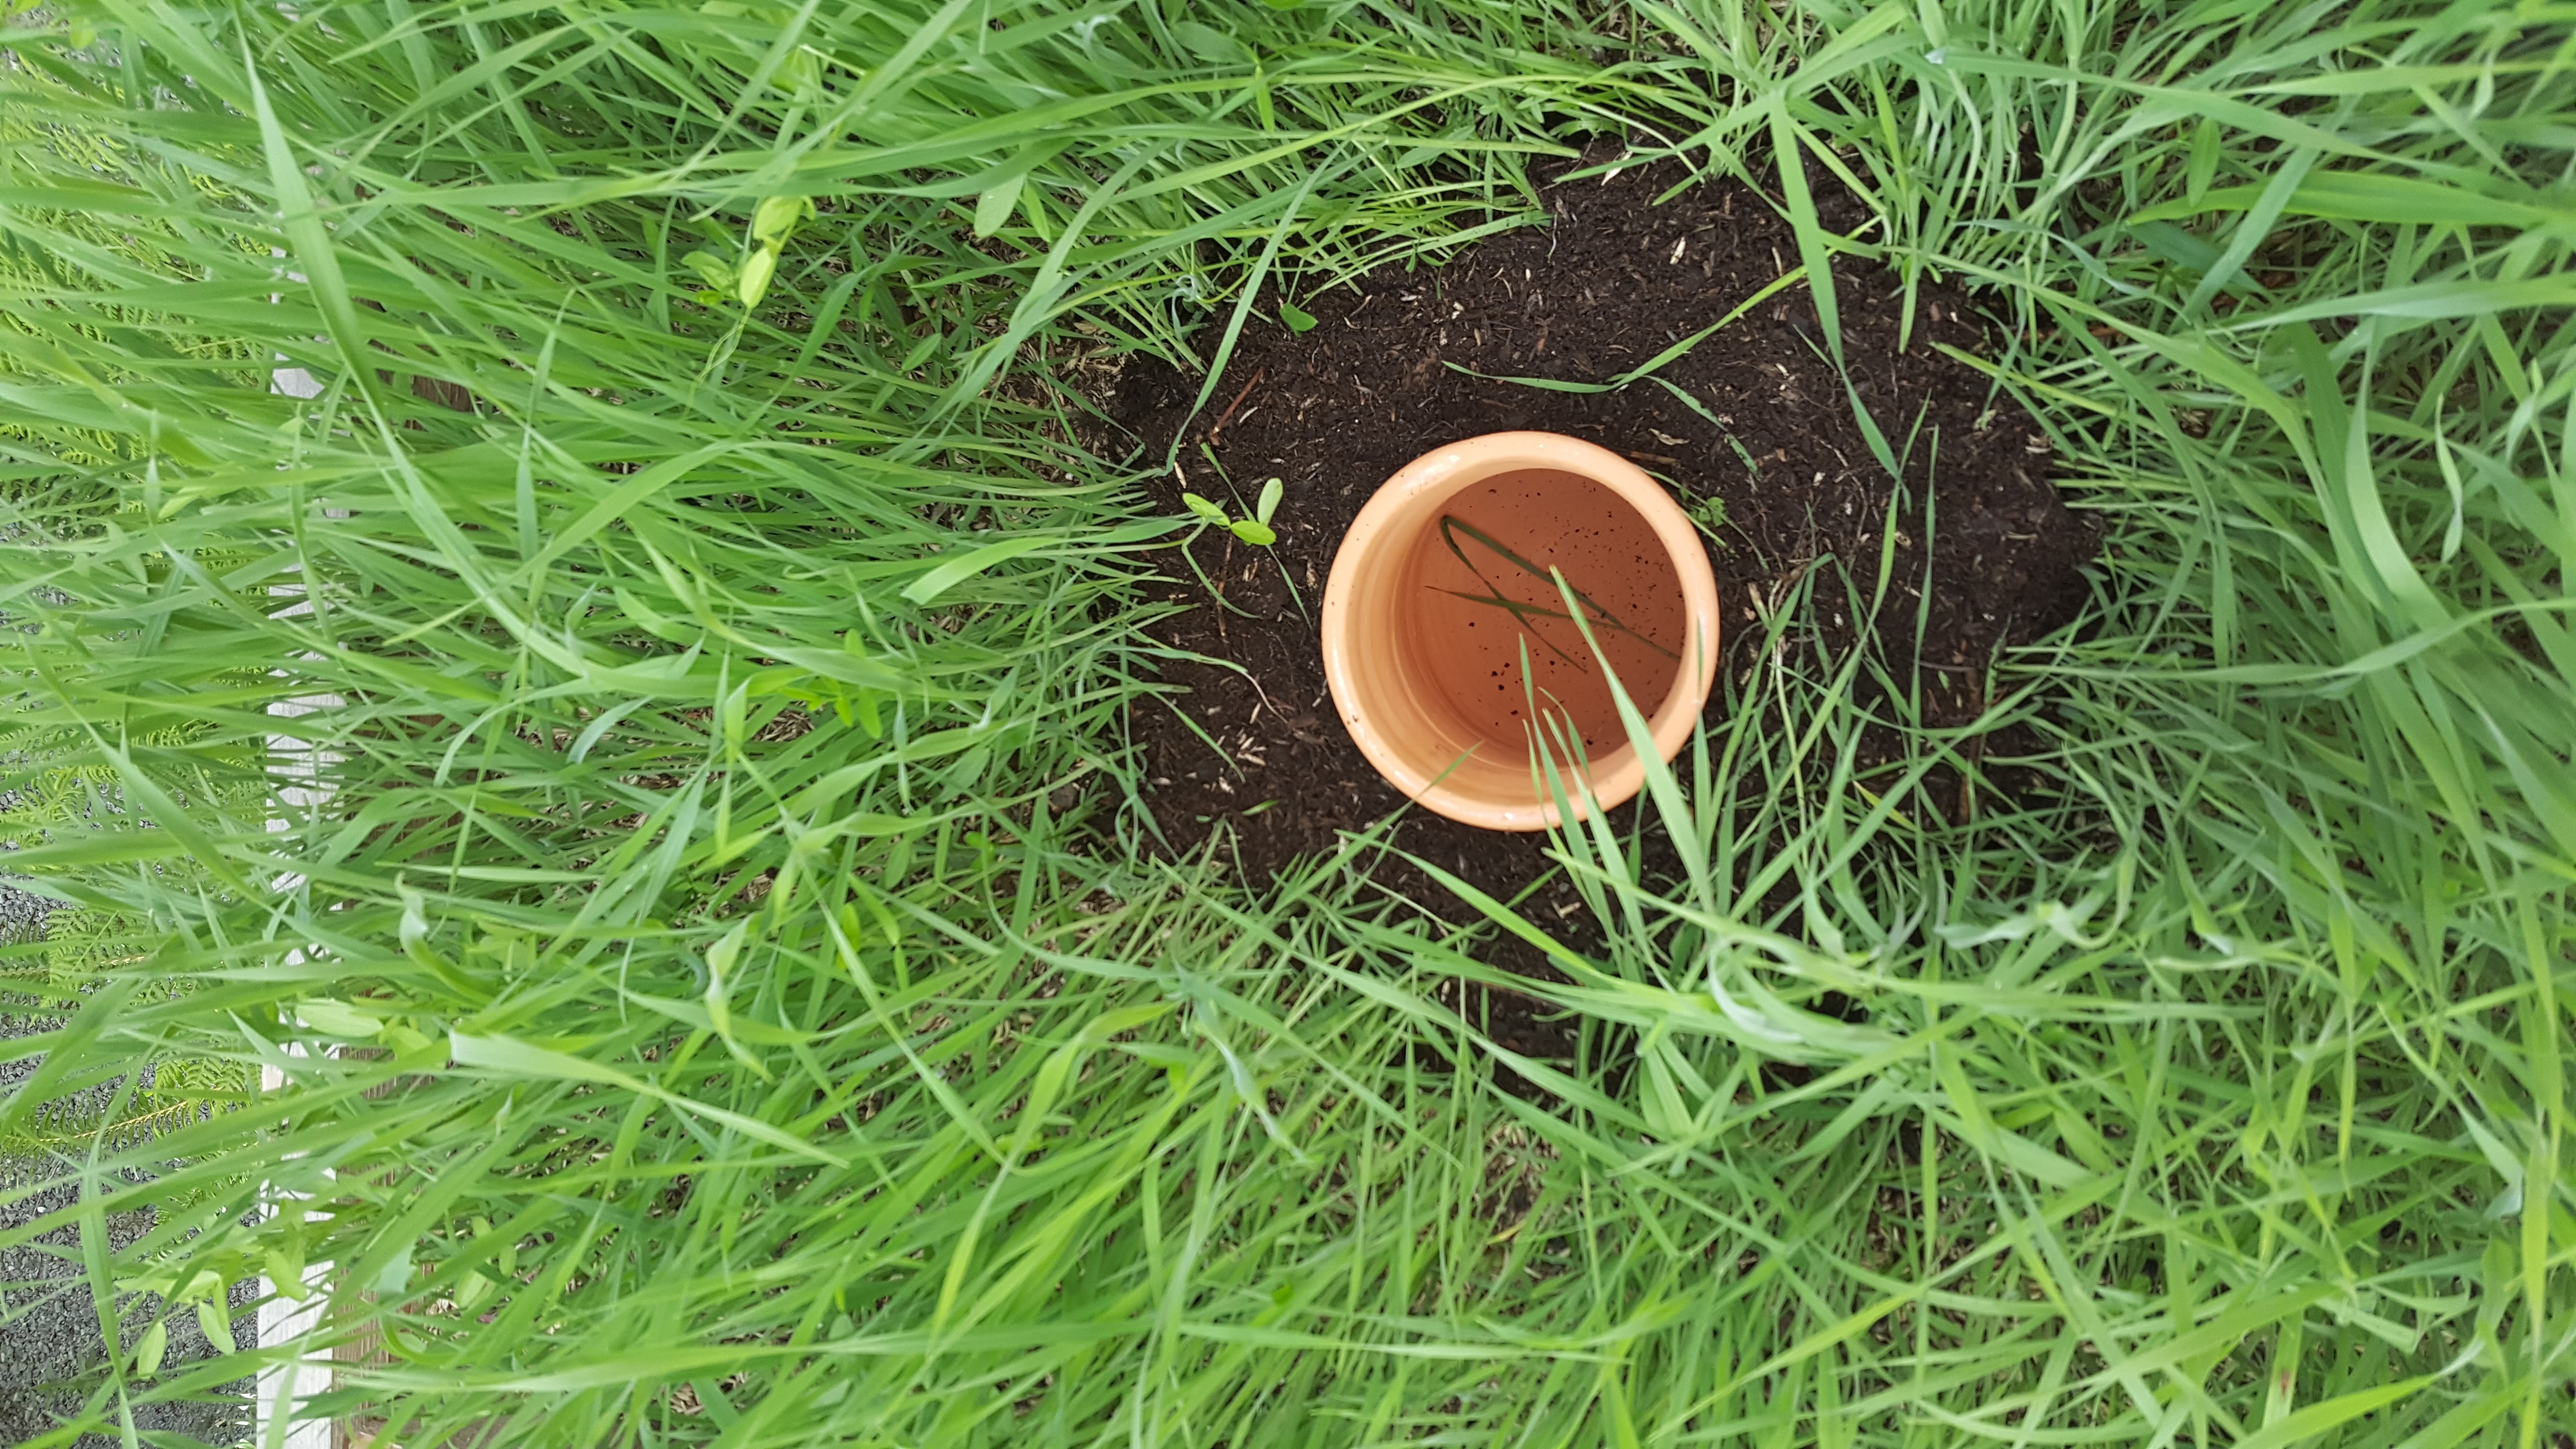
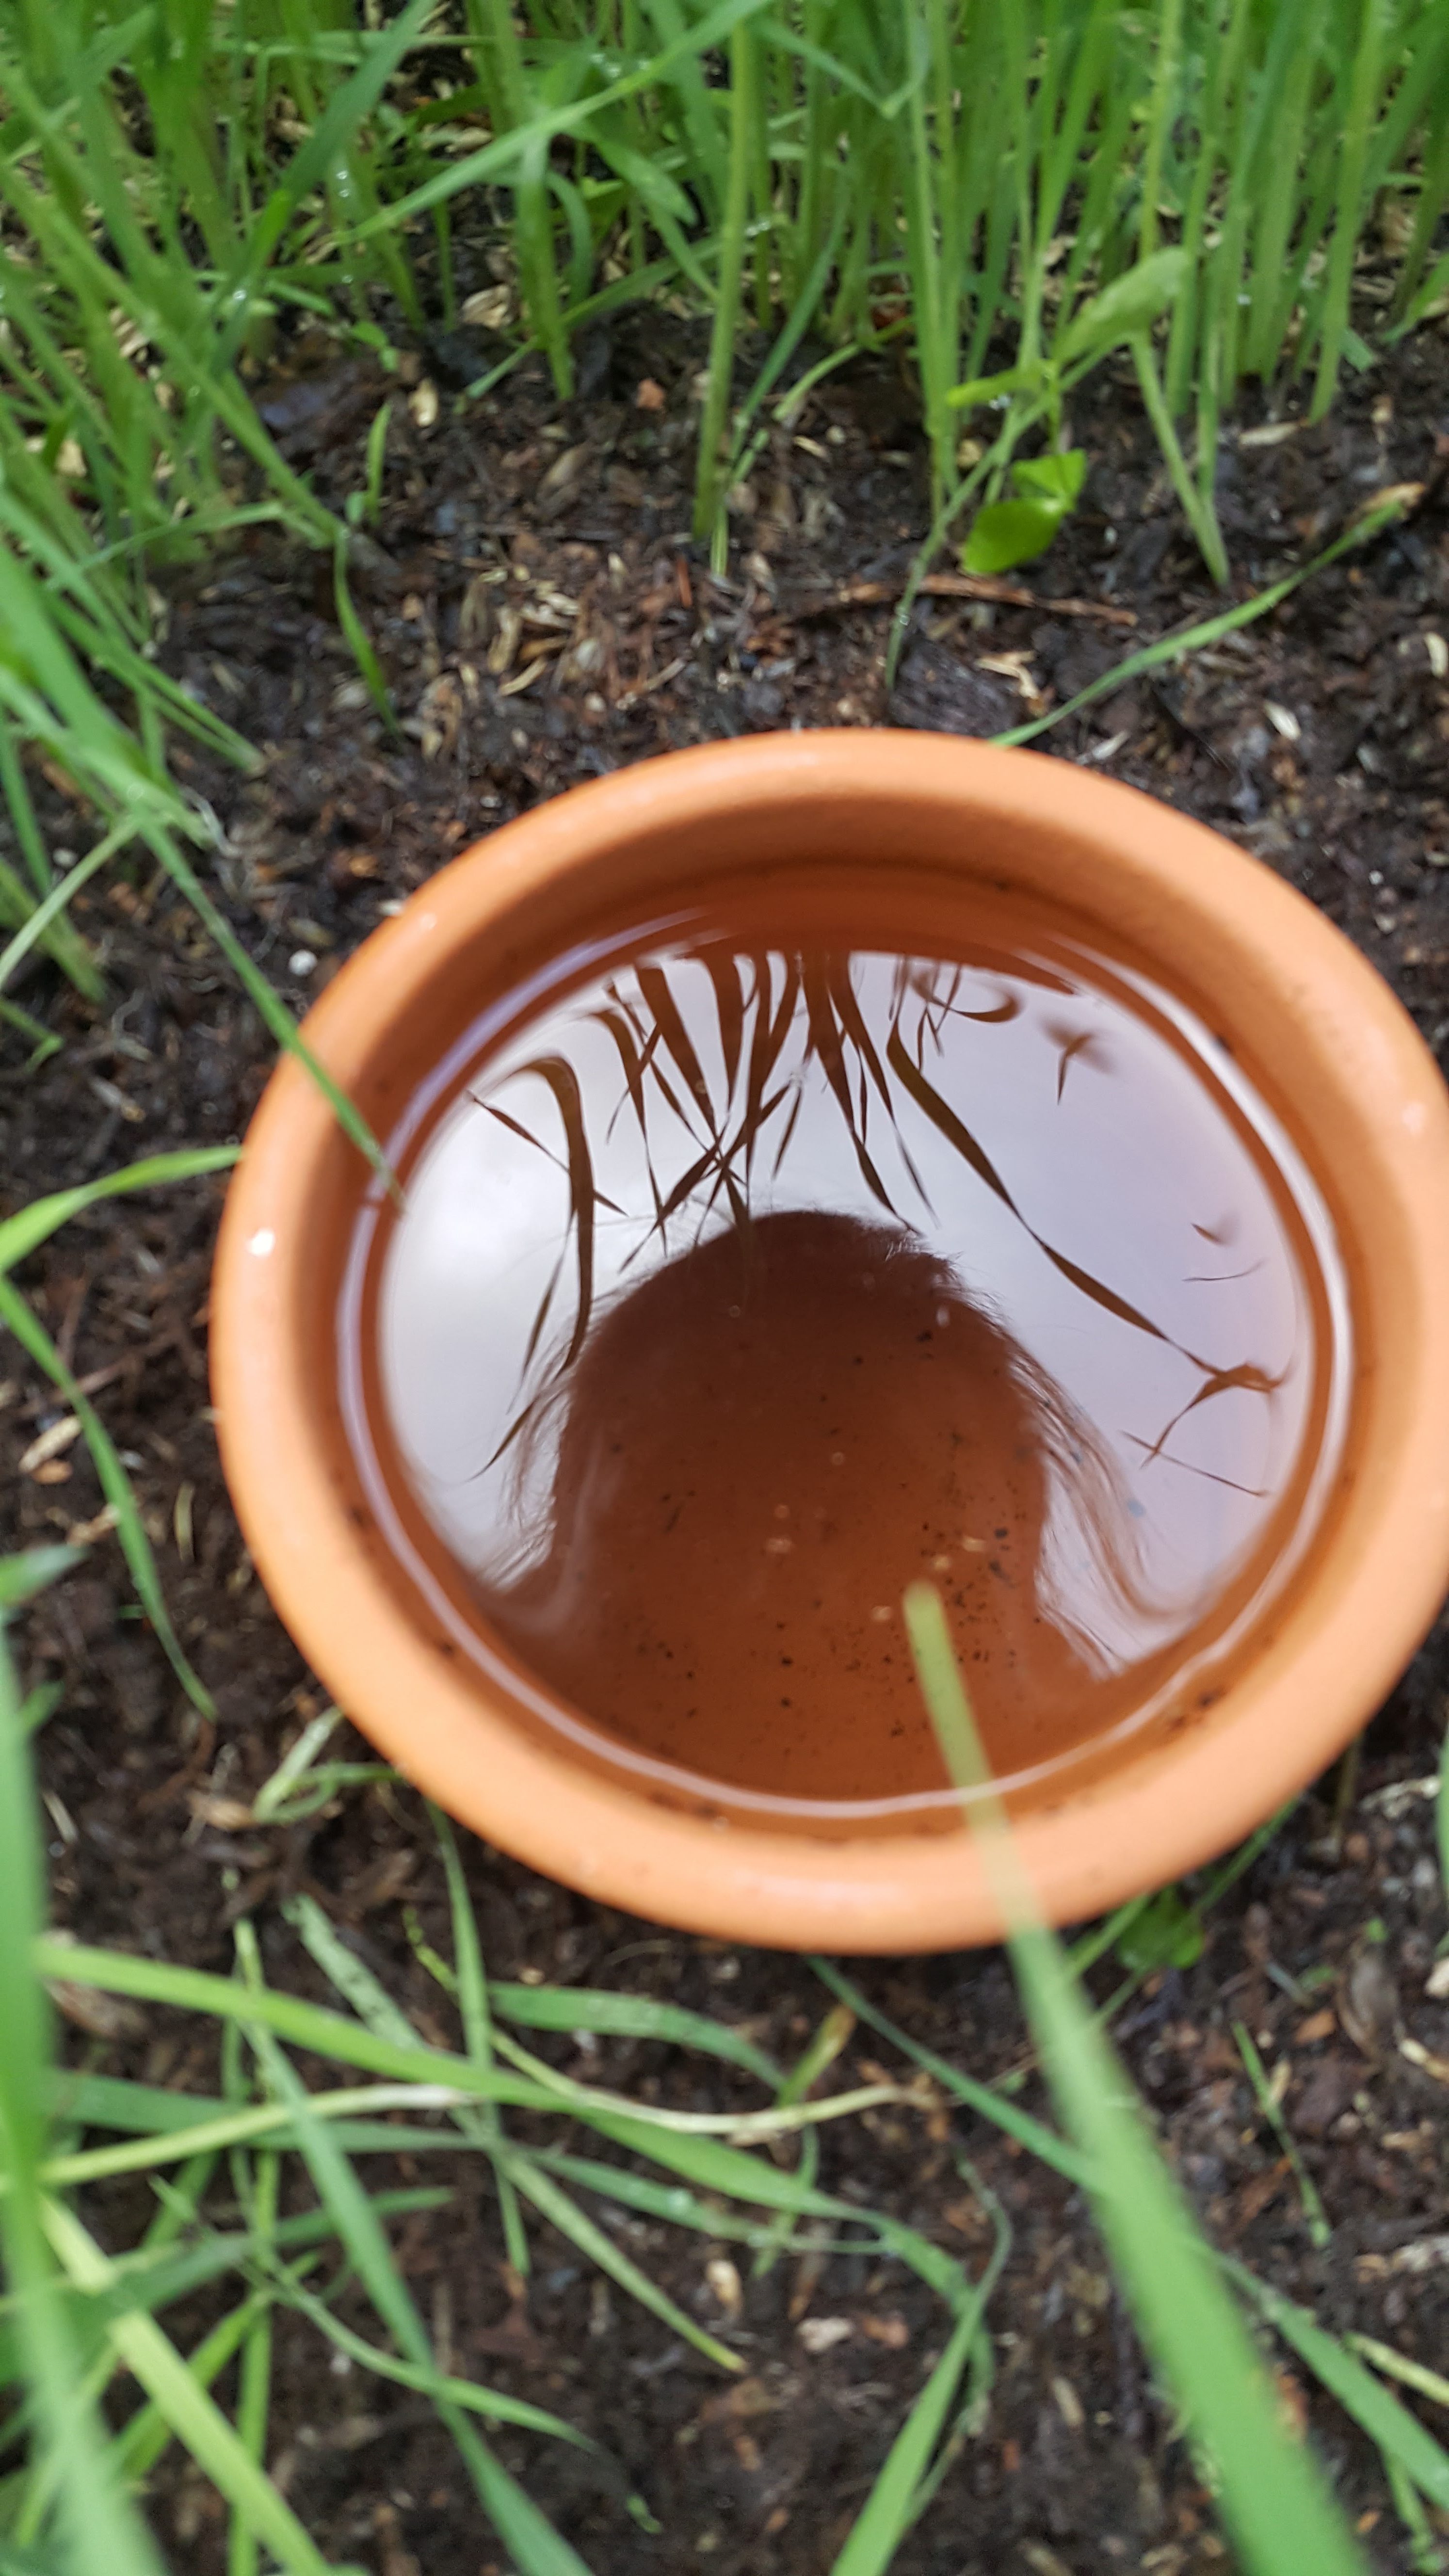
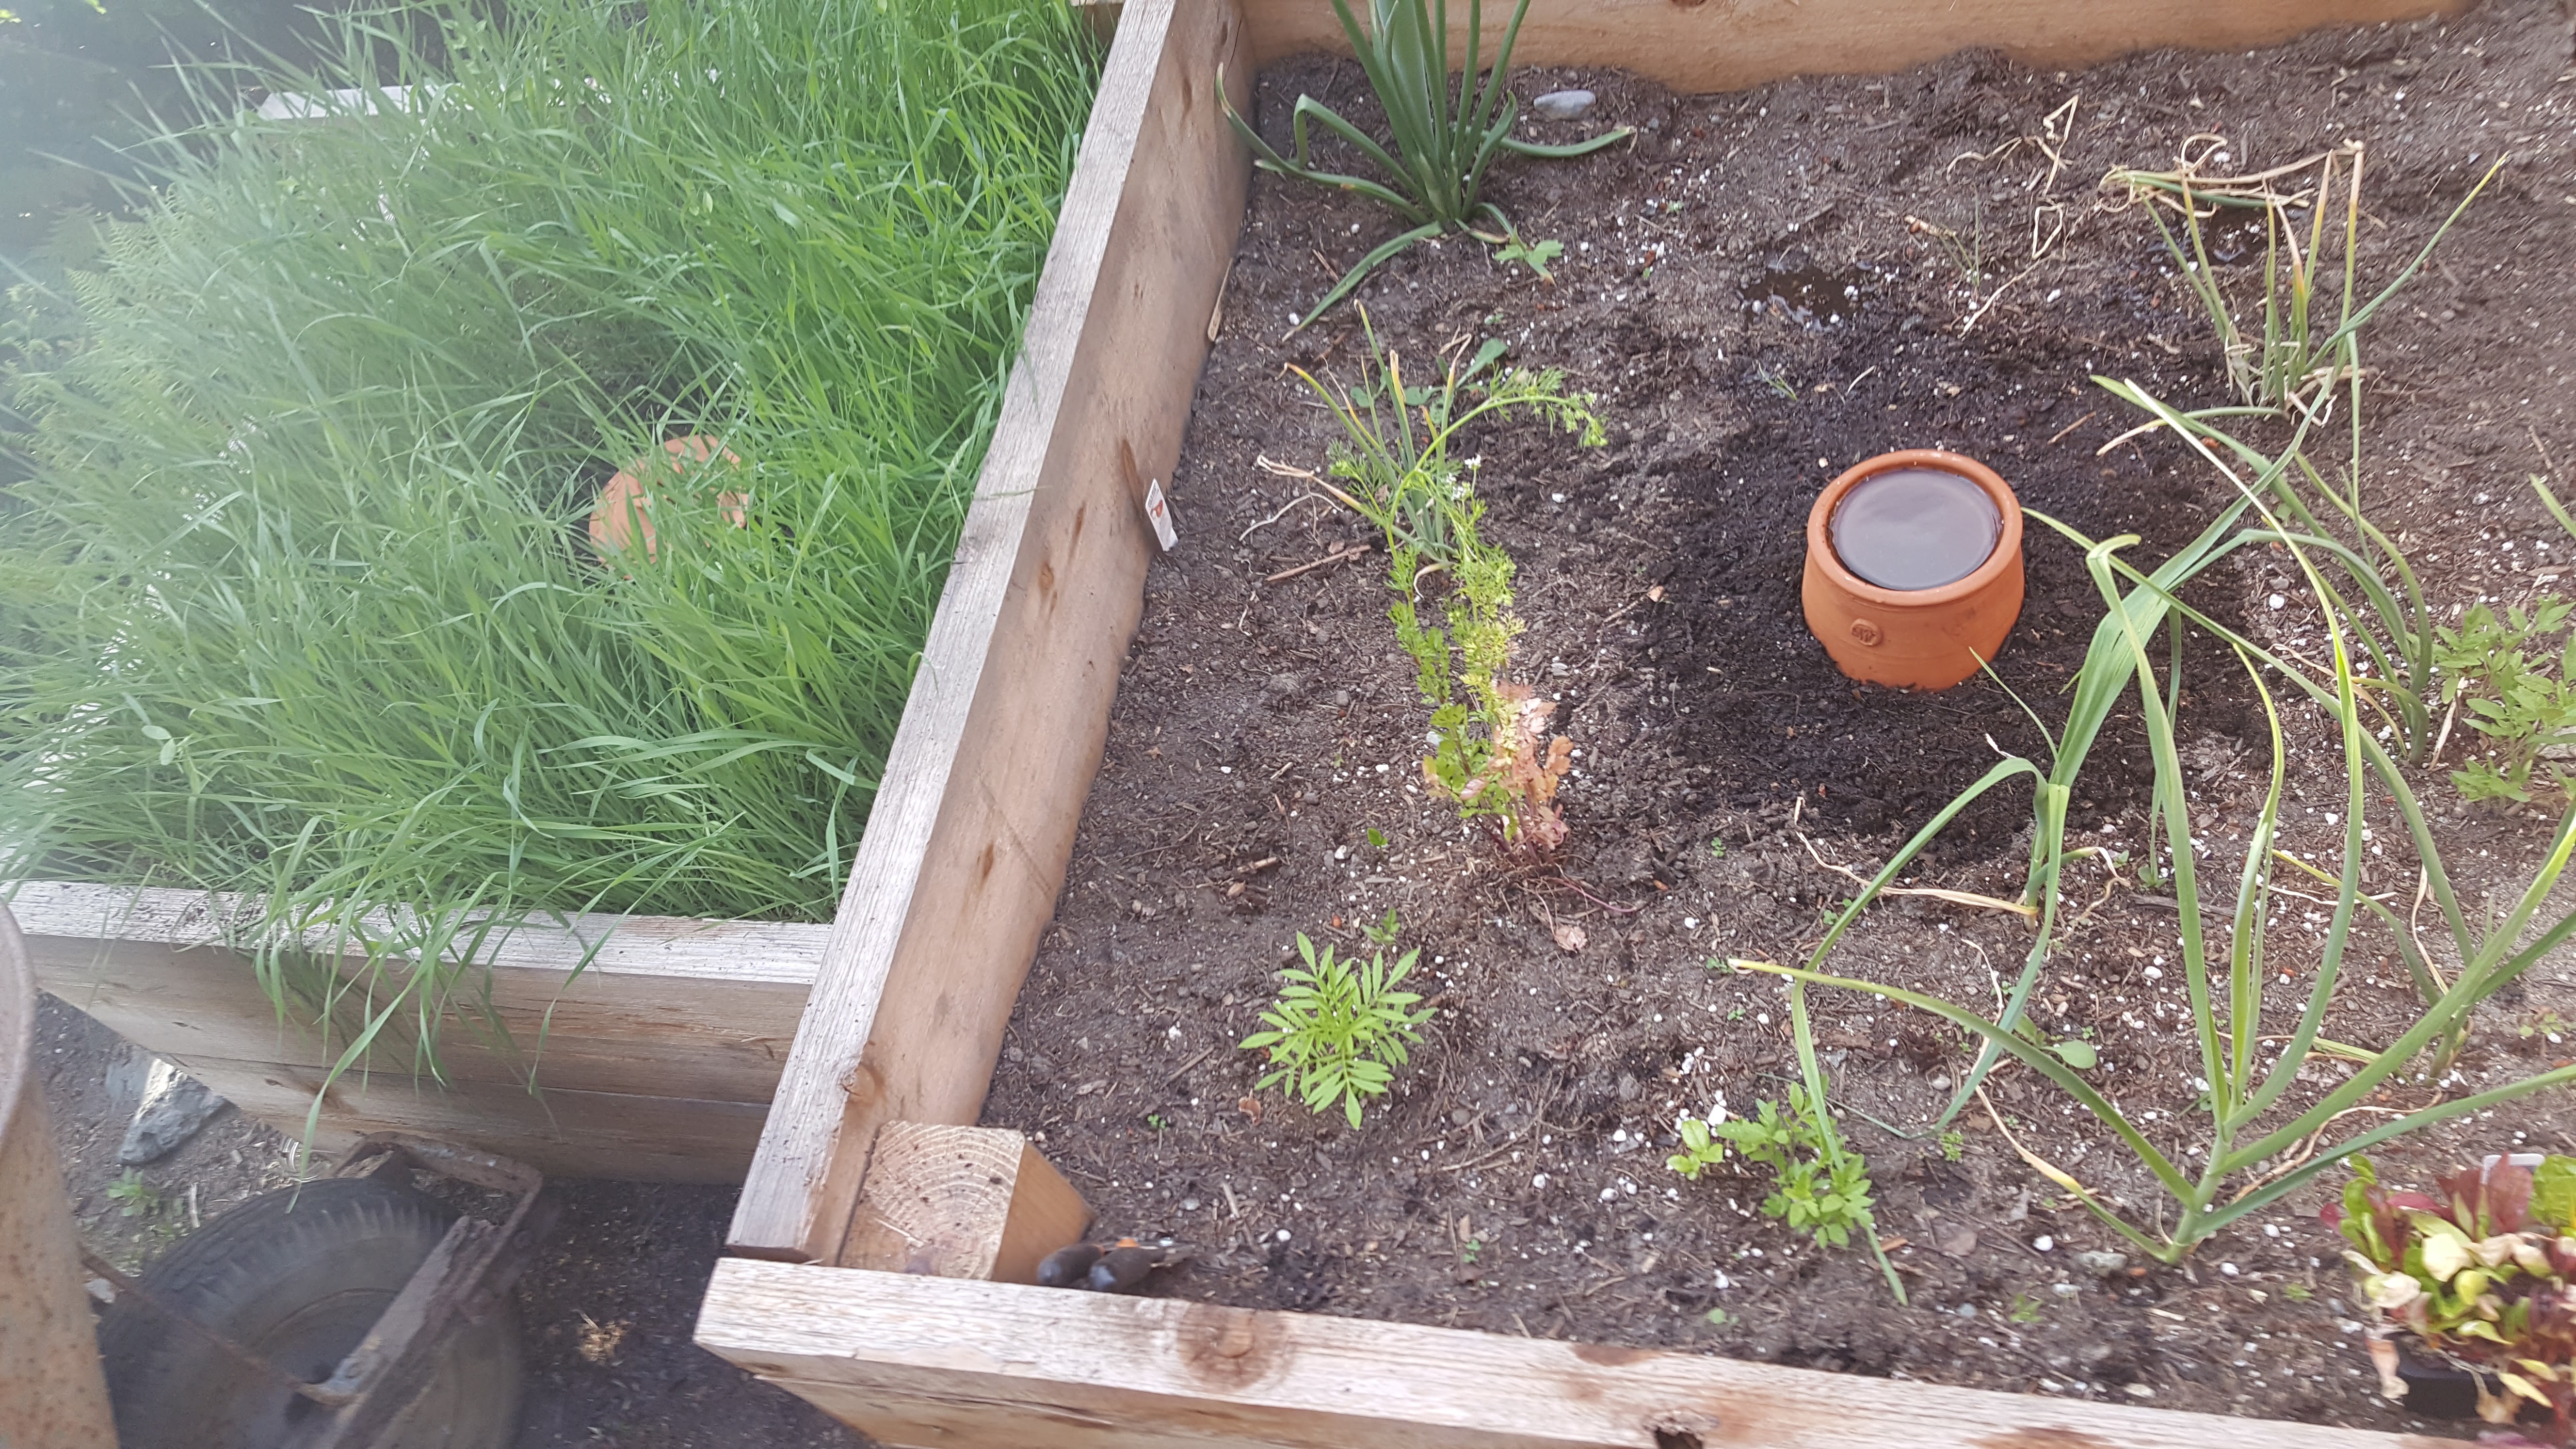
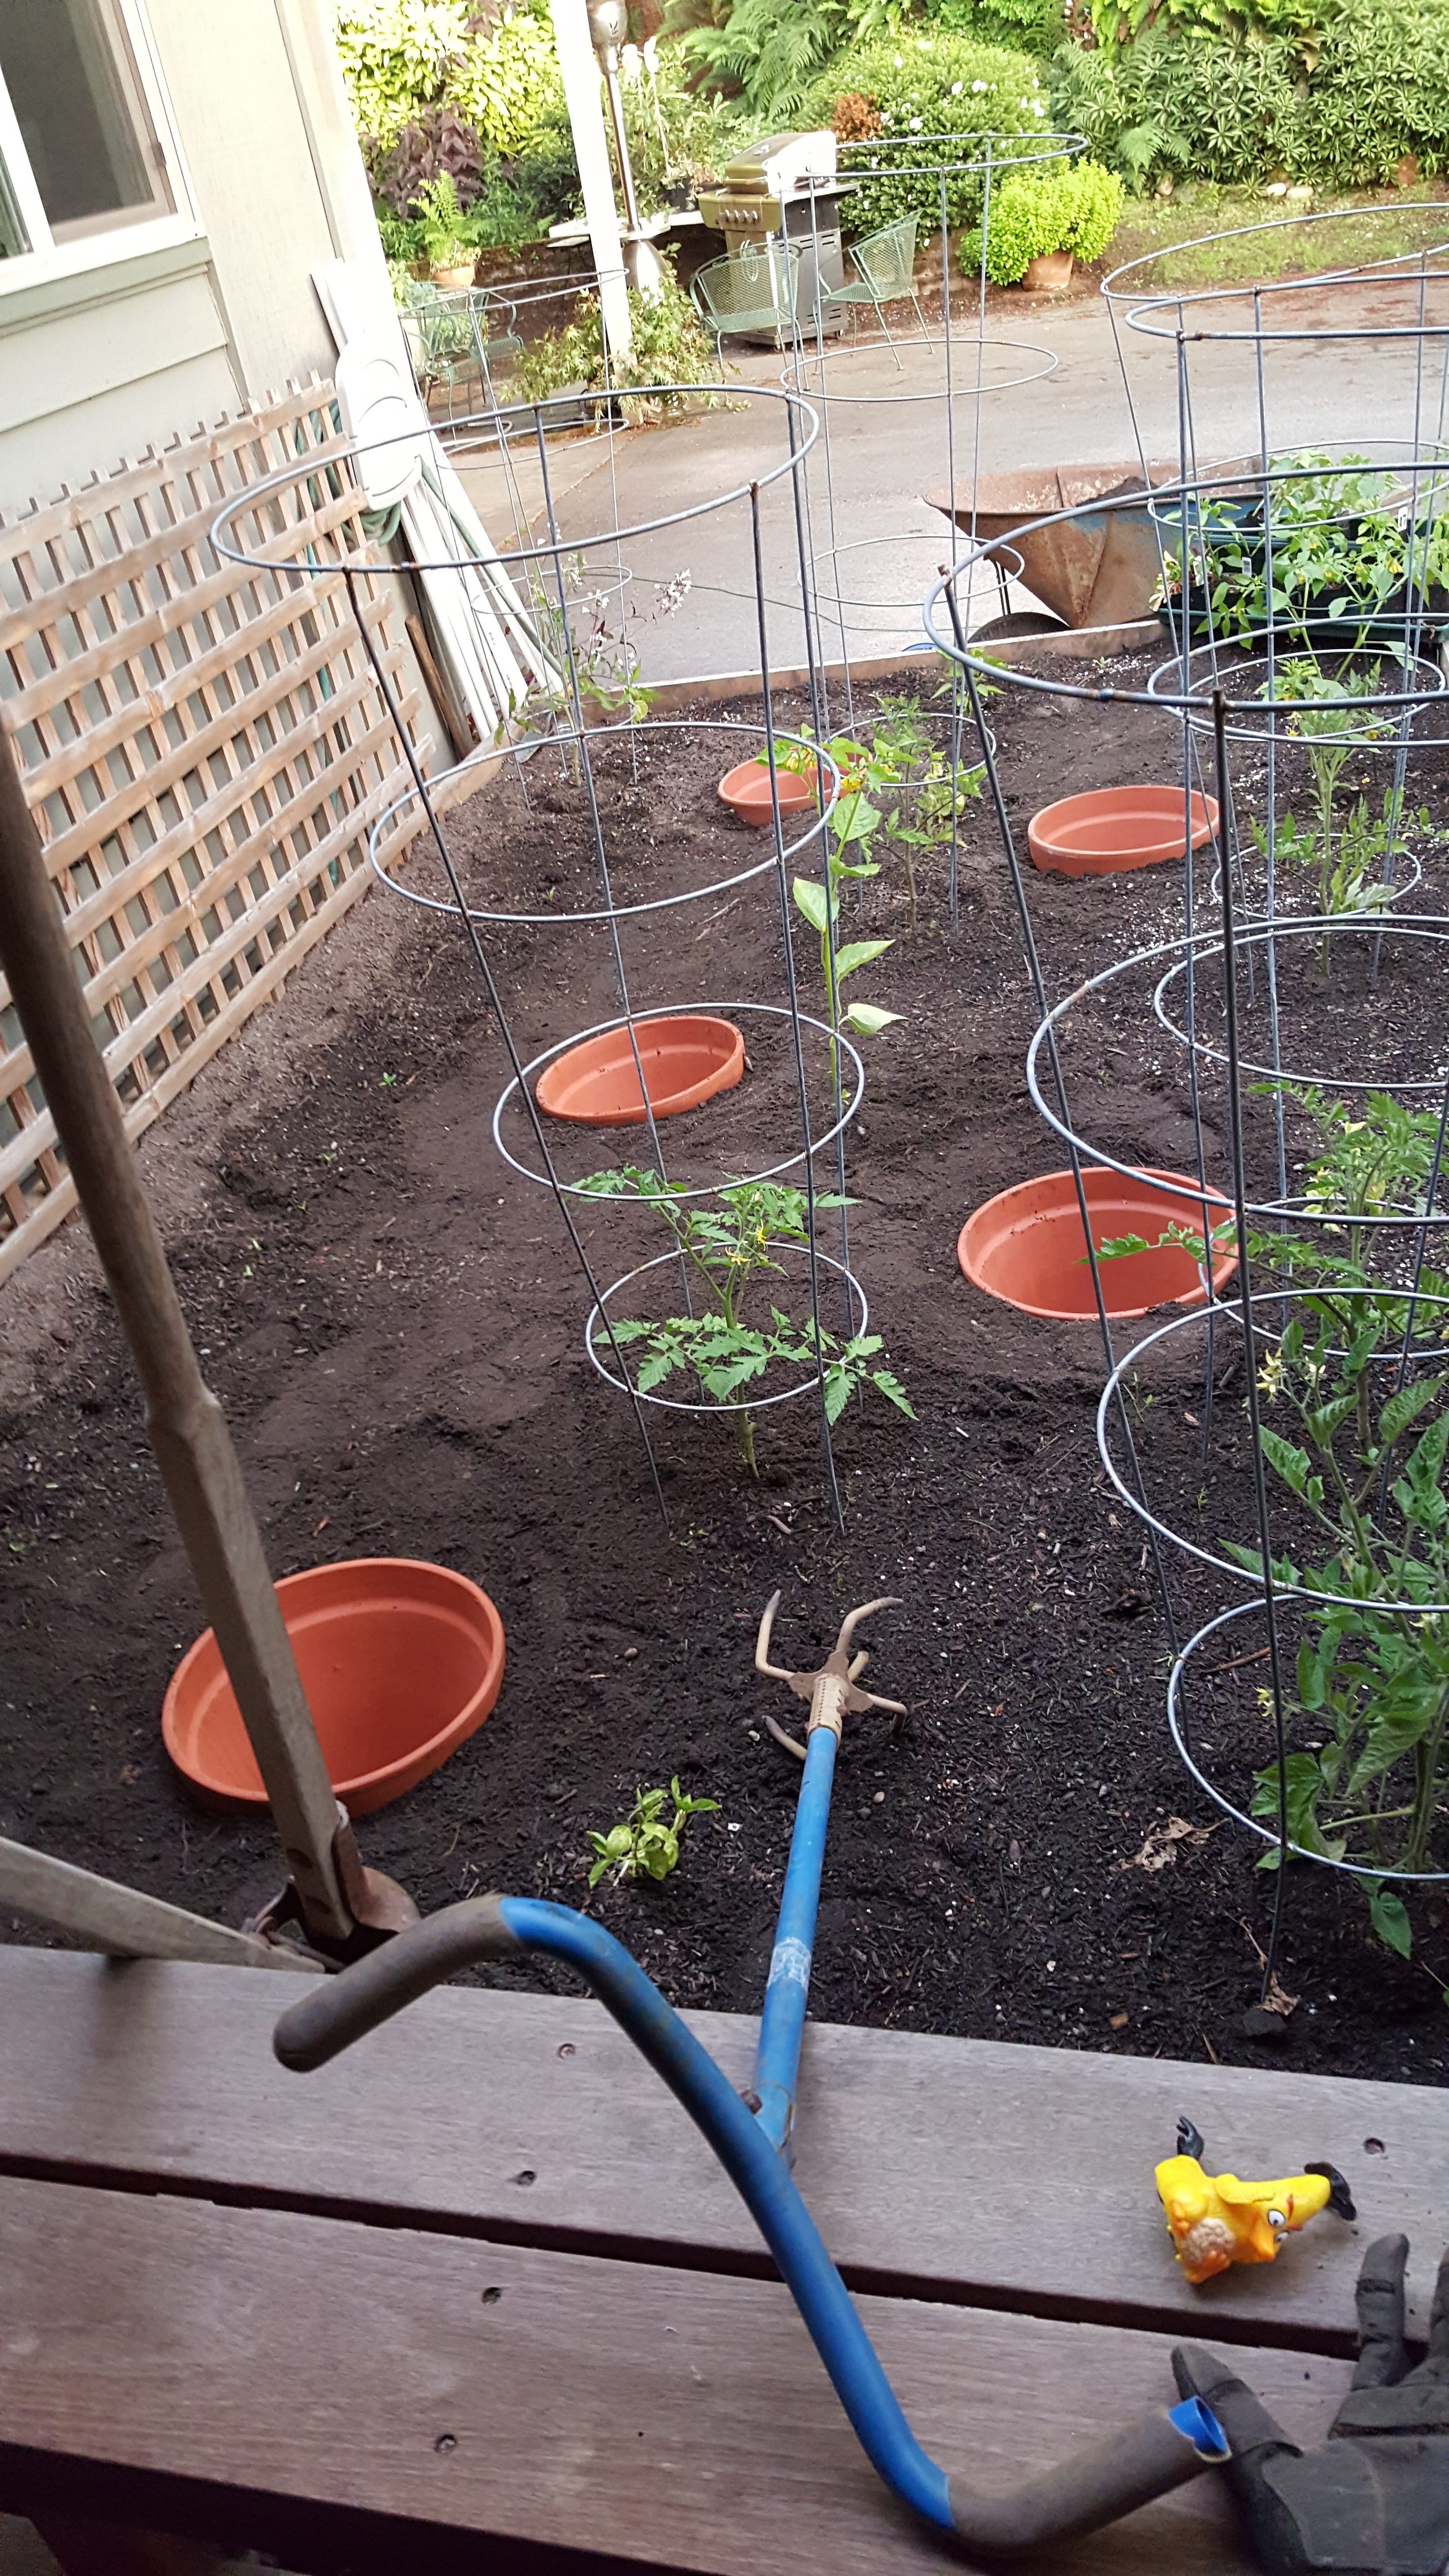
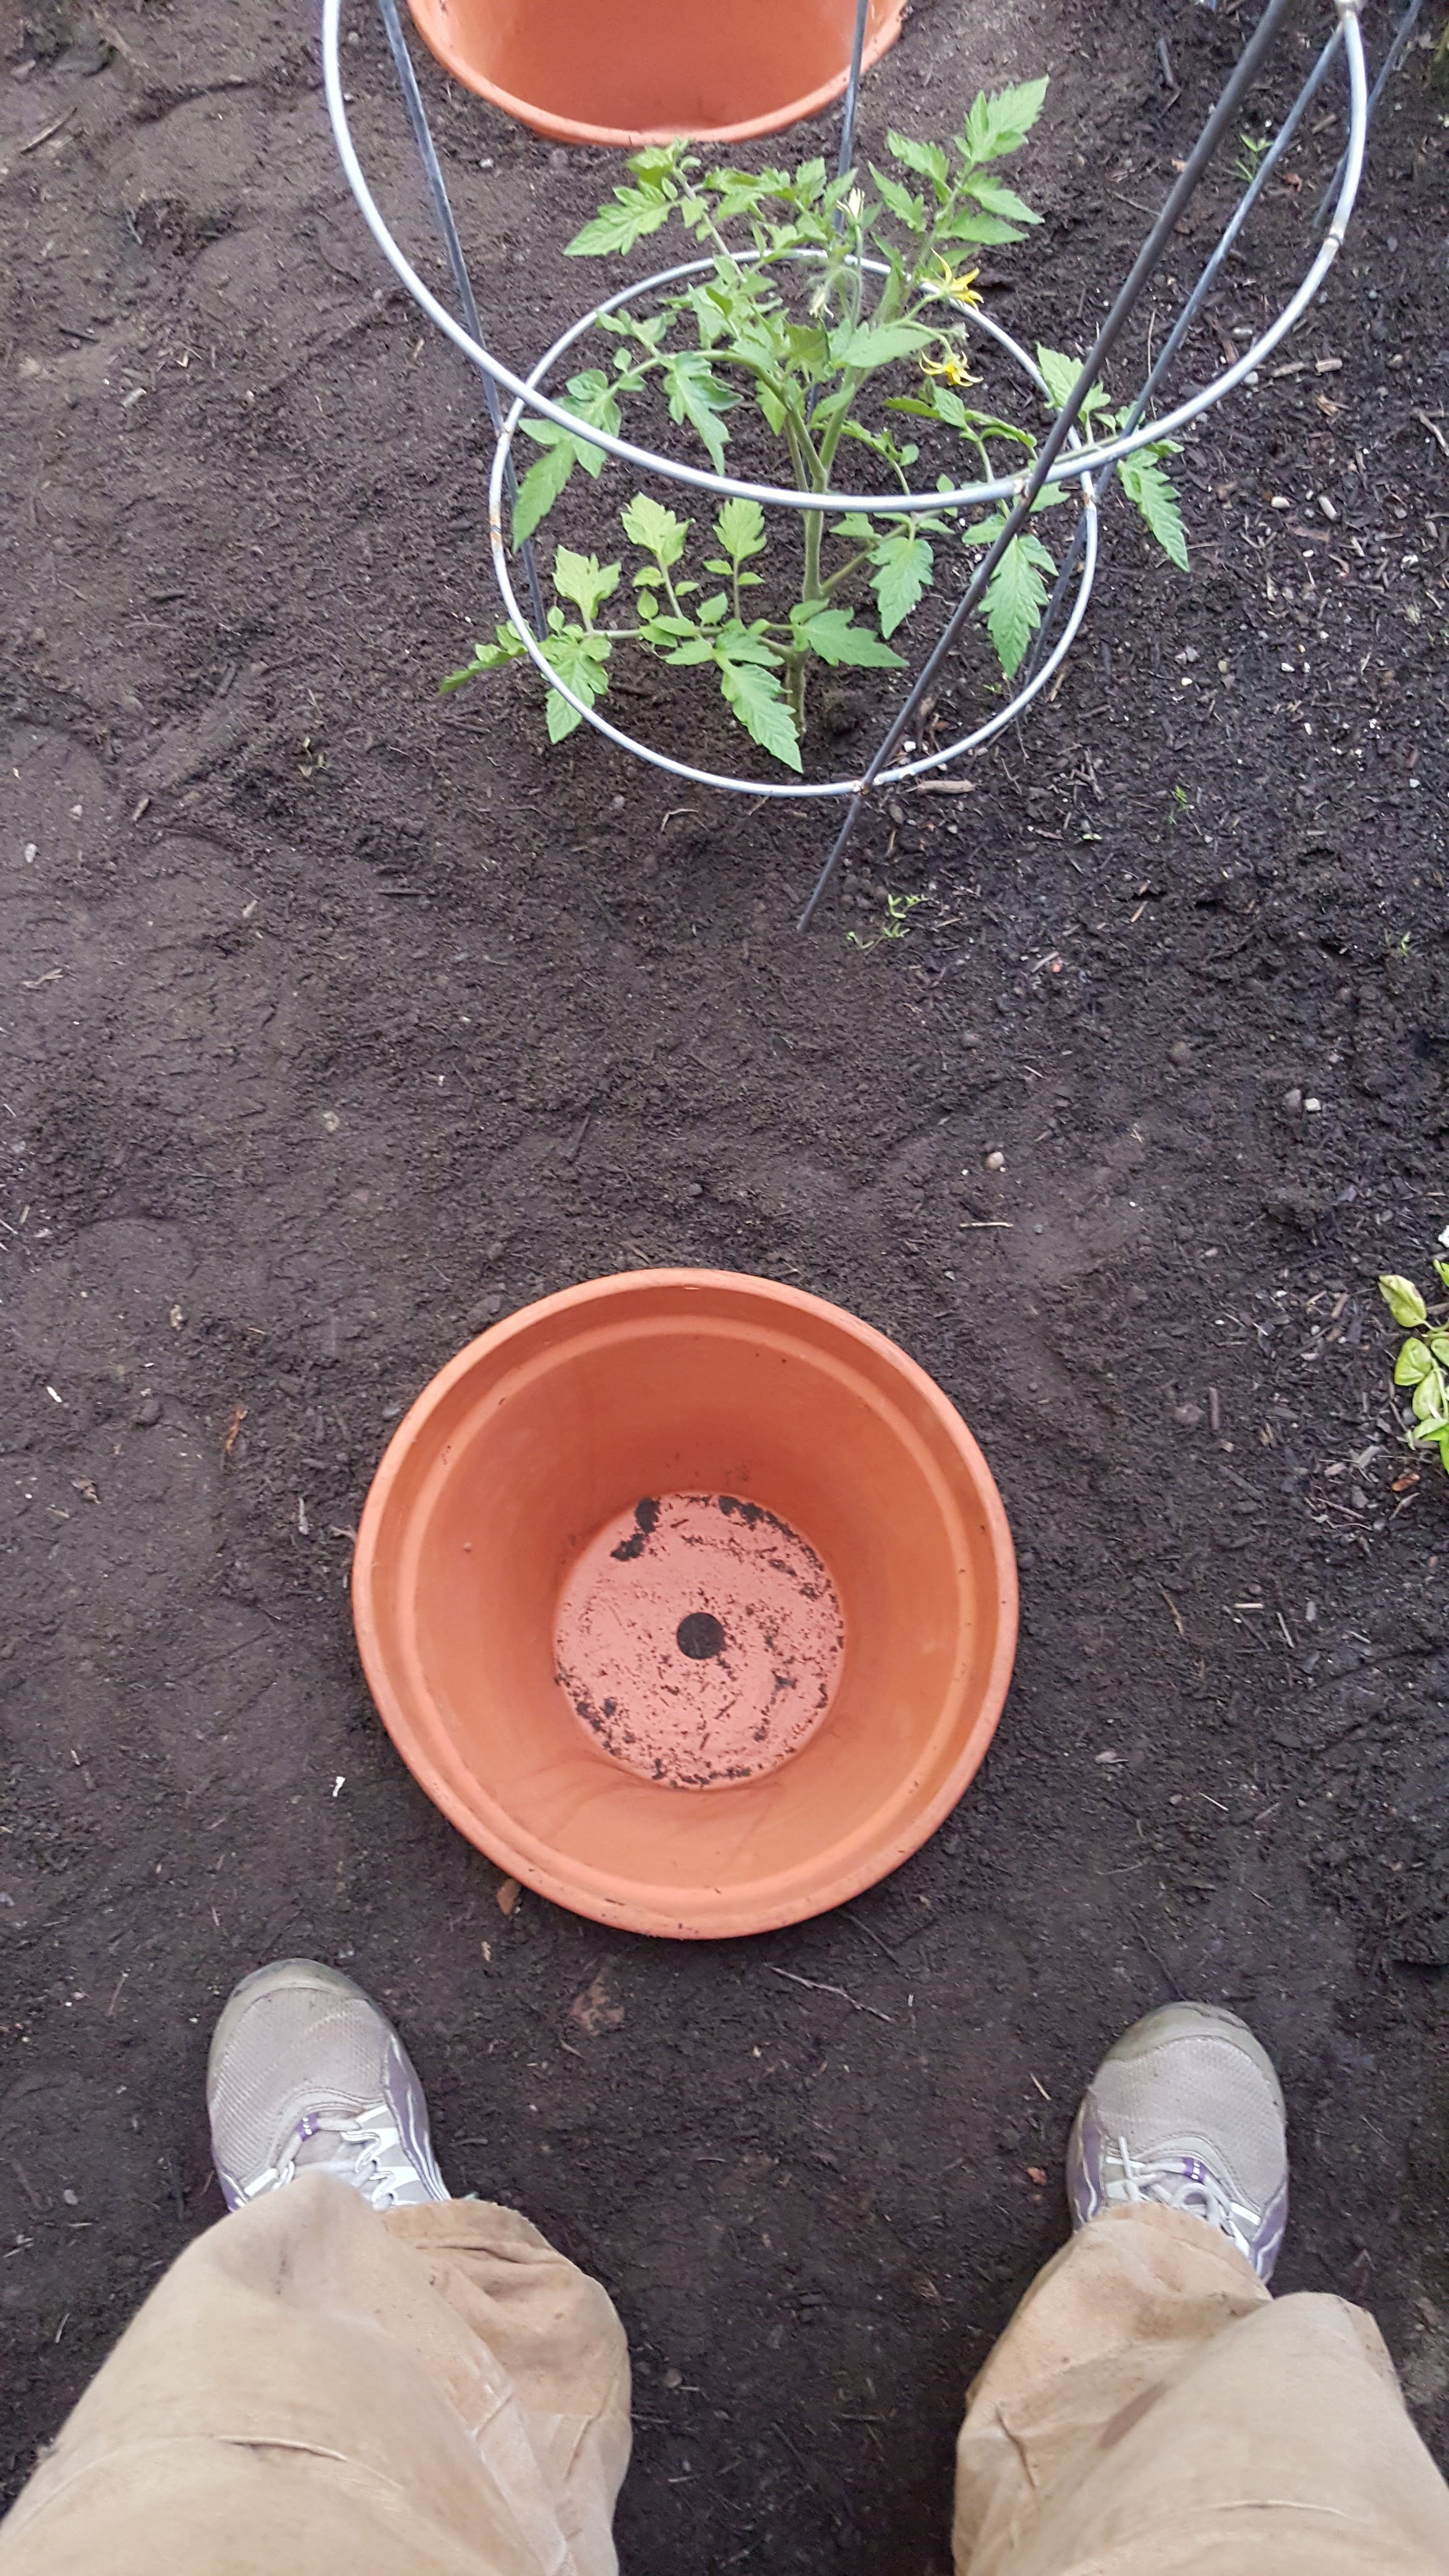
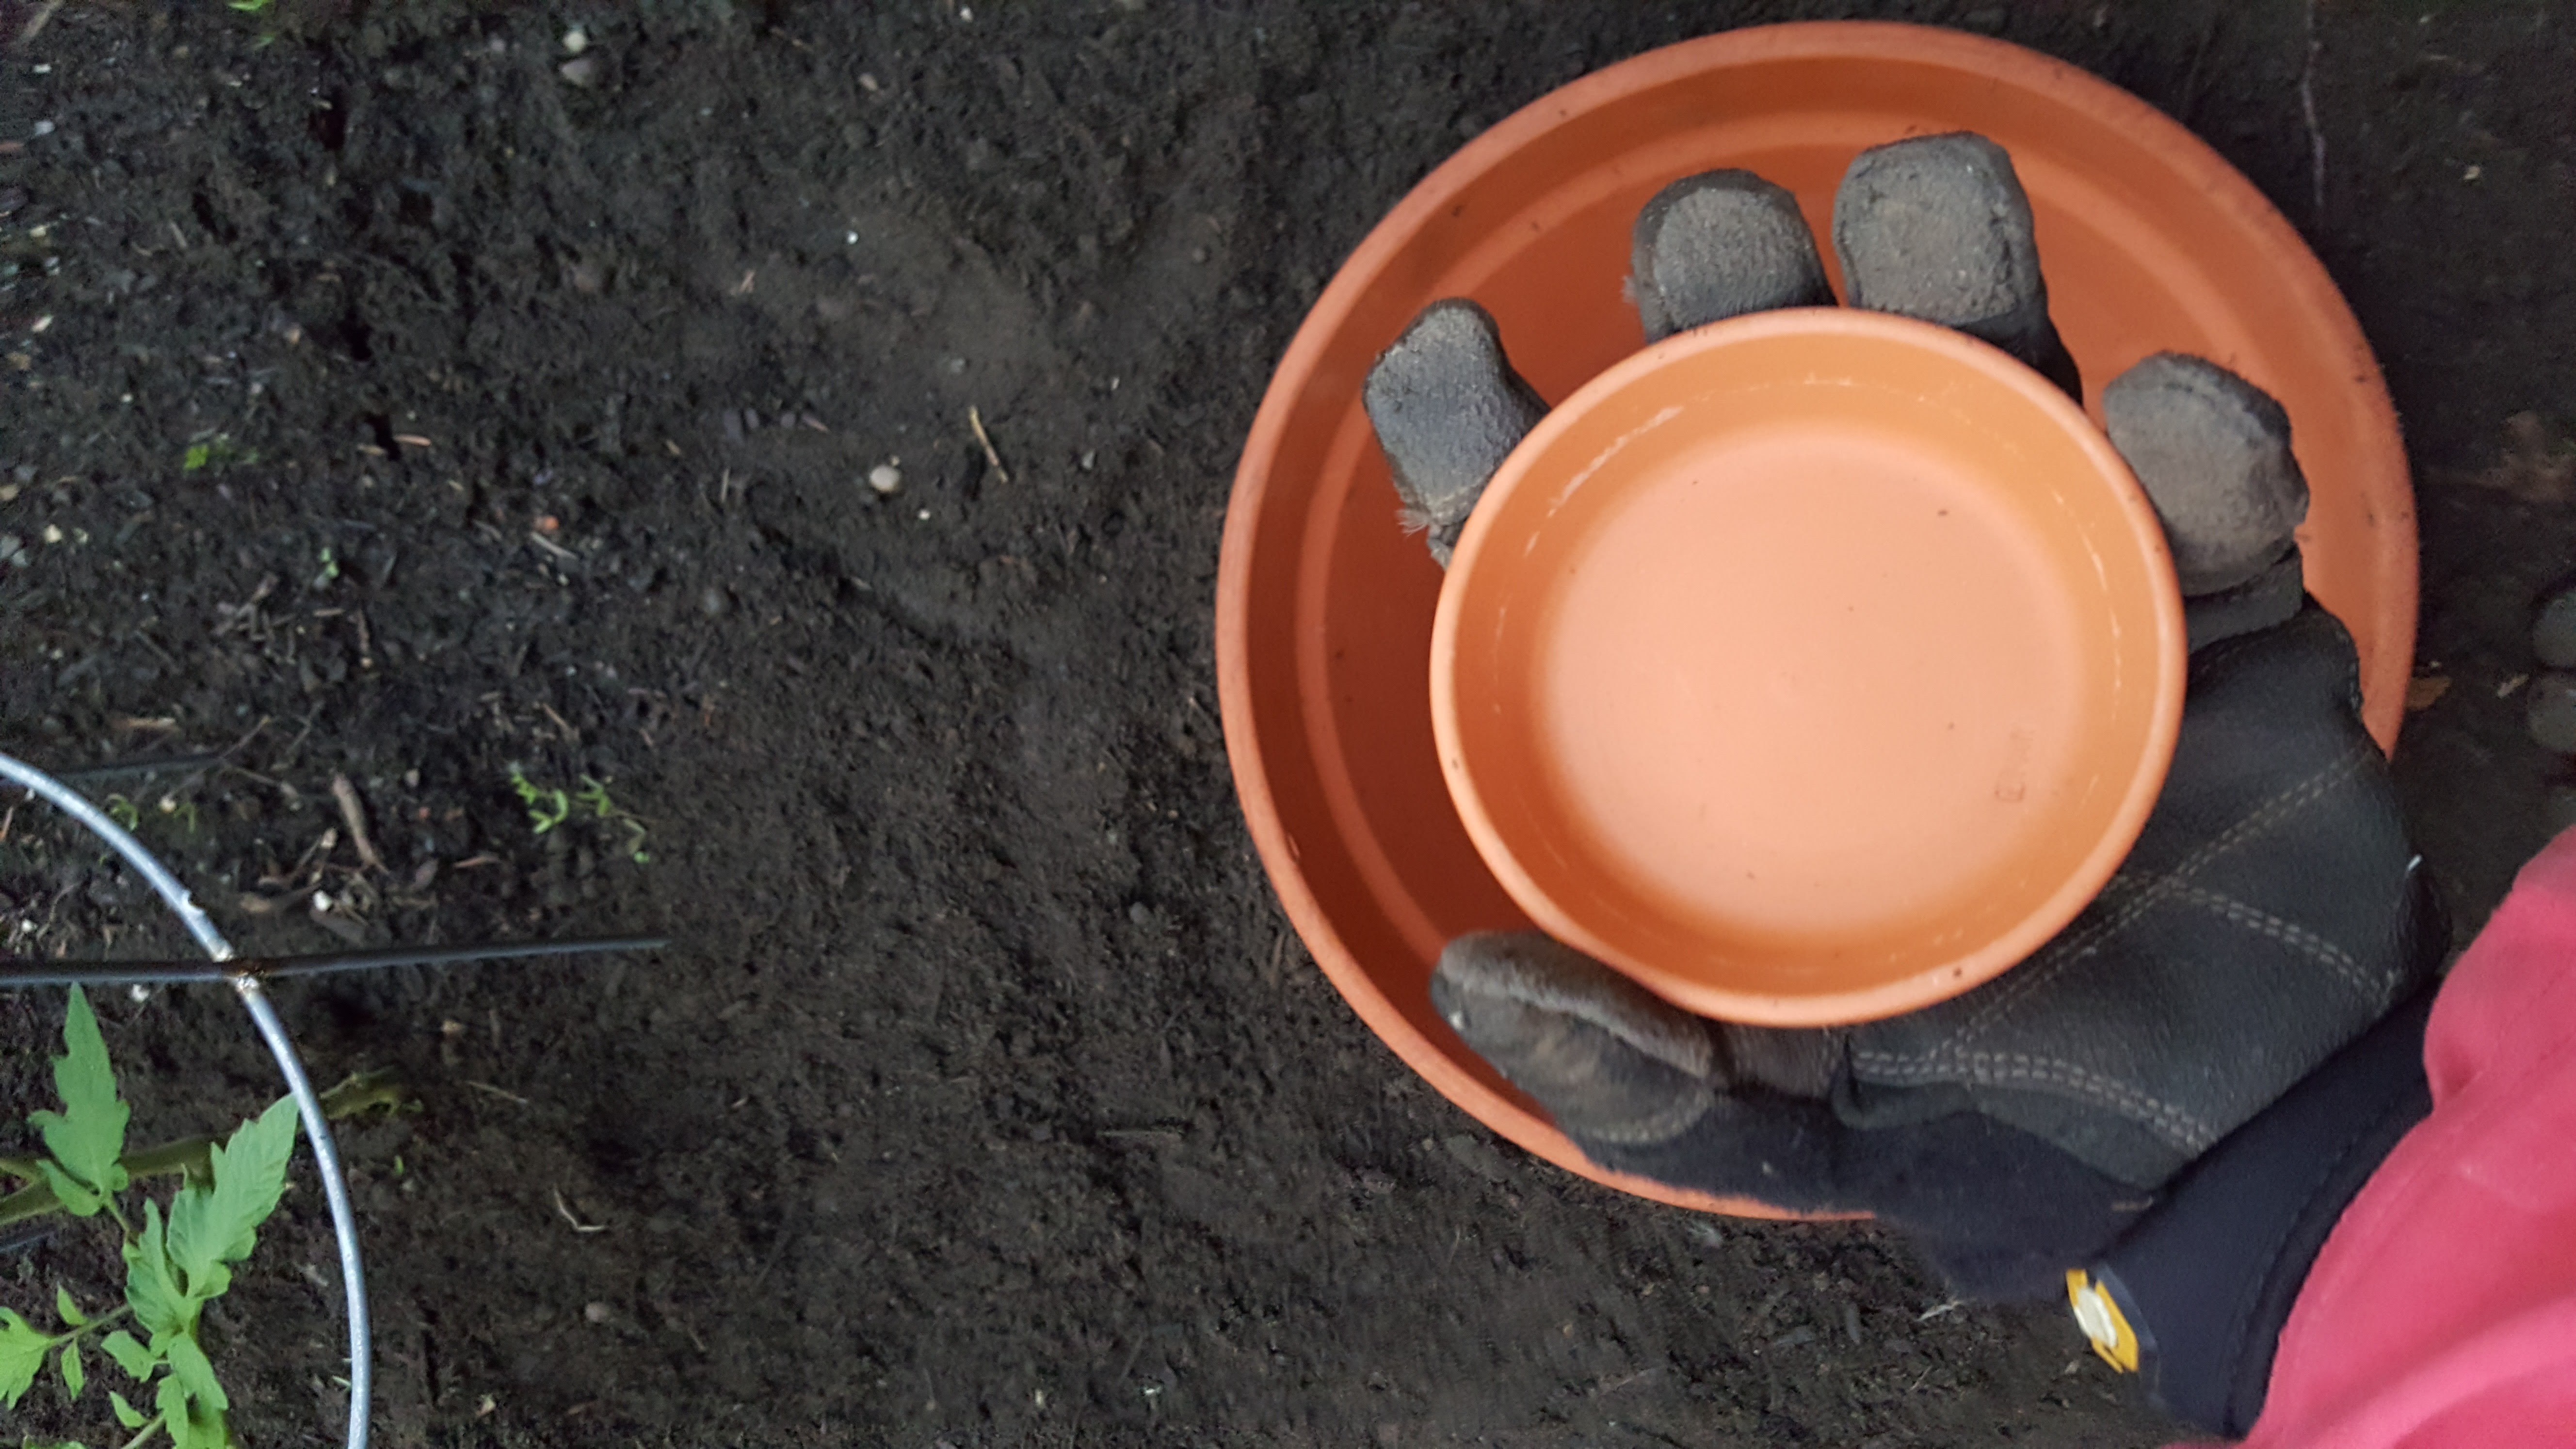
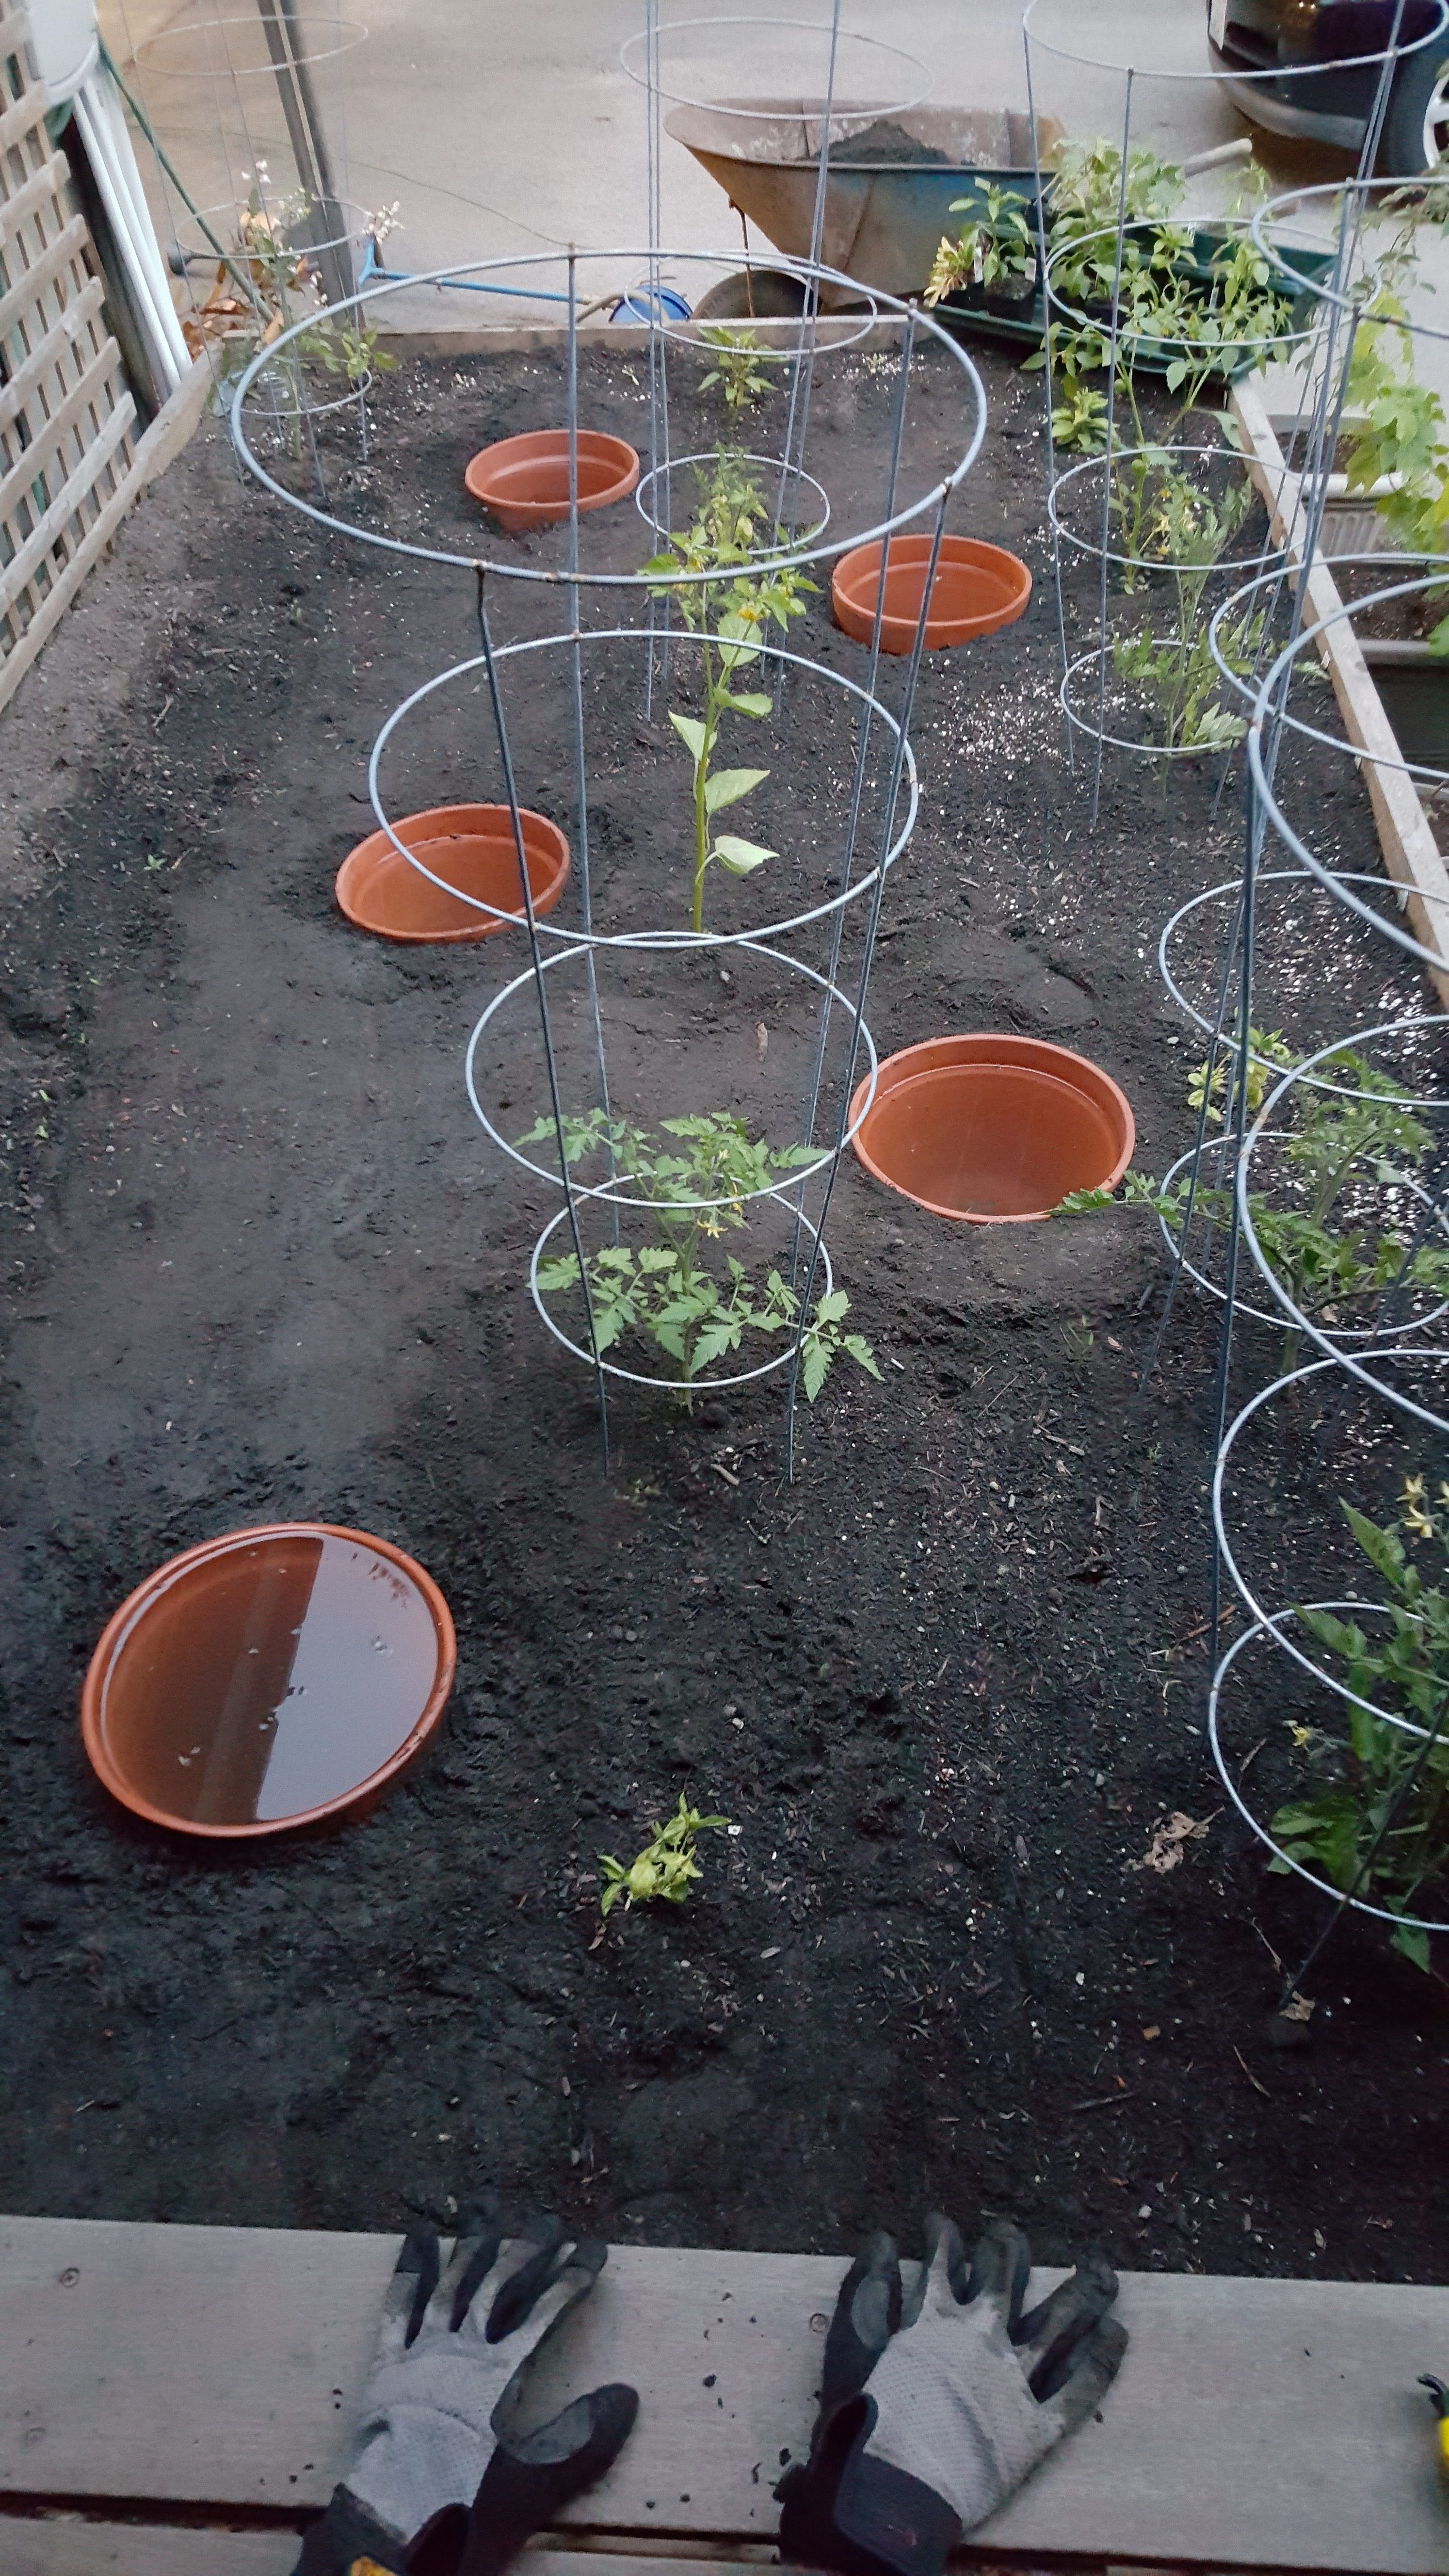
Post from Sauk Mountain Pottery about the origin of the clay for the Ollas.Digging holes for the ollas in the center of the beds. Their soak radias is about 3-4 feet.Olla from Sauk Mountain Pottery.Olla in place.Reflection…olla filled with water. The water will slowly seep out and water the plants.Couple of ollas in place.Ollas in place. They water the whole bed. Only have to water every few days in the hot summer weather.More ollas in place.Large ollas are unlgazed ceramic pots. Bought from Summersun Nursery.Large ollas in place.Small ceramic plate to cover drainage hole in large ollas.Covered the drainage hole with a small ceramic base and a heavy rock.The large ollas with the holes plugged, holding water good so it slowly seeps out over the next few days.
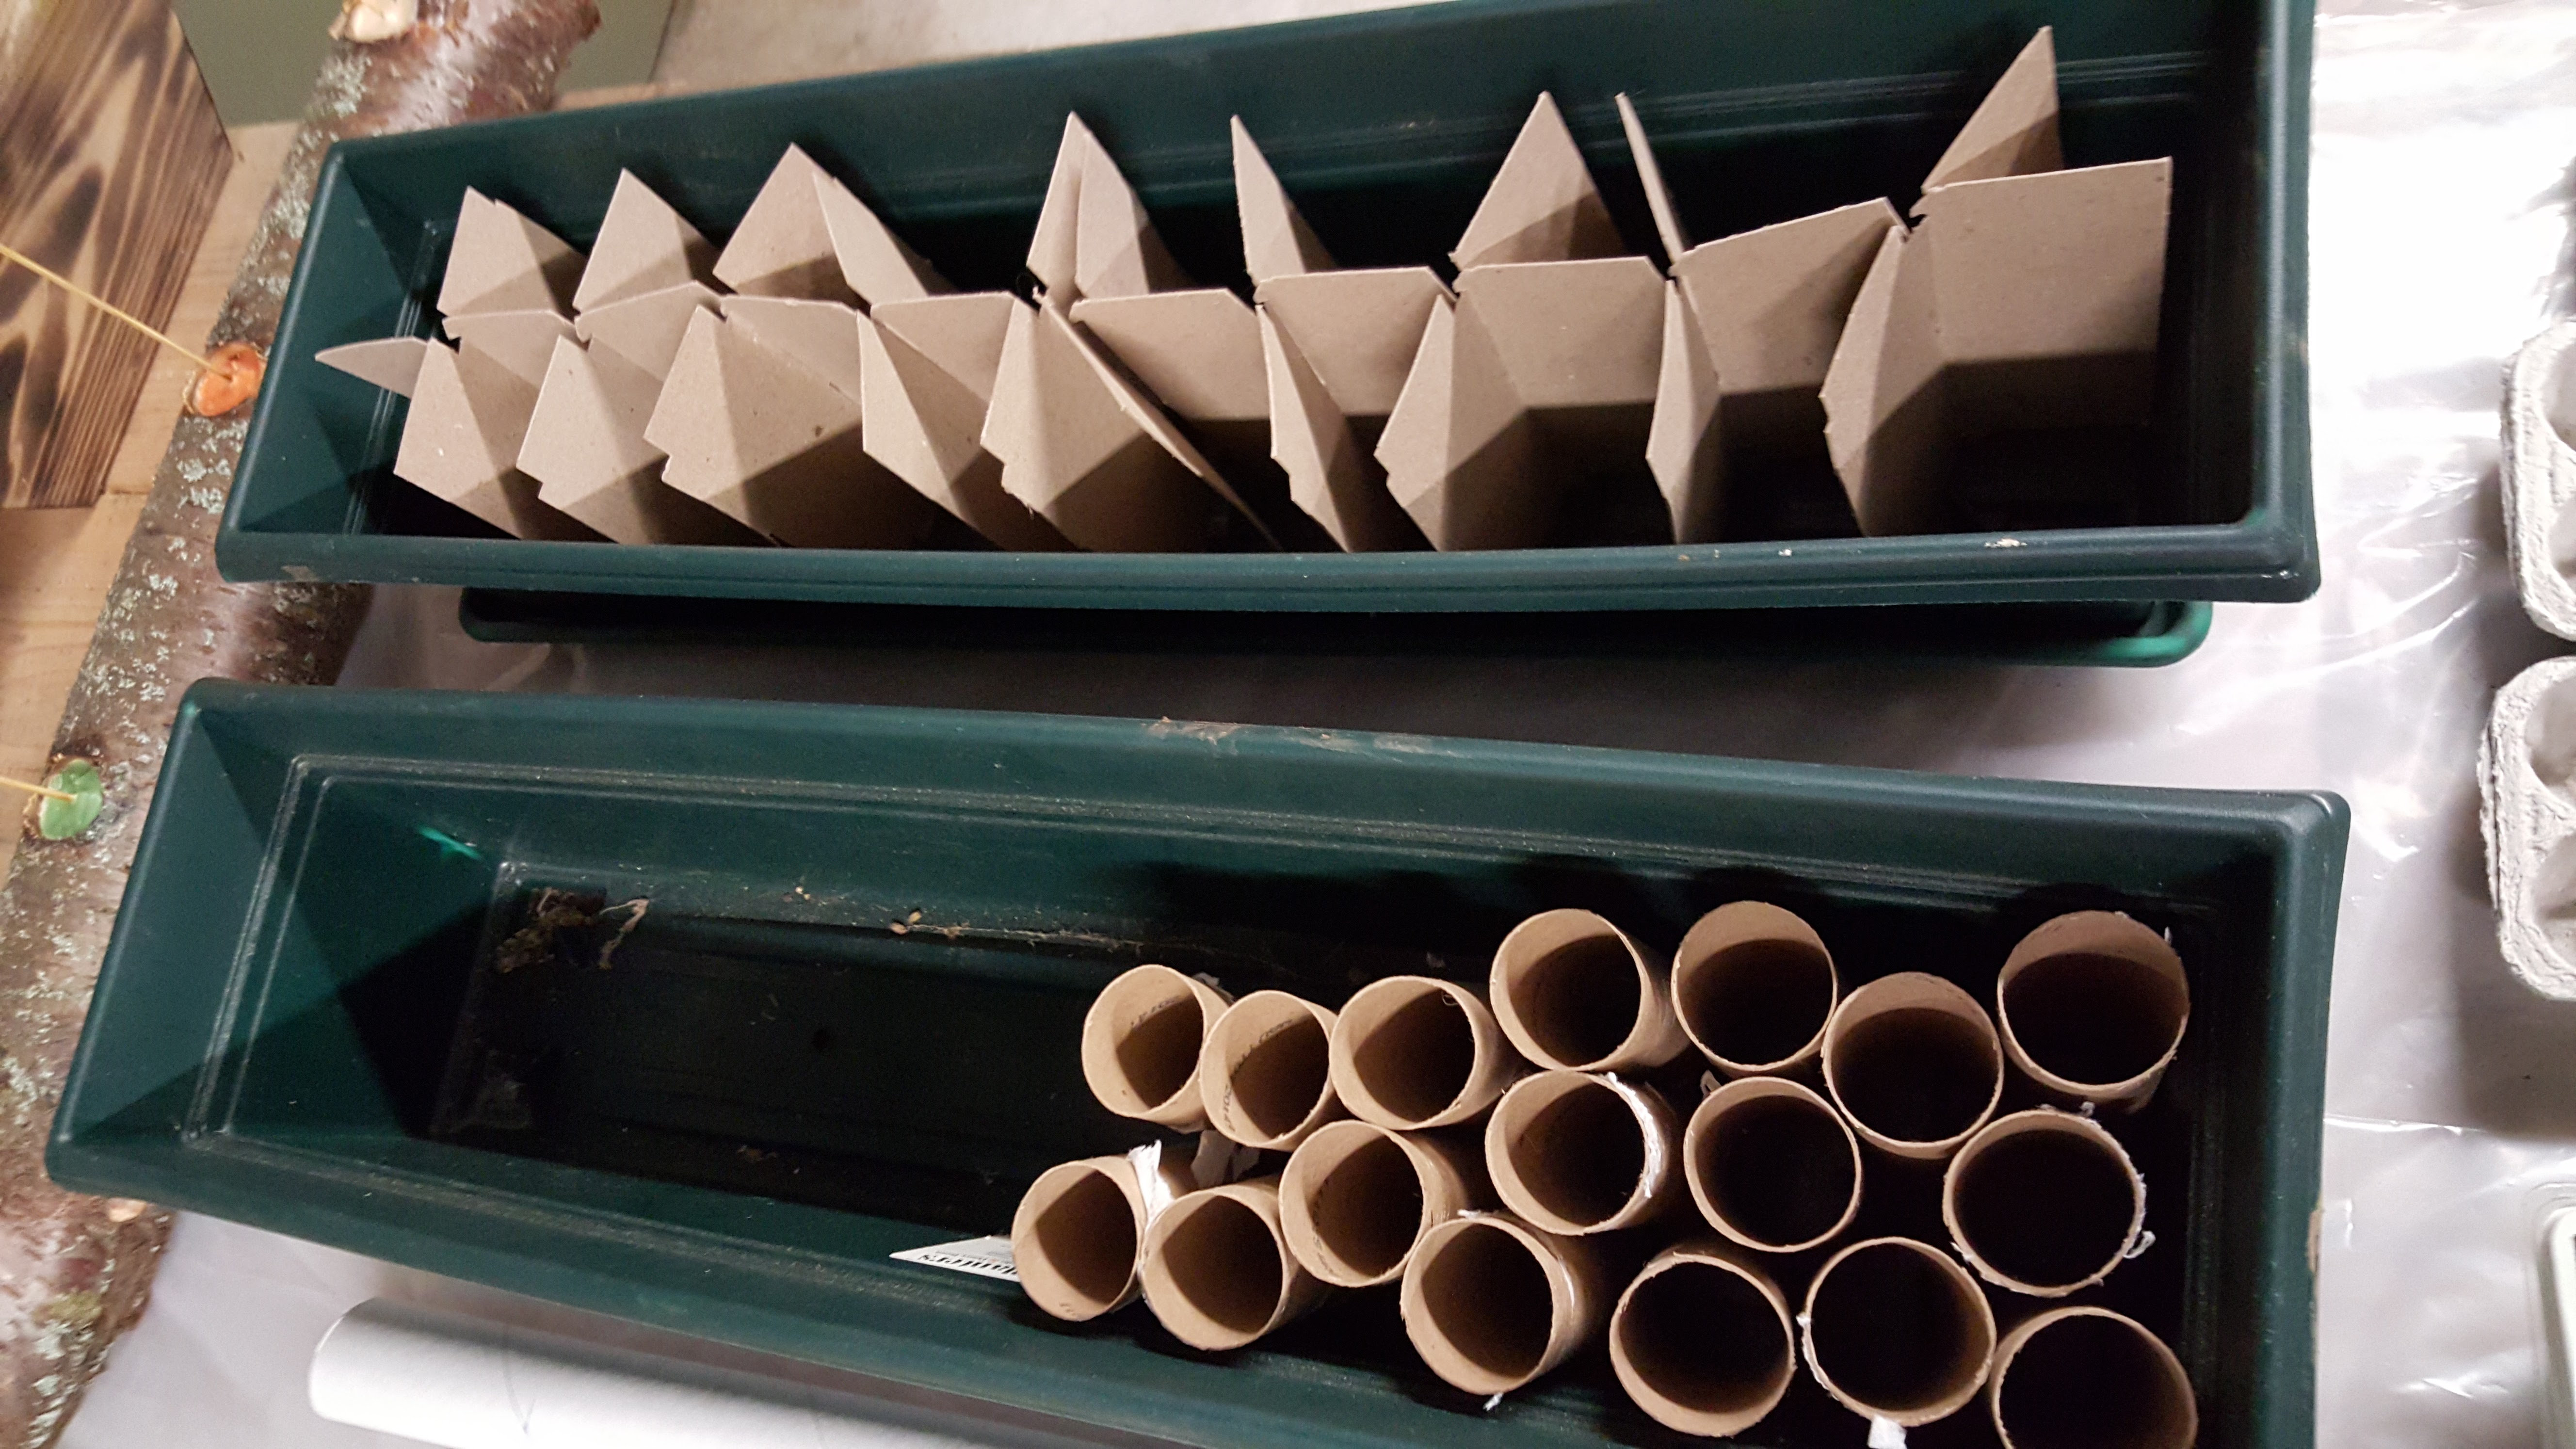
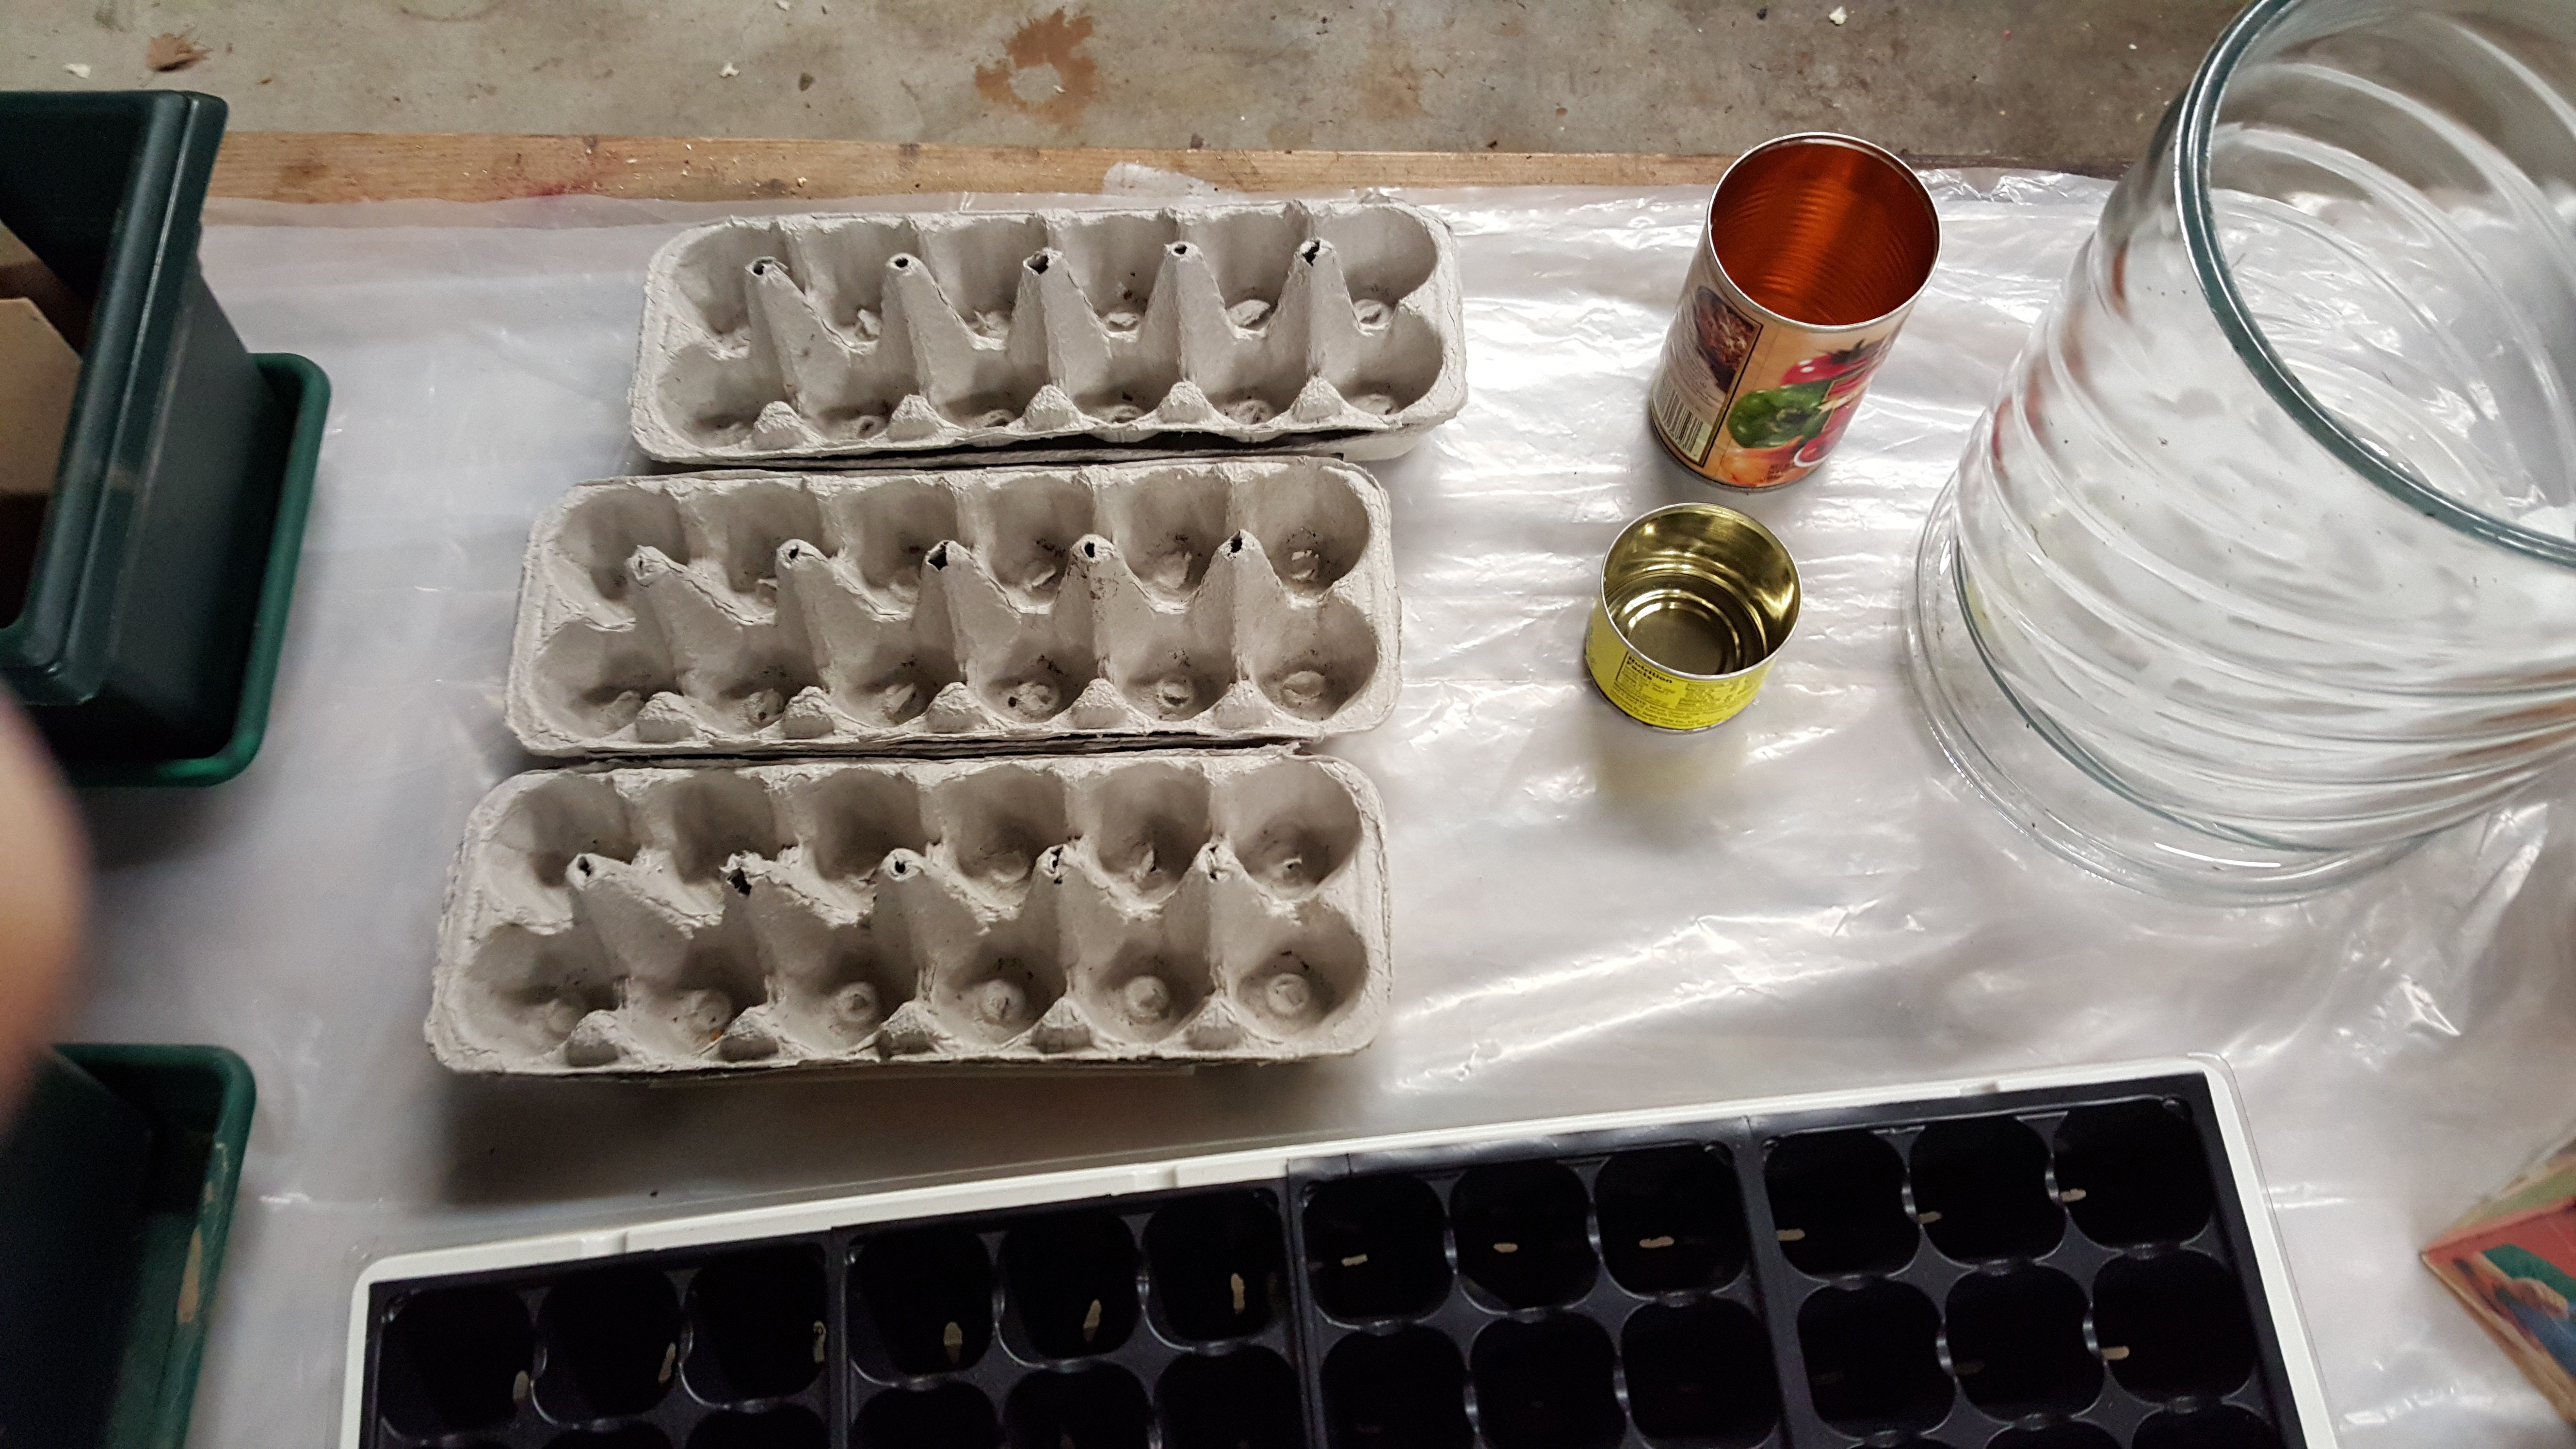
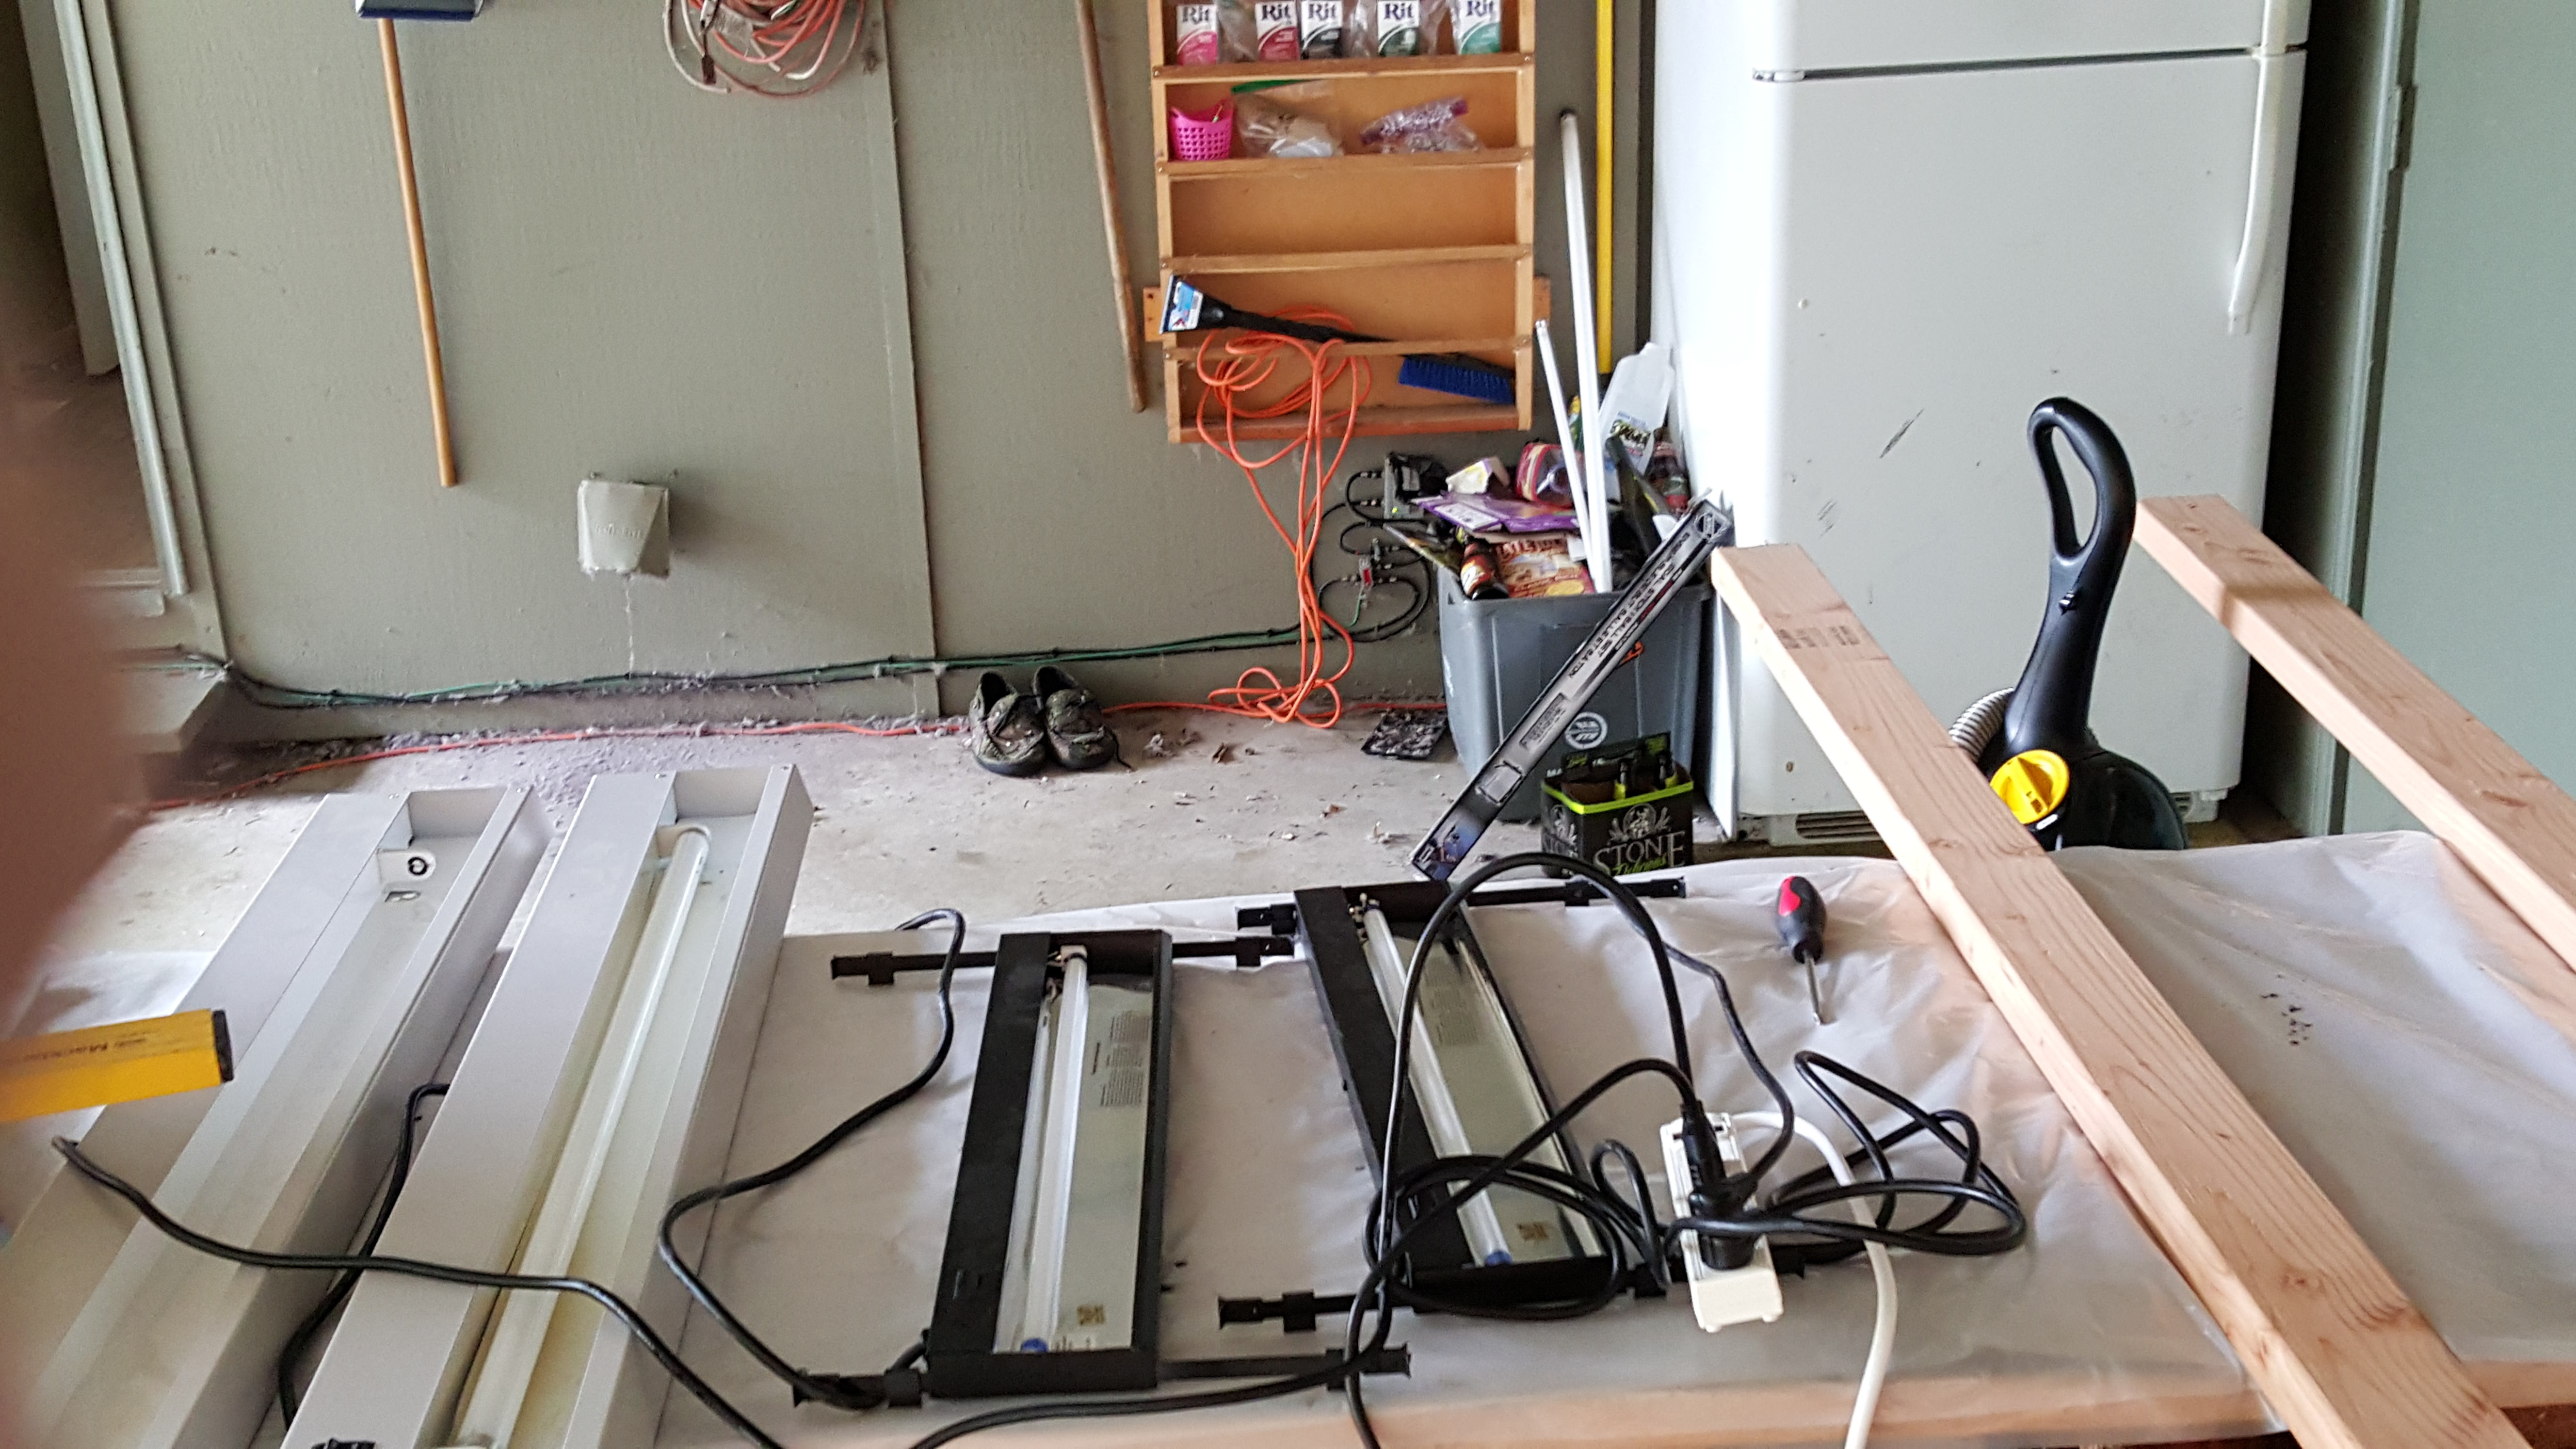
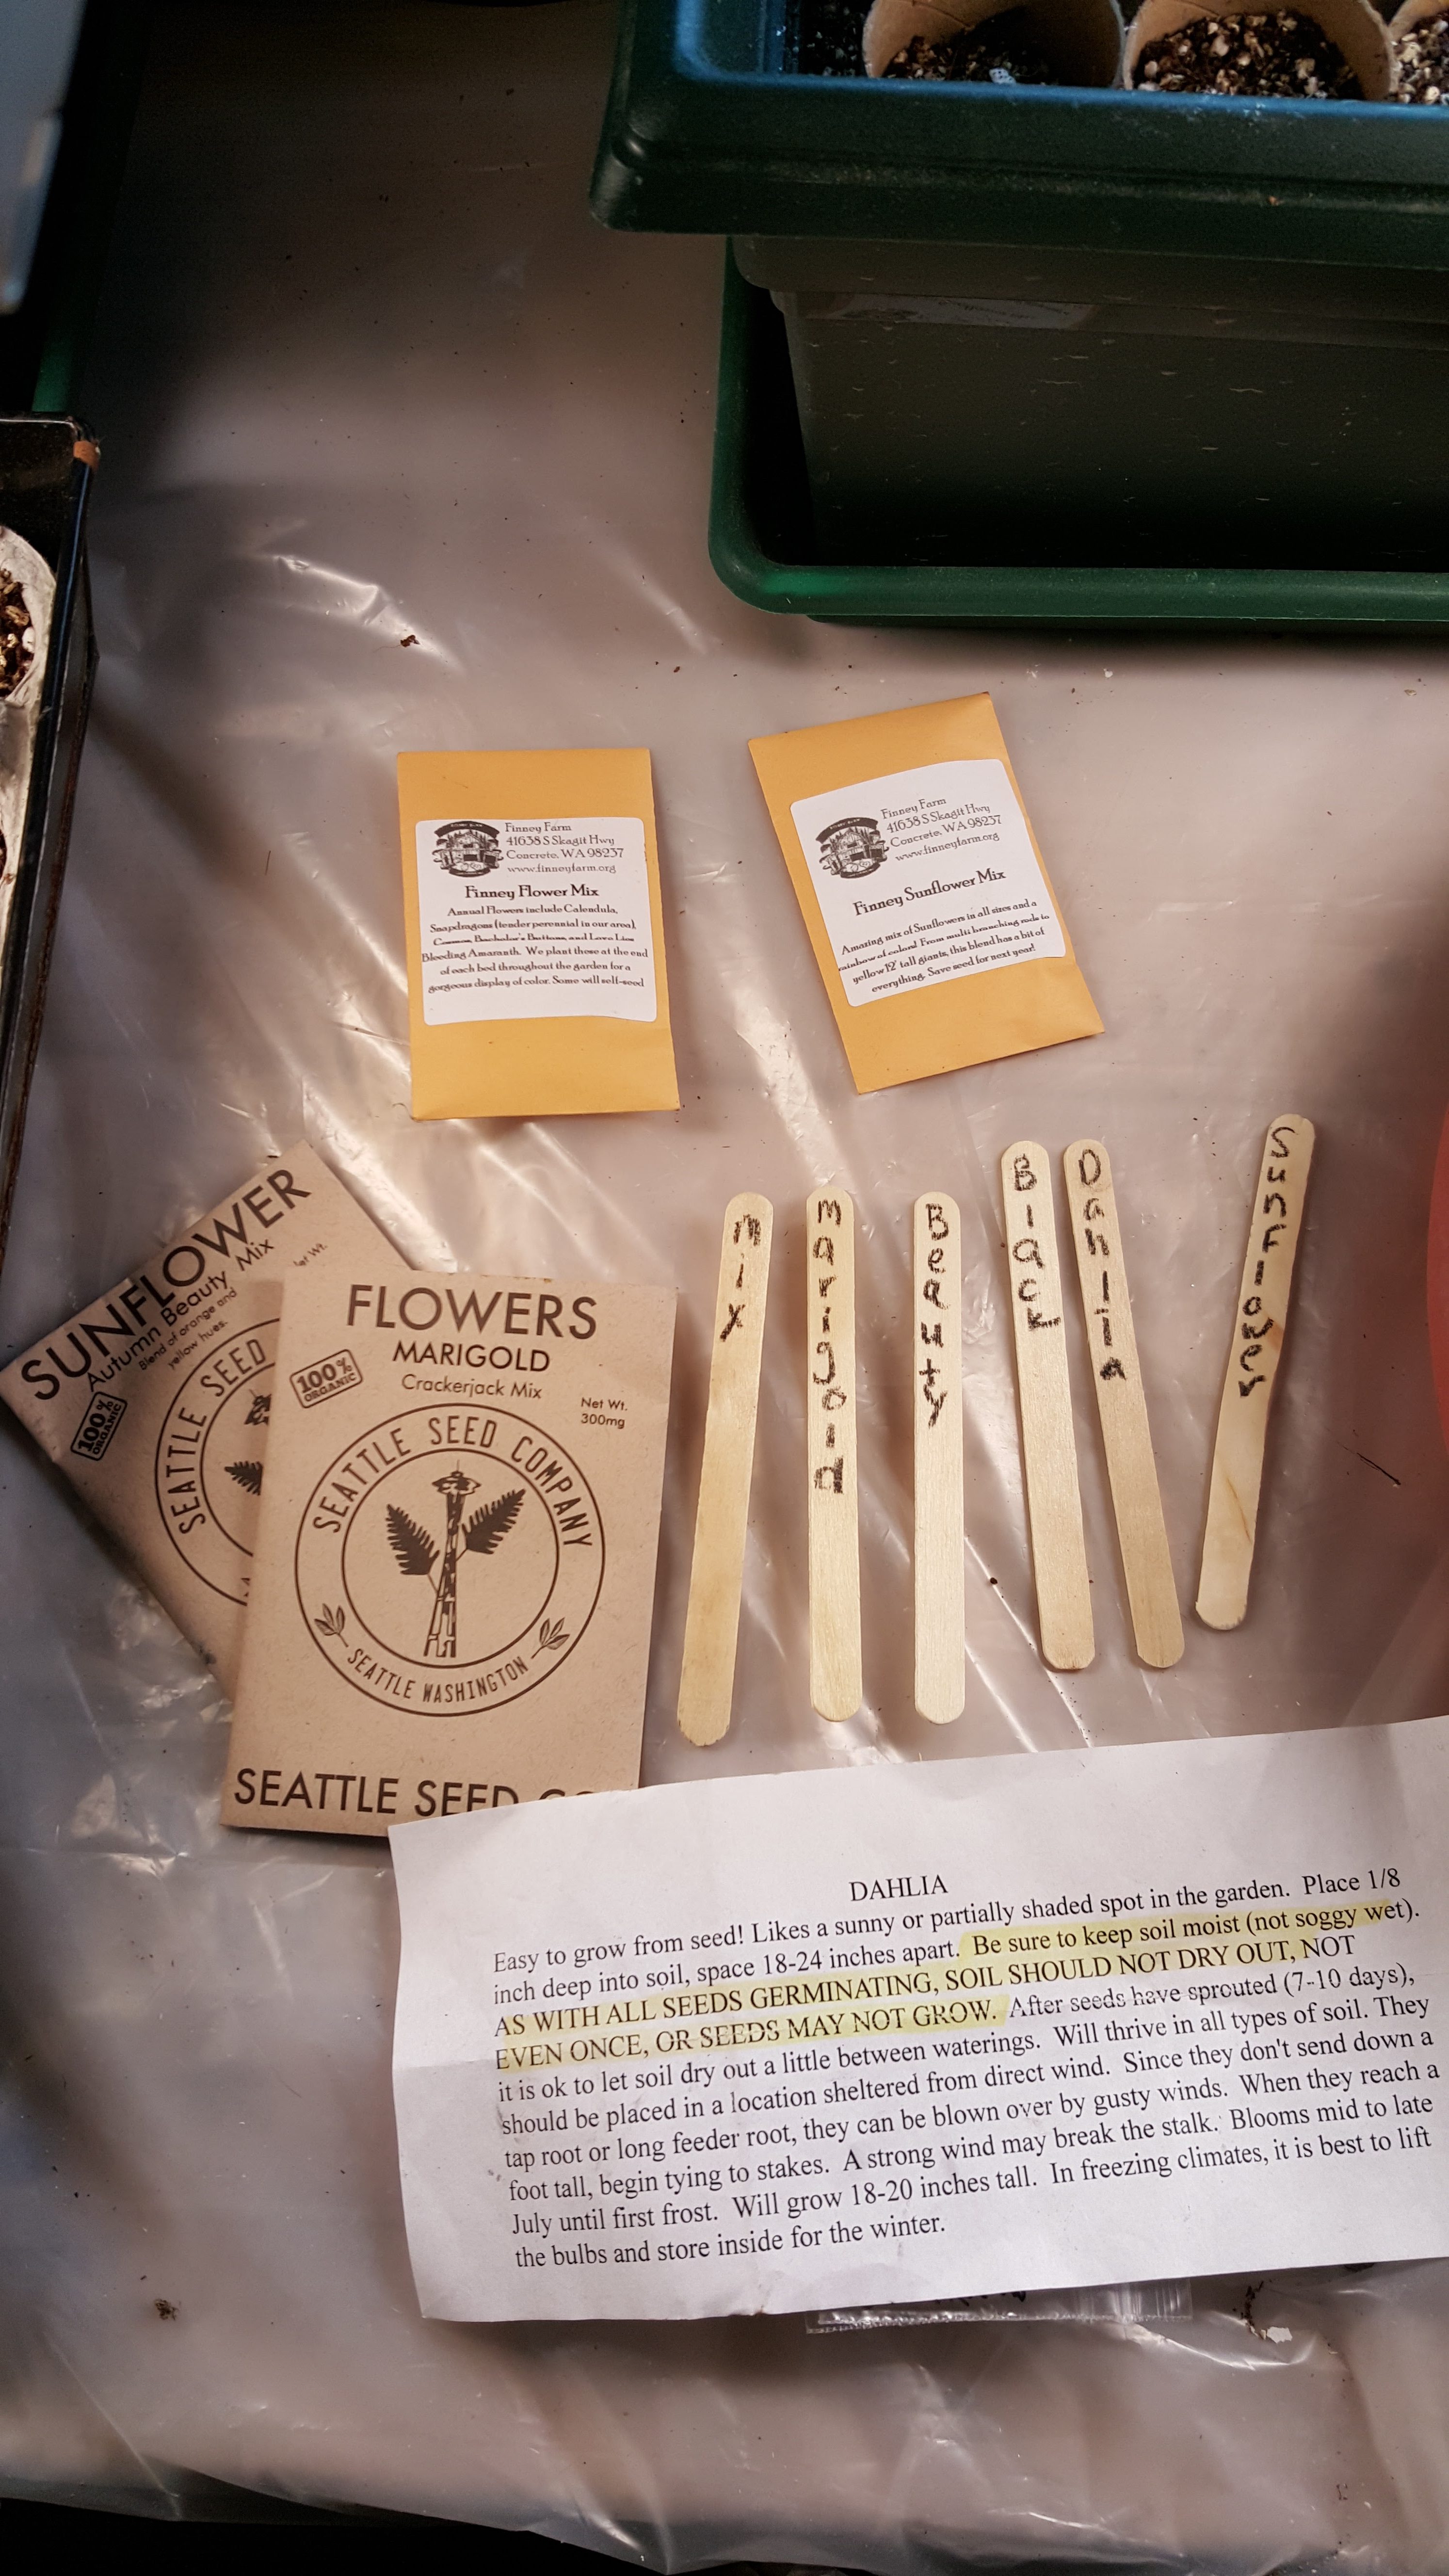
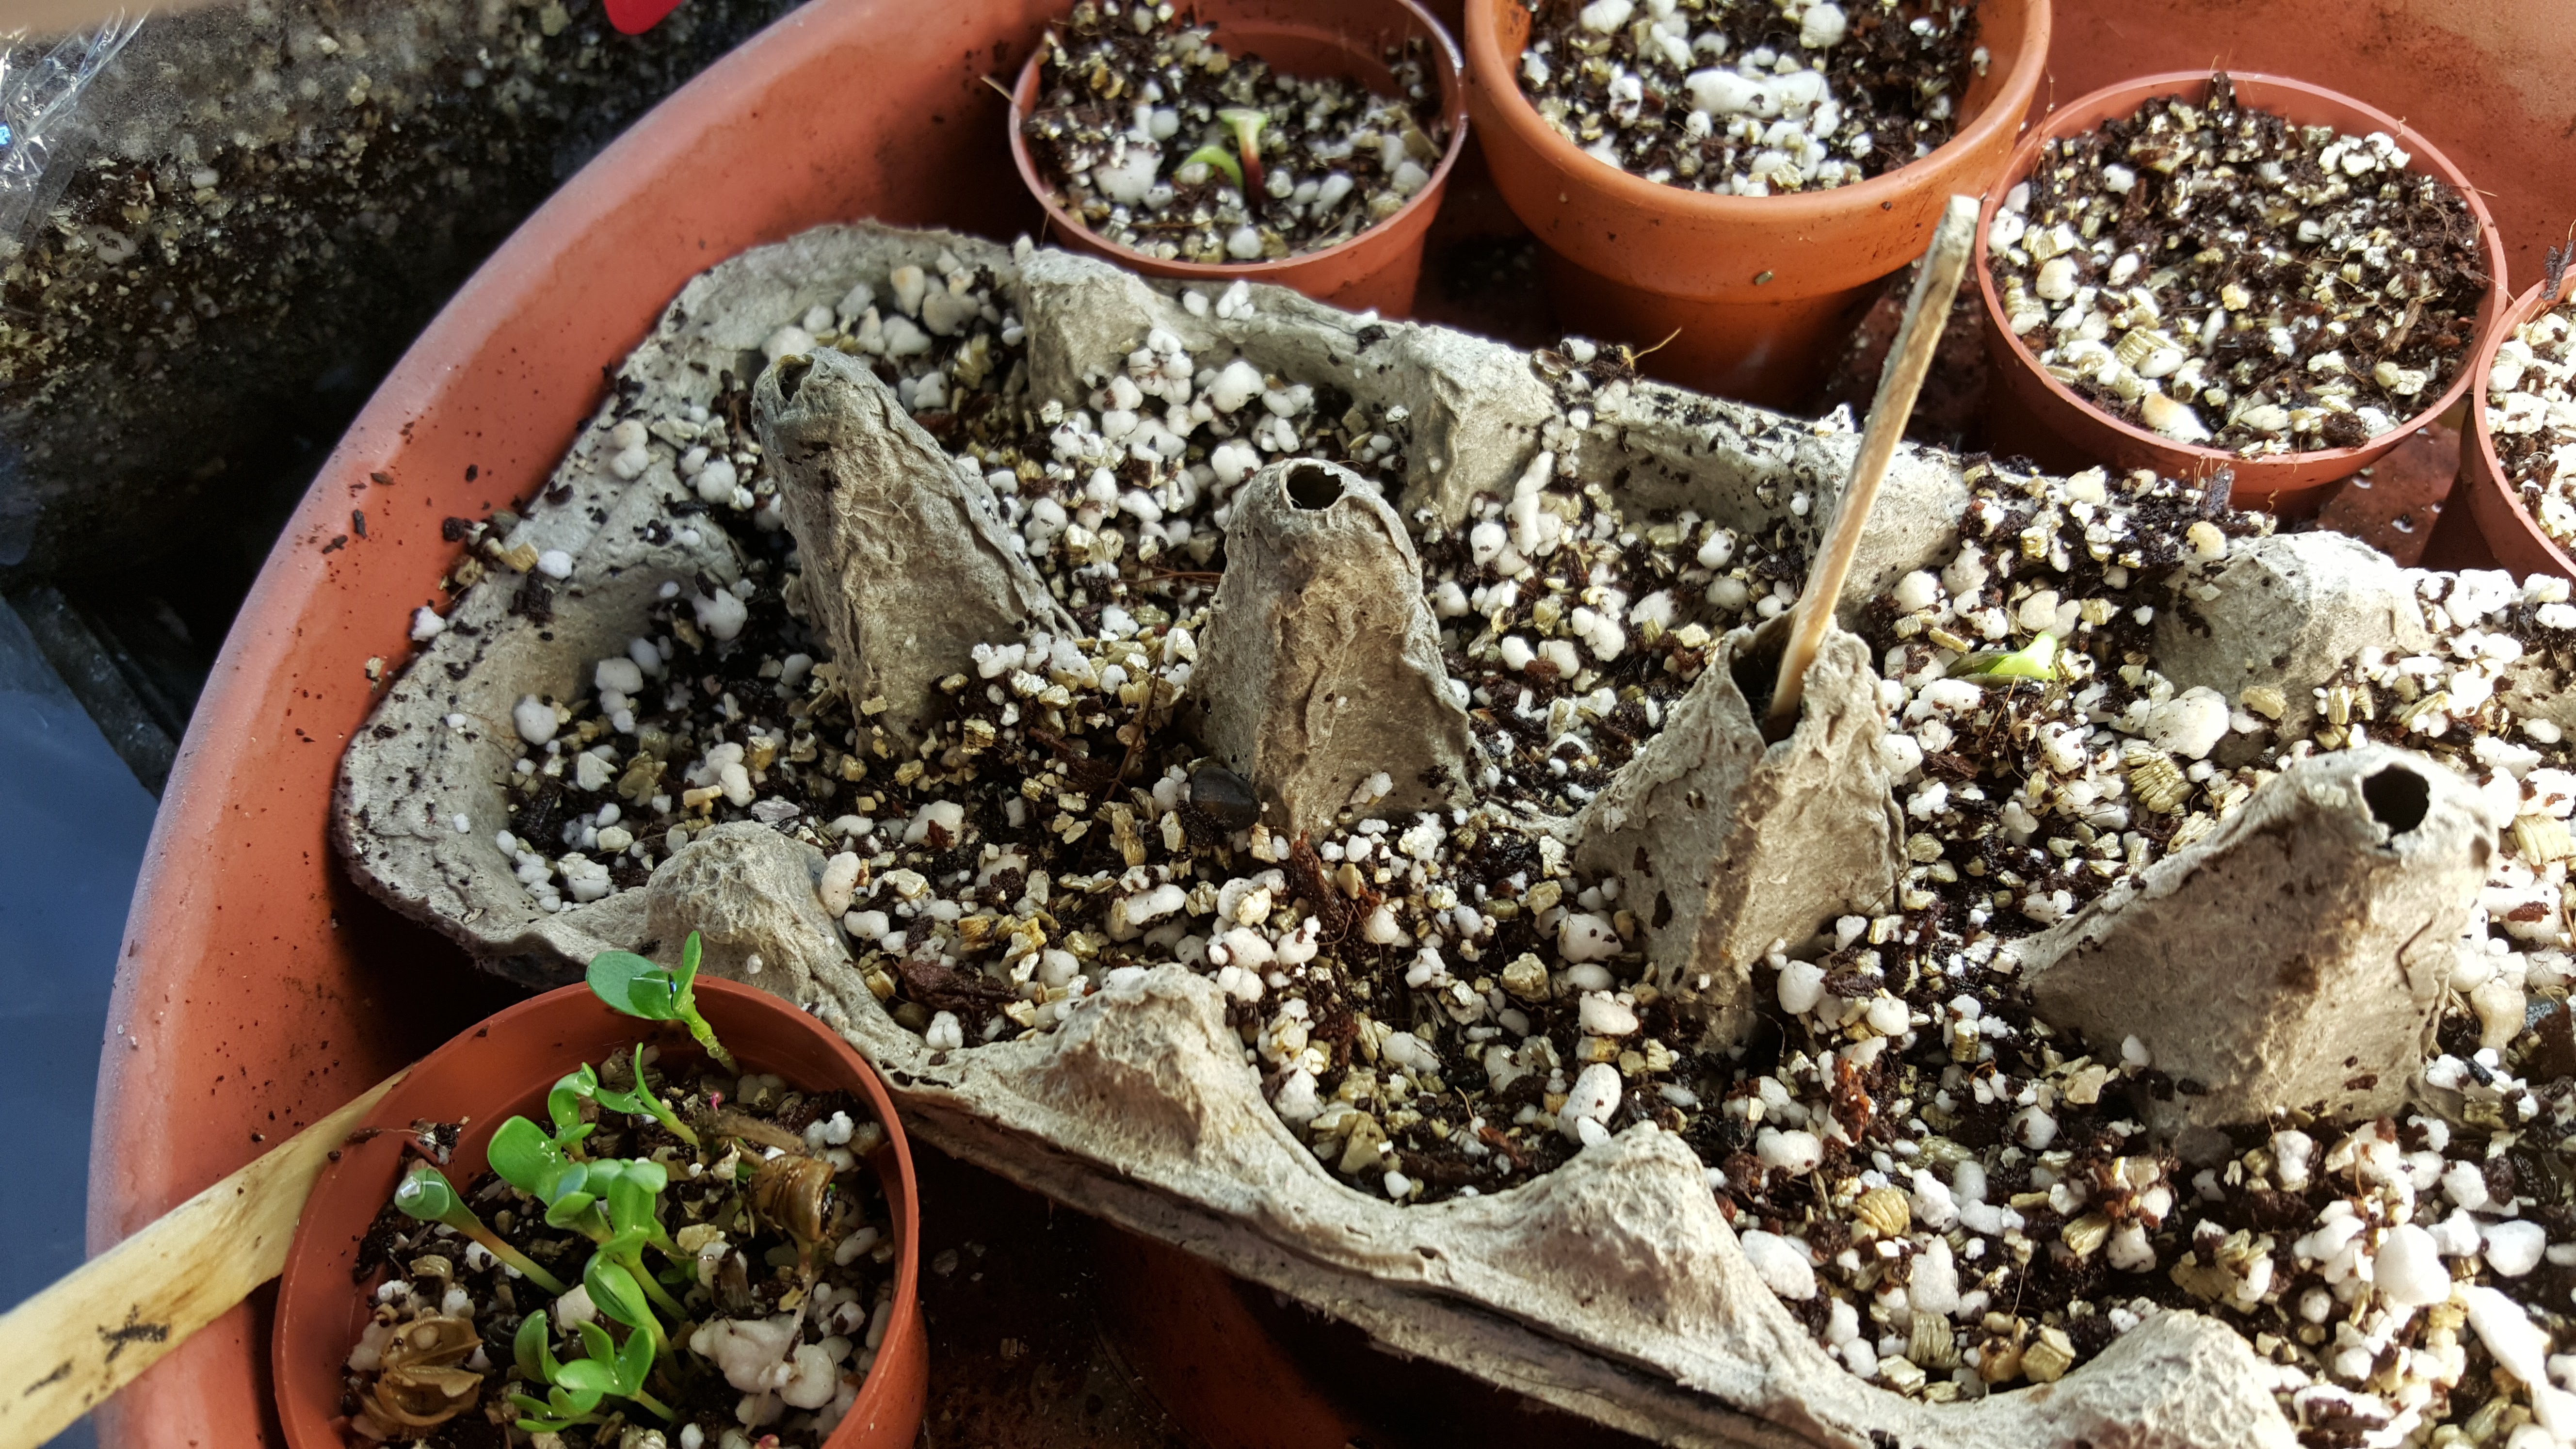
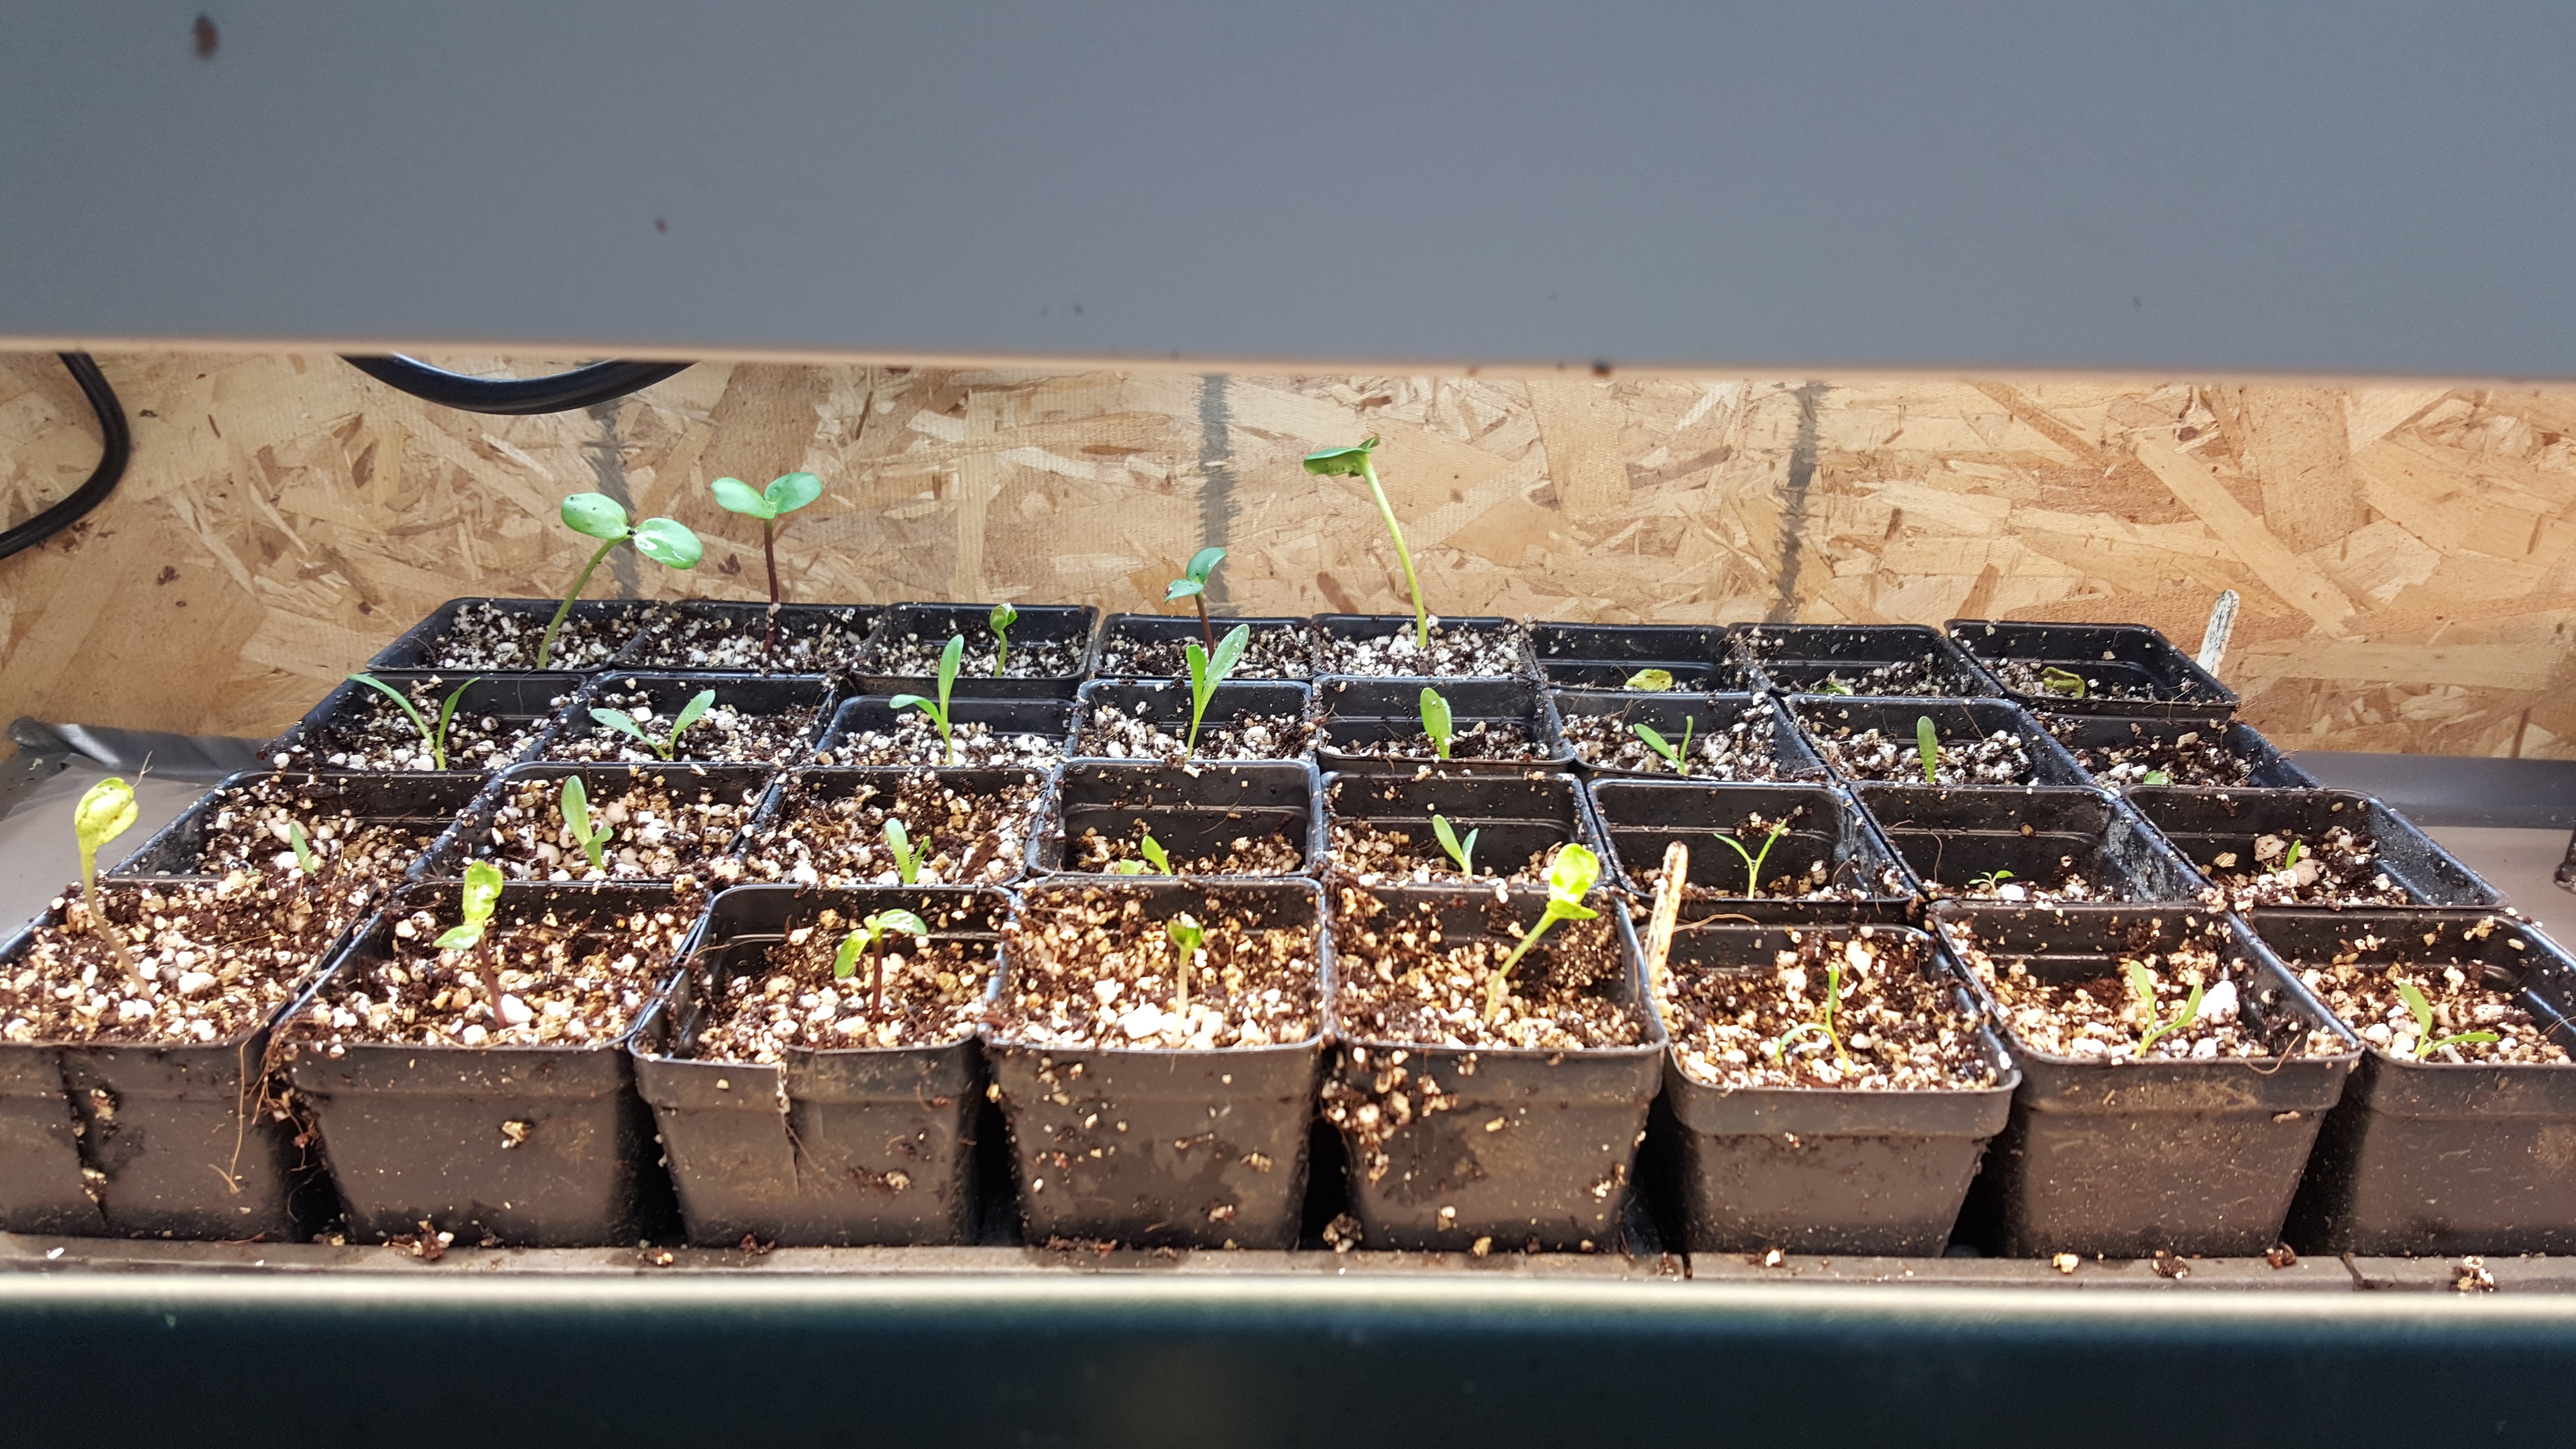
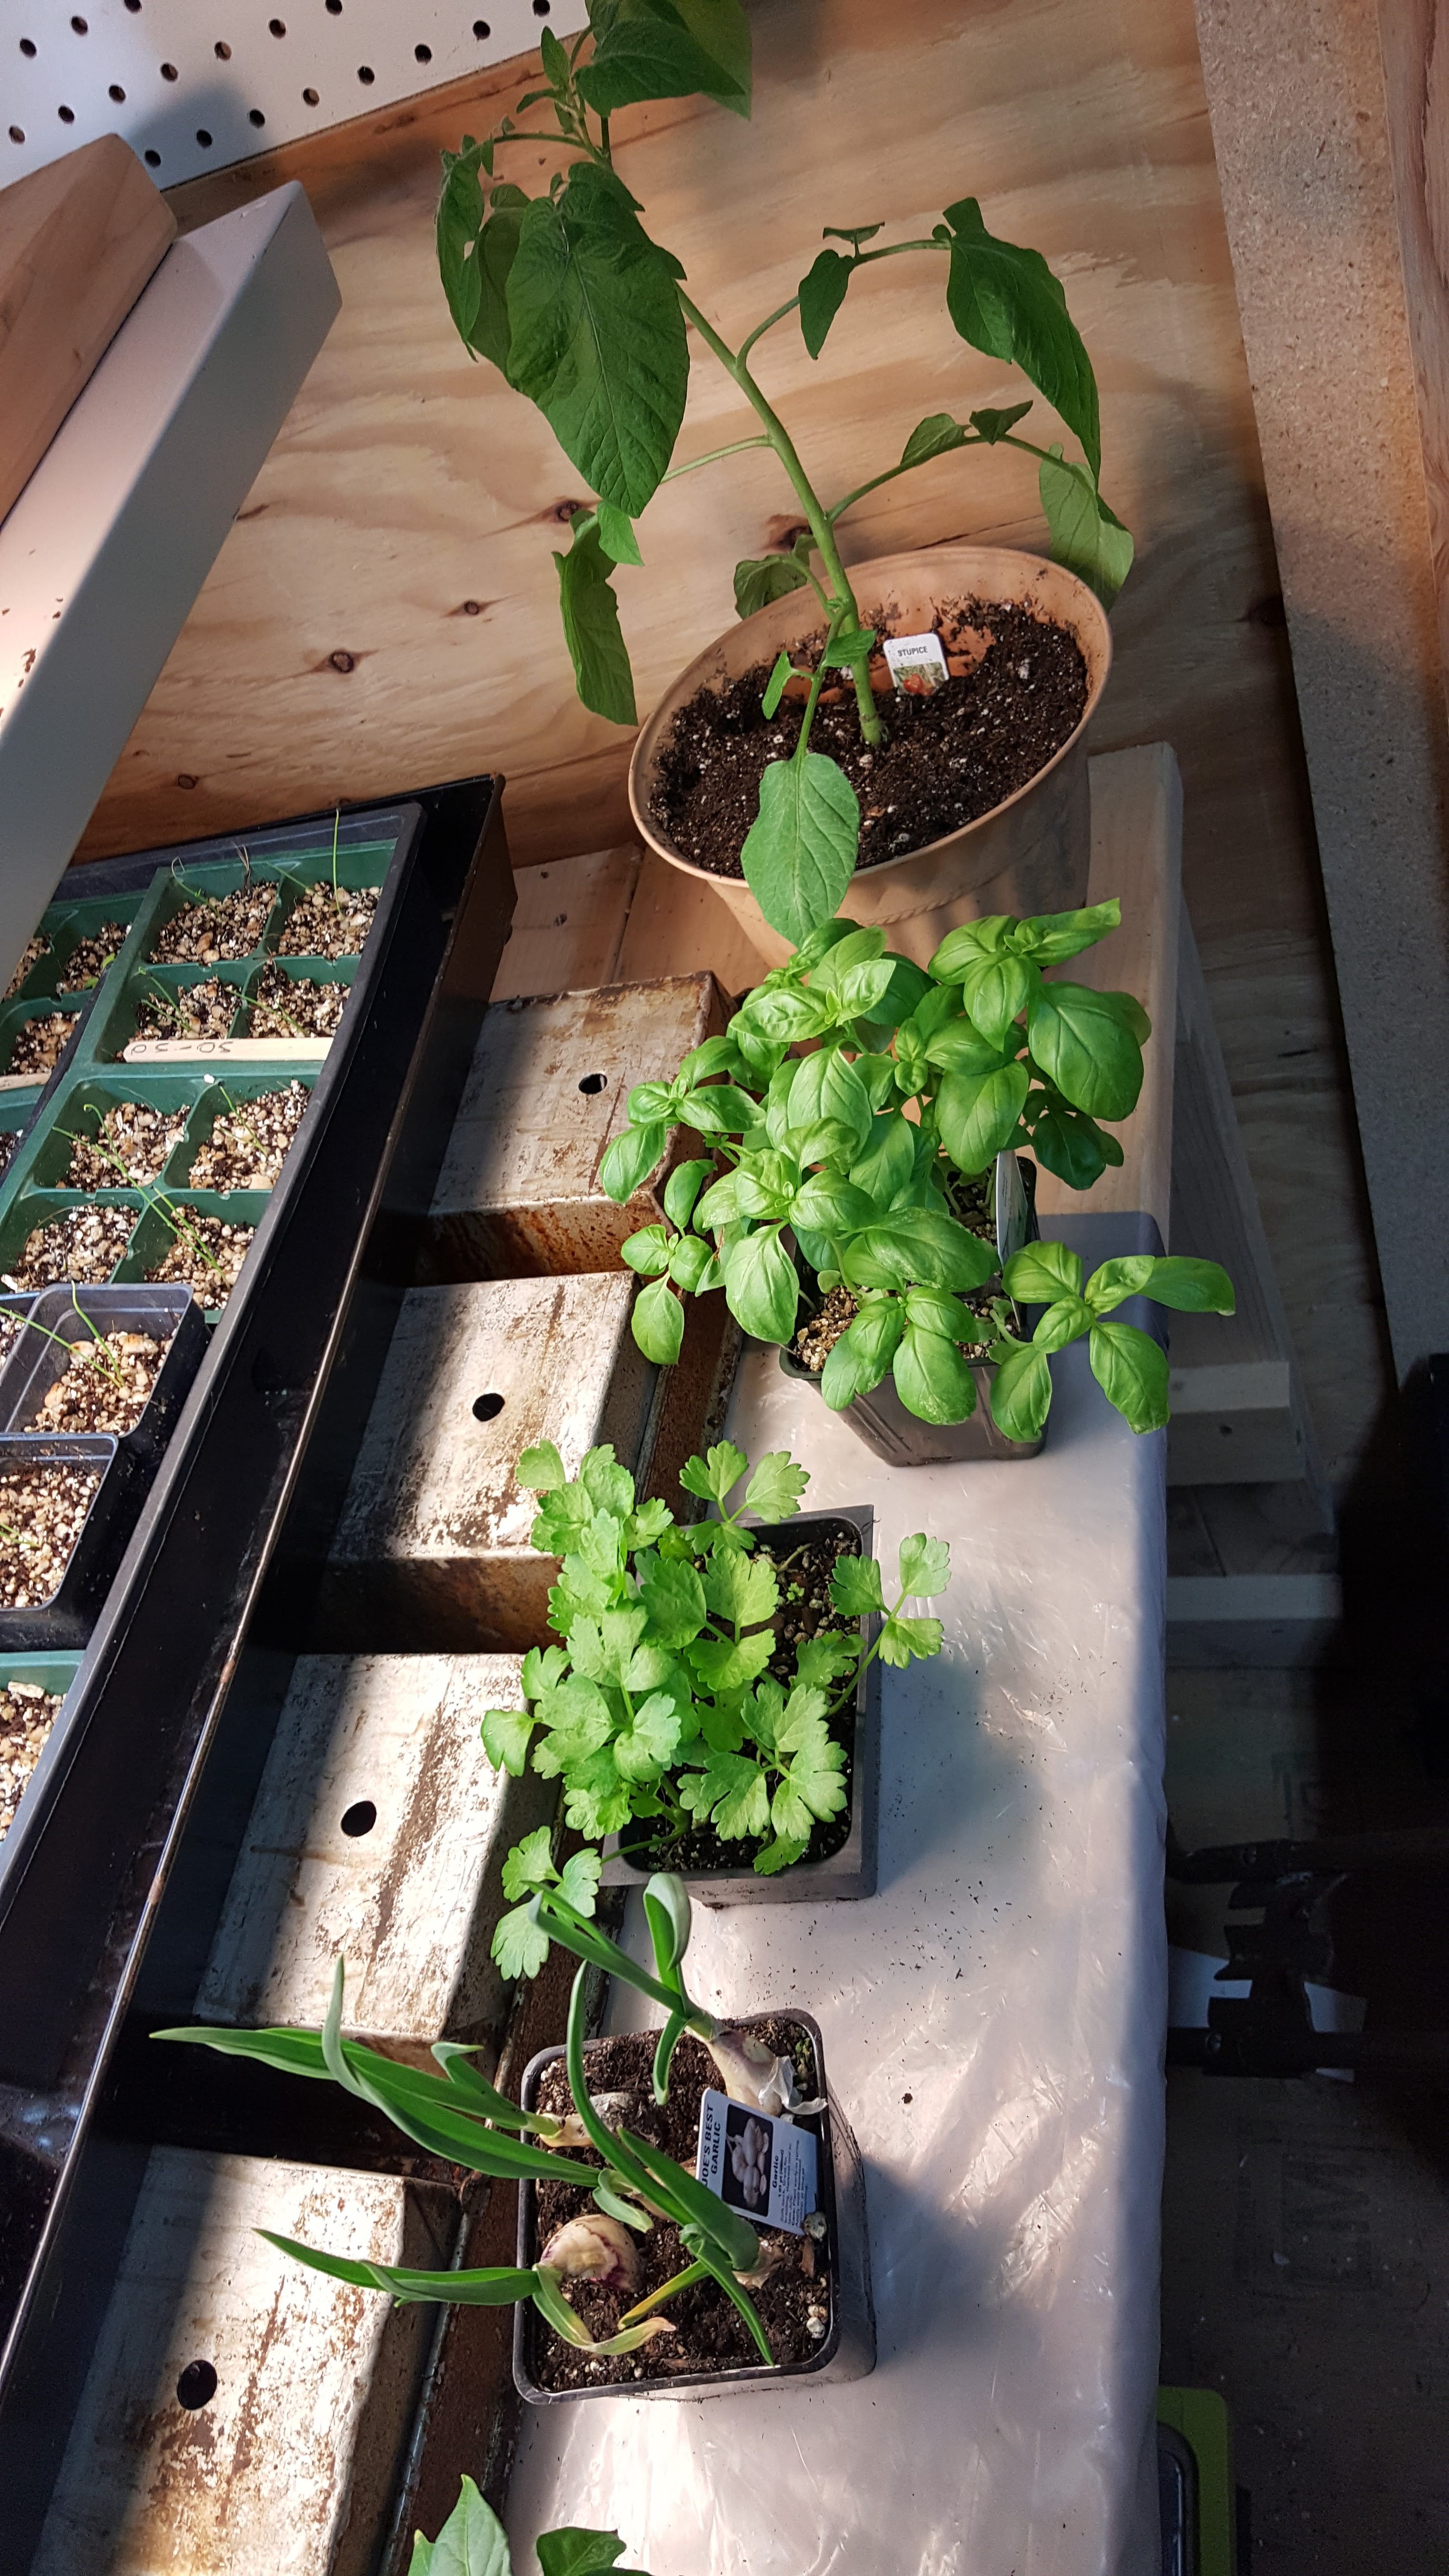
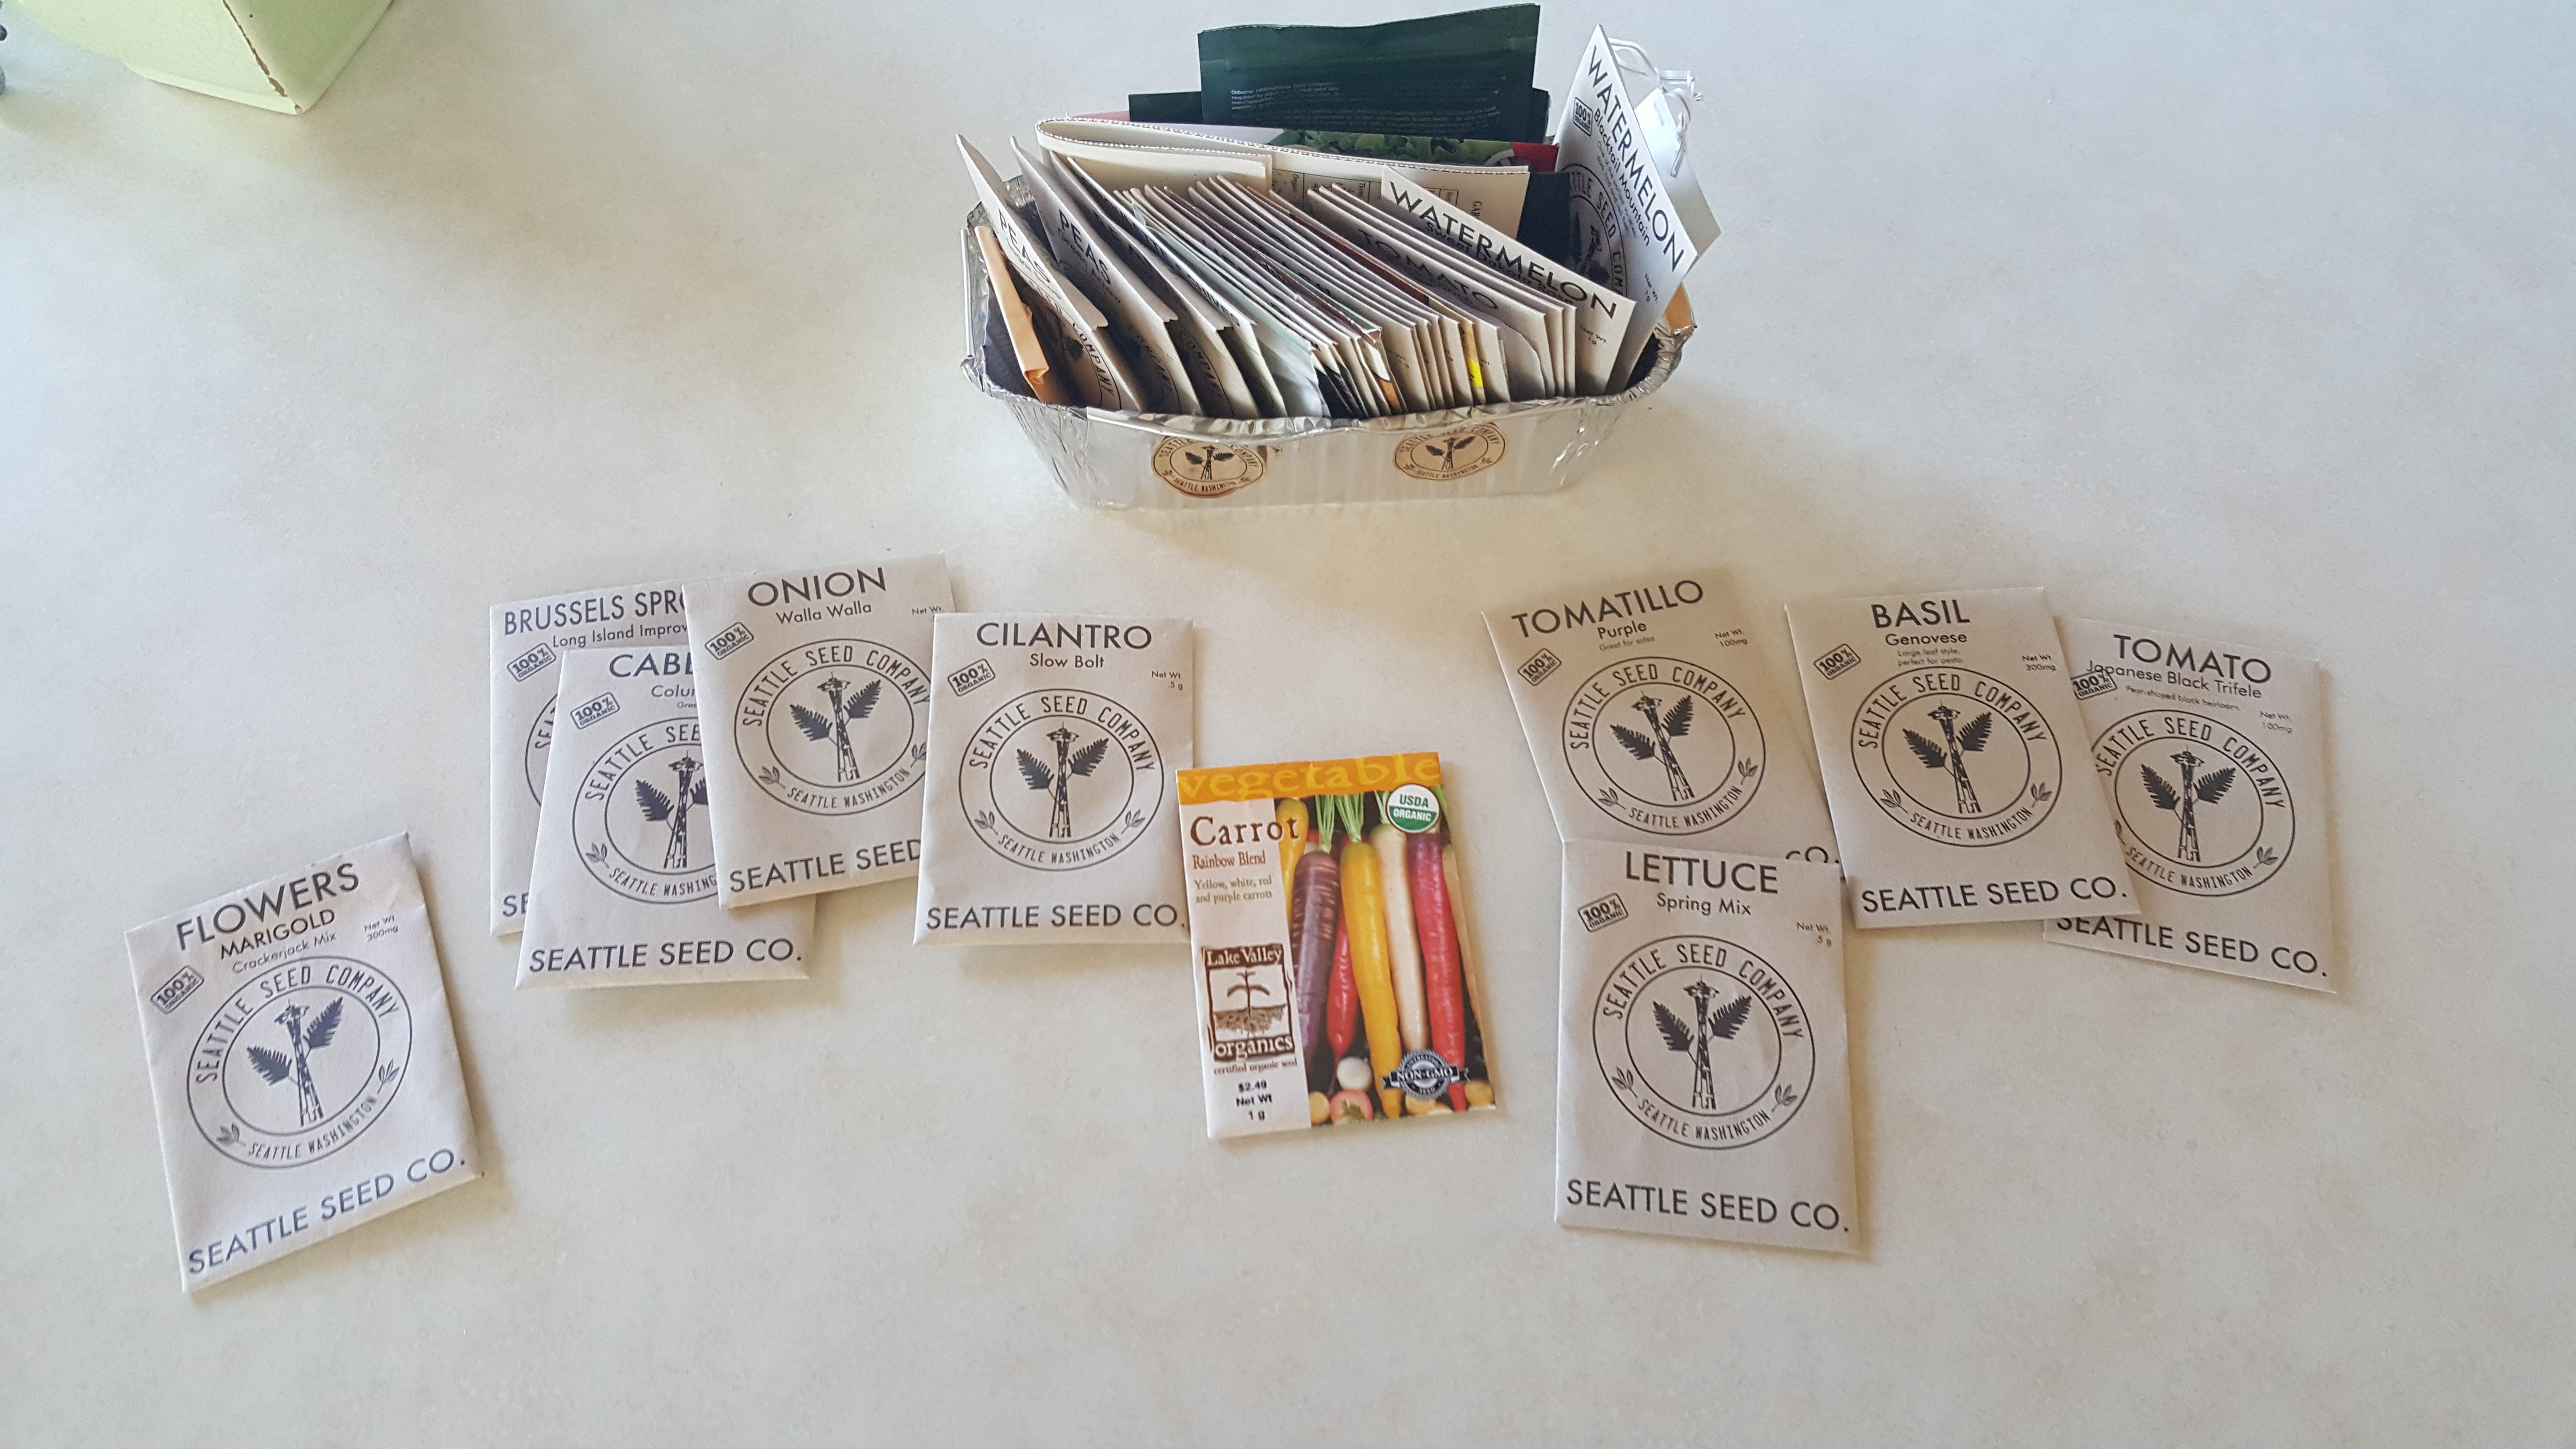
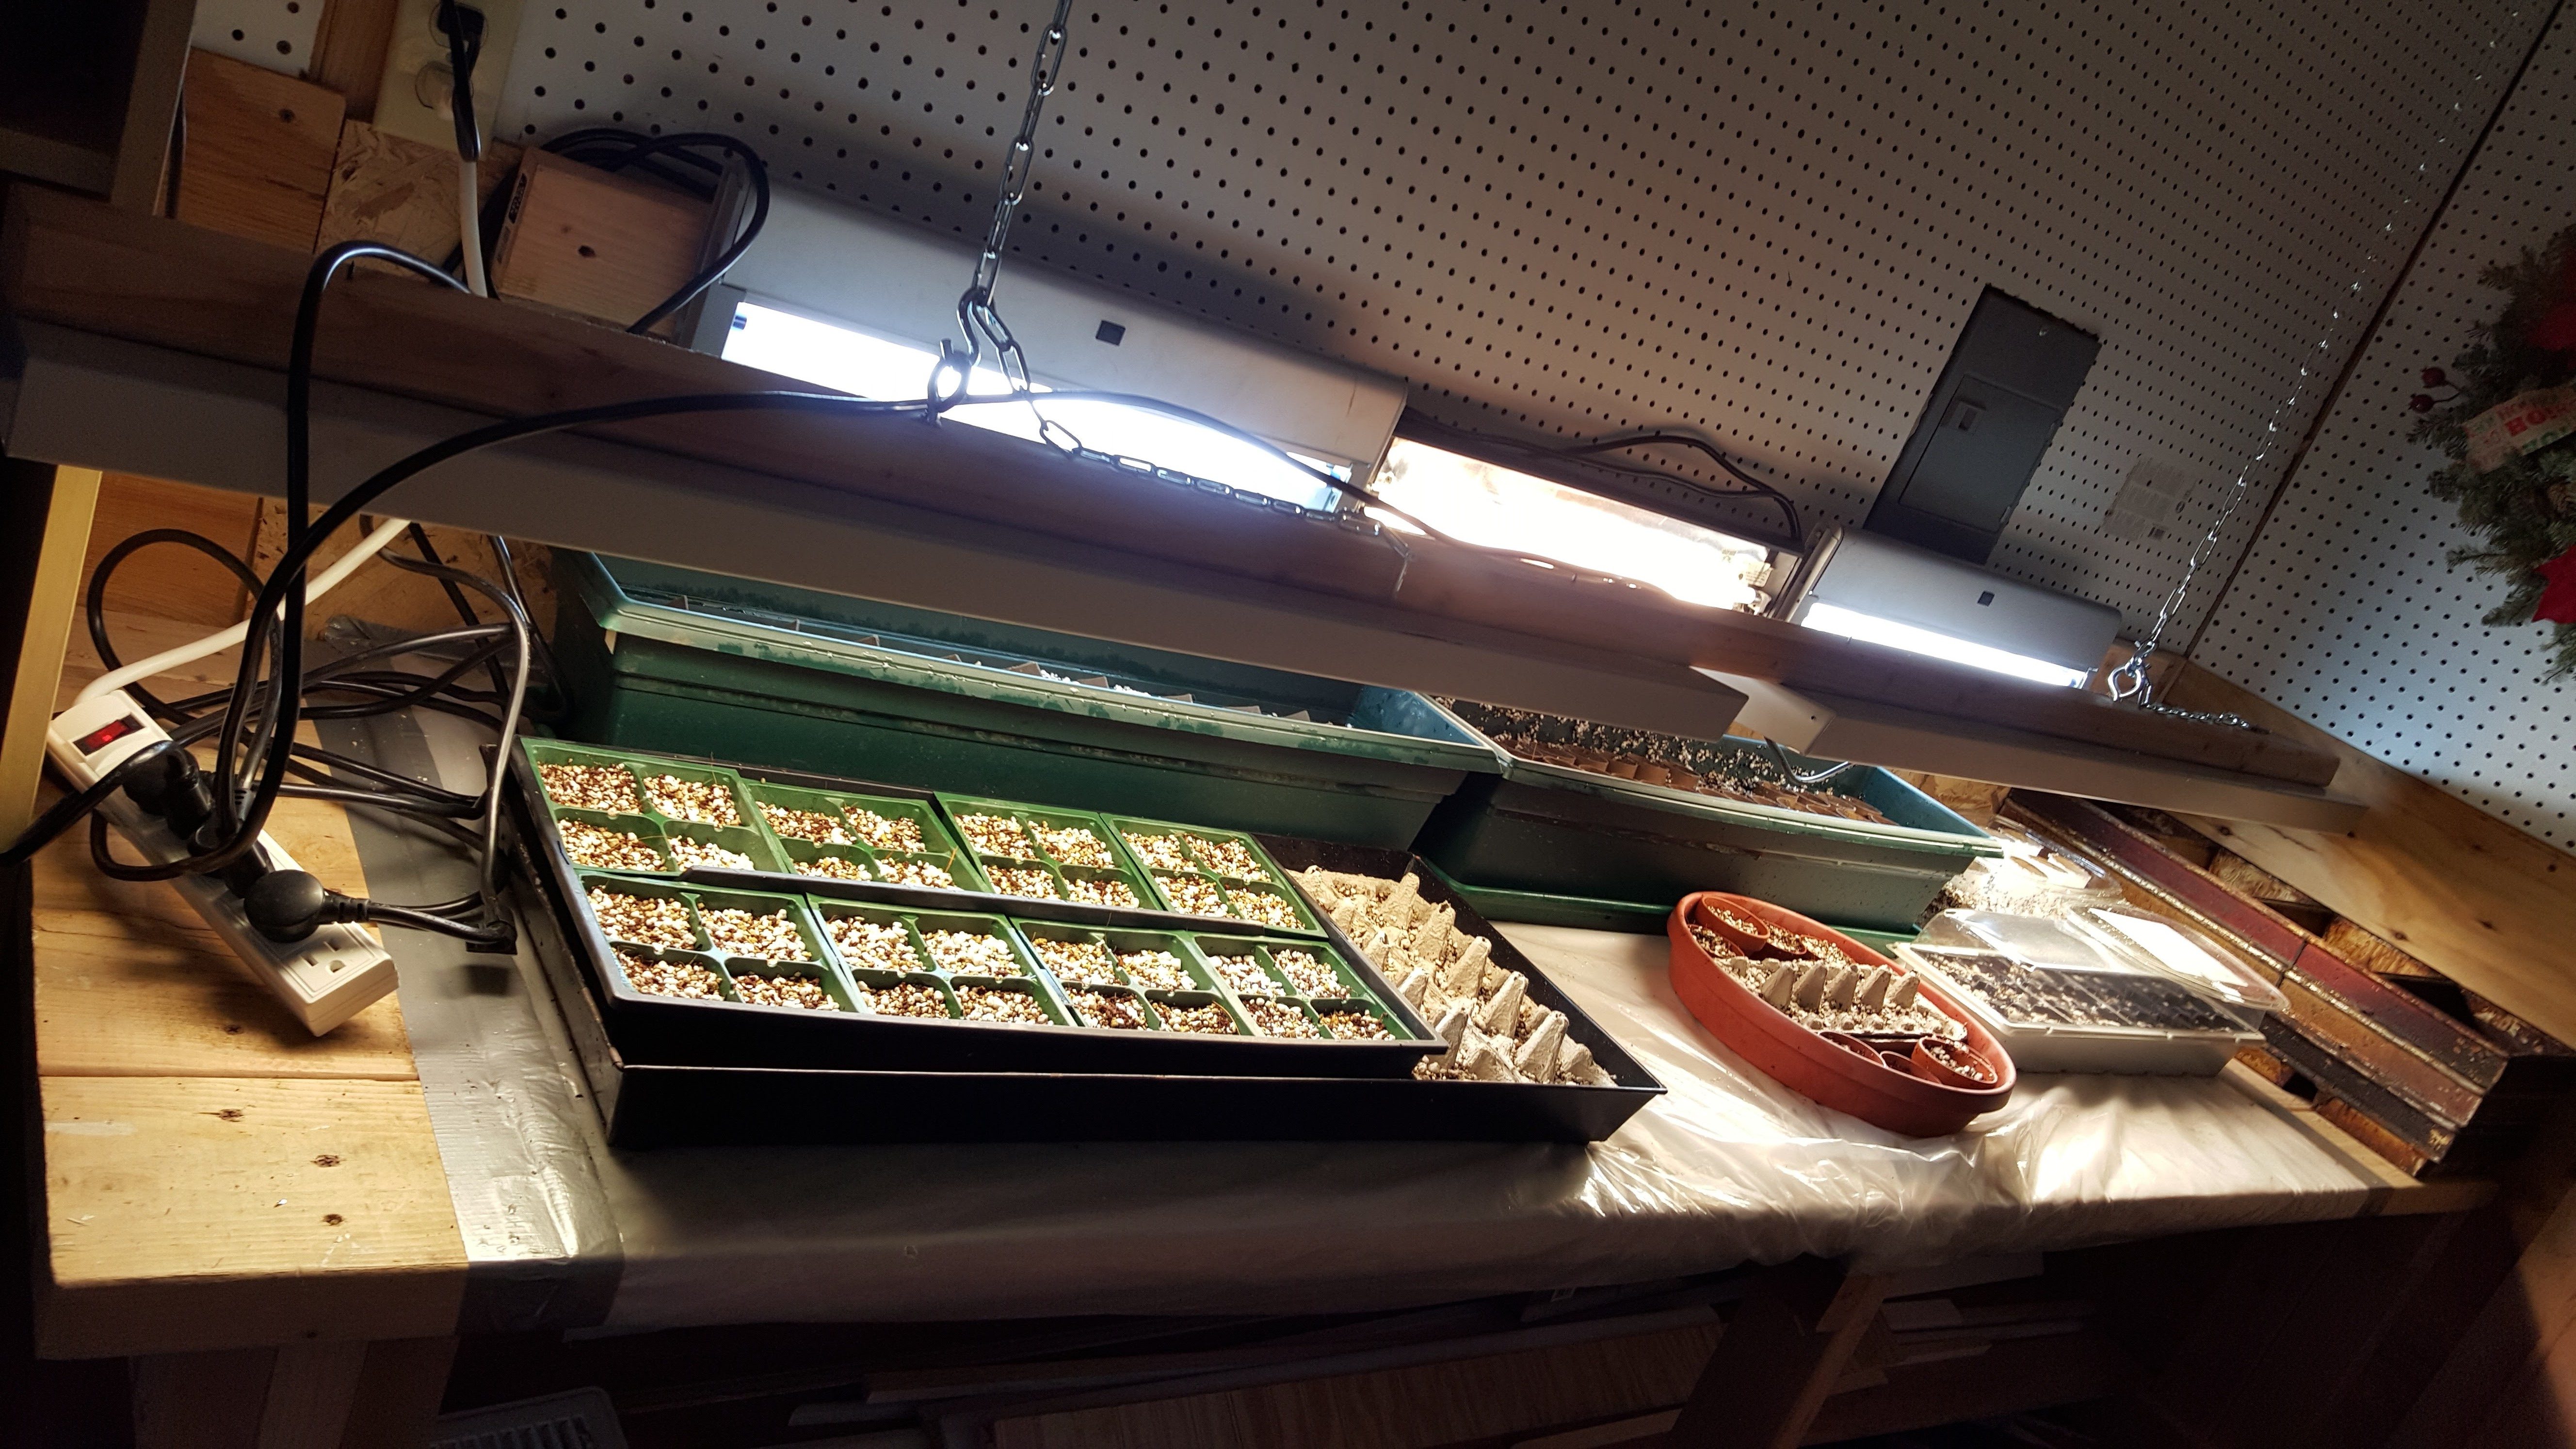
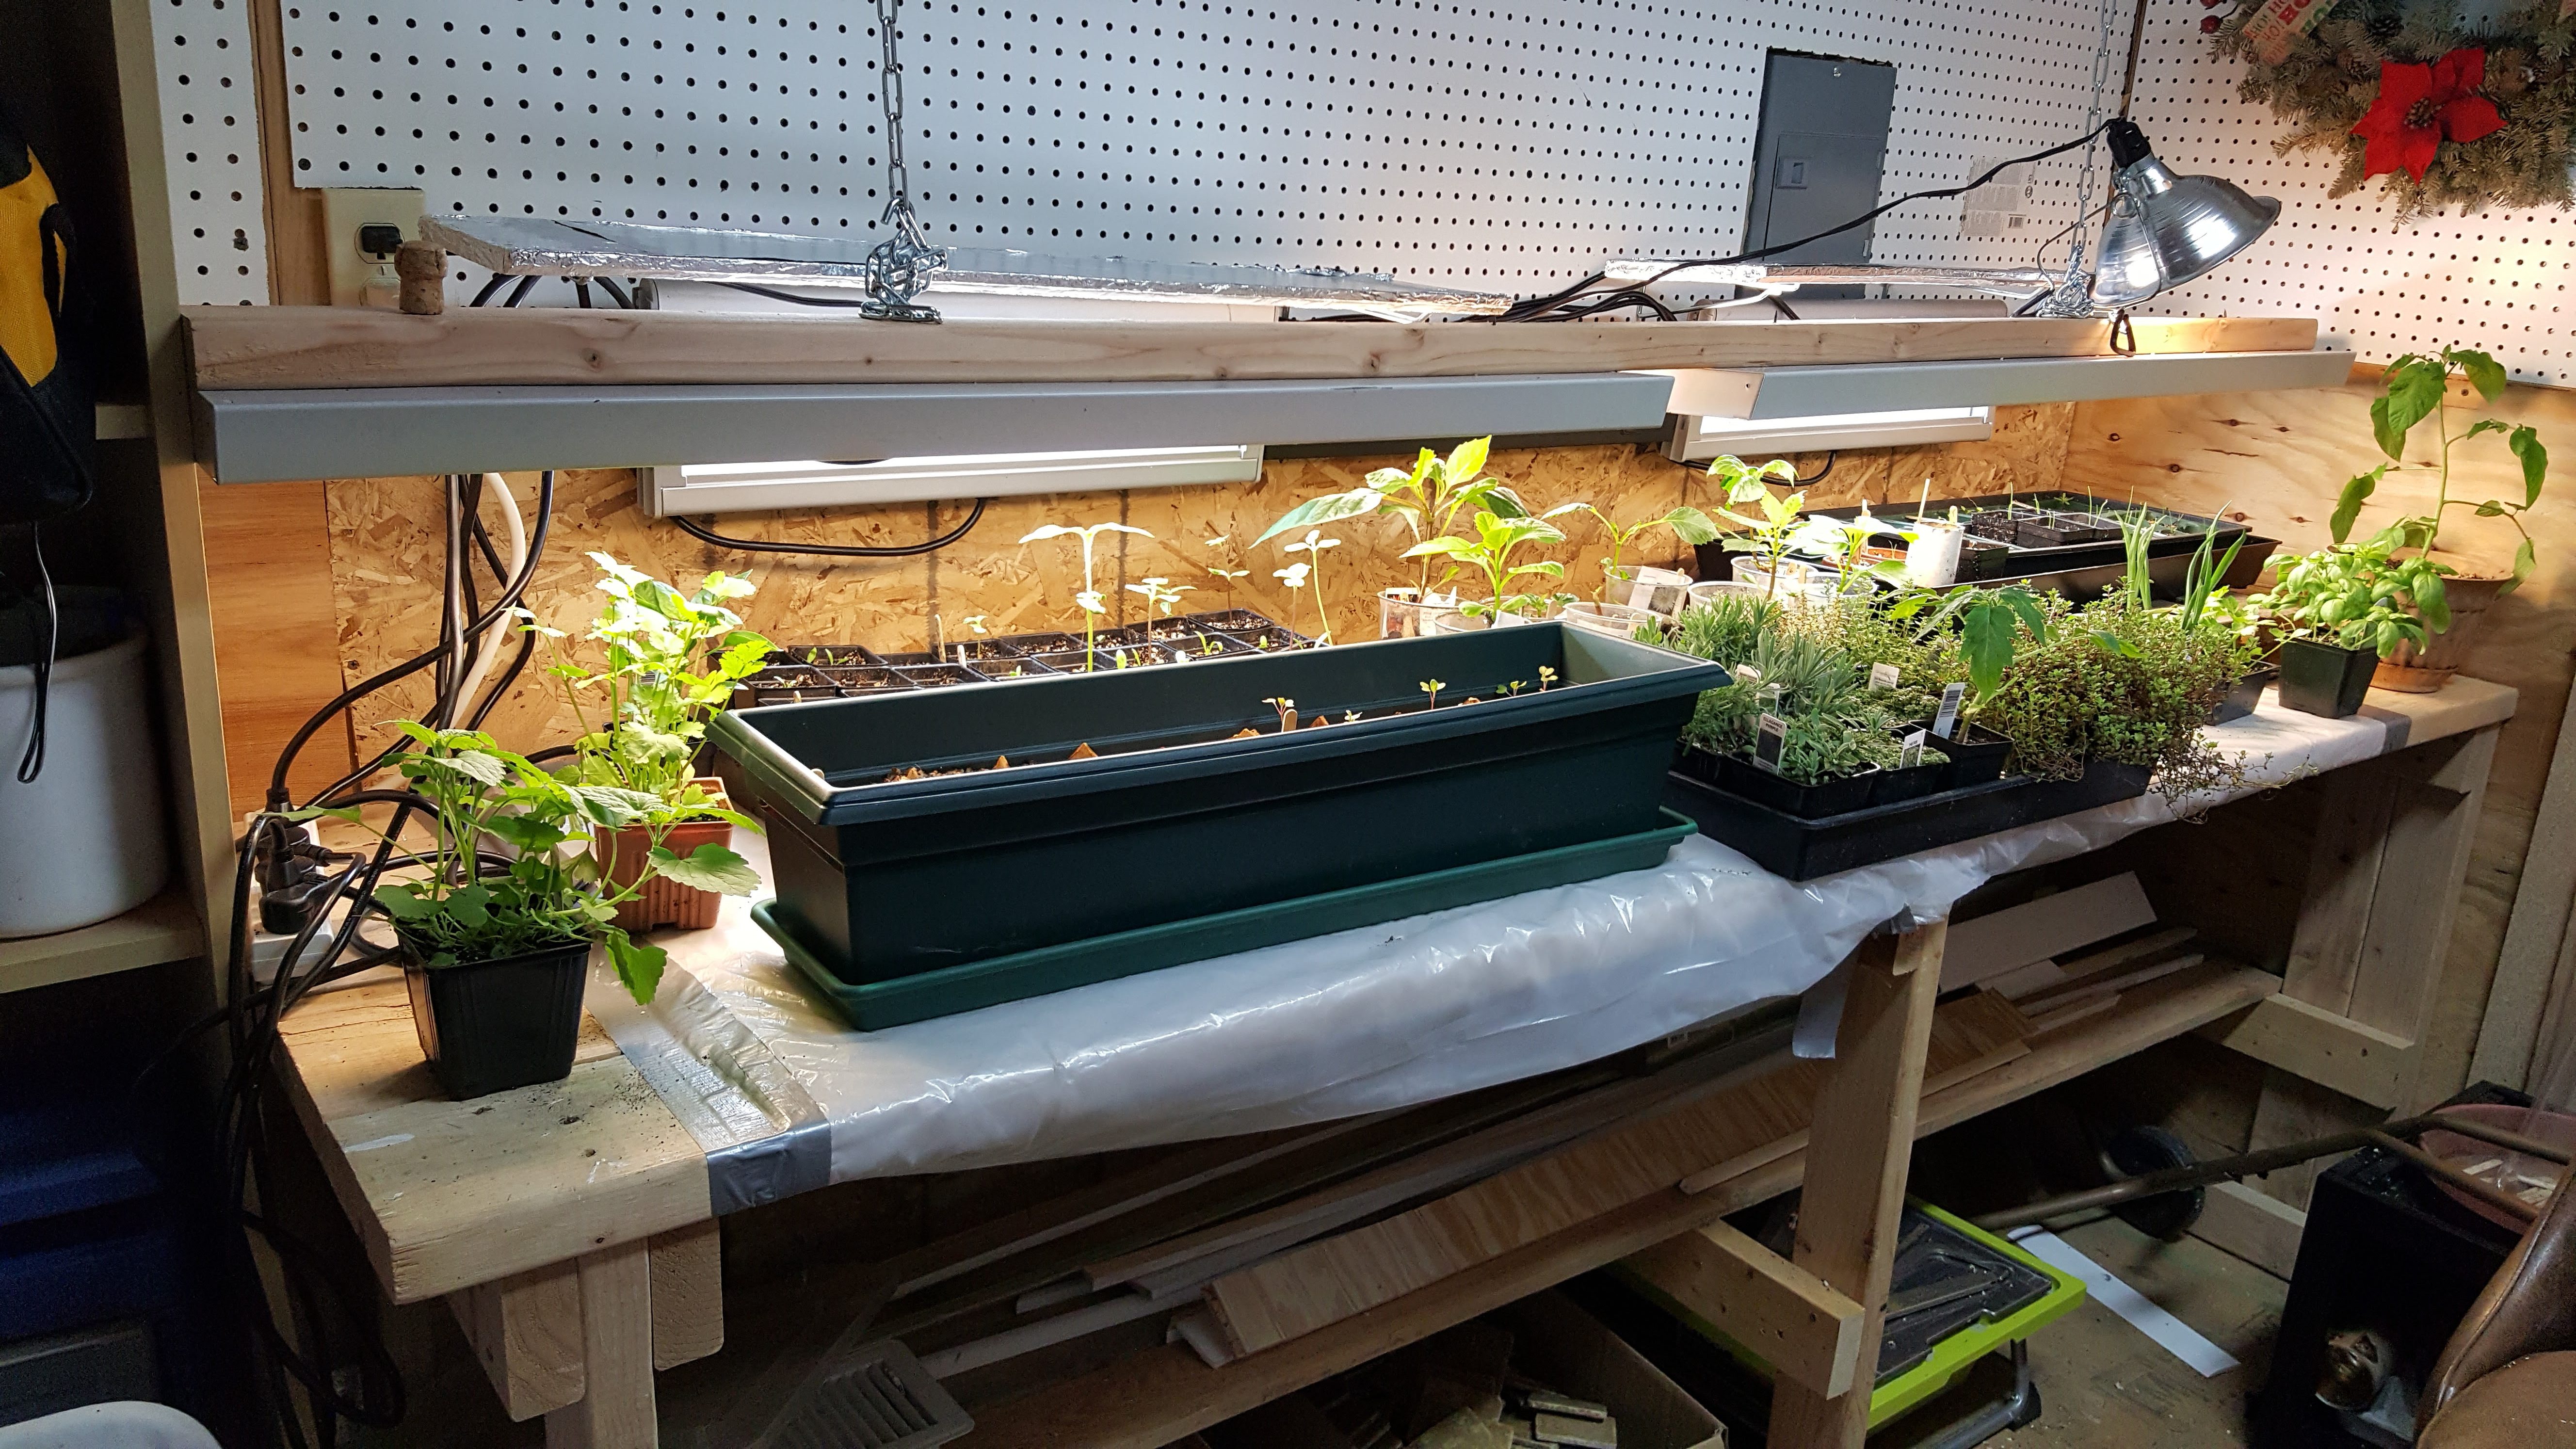
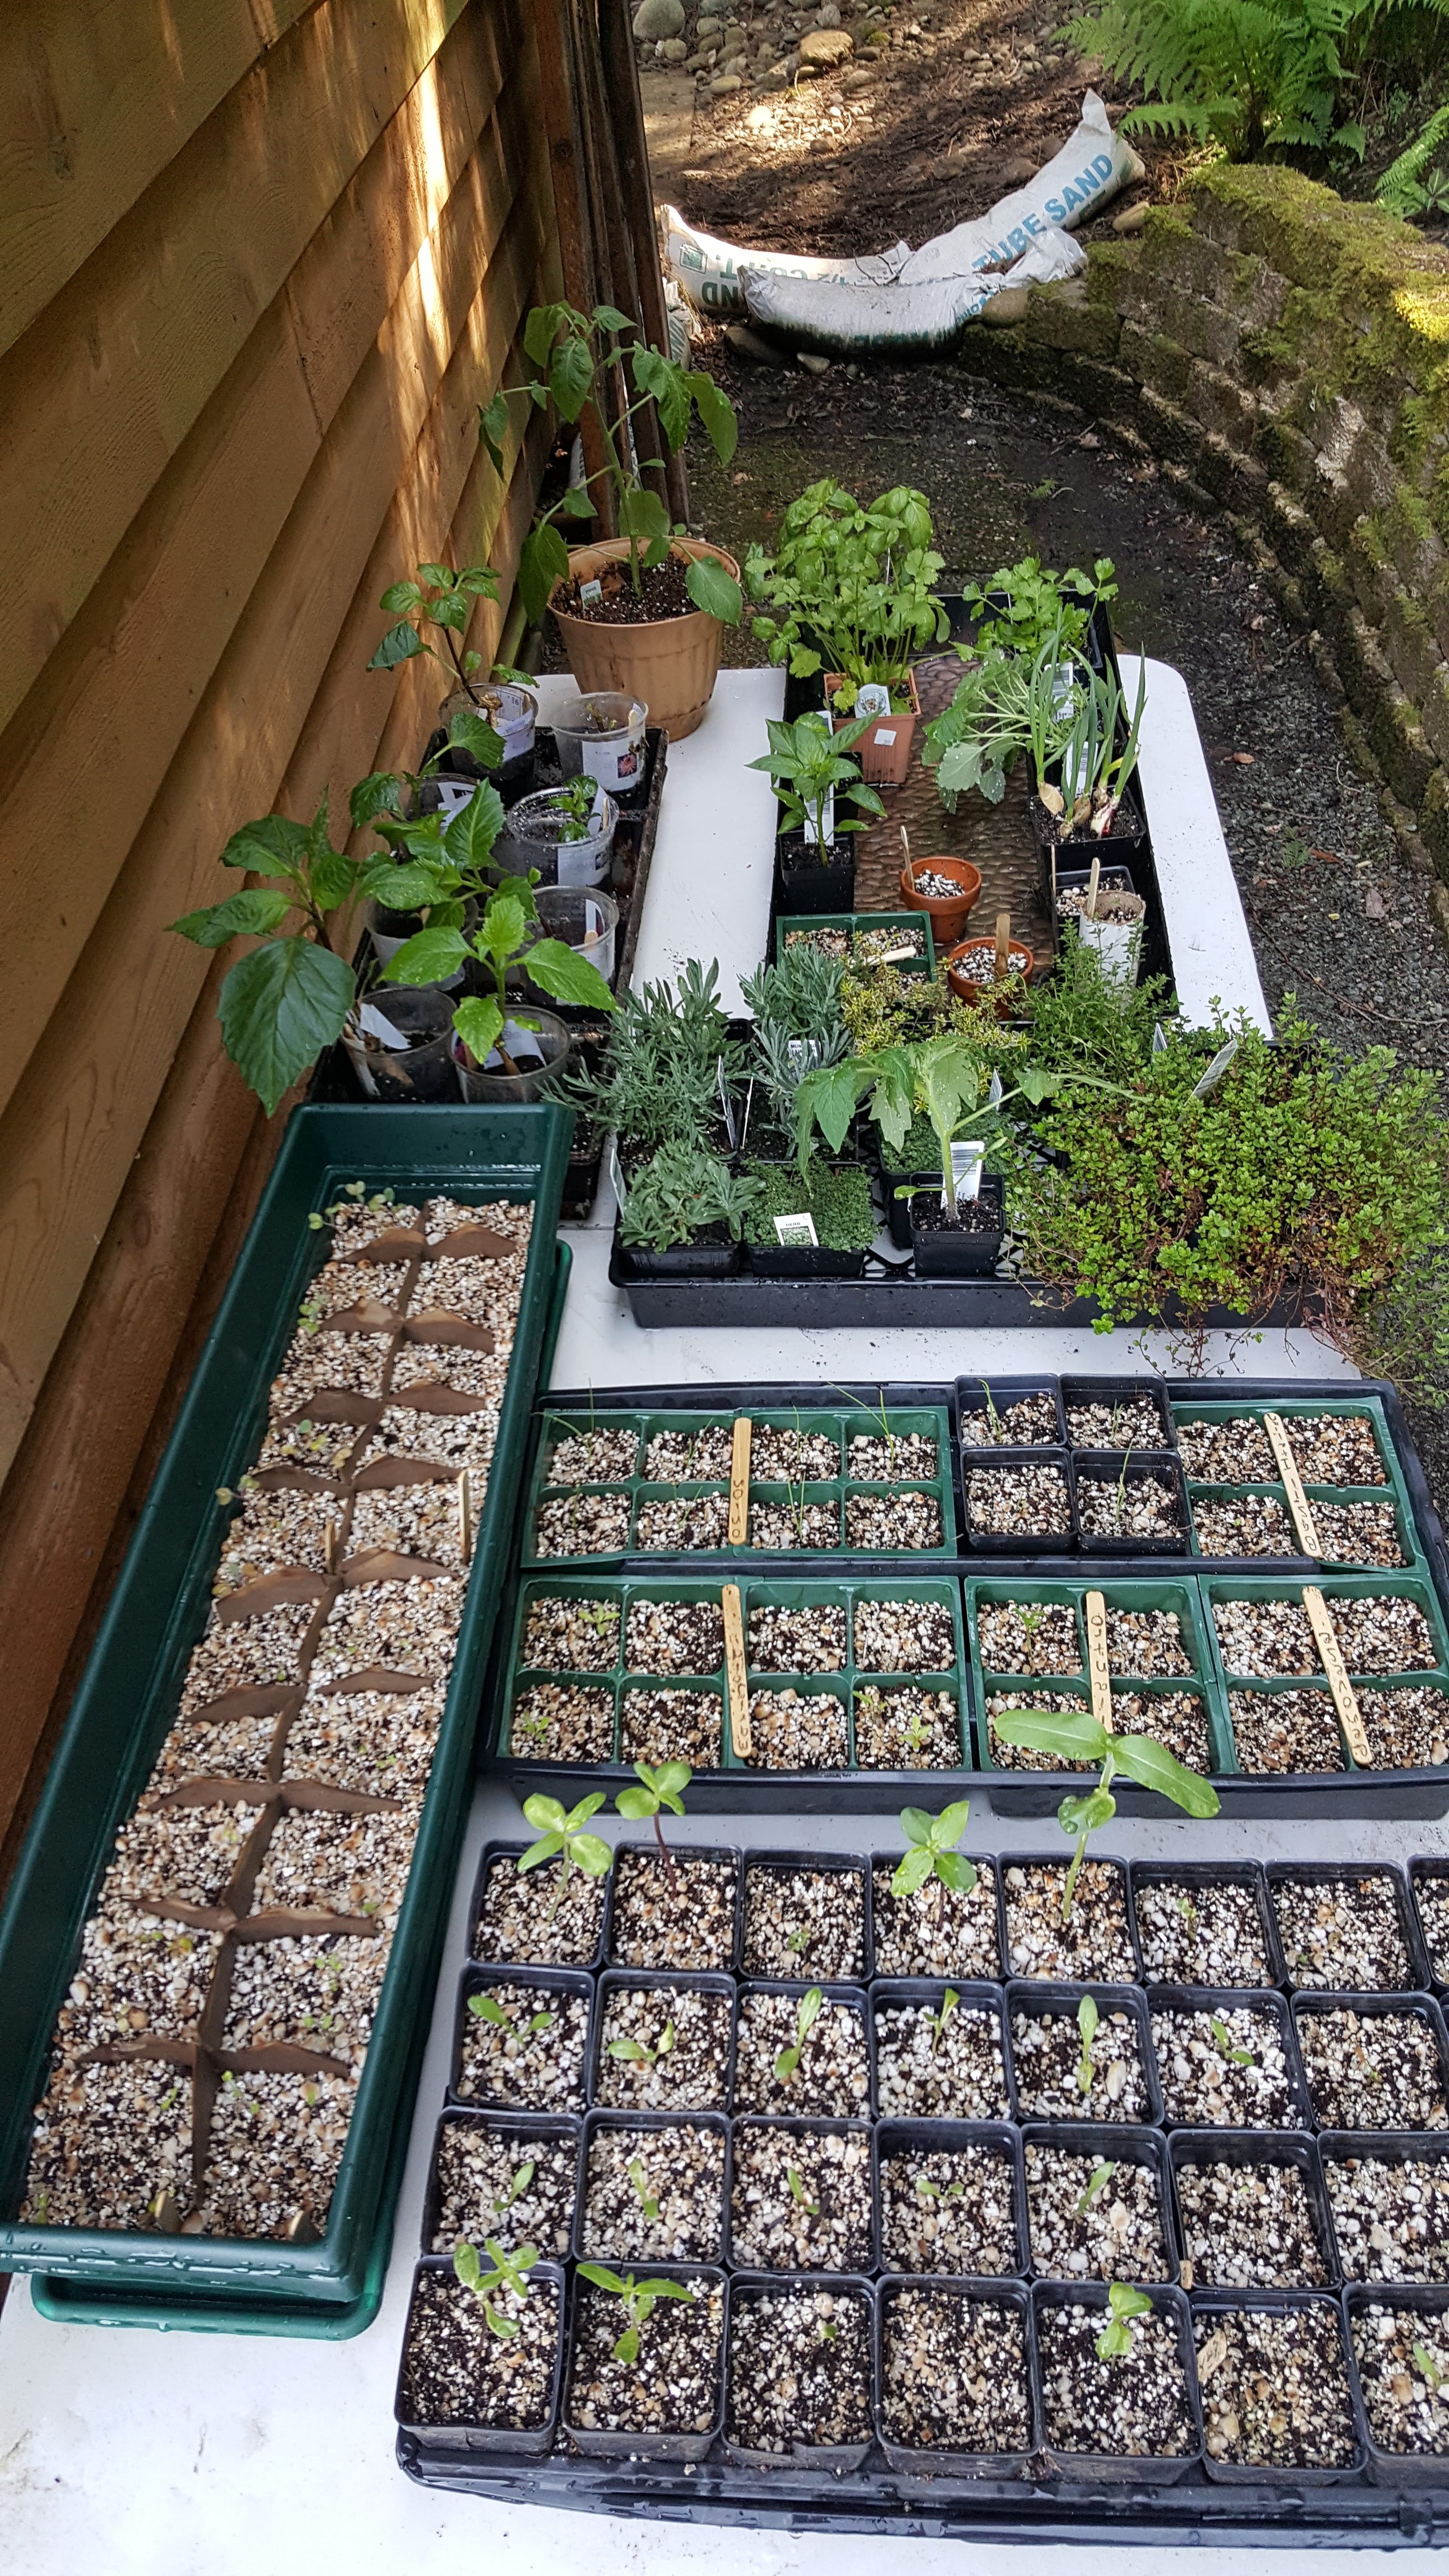
The first project I did when starting “The Garden” was building a place in my shed to hang indoor grow lights. I went to a used furniture store and bought some inexpensive lights to hang up. I replaced the florecent bulbs with the right type for growing. I also saved some toilet paper rolls and egg cartons to grow starts from seeds. I ordered seeds from a couple local seed growers and away I went with project one of zillion DONE 🙂
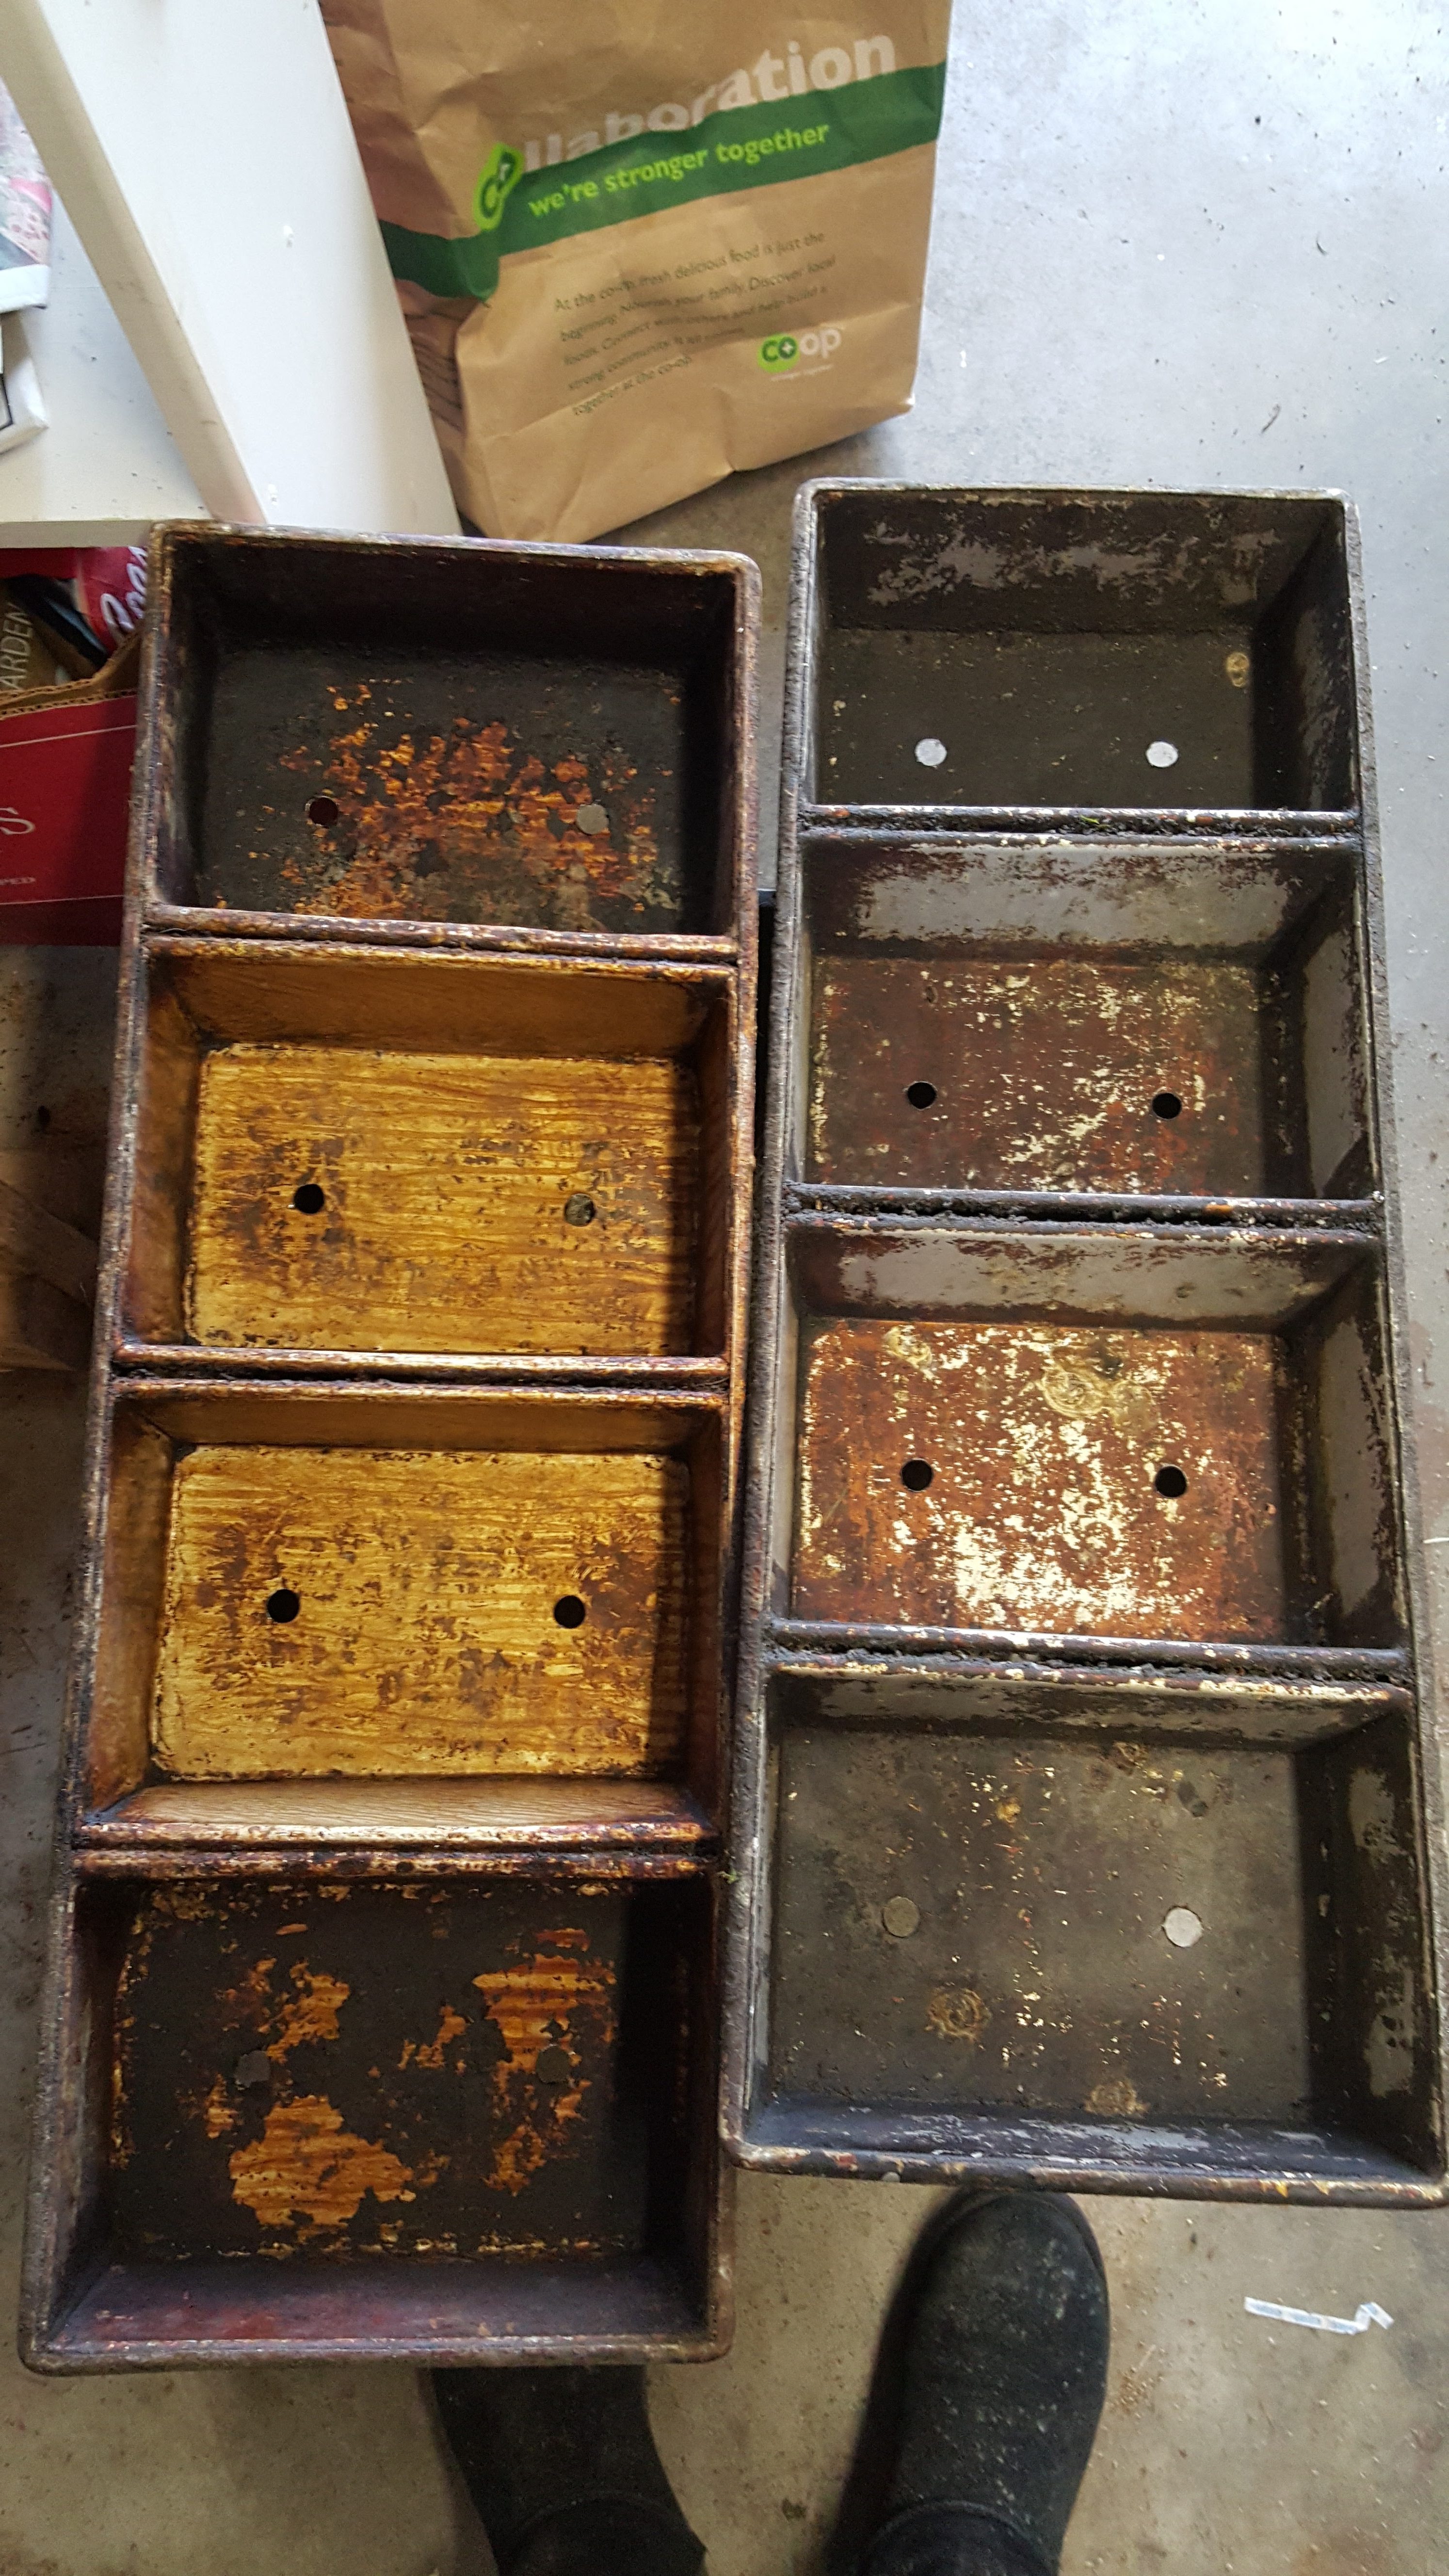
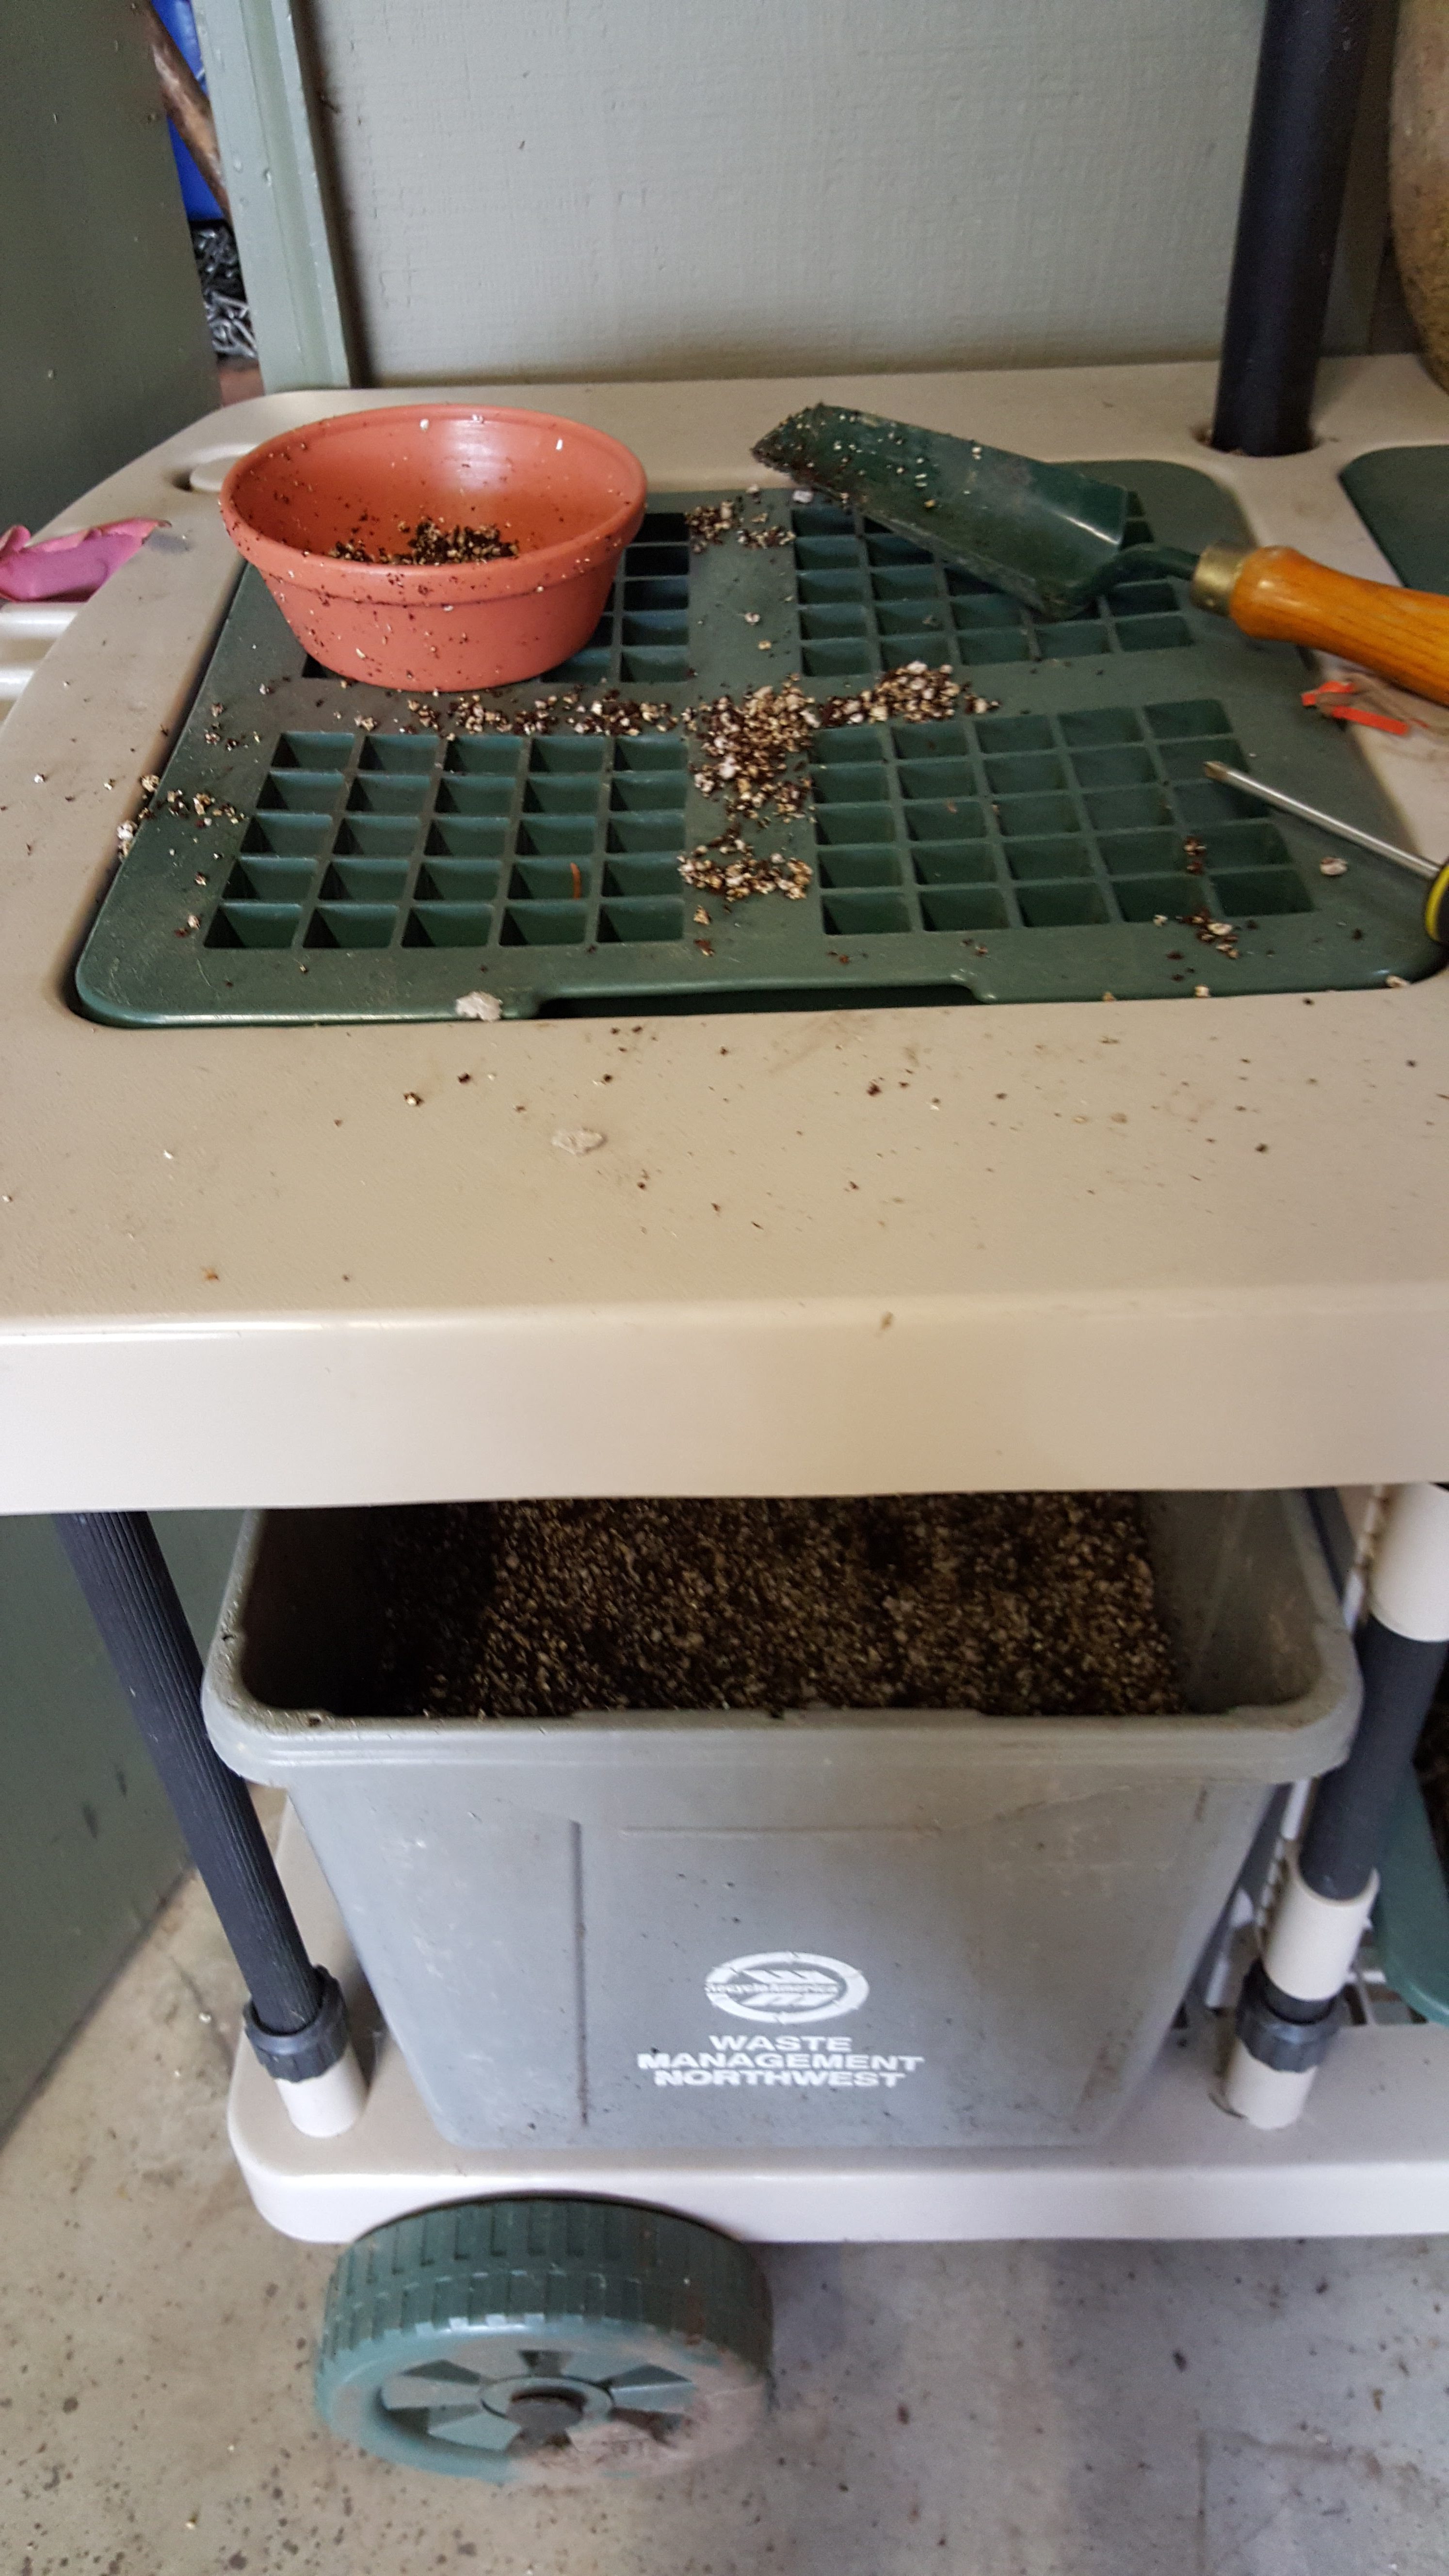
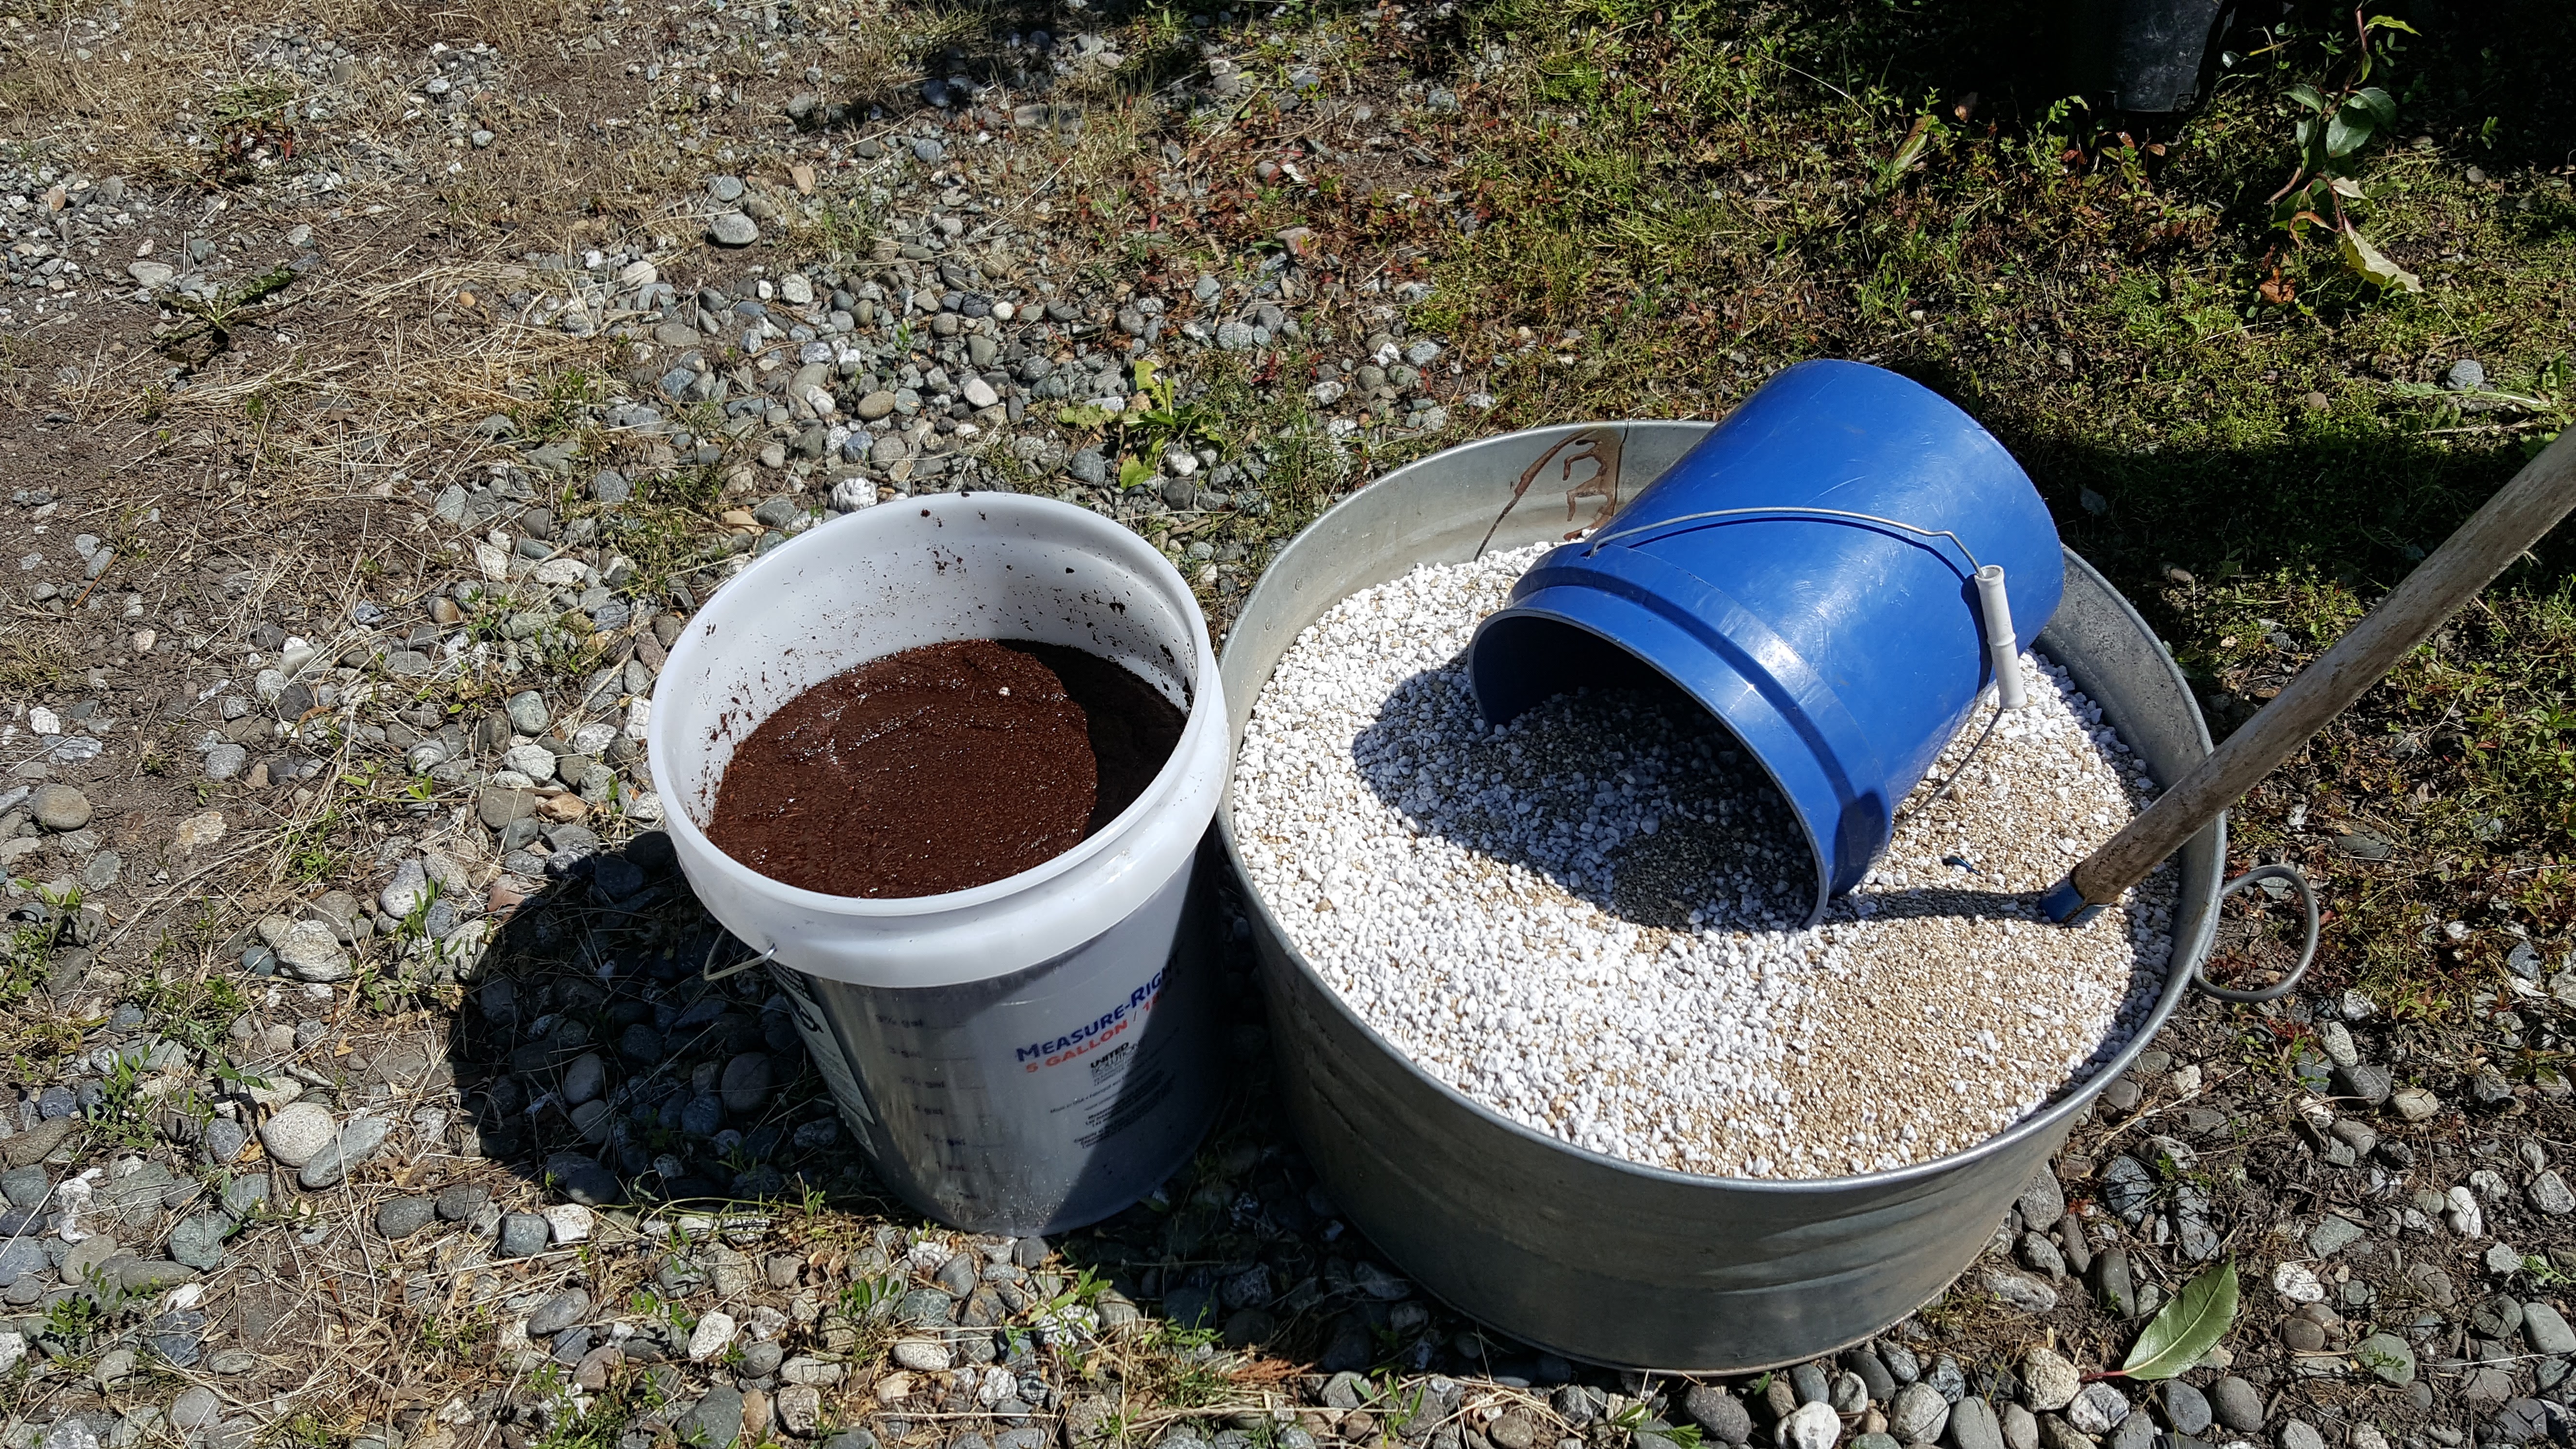
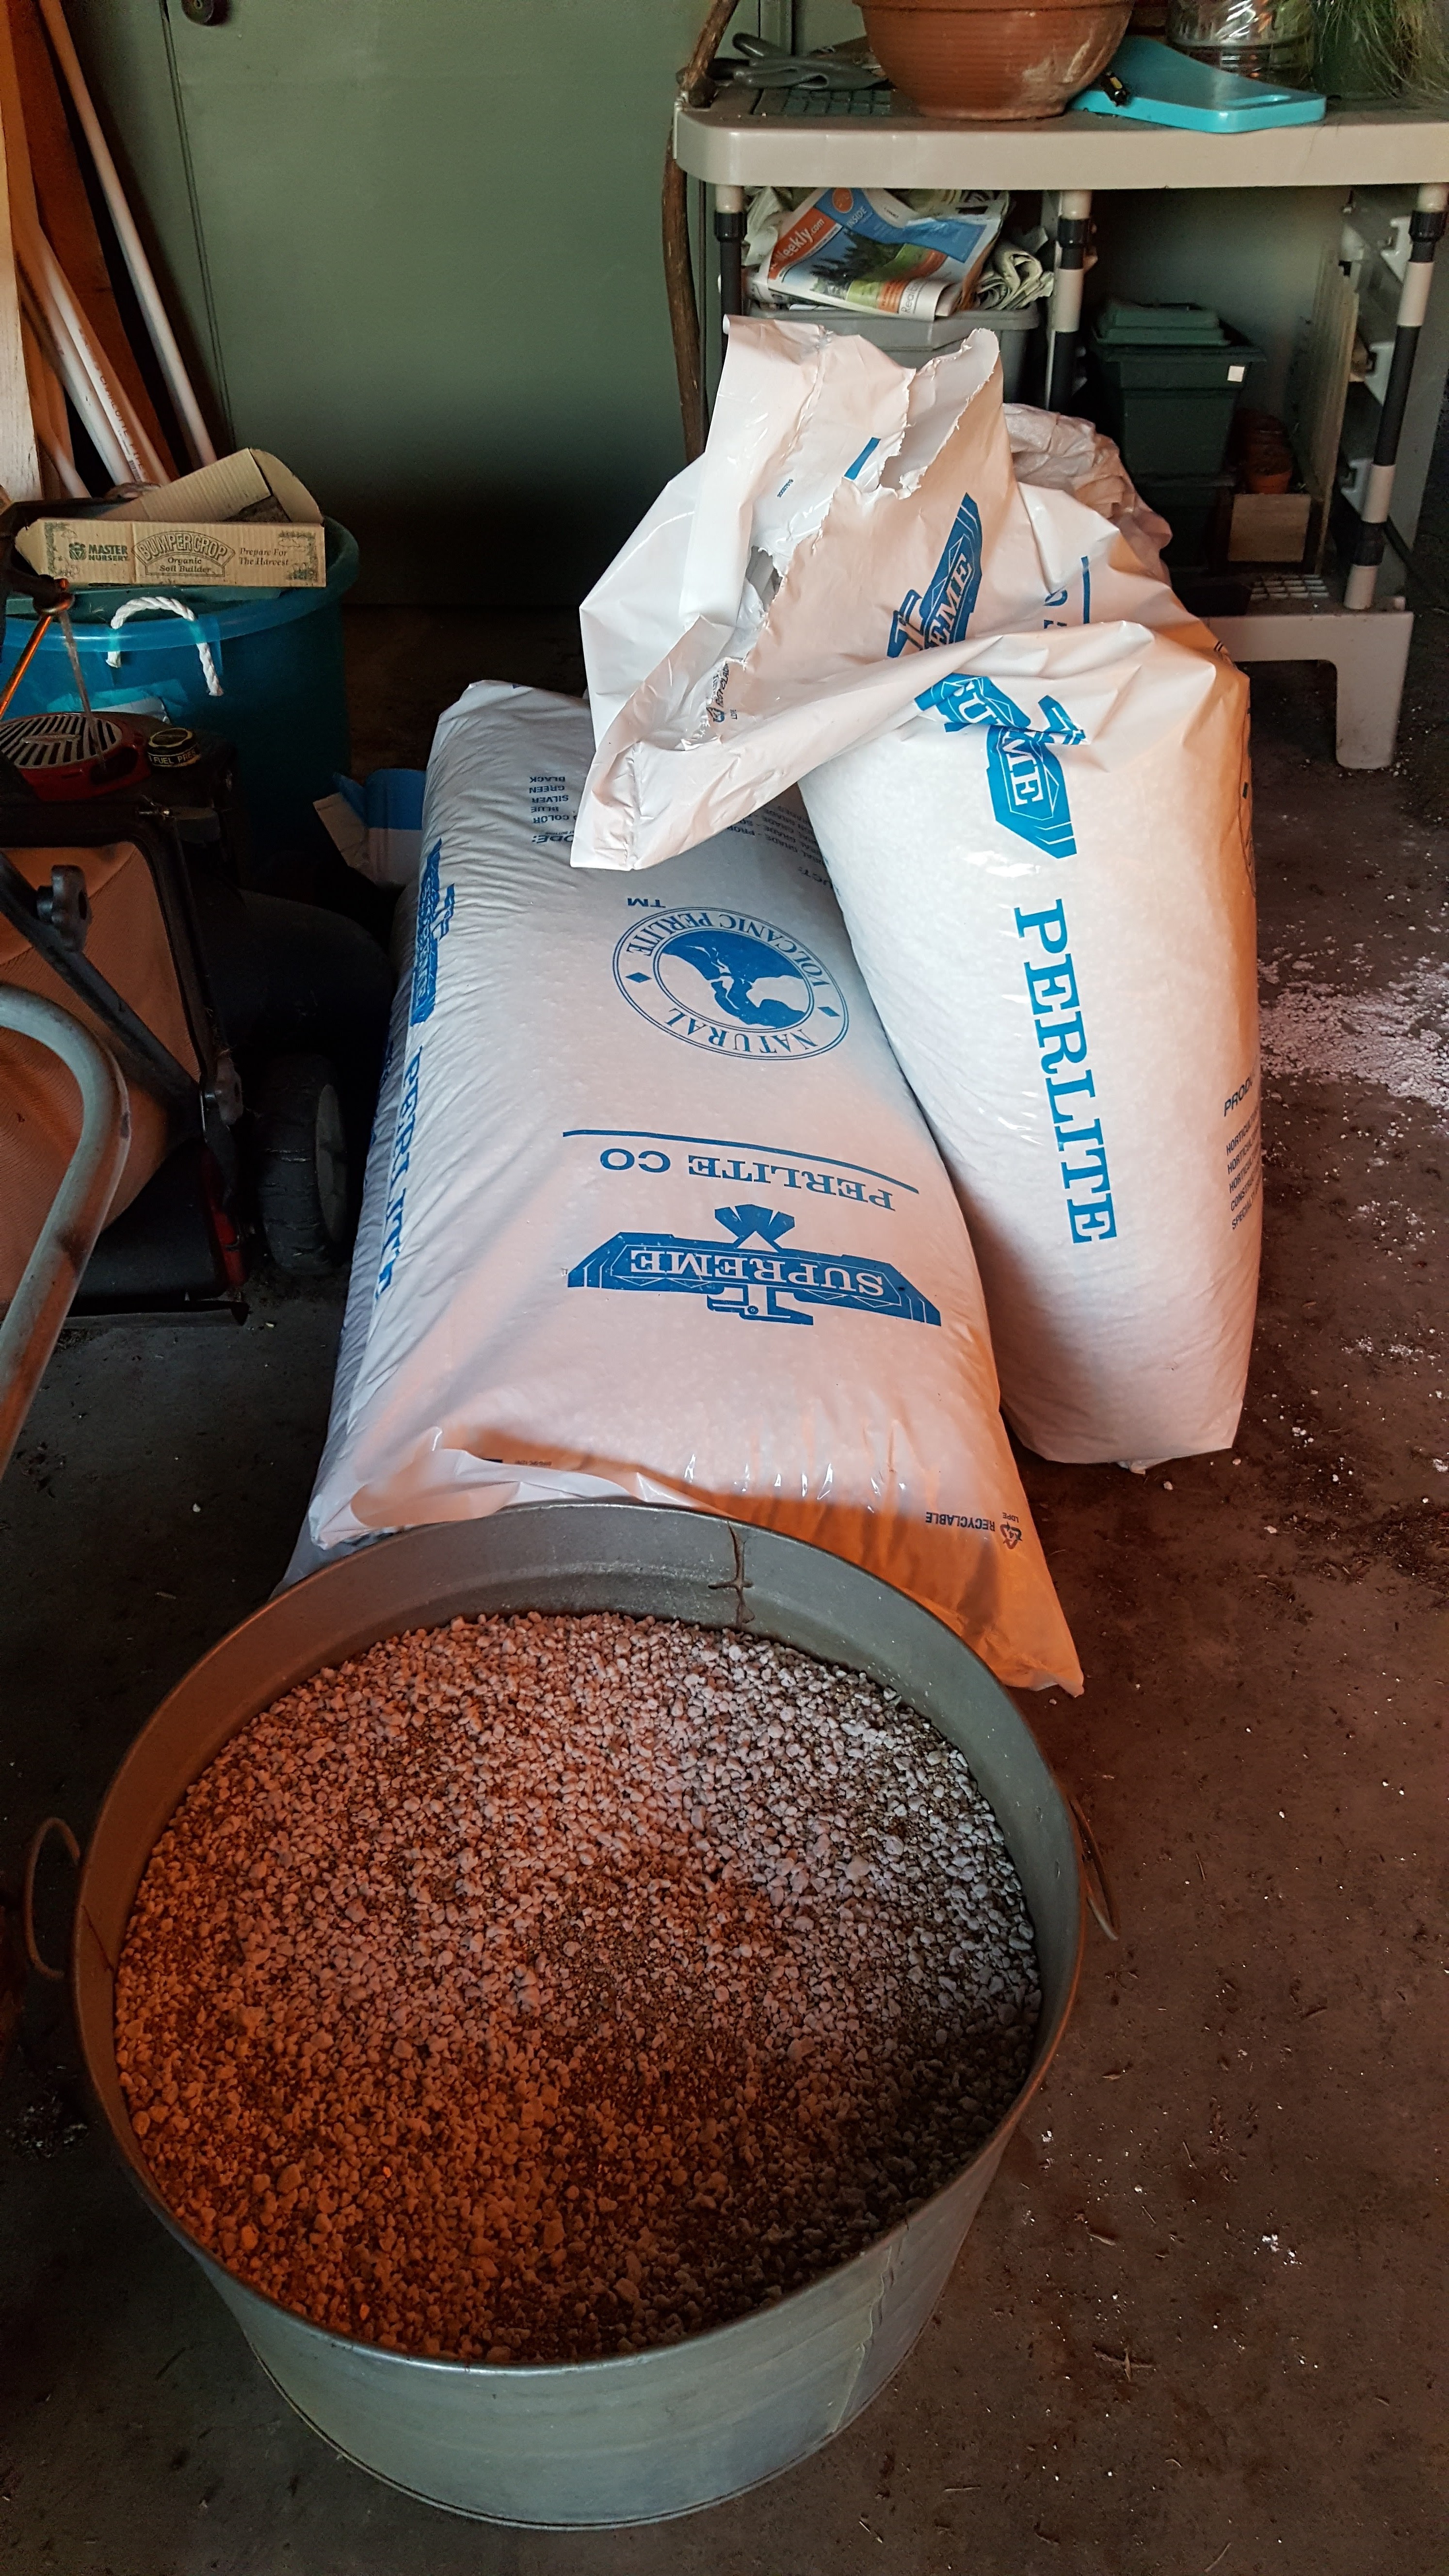
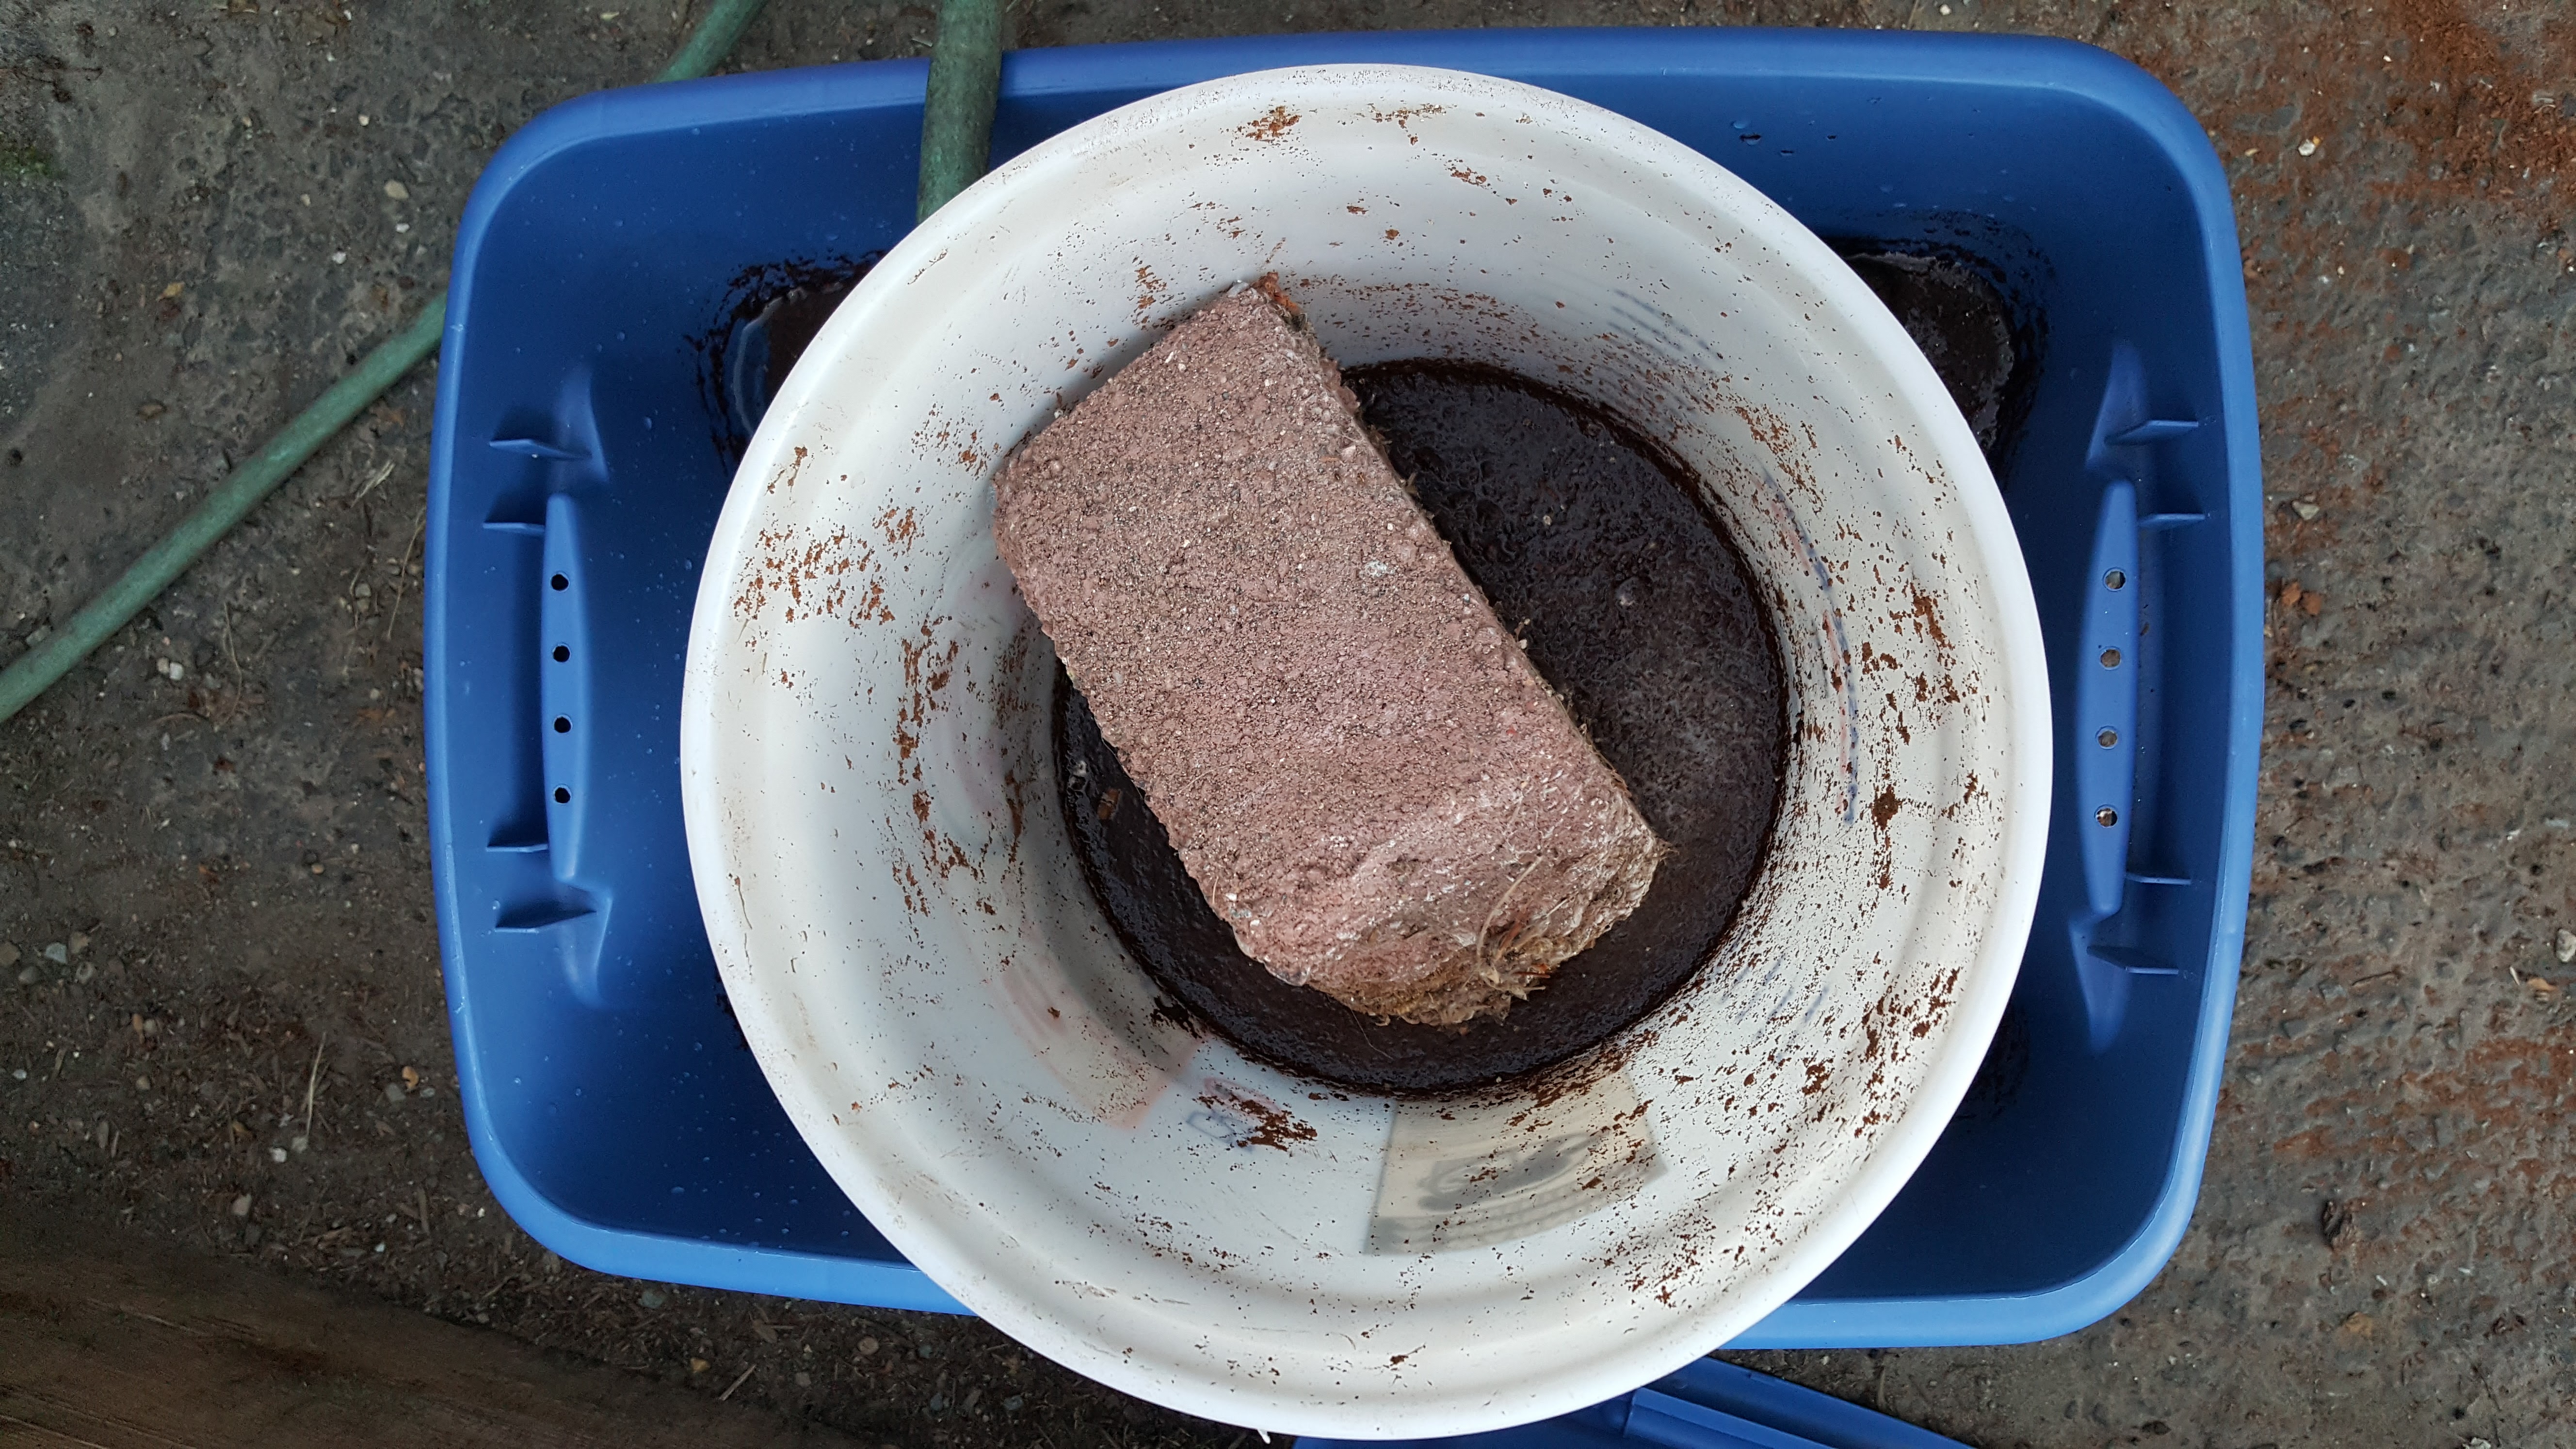
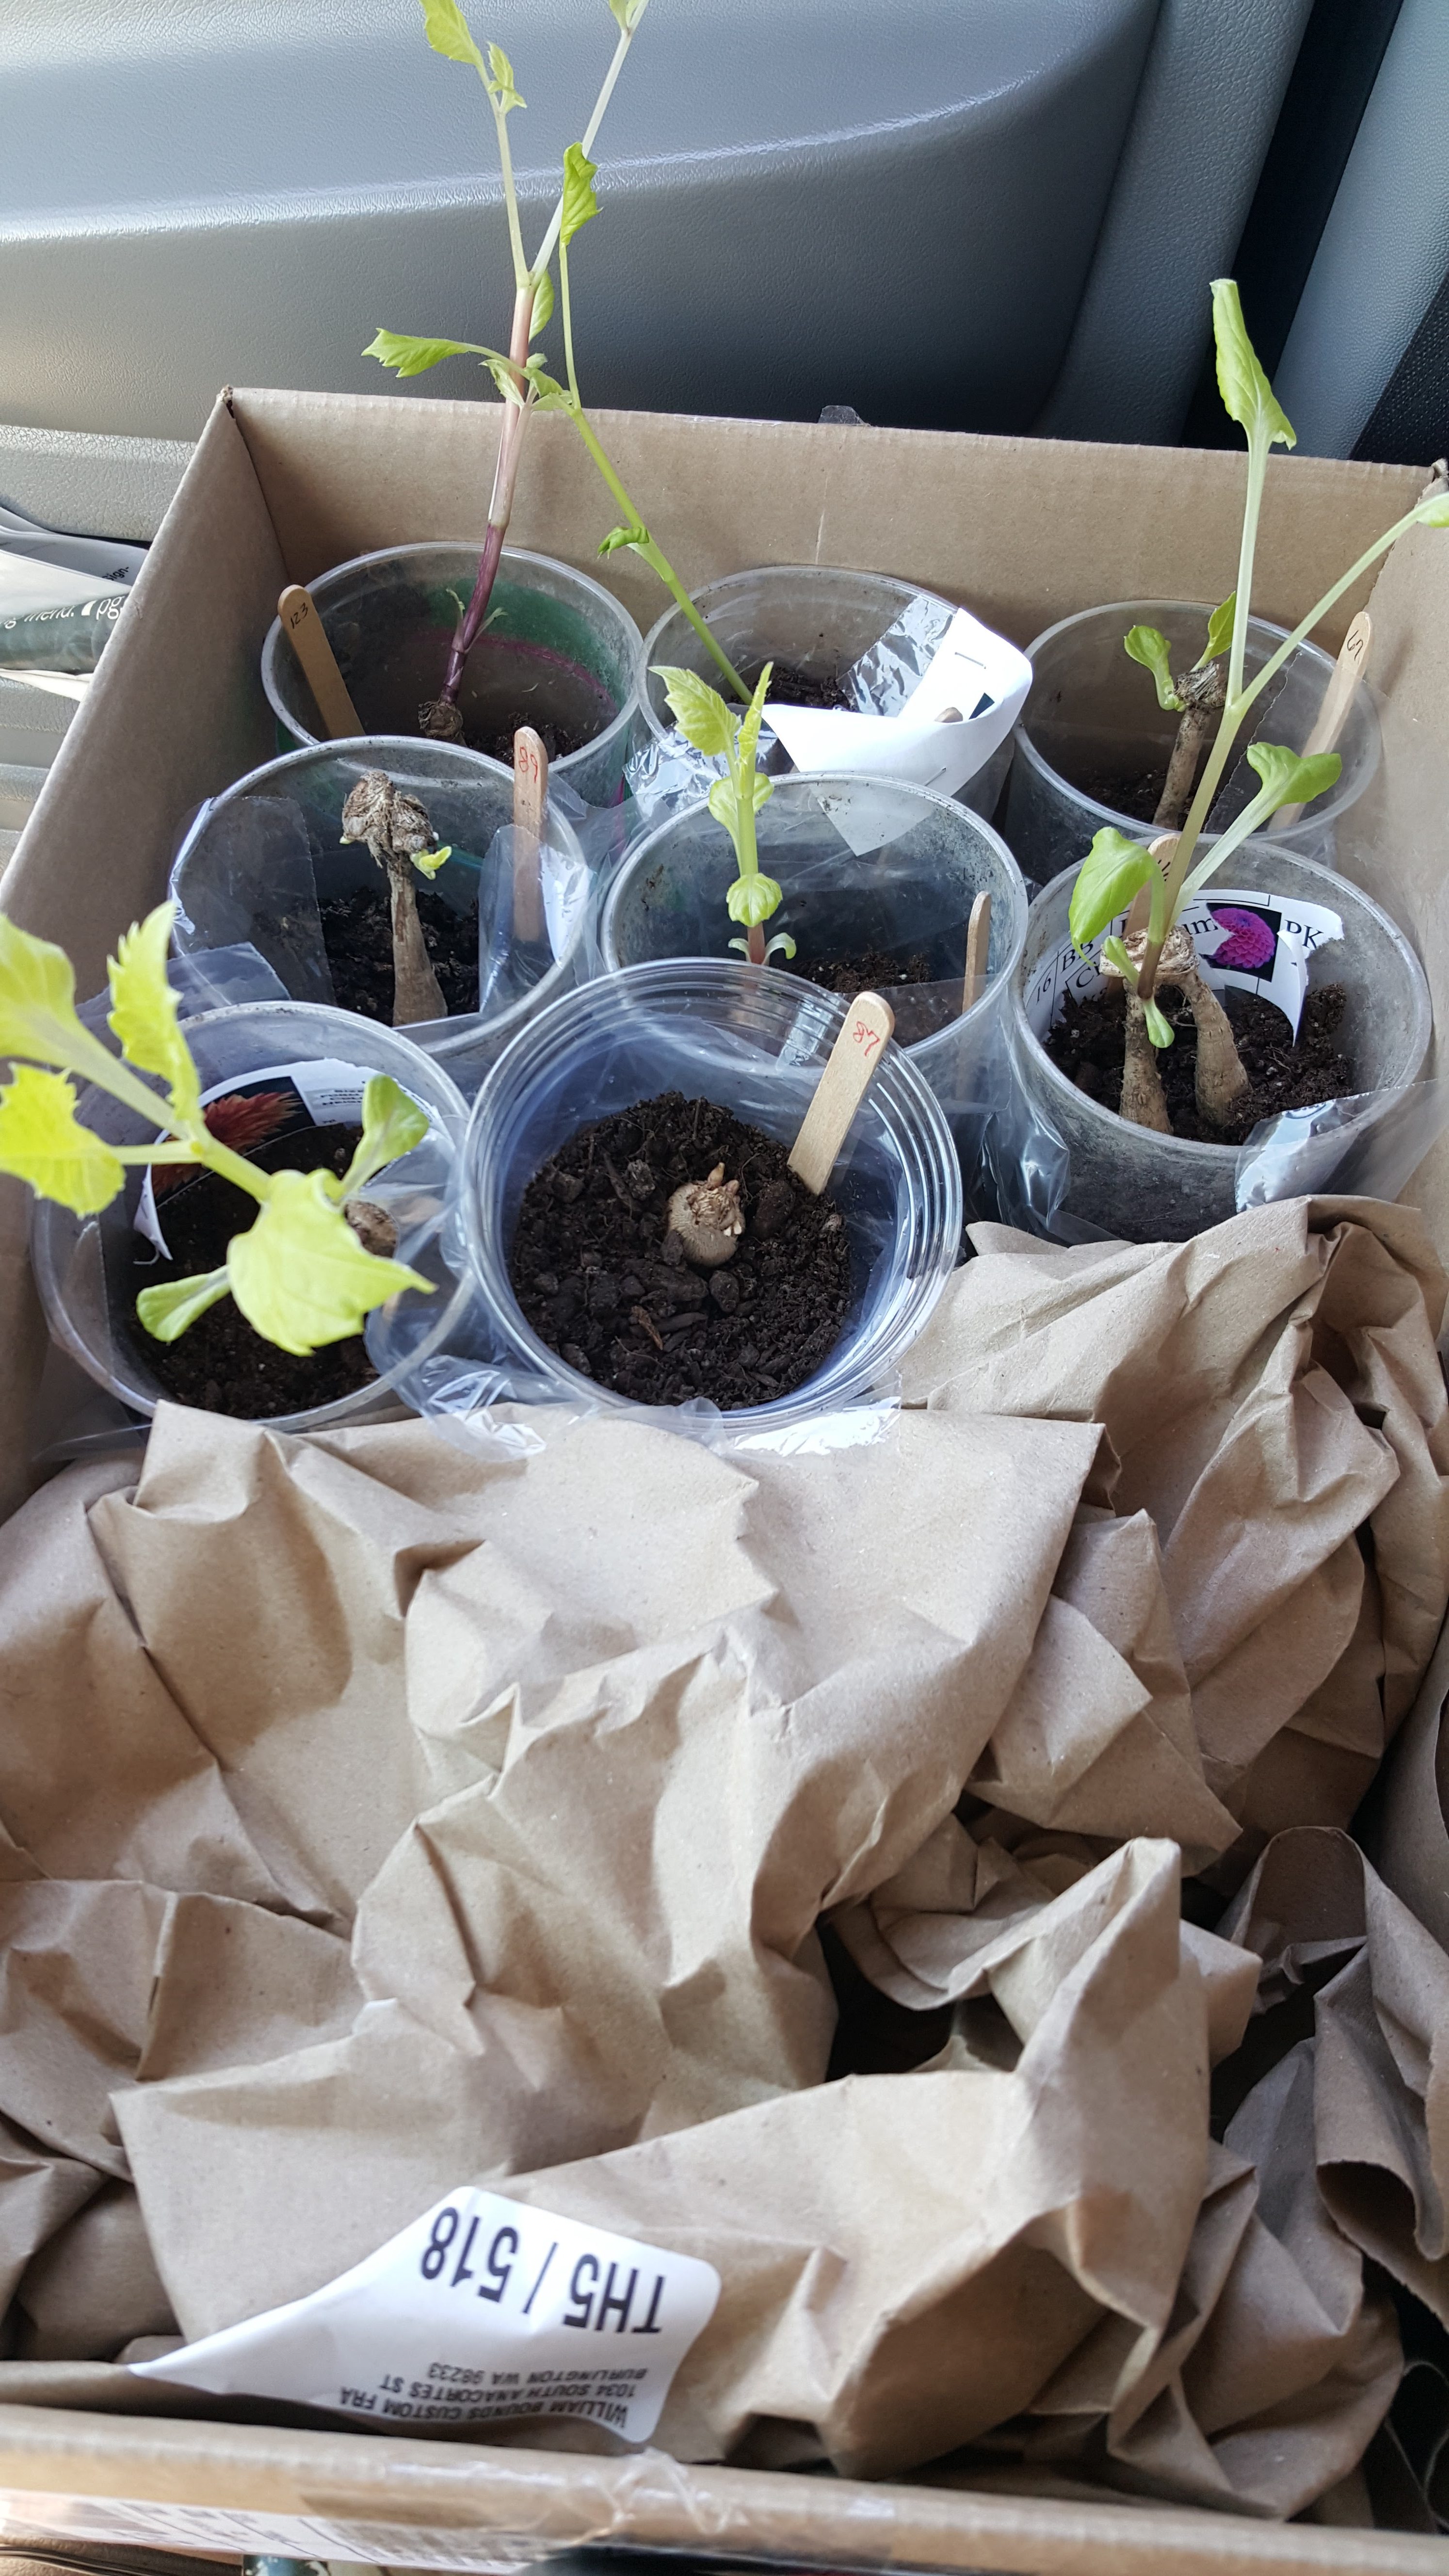
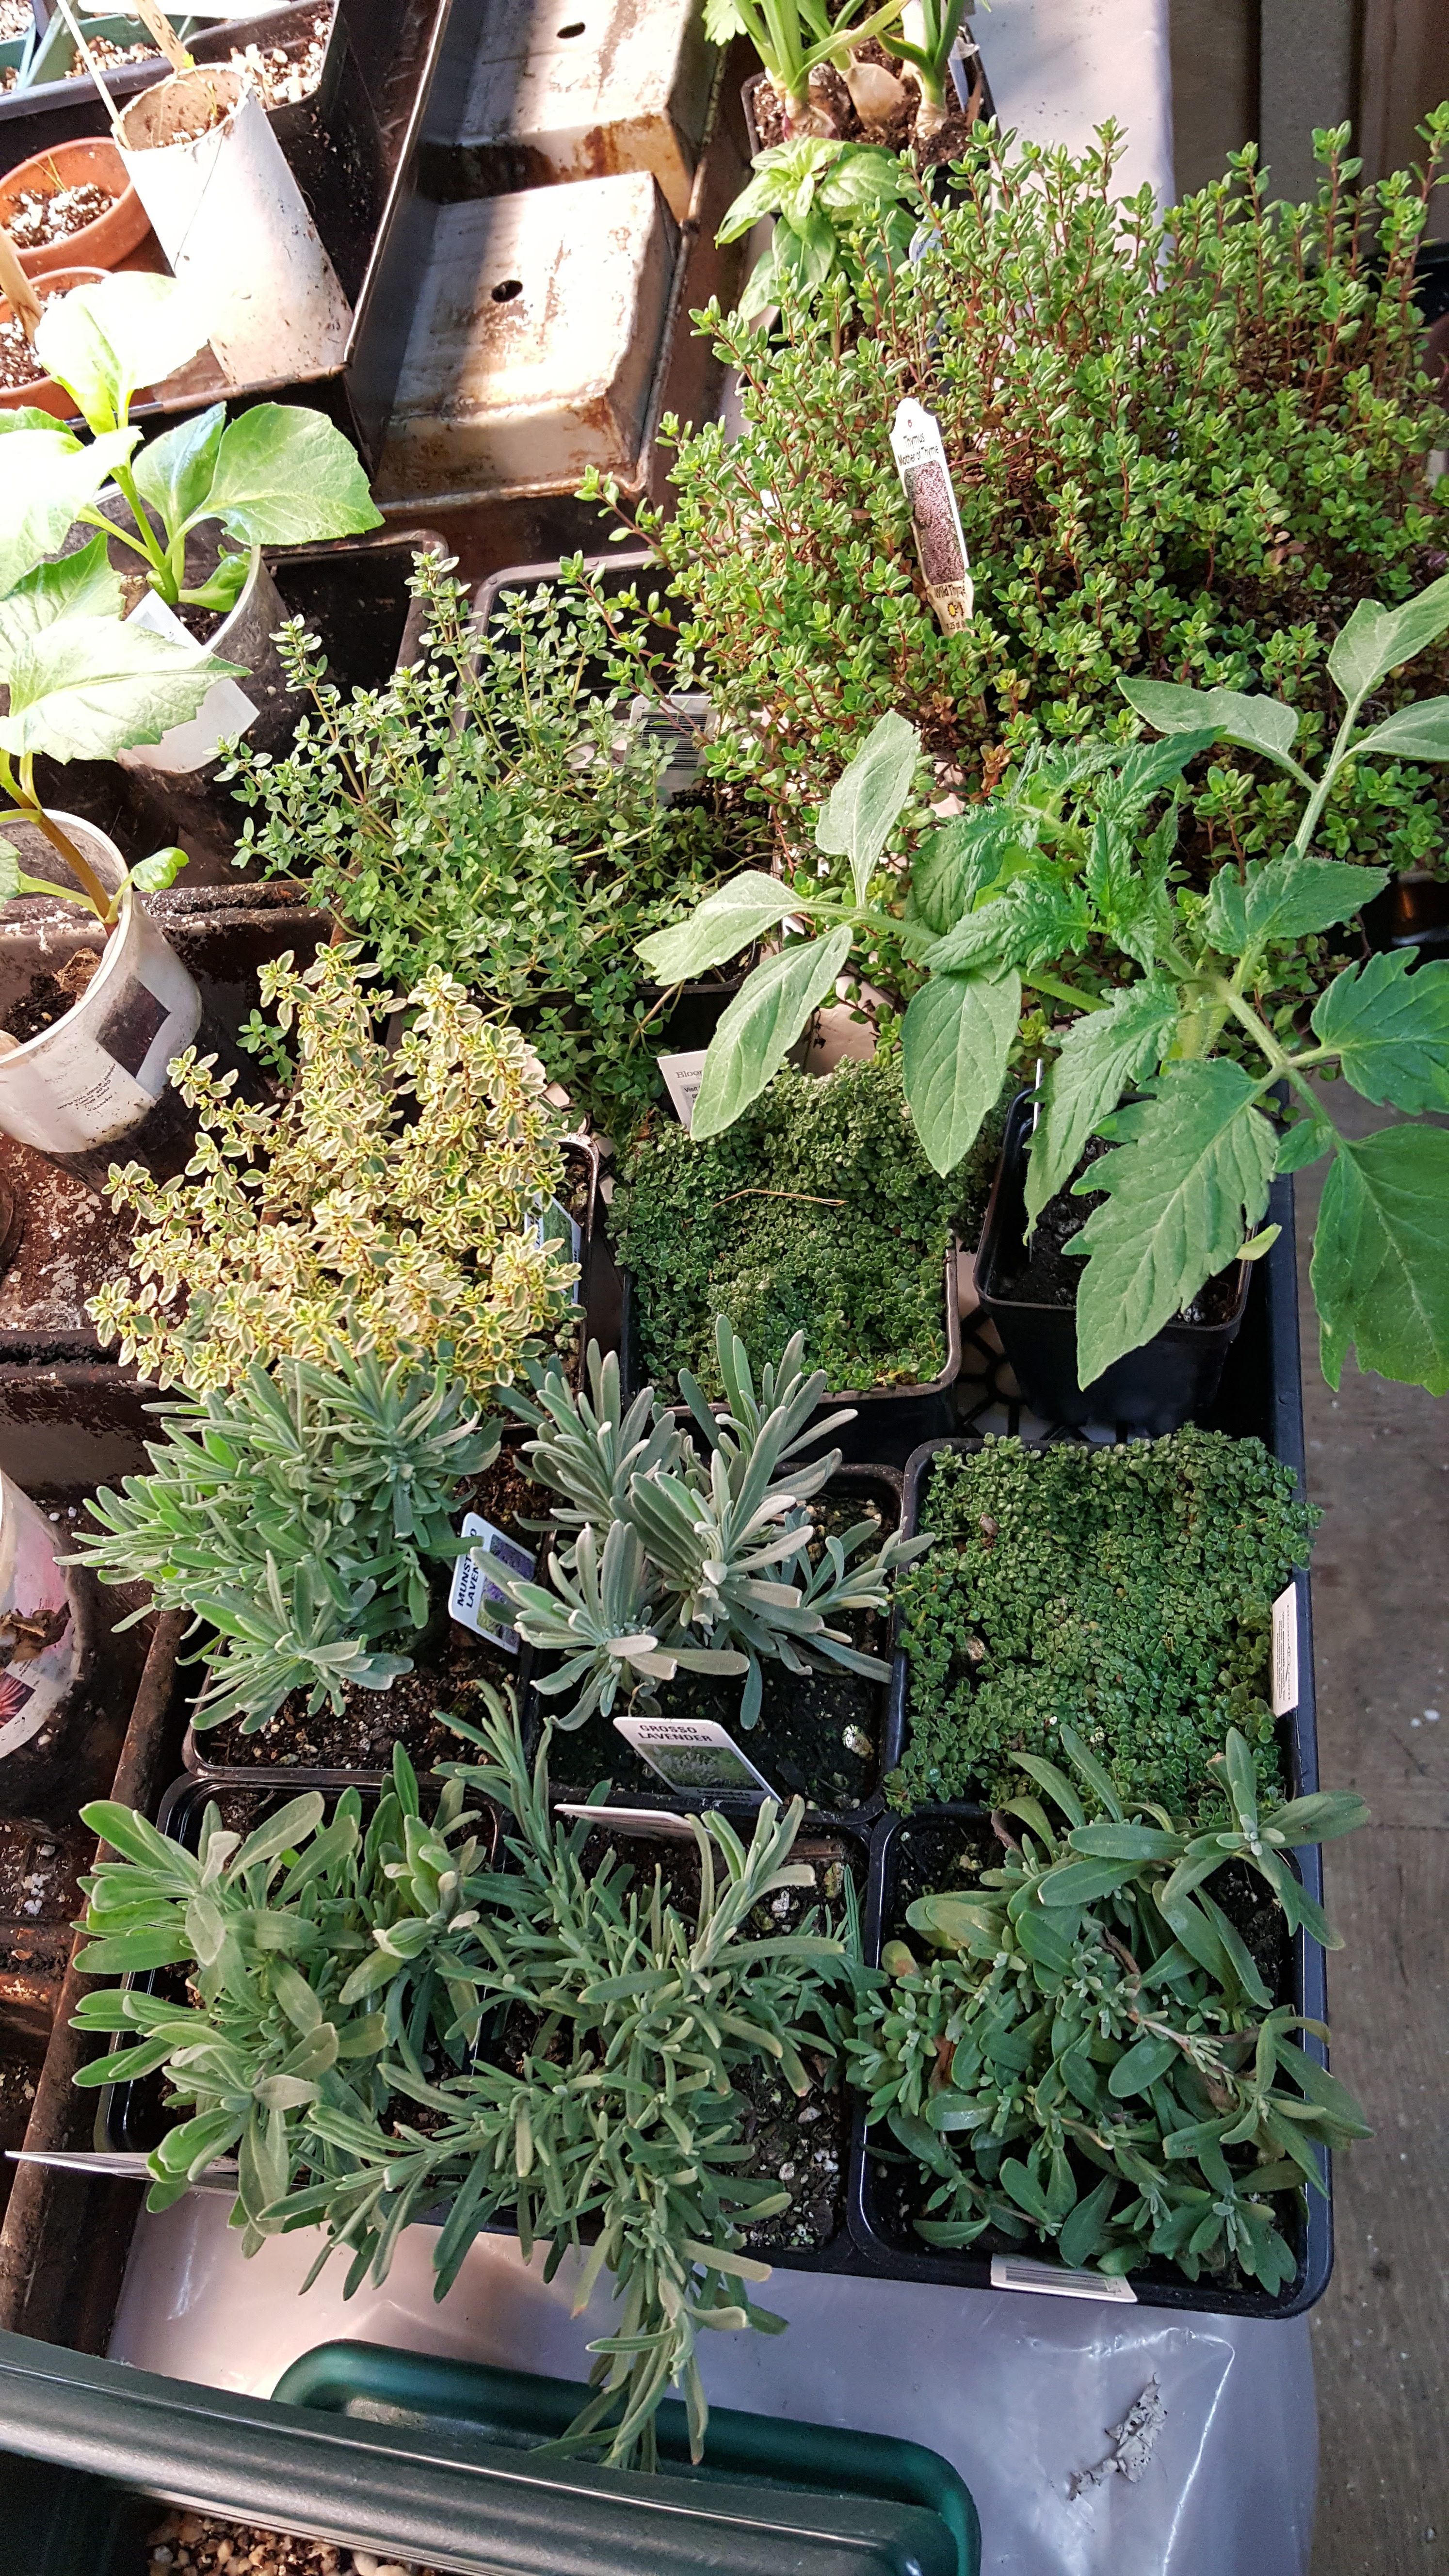
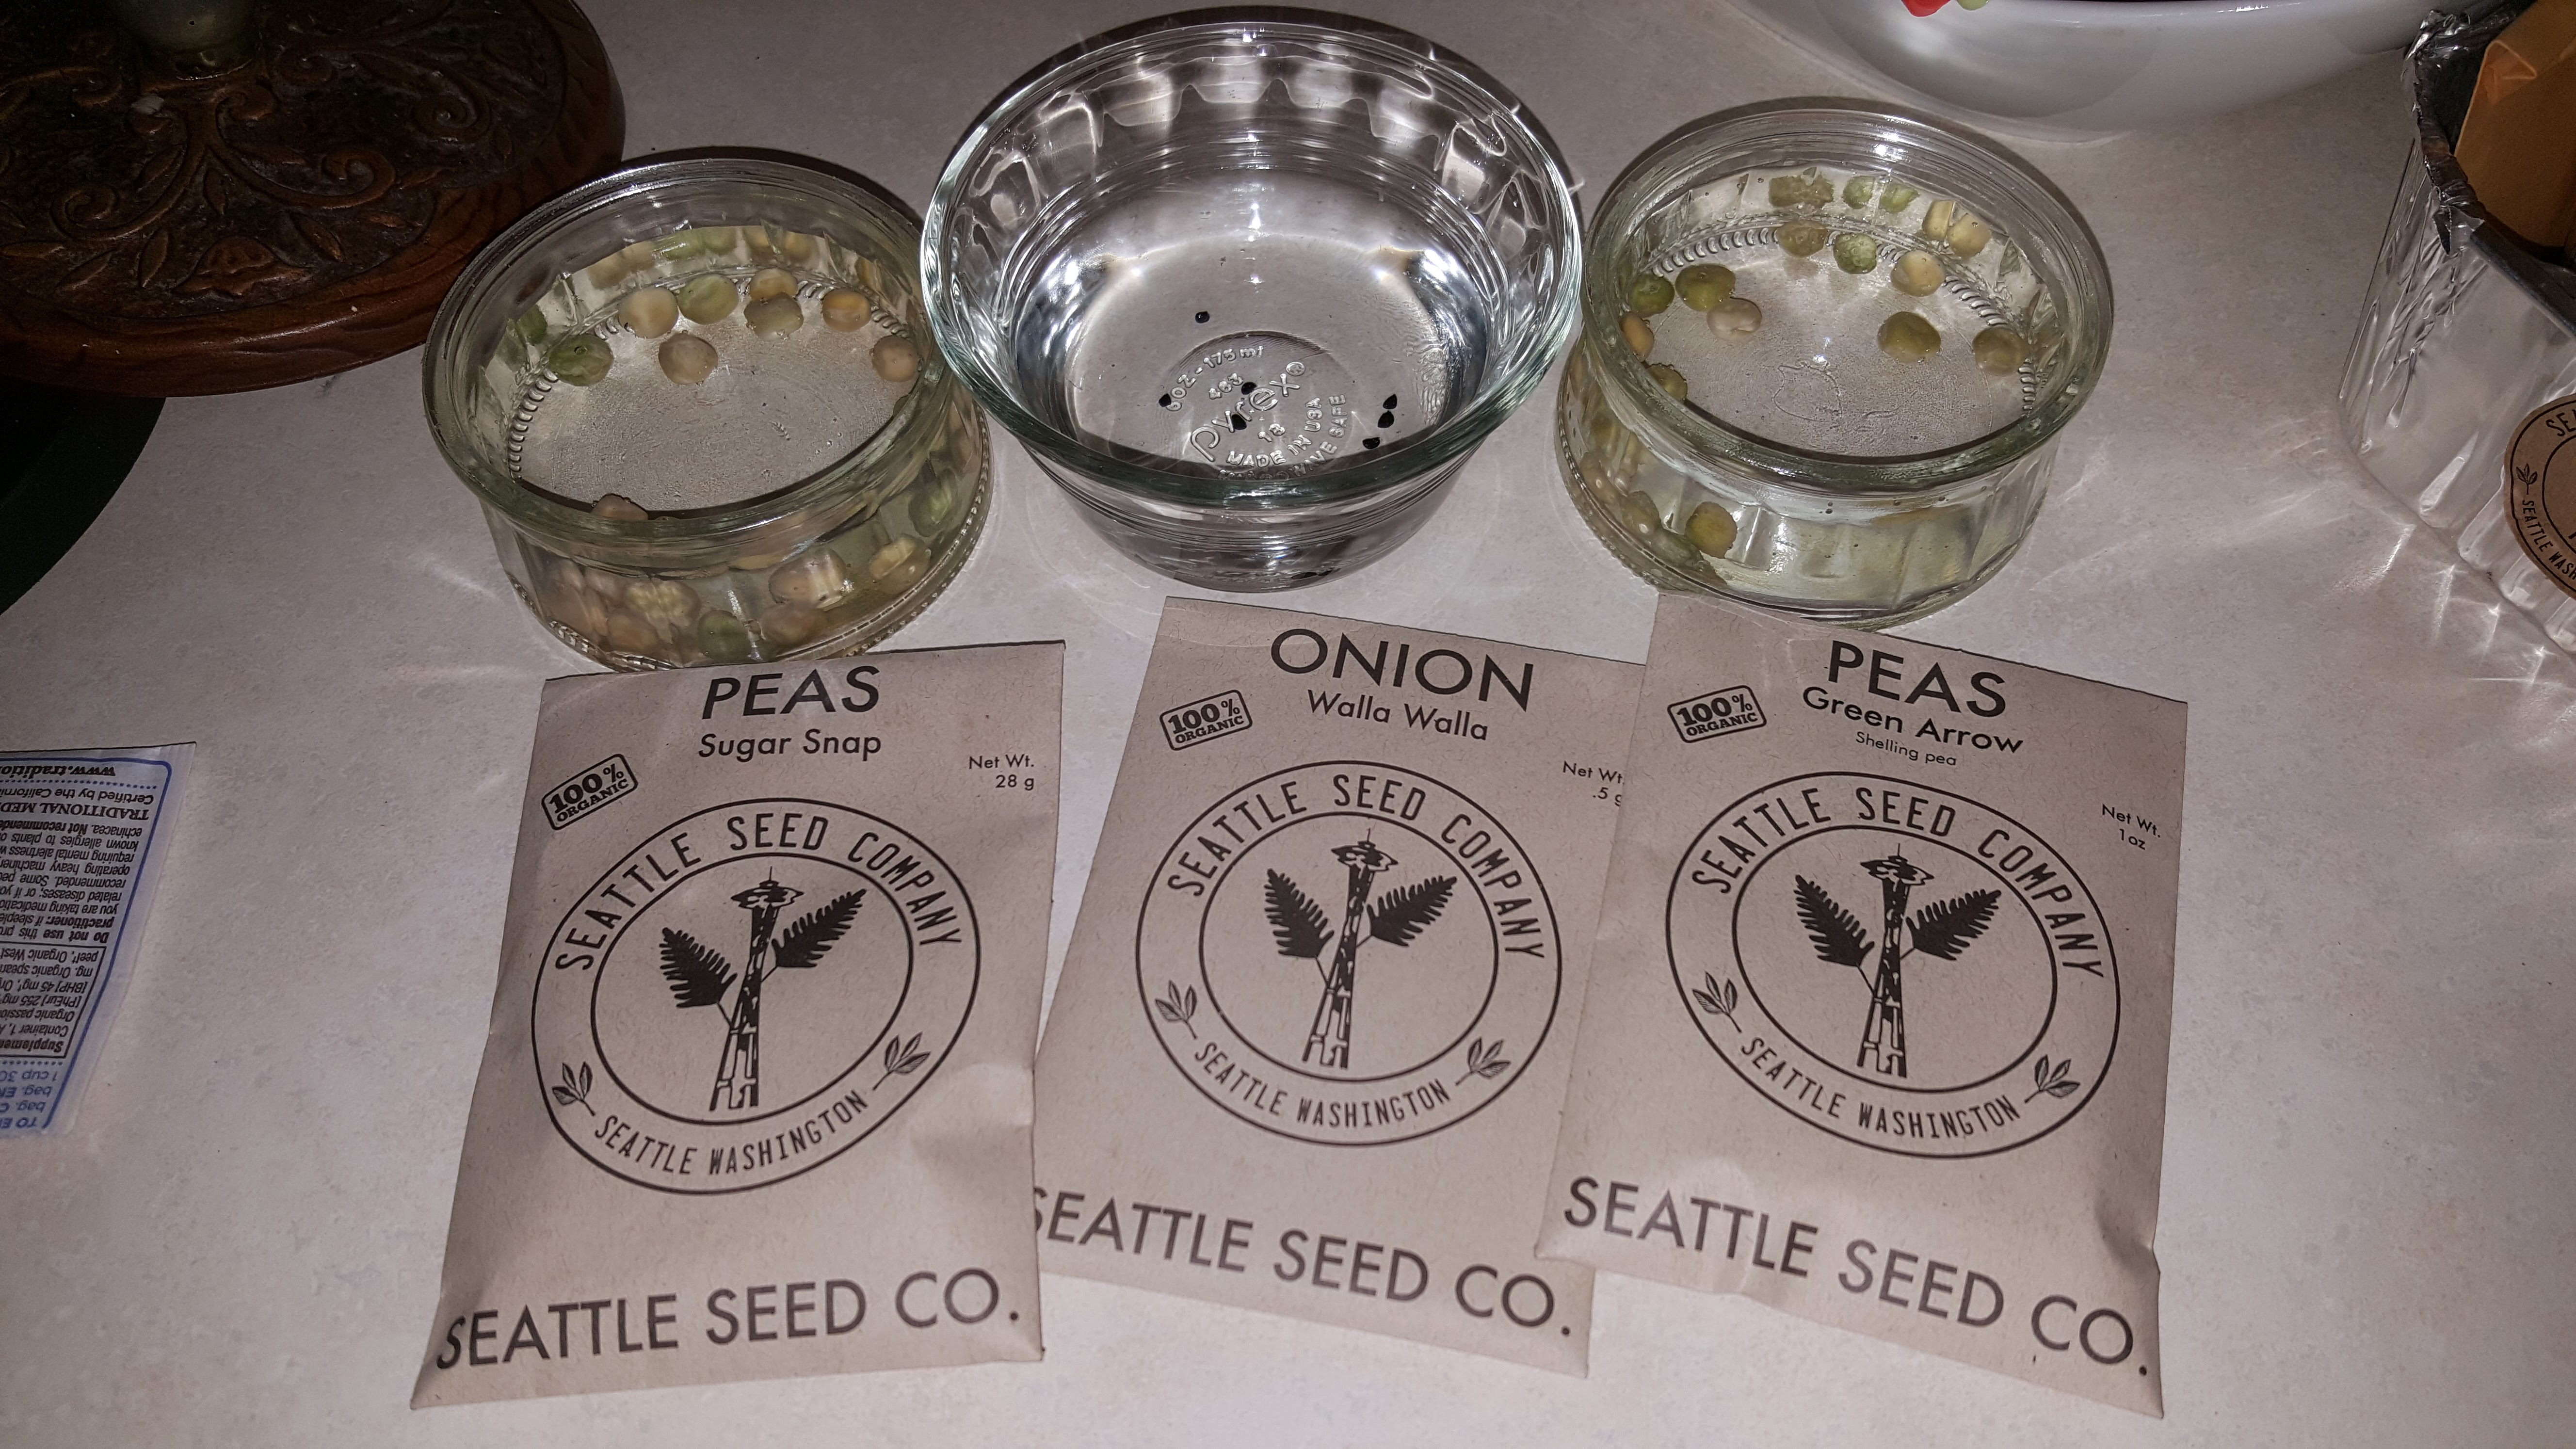
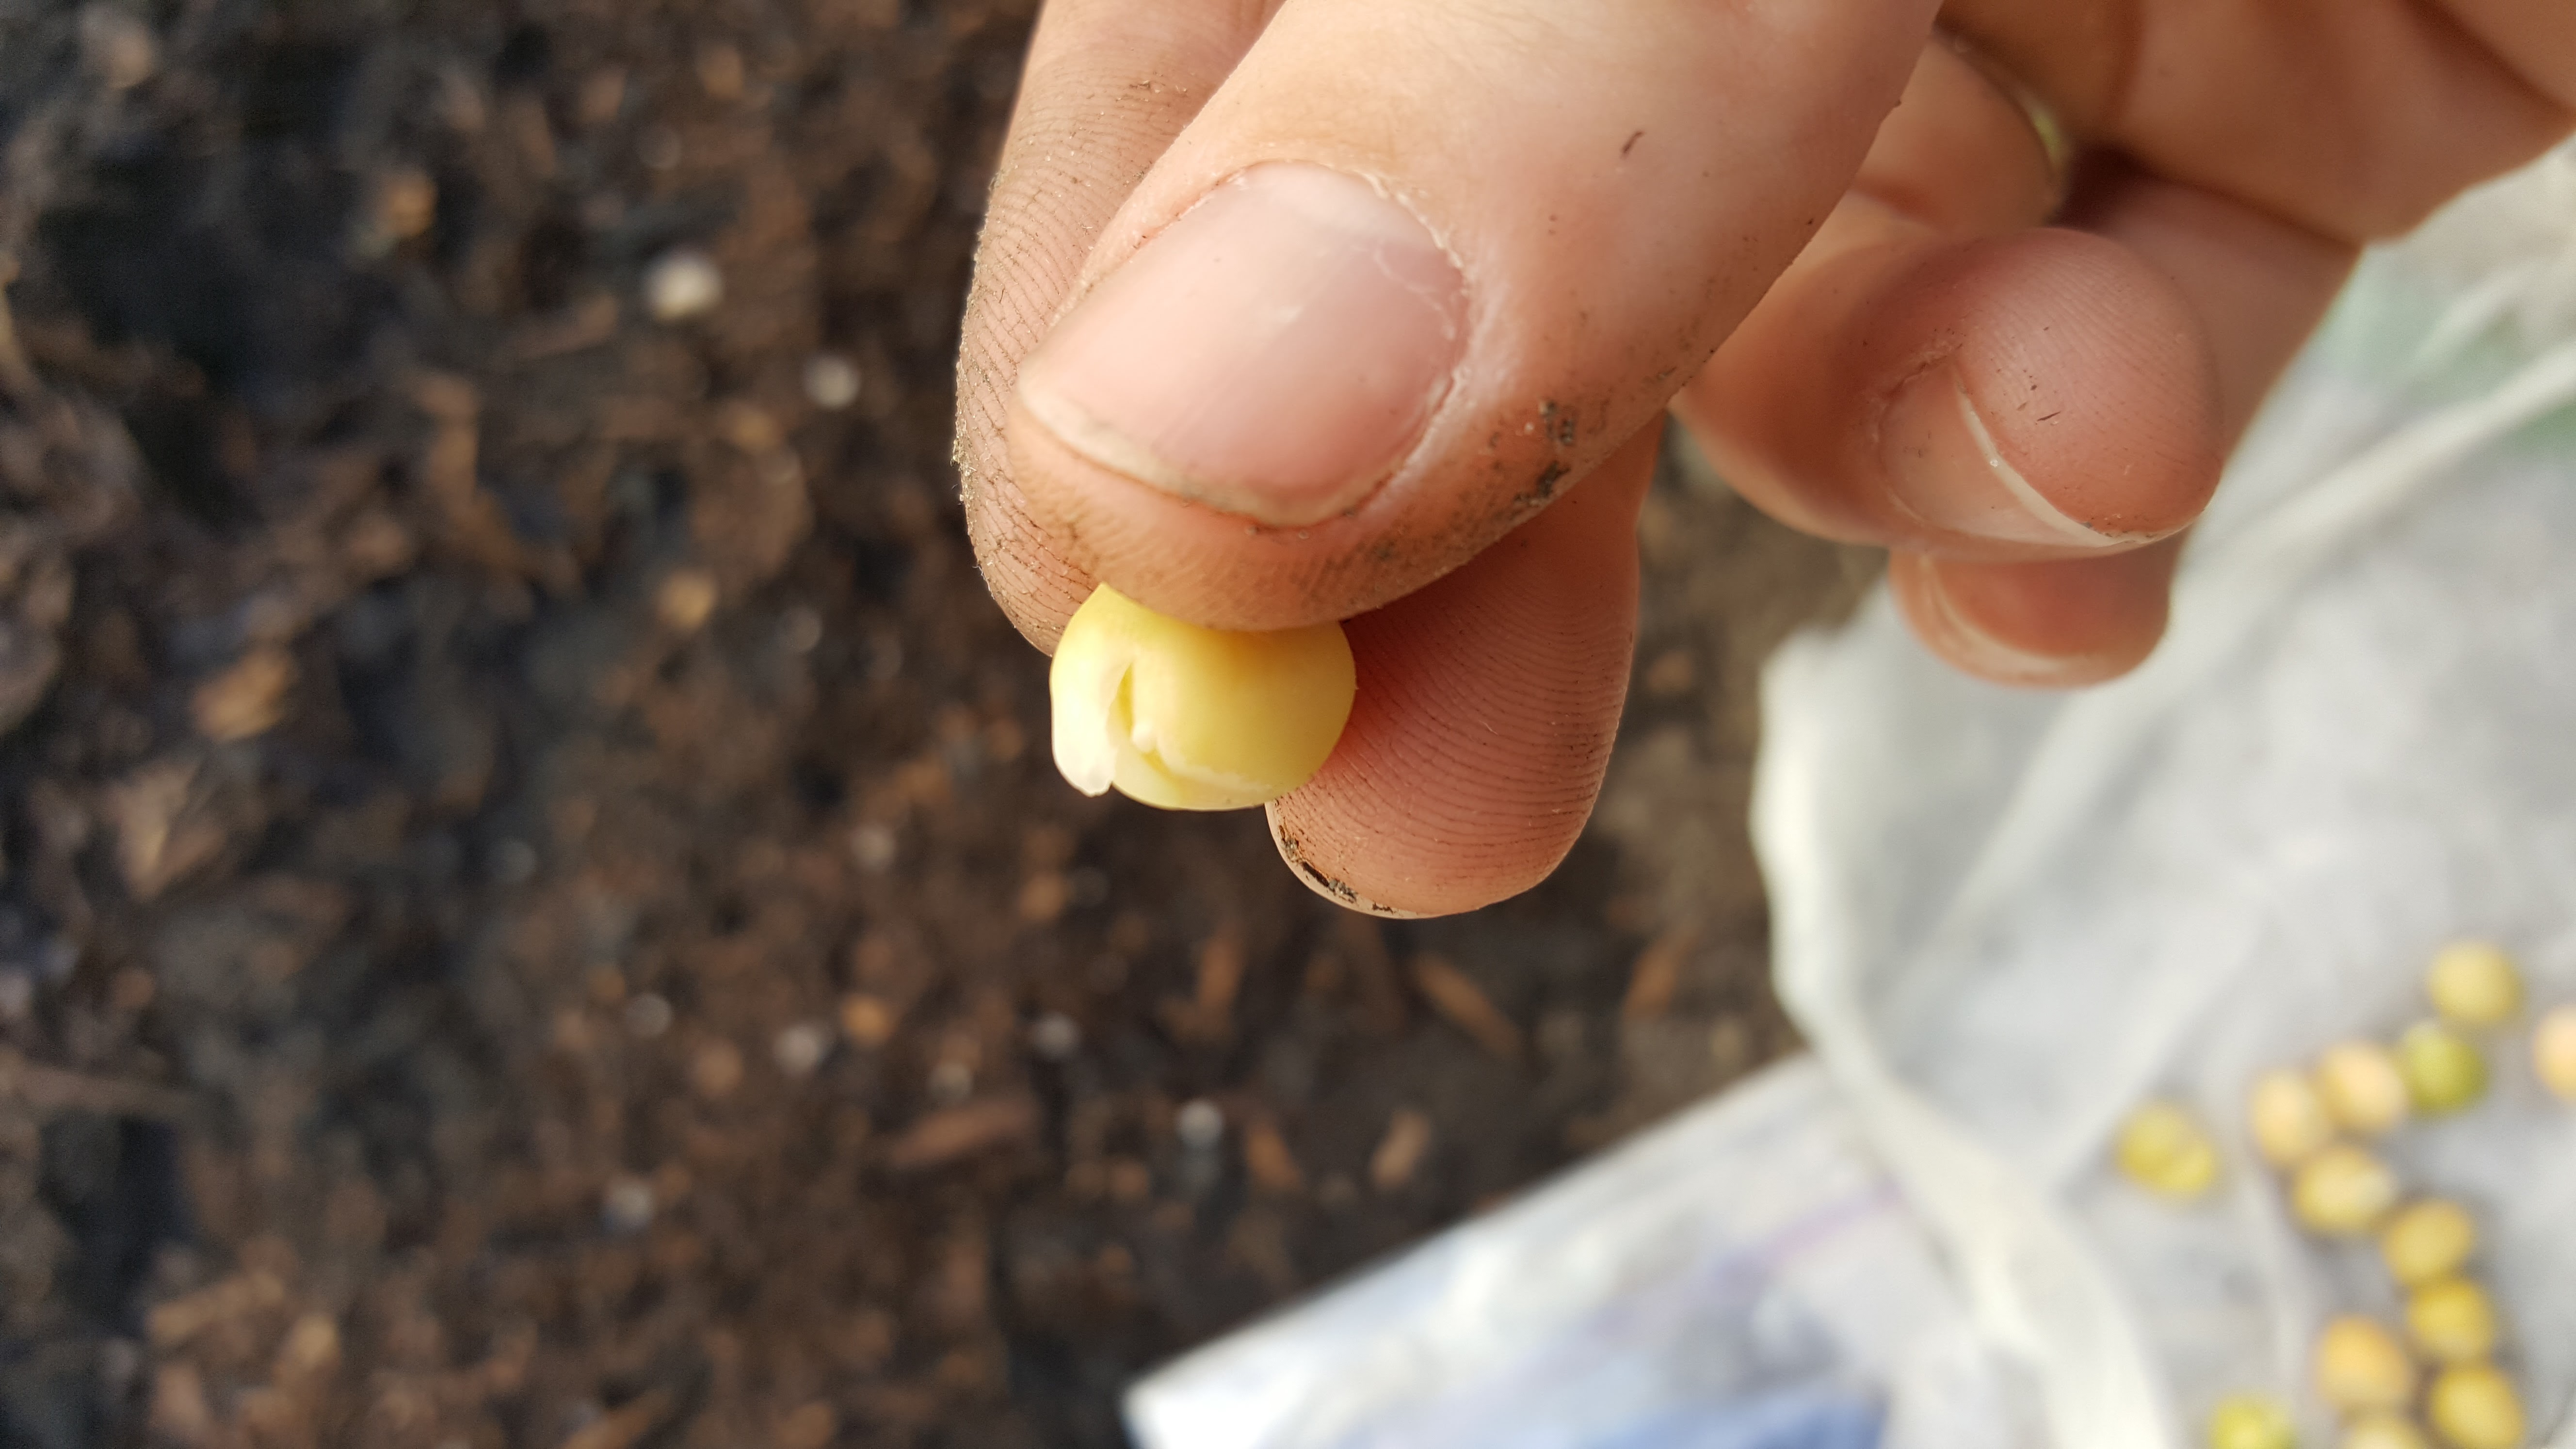
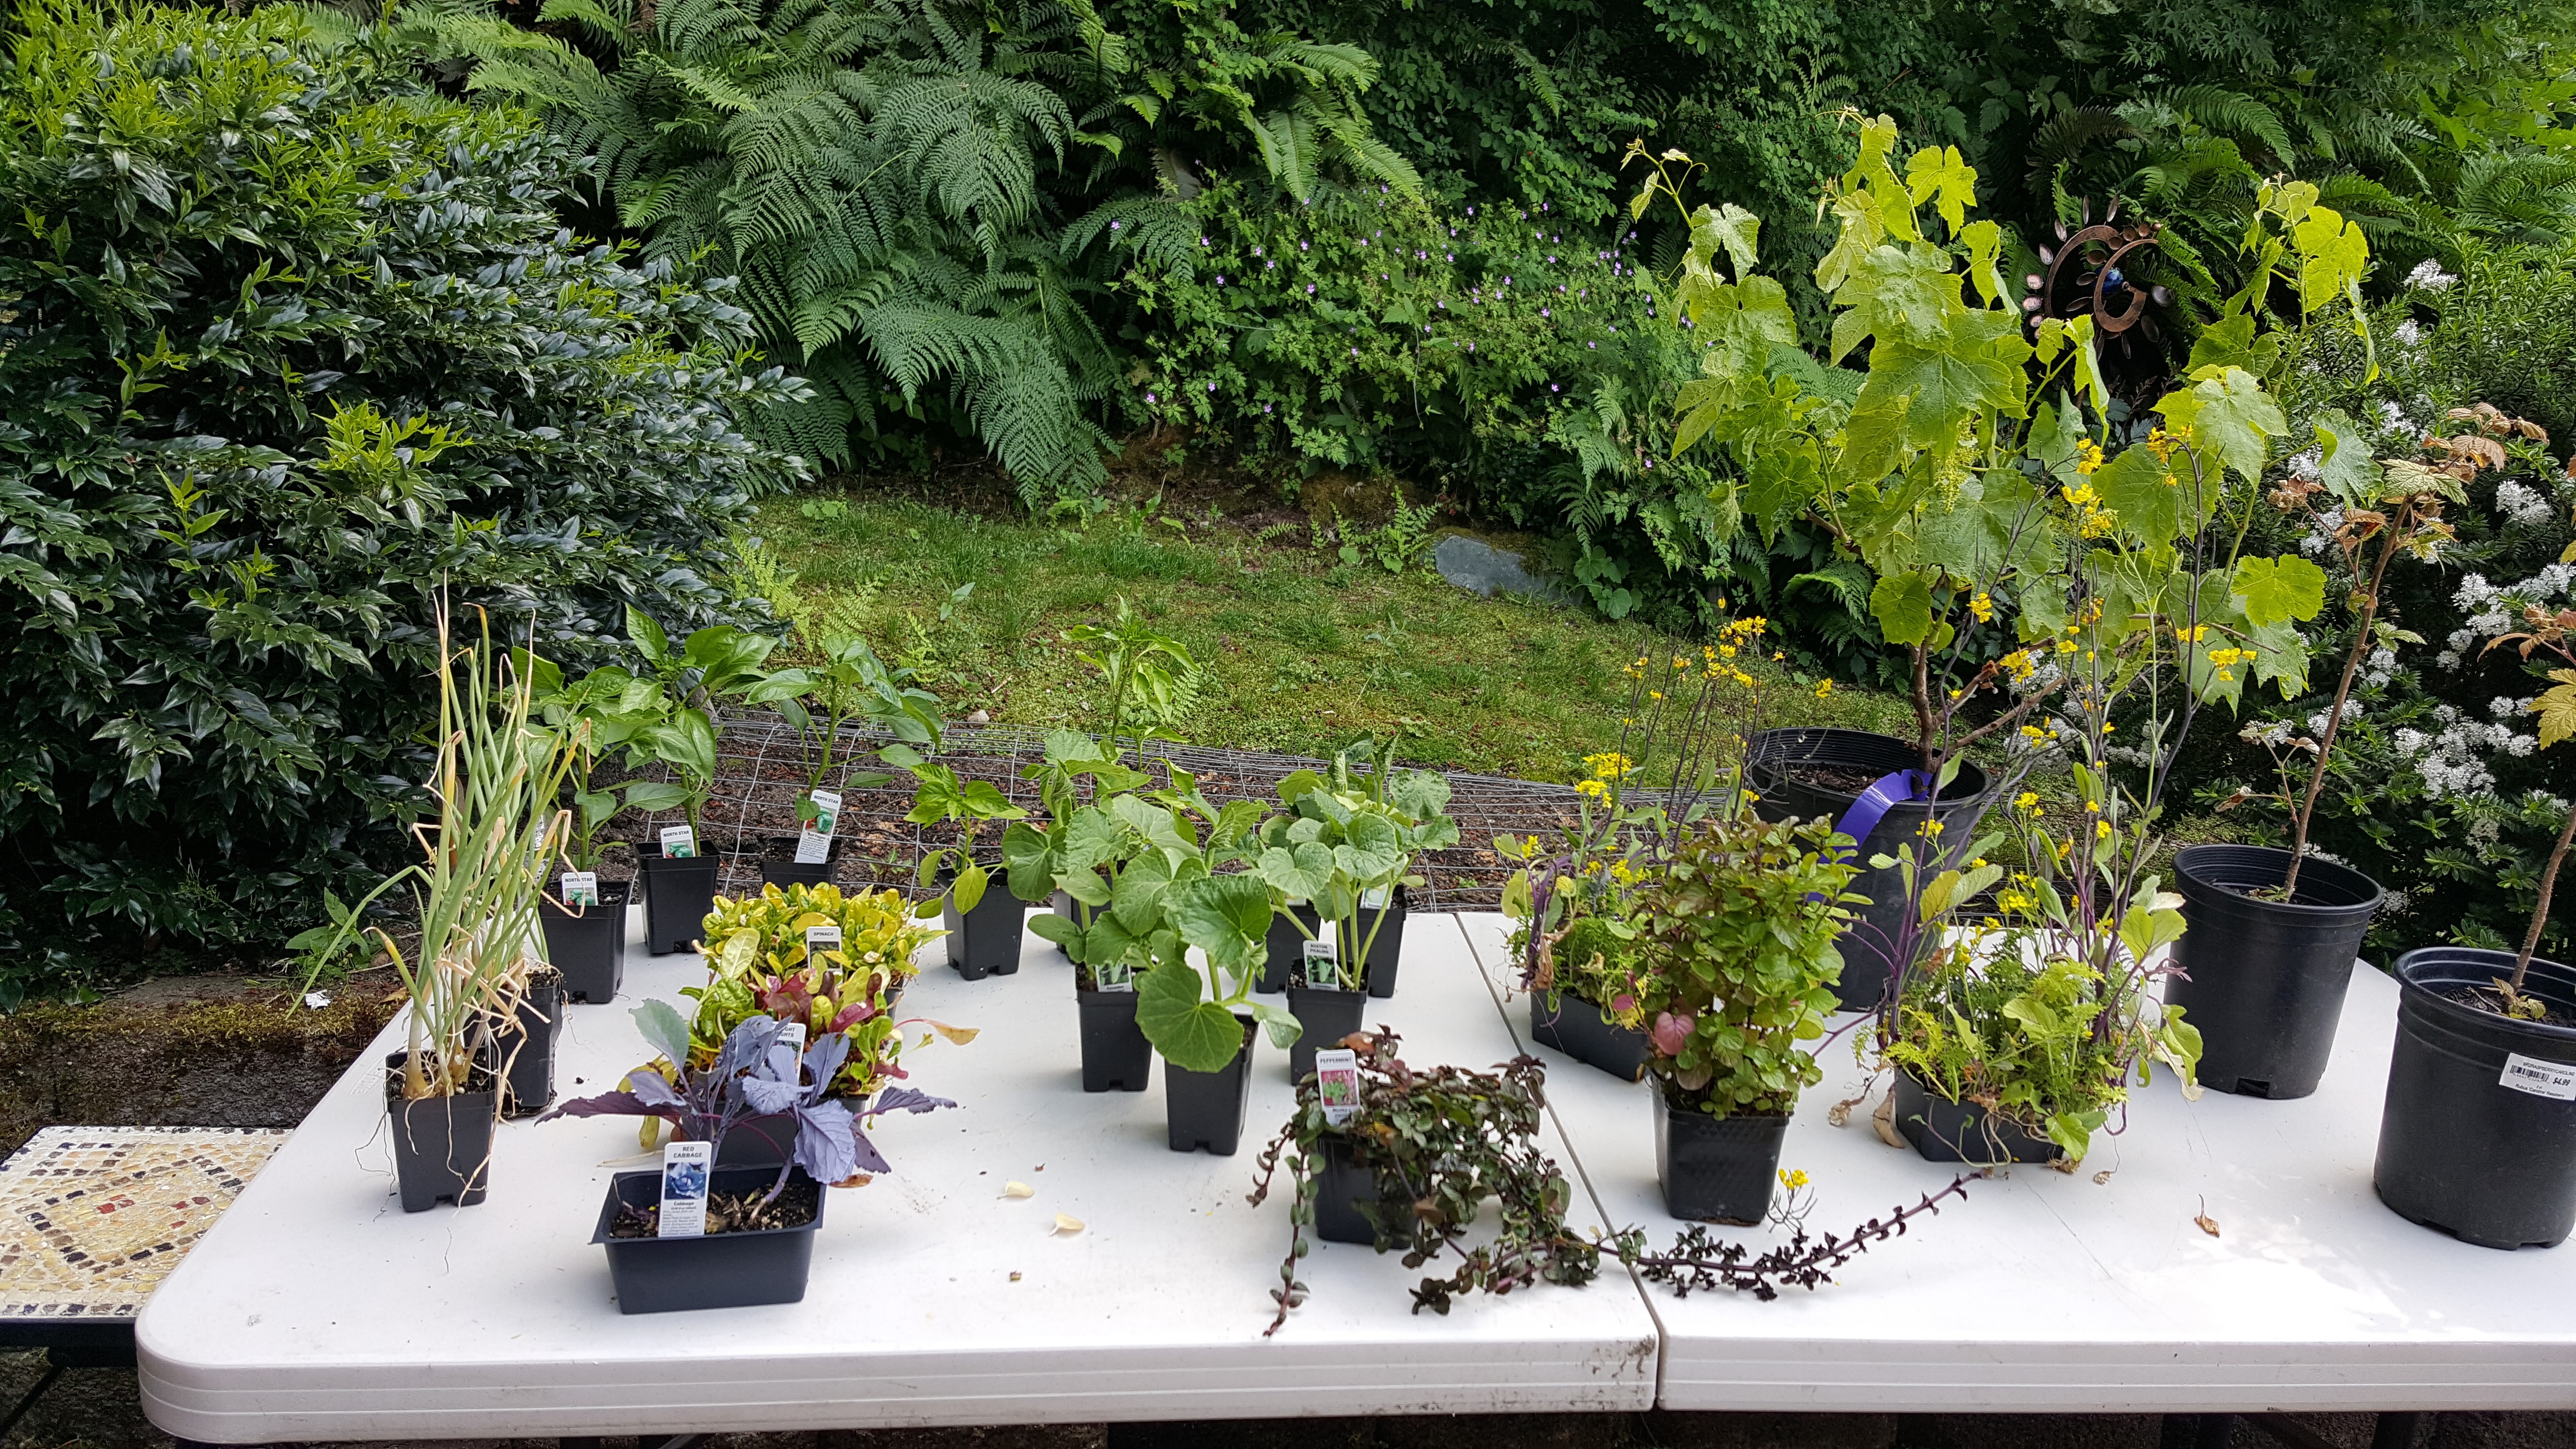
Use what you have for starting seeds. Toilet paper rolls and beer bottle inserts.Egg cartons for starting seeds.Bought cheap lights at the used office supply store, $15 total supplies.Planters made out of old bread tins.Making planters.Potting station.Starting with Flowers first. Need to attract the birds, bees, and butterflies to the garden to help pollinate the veggies.Add the coconut core to the perilite/soil mixture and you have great potting soil that retains water well.Soil and Perilite mixture.Weight to keep the ground coconut core in the bottom of the bucket to absorb water.Ground coconut shells.Sunflowers are starting! Yay!Sunflowers, basil, and marigolds.My Dahlia seeds didn’t start so I bought some from a prize winning Dahlia farmer. Much easier!More starts from Joe’s Nursery. A few different types of Thyme and Lavender…and more Tomatoes.Brought home starts from Joe’s Nursery. Shallots, Cilantro, Basil, and Tomatoes.Second round of seeds to start under the grow lights.Lights are in and the seeds and soil is warming up.Starts are growing up nicely.Bringing the starts outside to harden off and get used to the wind and temperature differences.Fourth round of starts. Soaking the seeds and direct planting into the soil for these ones. Mid summer starts (after garden beds were made).Peas sprouted after 24 hour soak.Third round of starts. More starts from Joe’s Nursery. Green onions, Pablano peppers, Cabbage, Mint, Chinese salad mix, Rasberries, Grapes.Can’t forget some plants for inside the house!
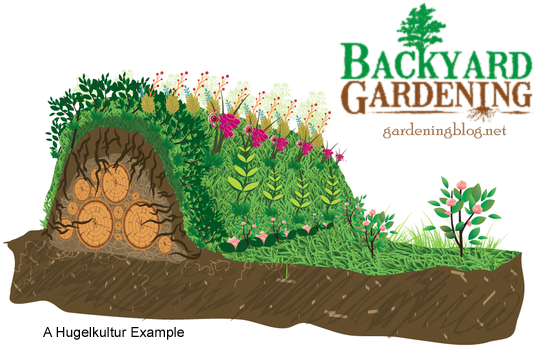
It is a German word, it means “hill culture,” and in practice is a method of gardening where you bury wood and then plant on top of it.
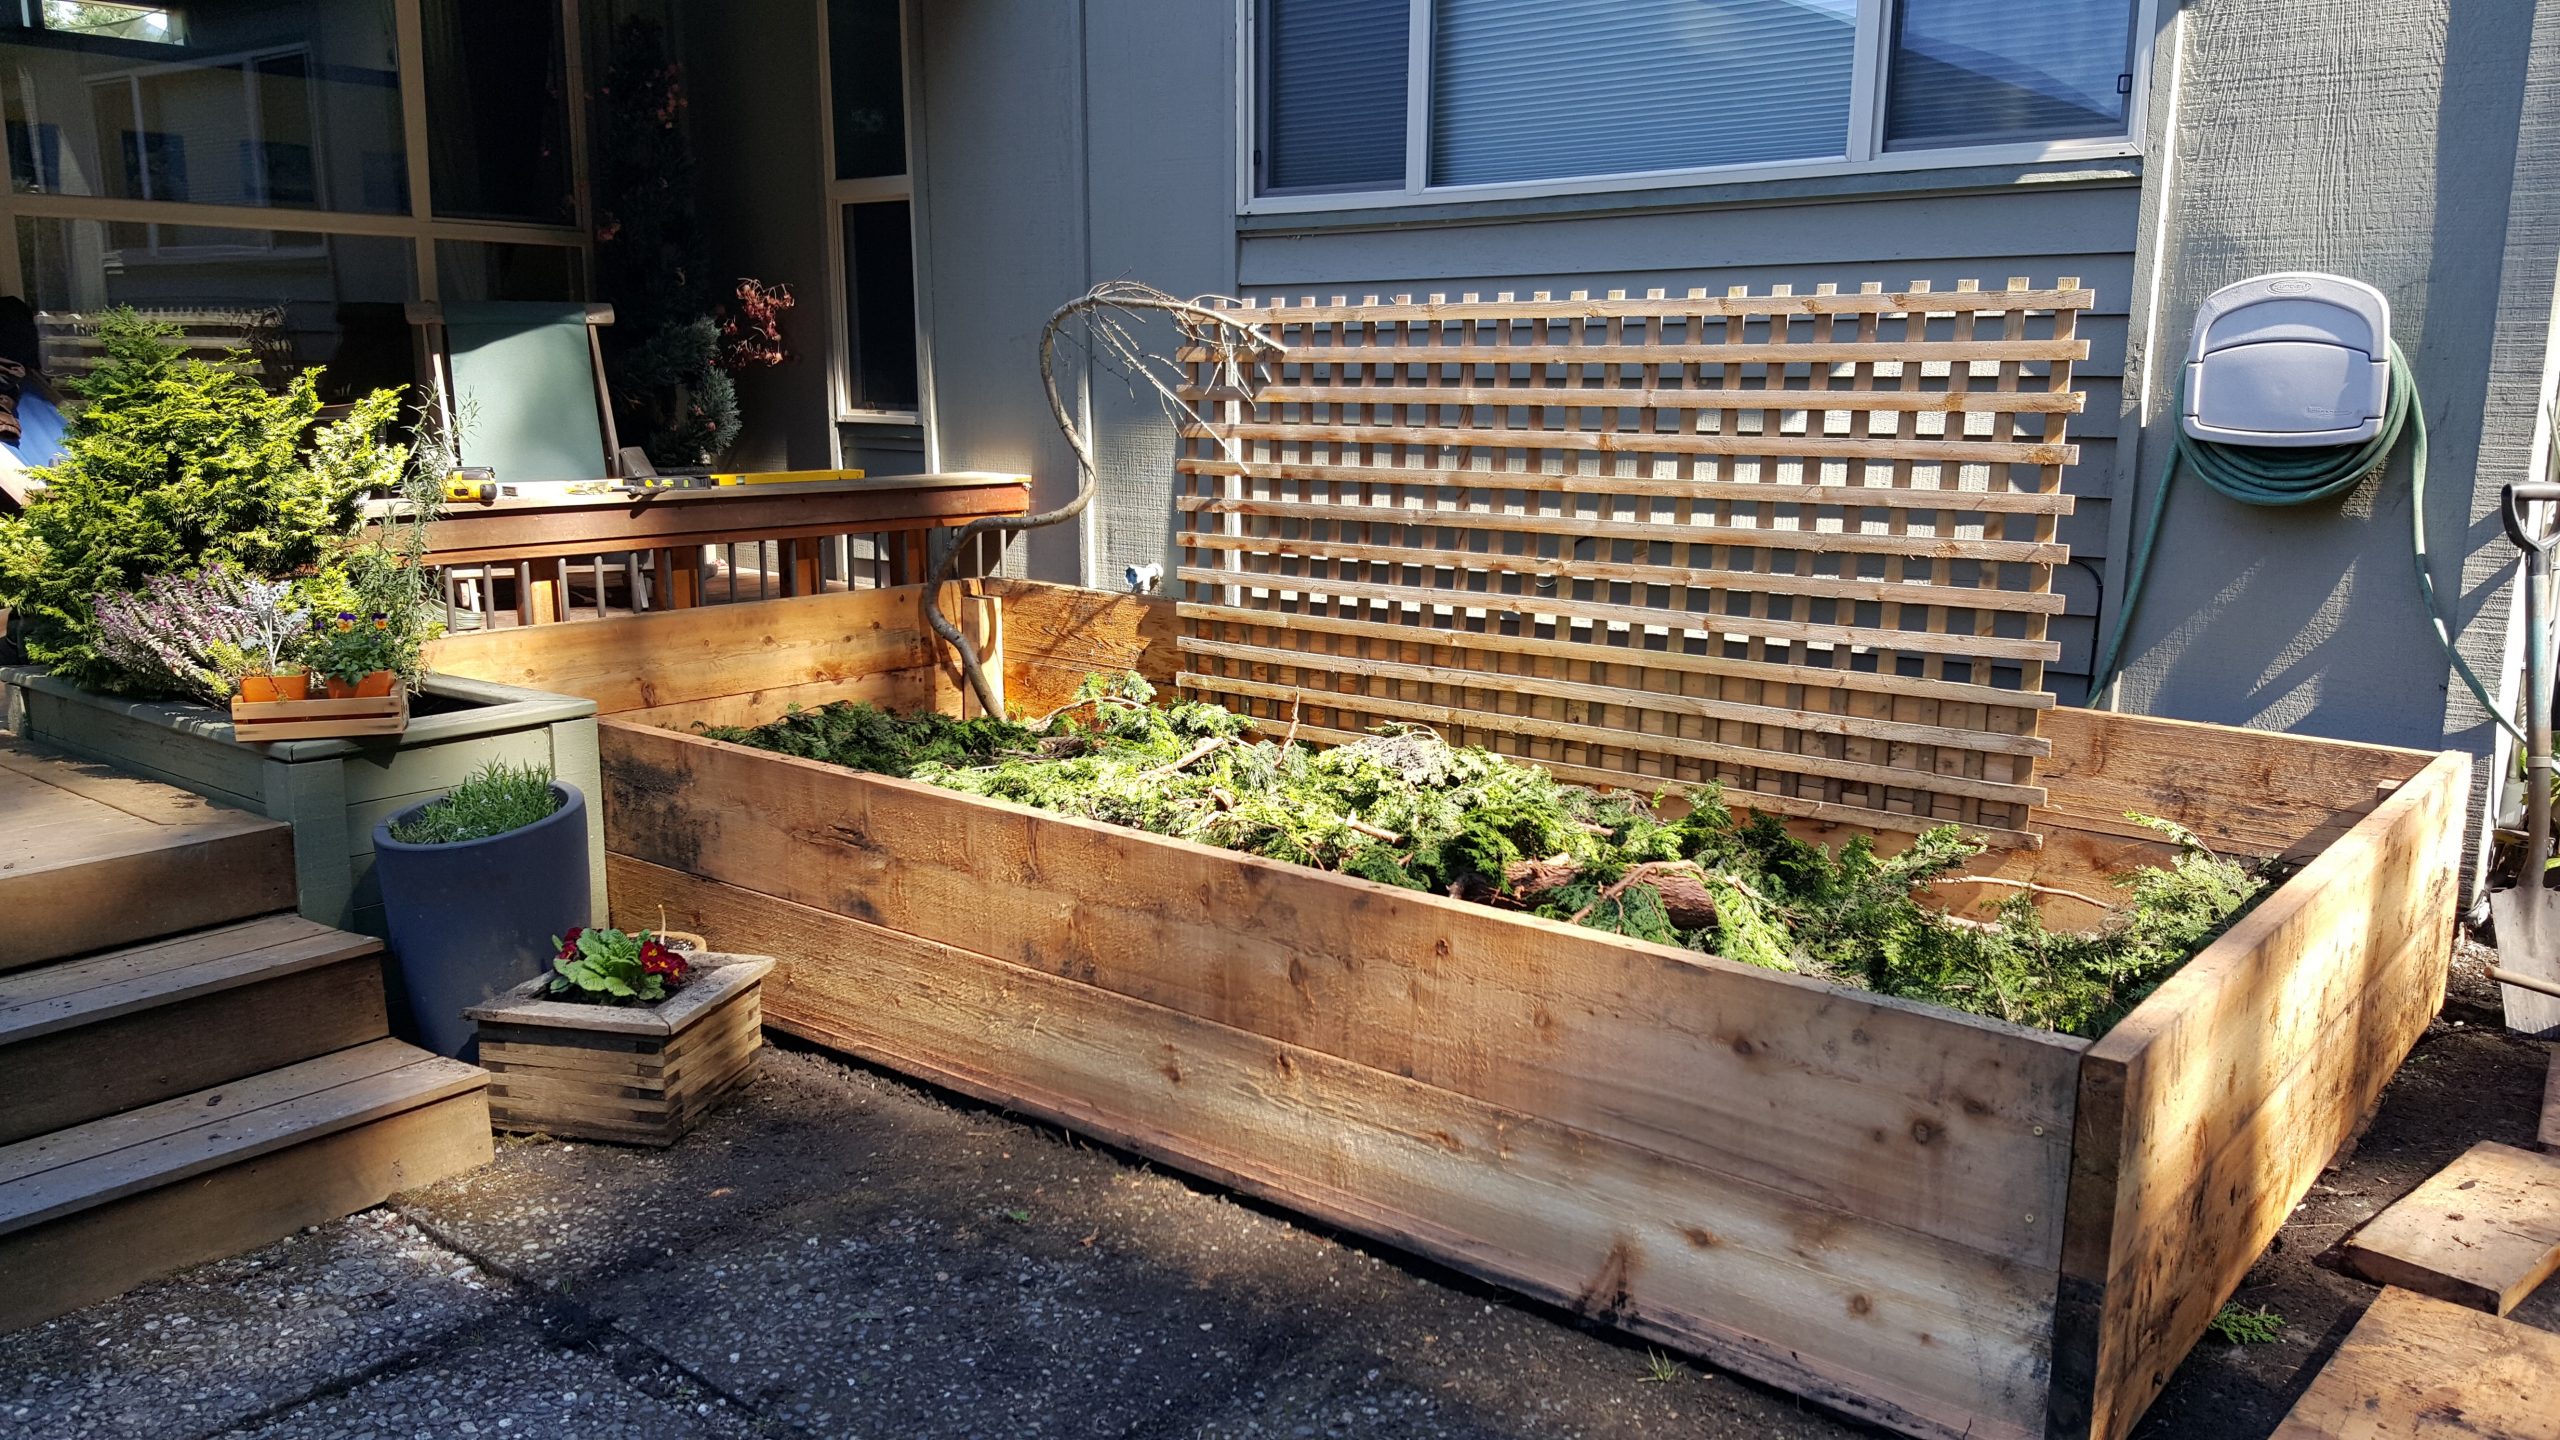
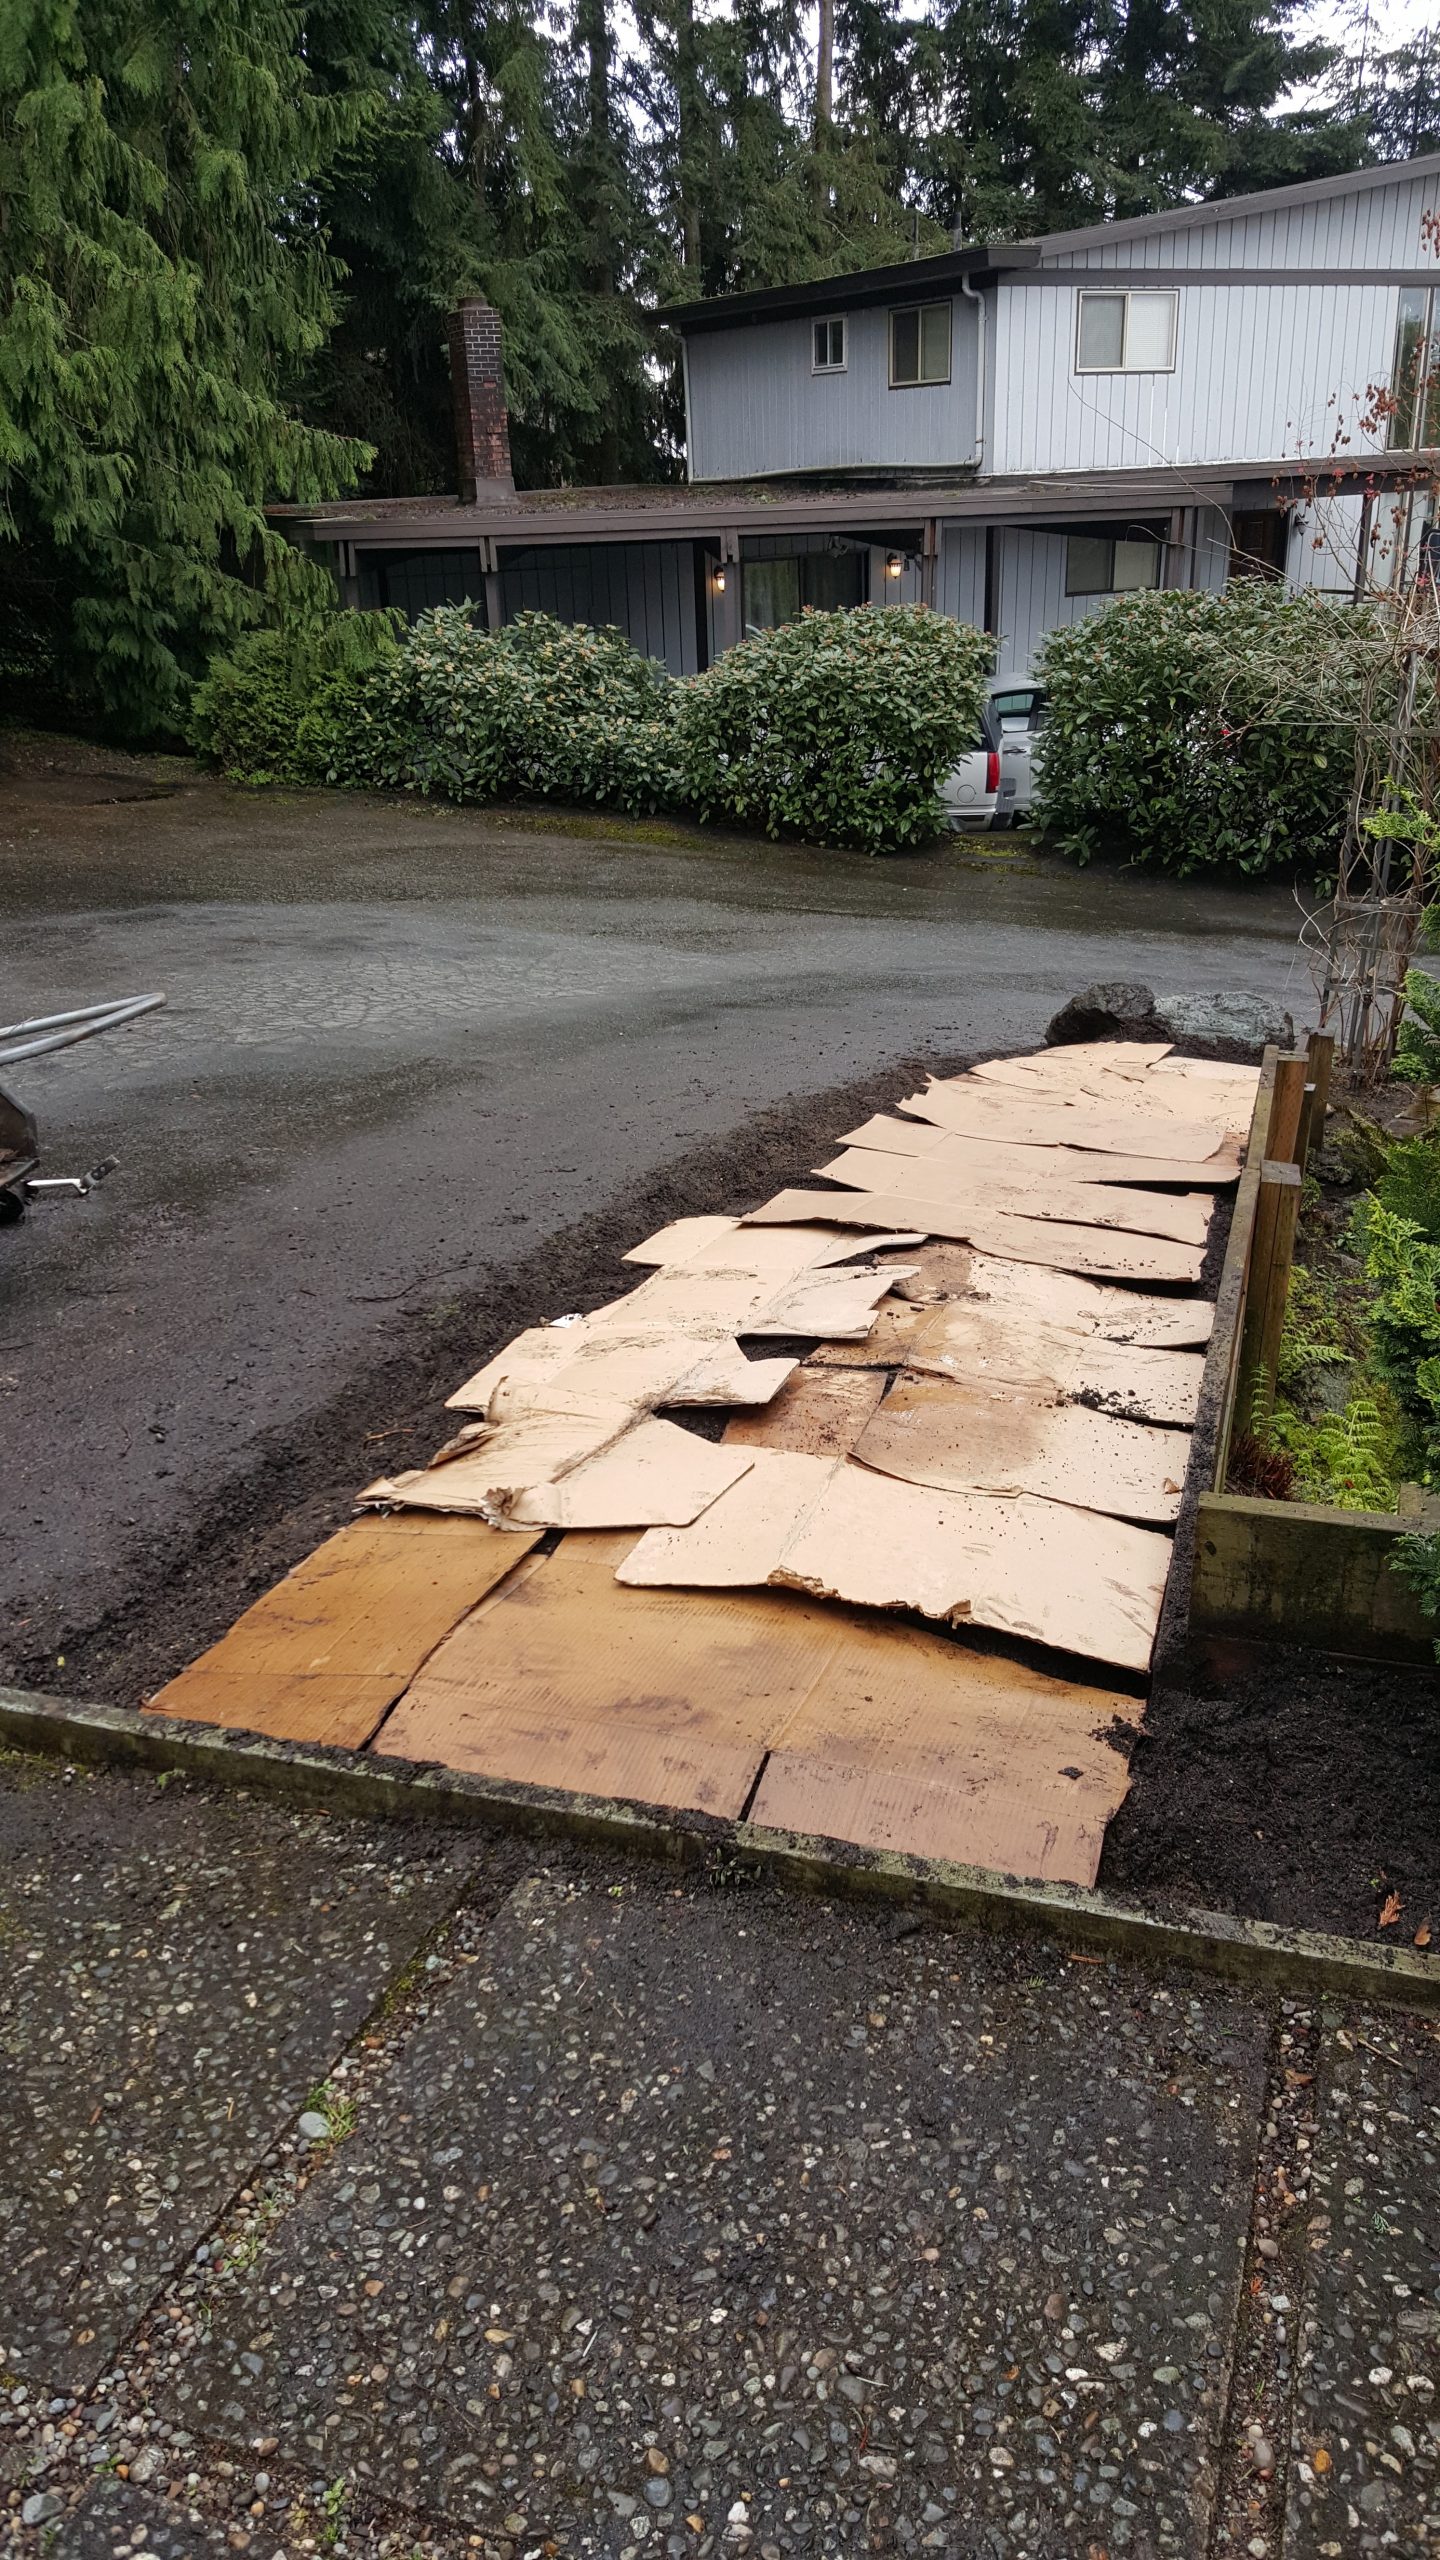
Things like “lasagna gardening” (where you build up a raised bed by alternating layers of compost, twigs & debris, newspaper and cardboard, and soil) are a variation on this, but true hugelkultur is pretty extreme, not just laying in sticks and twigs and garden debris with soil as you build a raise bed, hugelkultur could best be describes as covering up a firewood pile with soil, so you have a mound, or a swale, or a terrace. You put whole logs down, piling them on top of each other in a long triangular shape, then cover with soil. You have this sort of mound garden. Why do this at all? The wood both increases drainage and water retention, buried wood is capable of holding water like a sponge, it becomes a buried reservoir of water for your plants, and as it decomposes it increases organic matter and microbial activity in the soil and creates air pockets. It is also a decent method in any area where a raised bed is a good idea, namely areas where the ground is too rocky, the soil too shallow, or the soil just of too poor quality to do a proper garden bed. So rather than dig a bed into the ground, you build a bed on top of ground.
Hugelkultur beds don’t have to be huge piles, they can also be built flat. You could layer logs and other wood at the bottom of a flat bed, like a raft of wood, then pile soil on top. That works too. As the wood decomposes it will of course shrink and so you need to account for that.
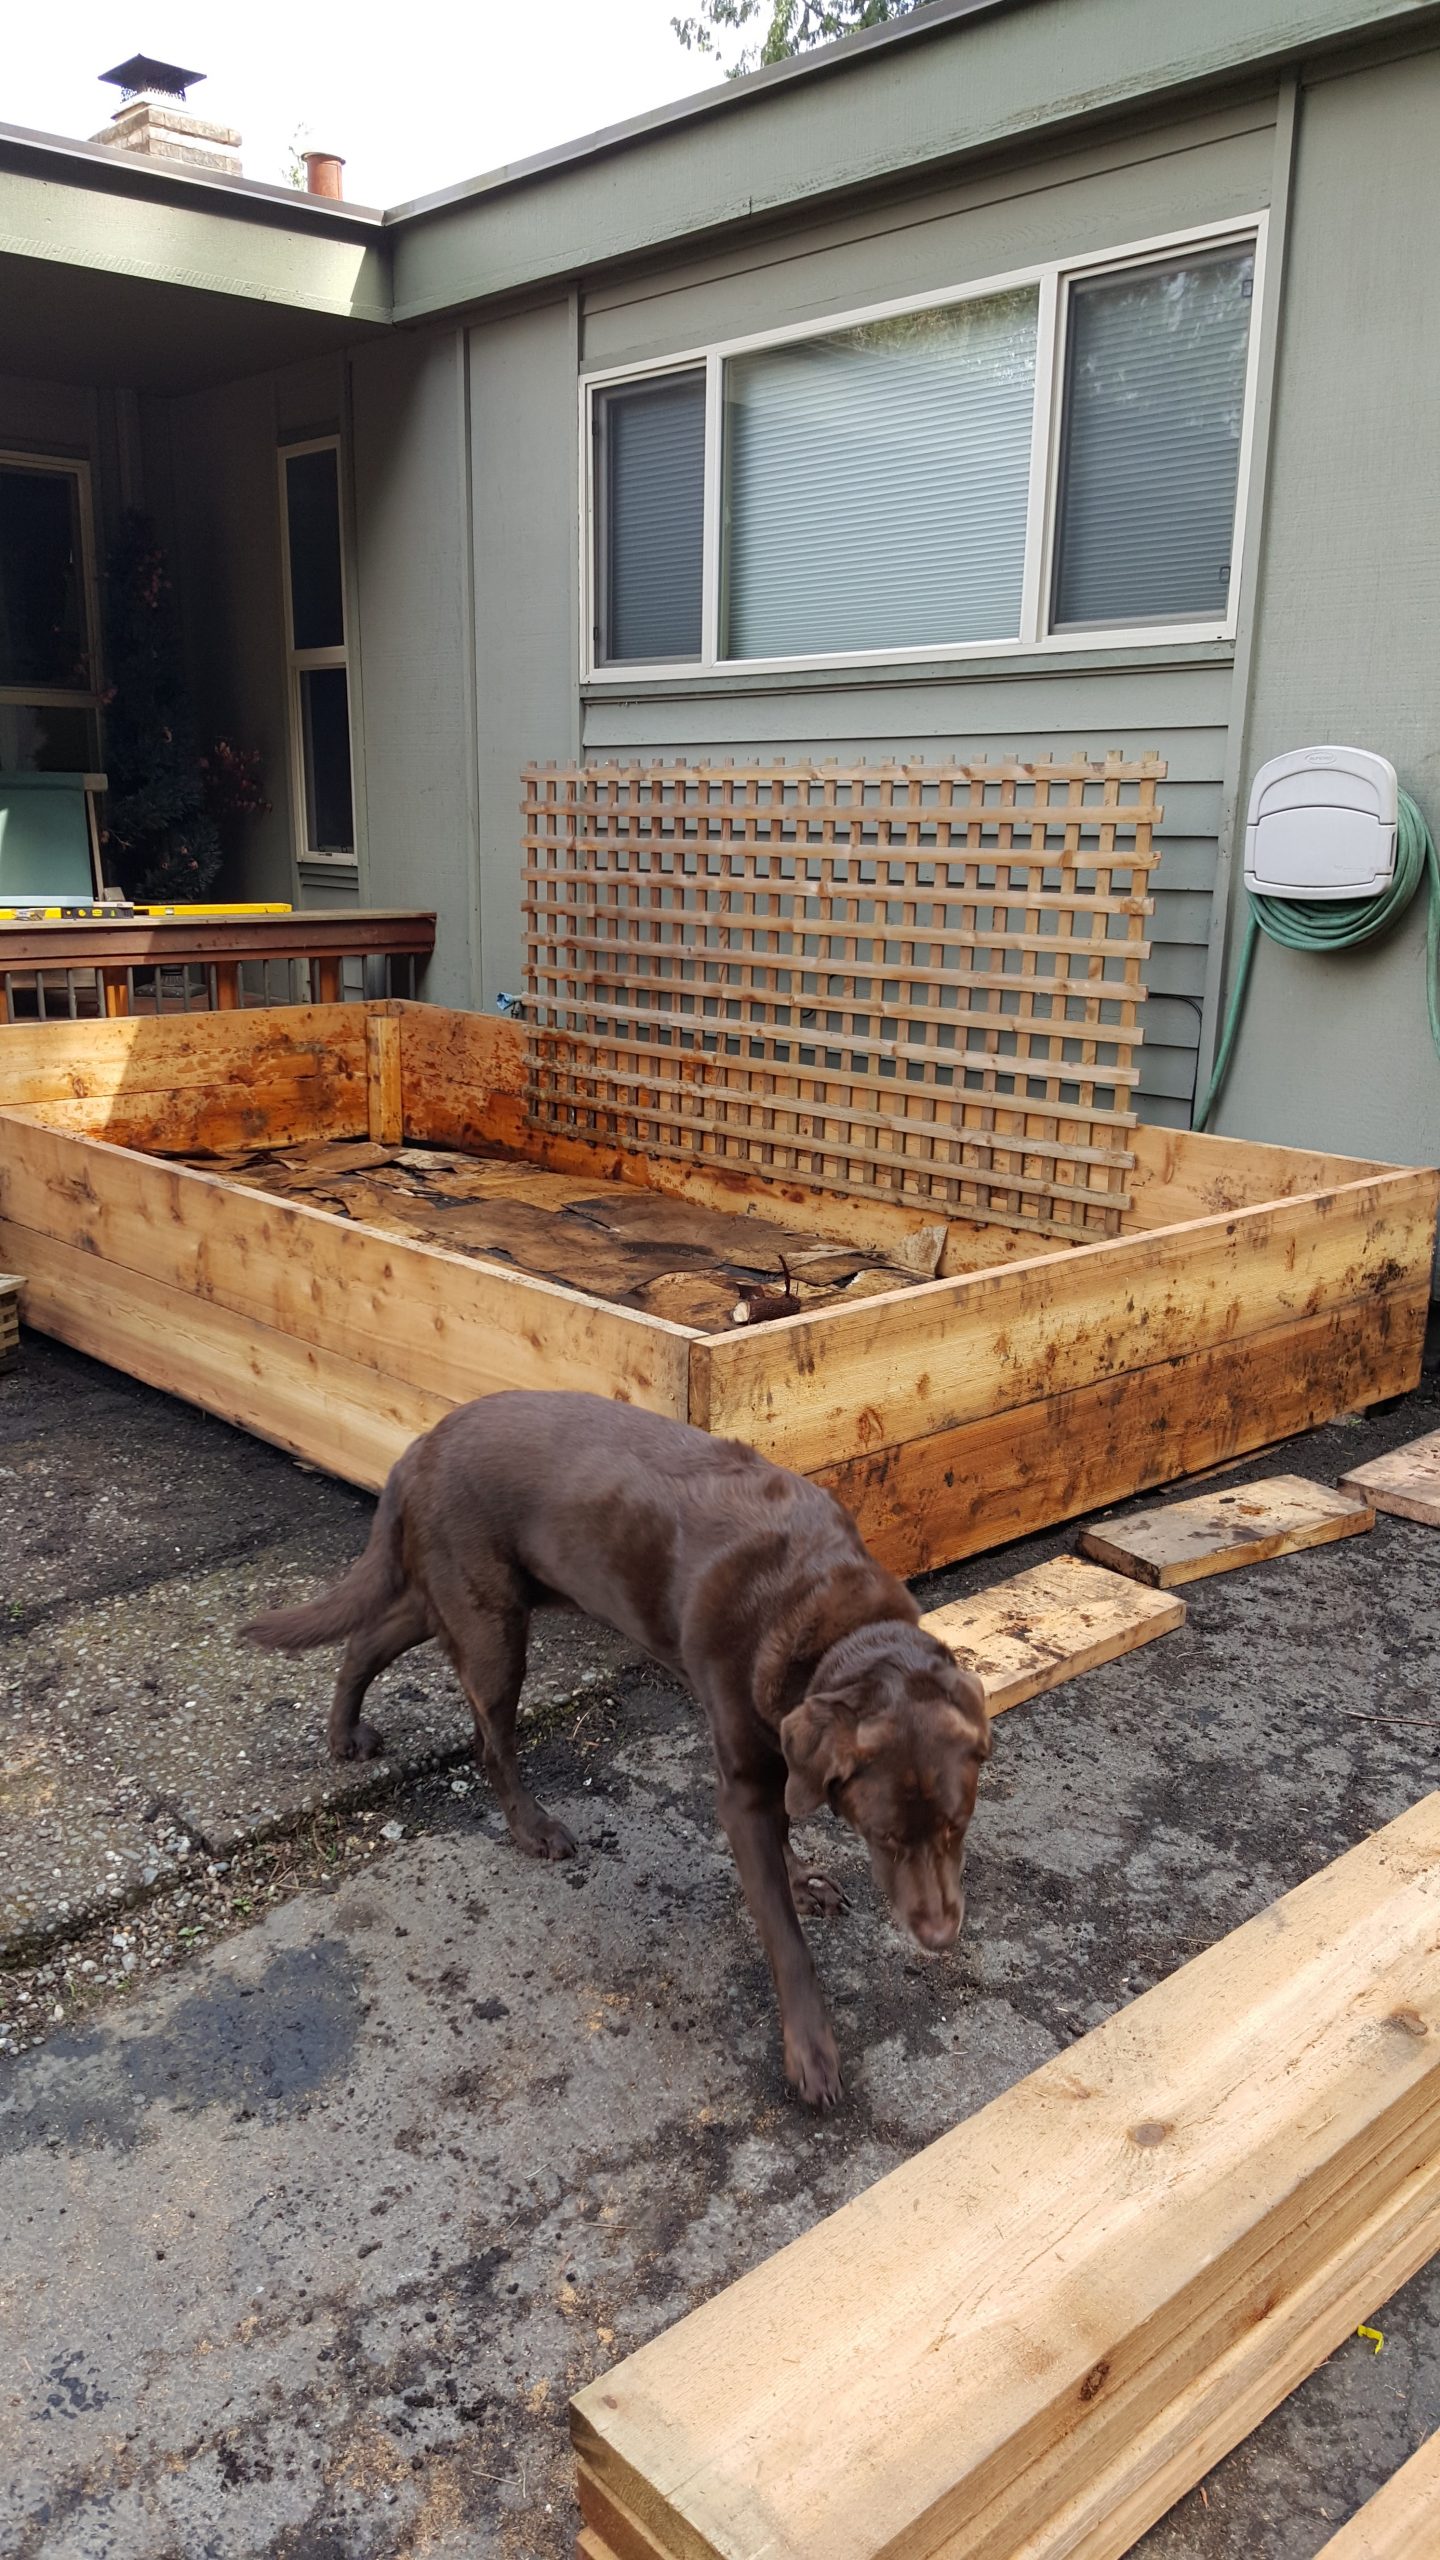
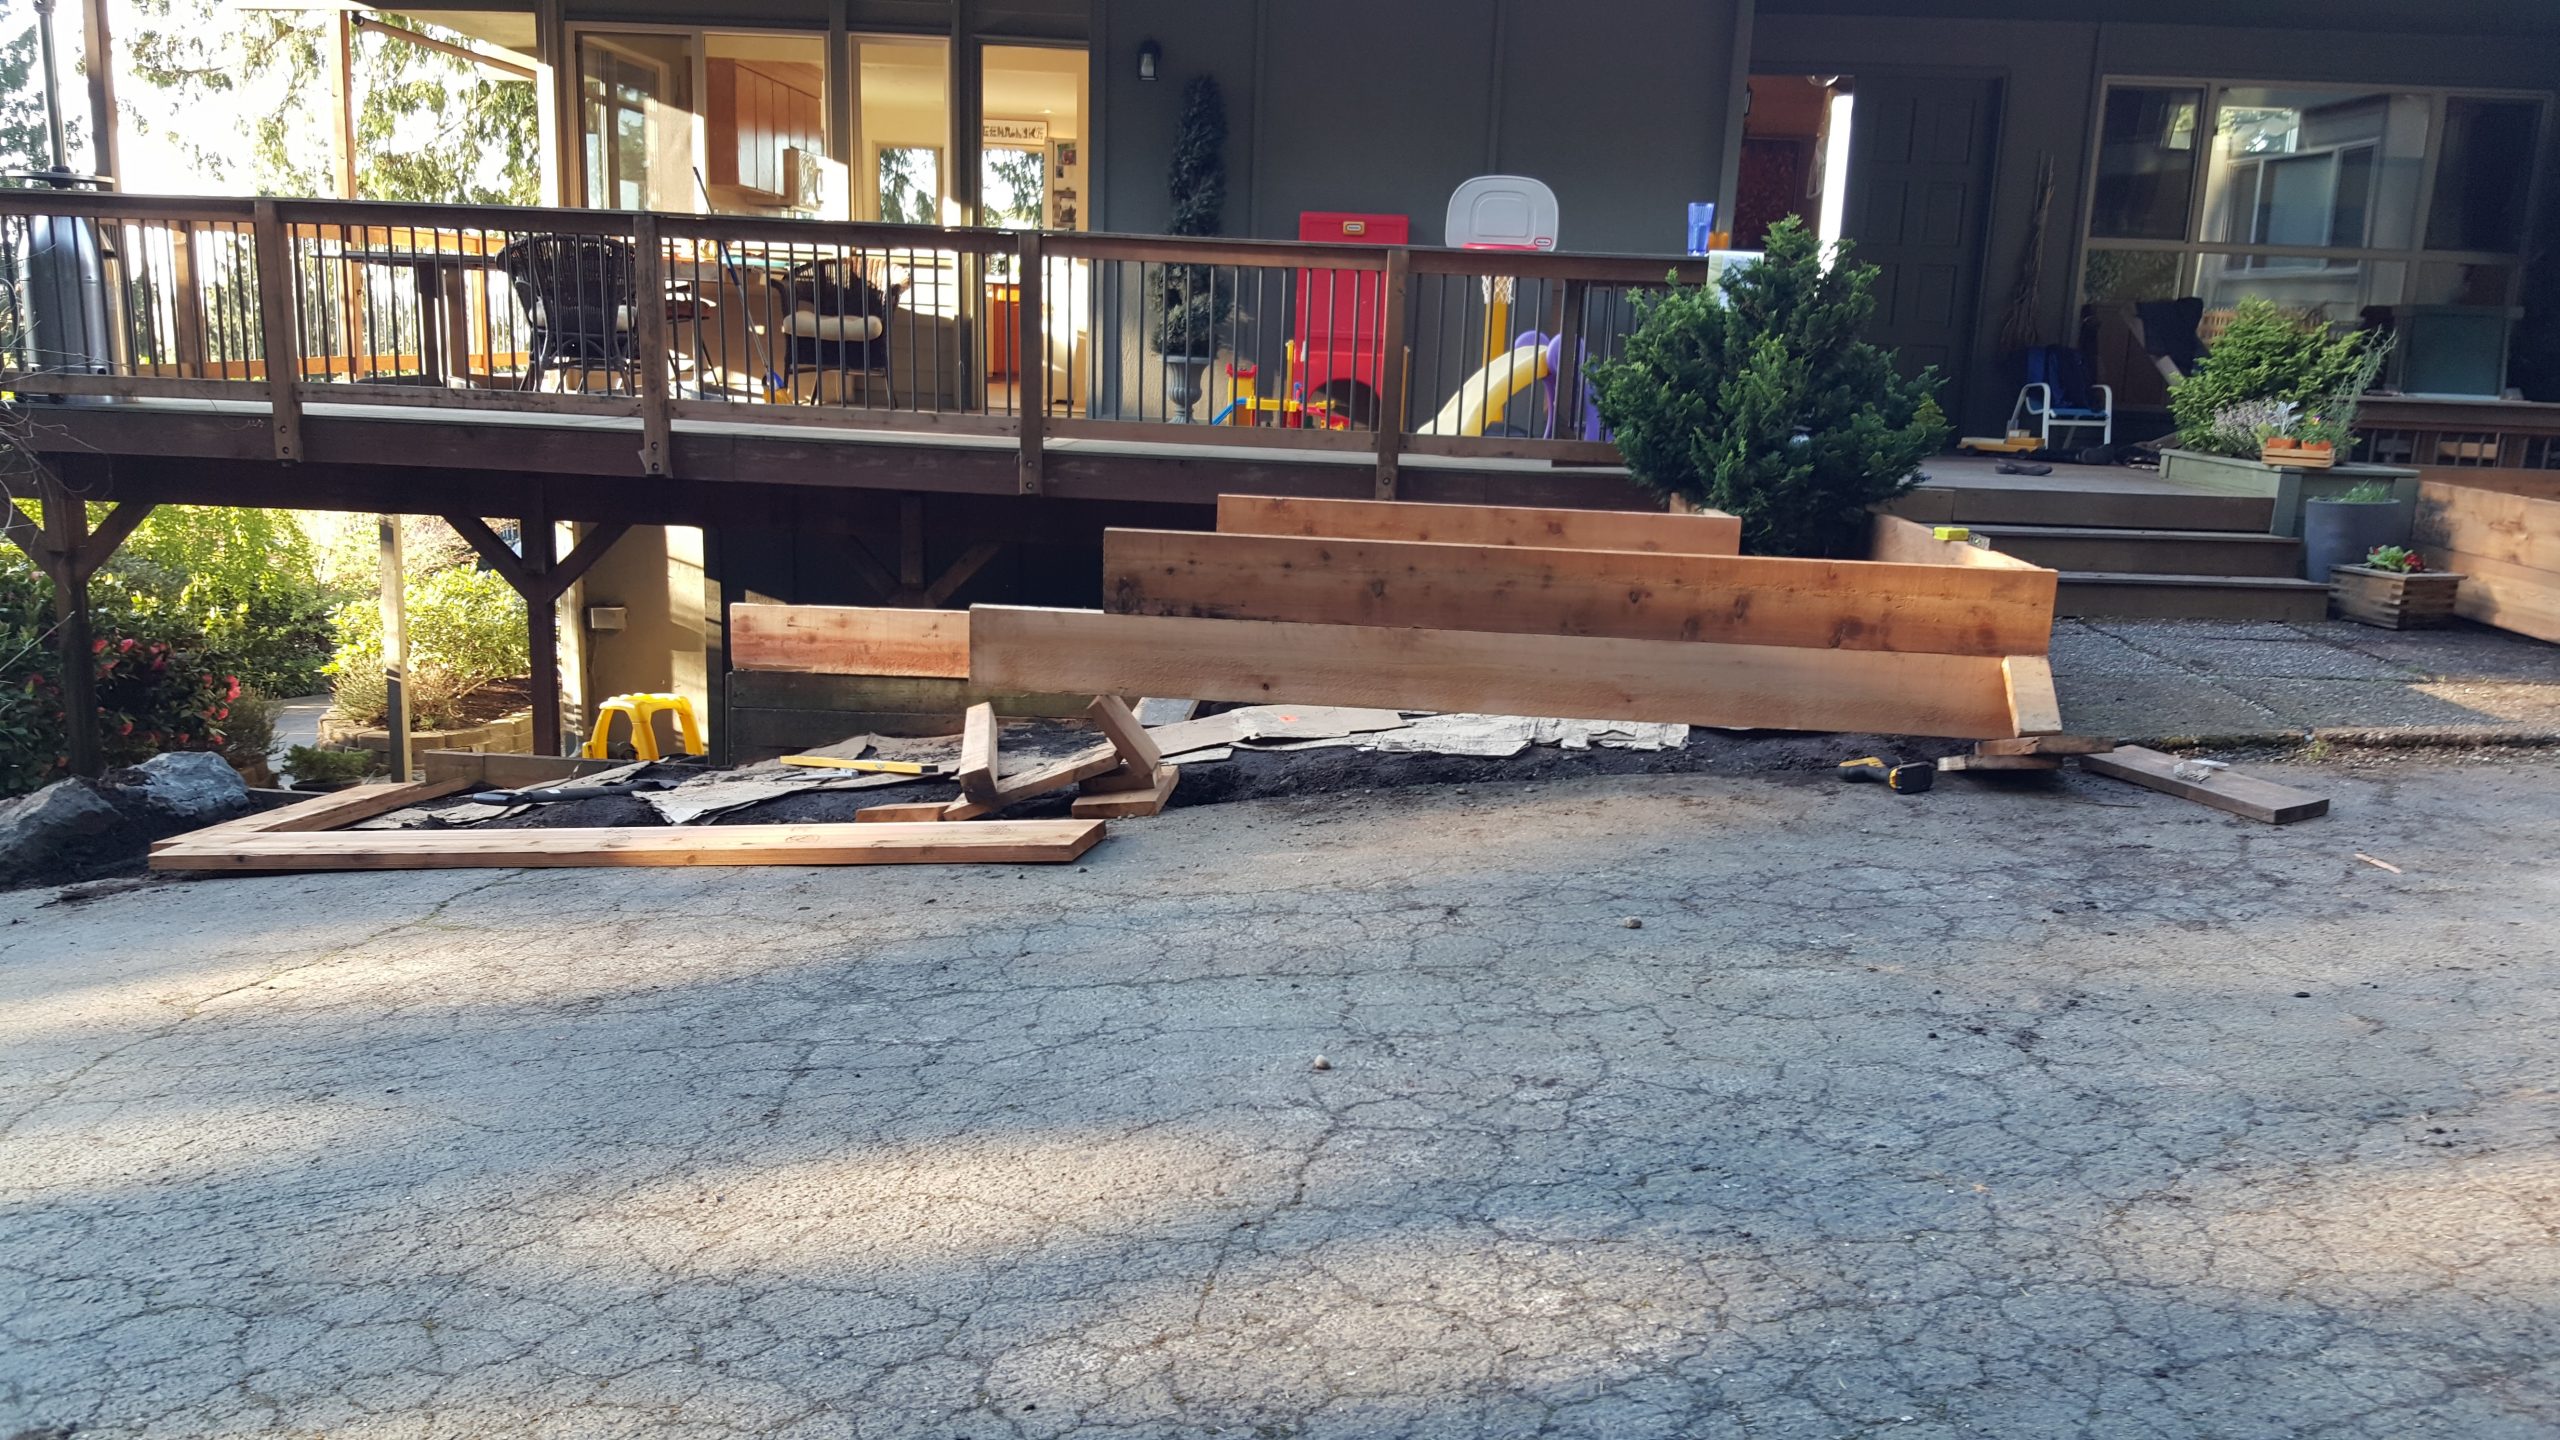
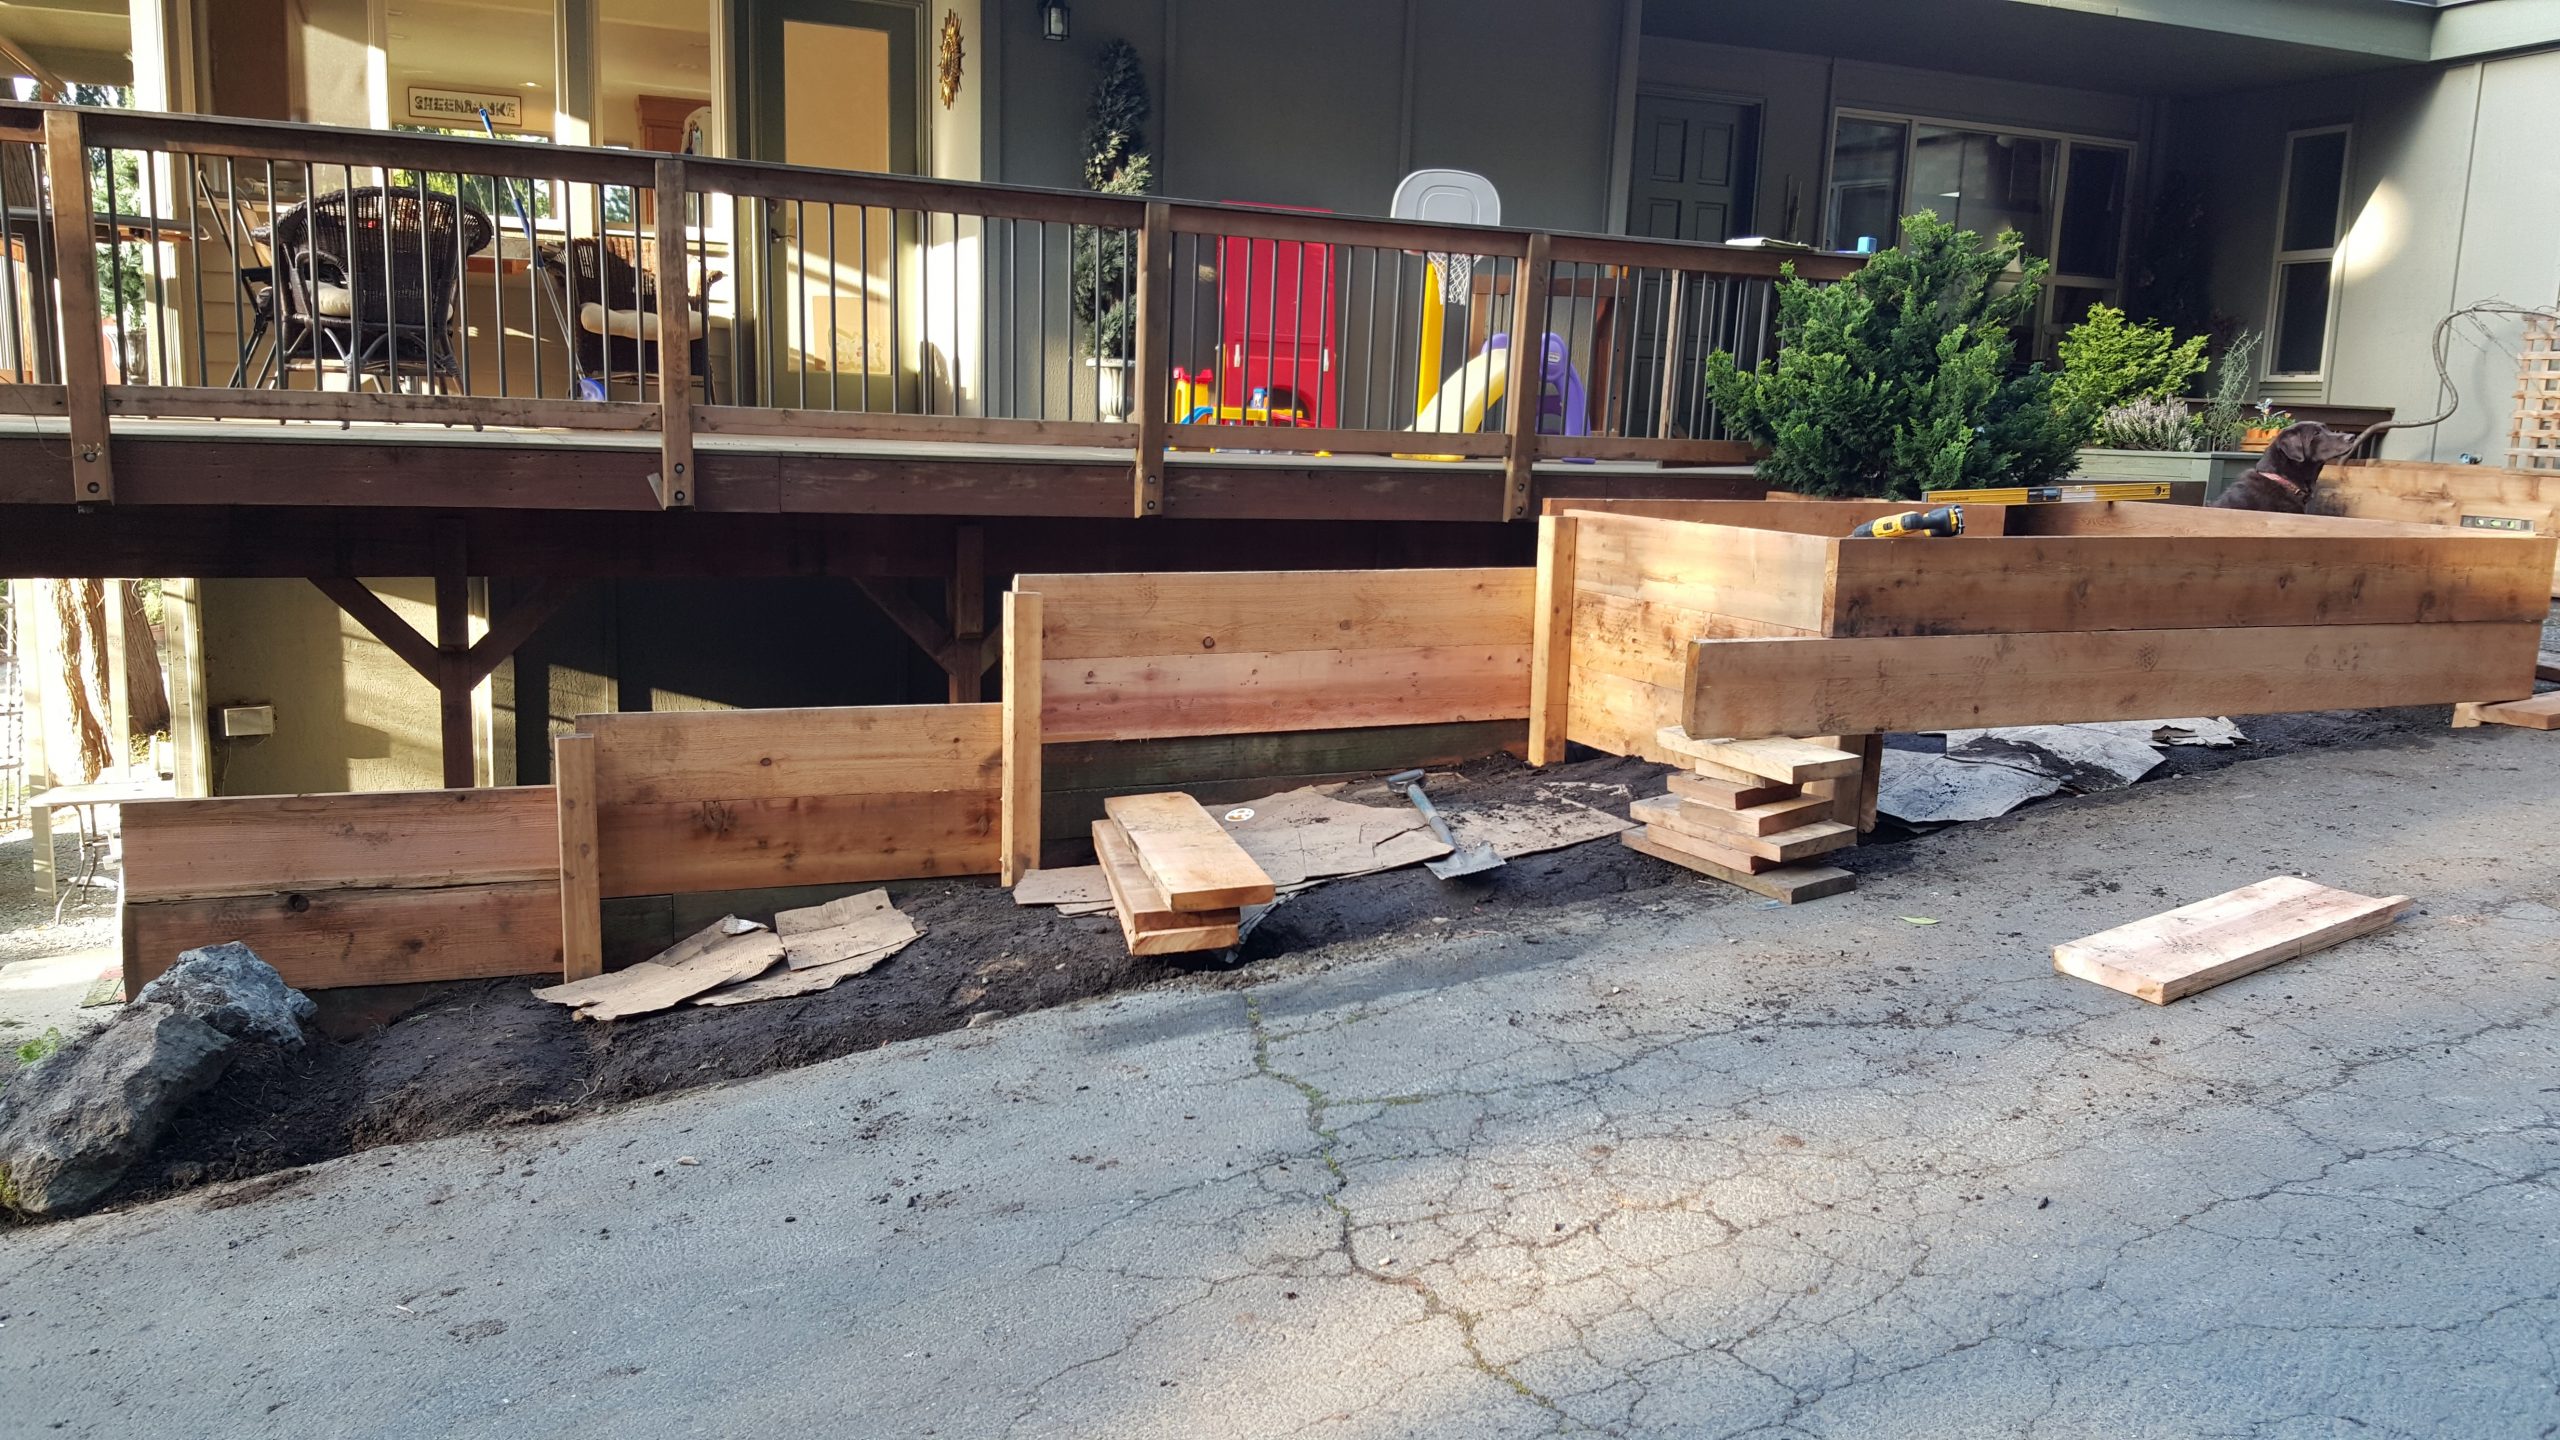
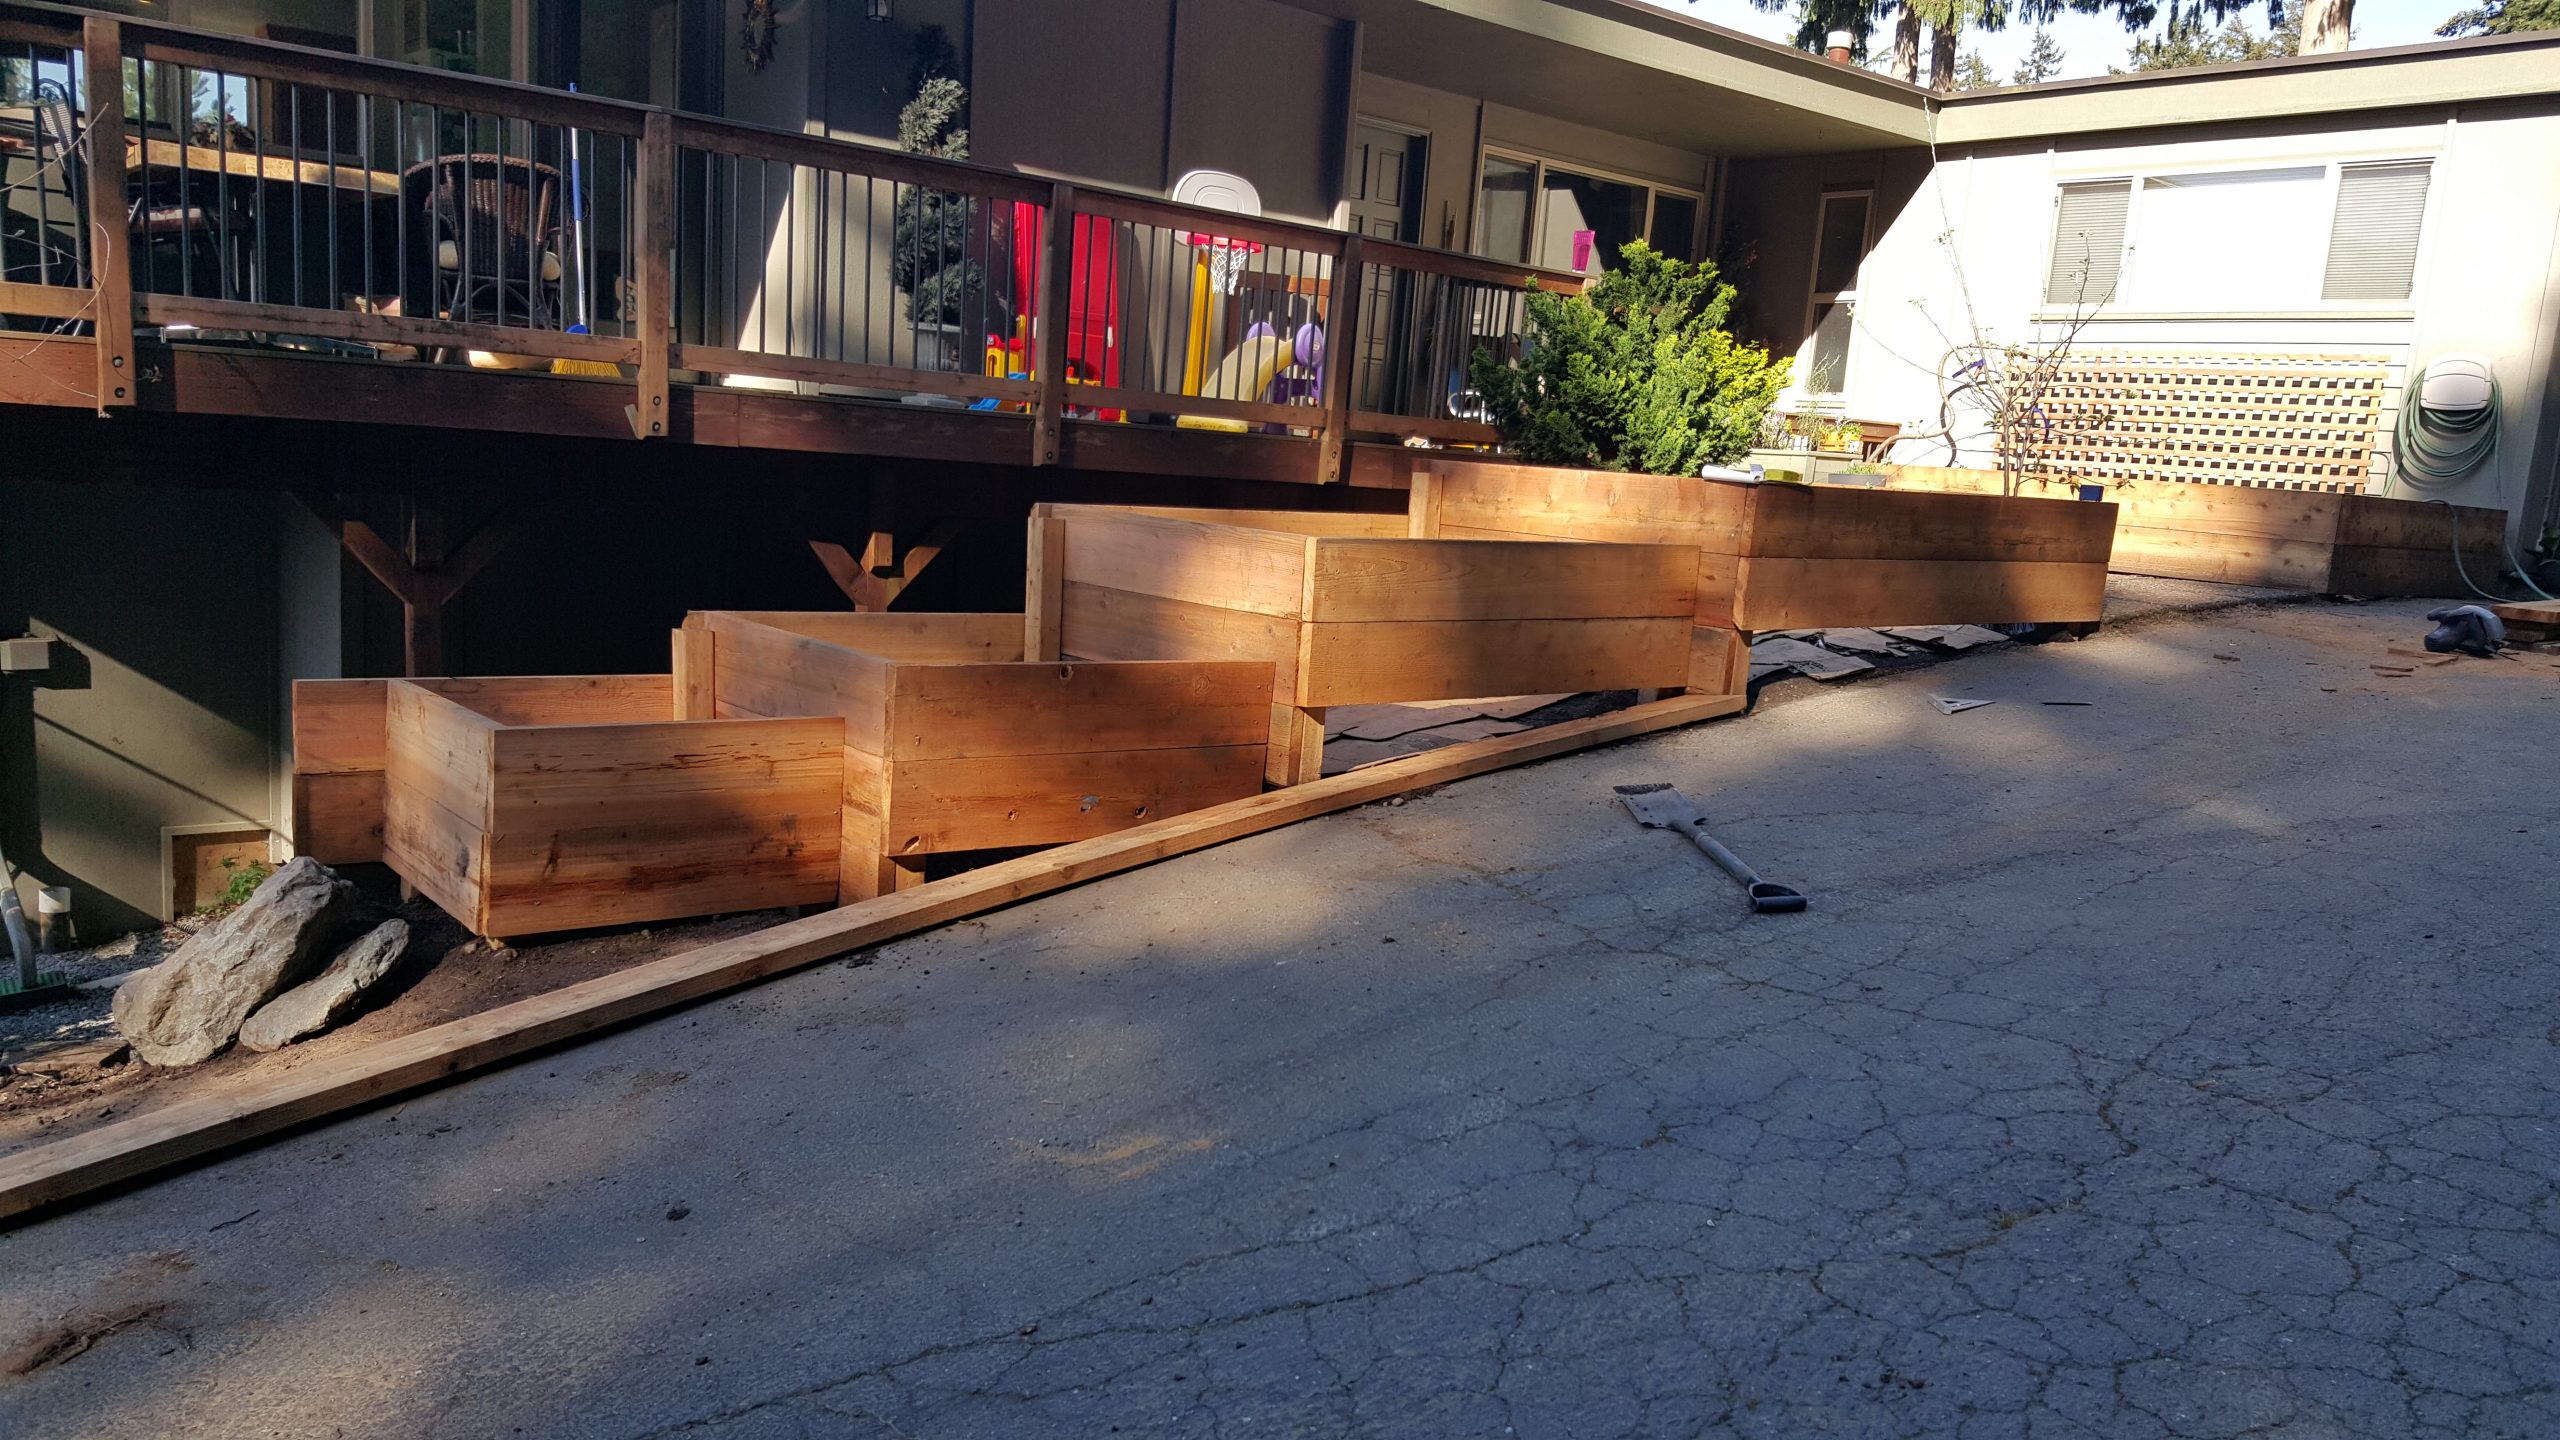
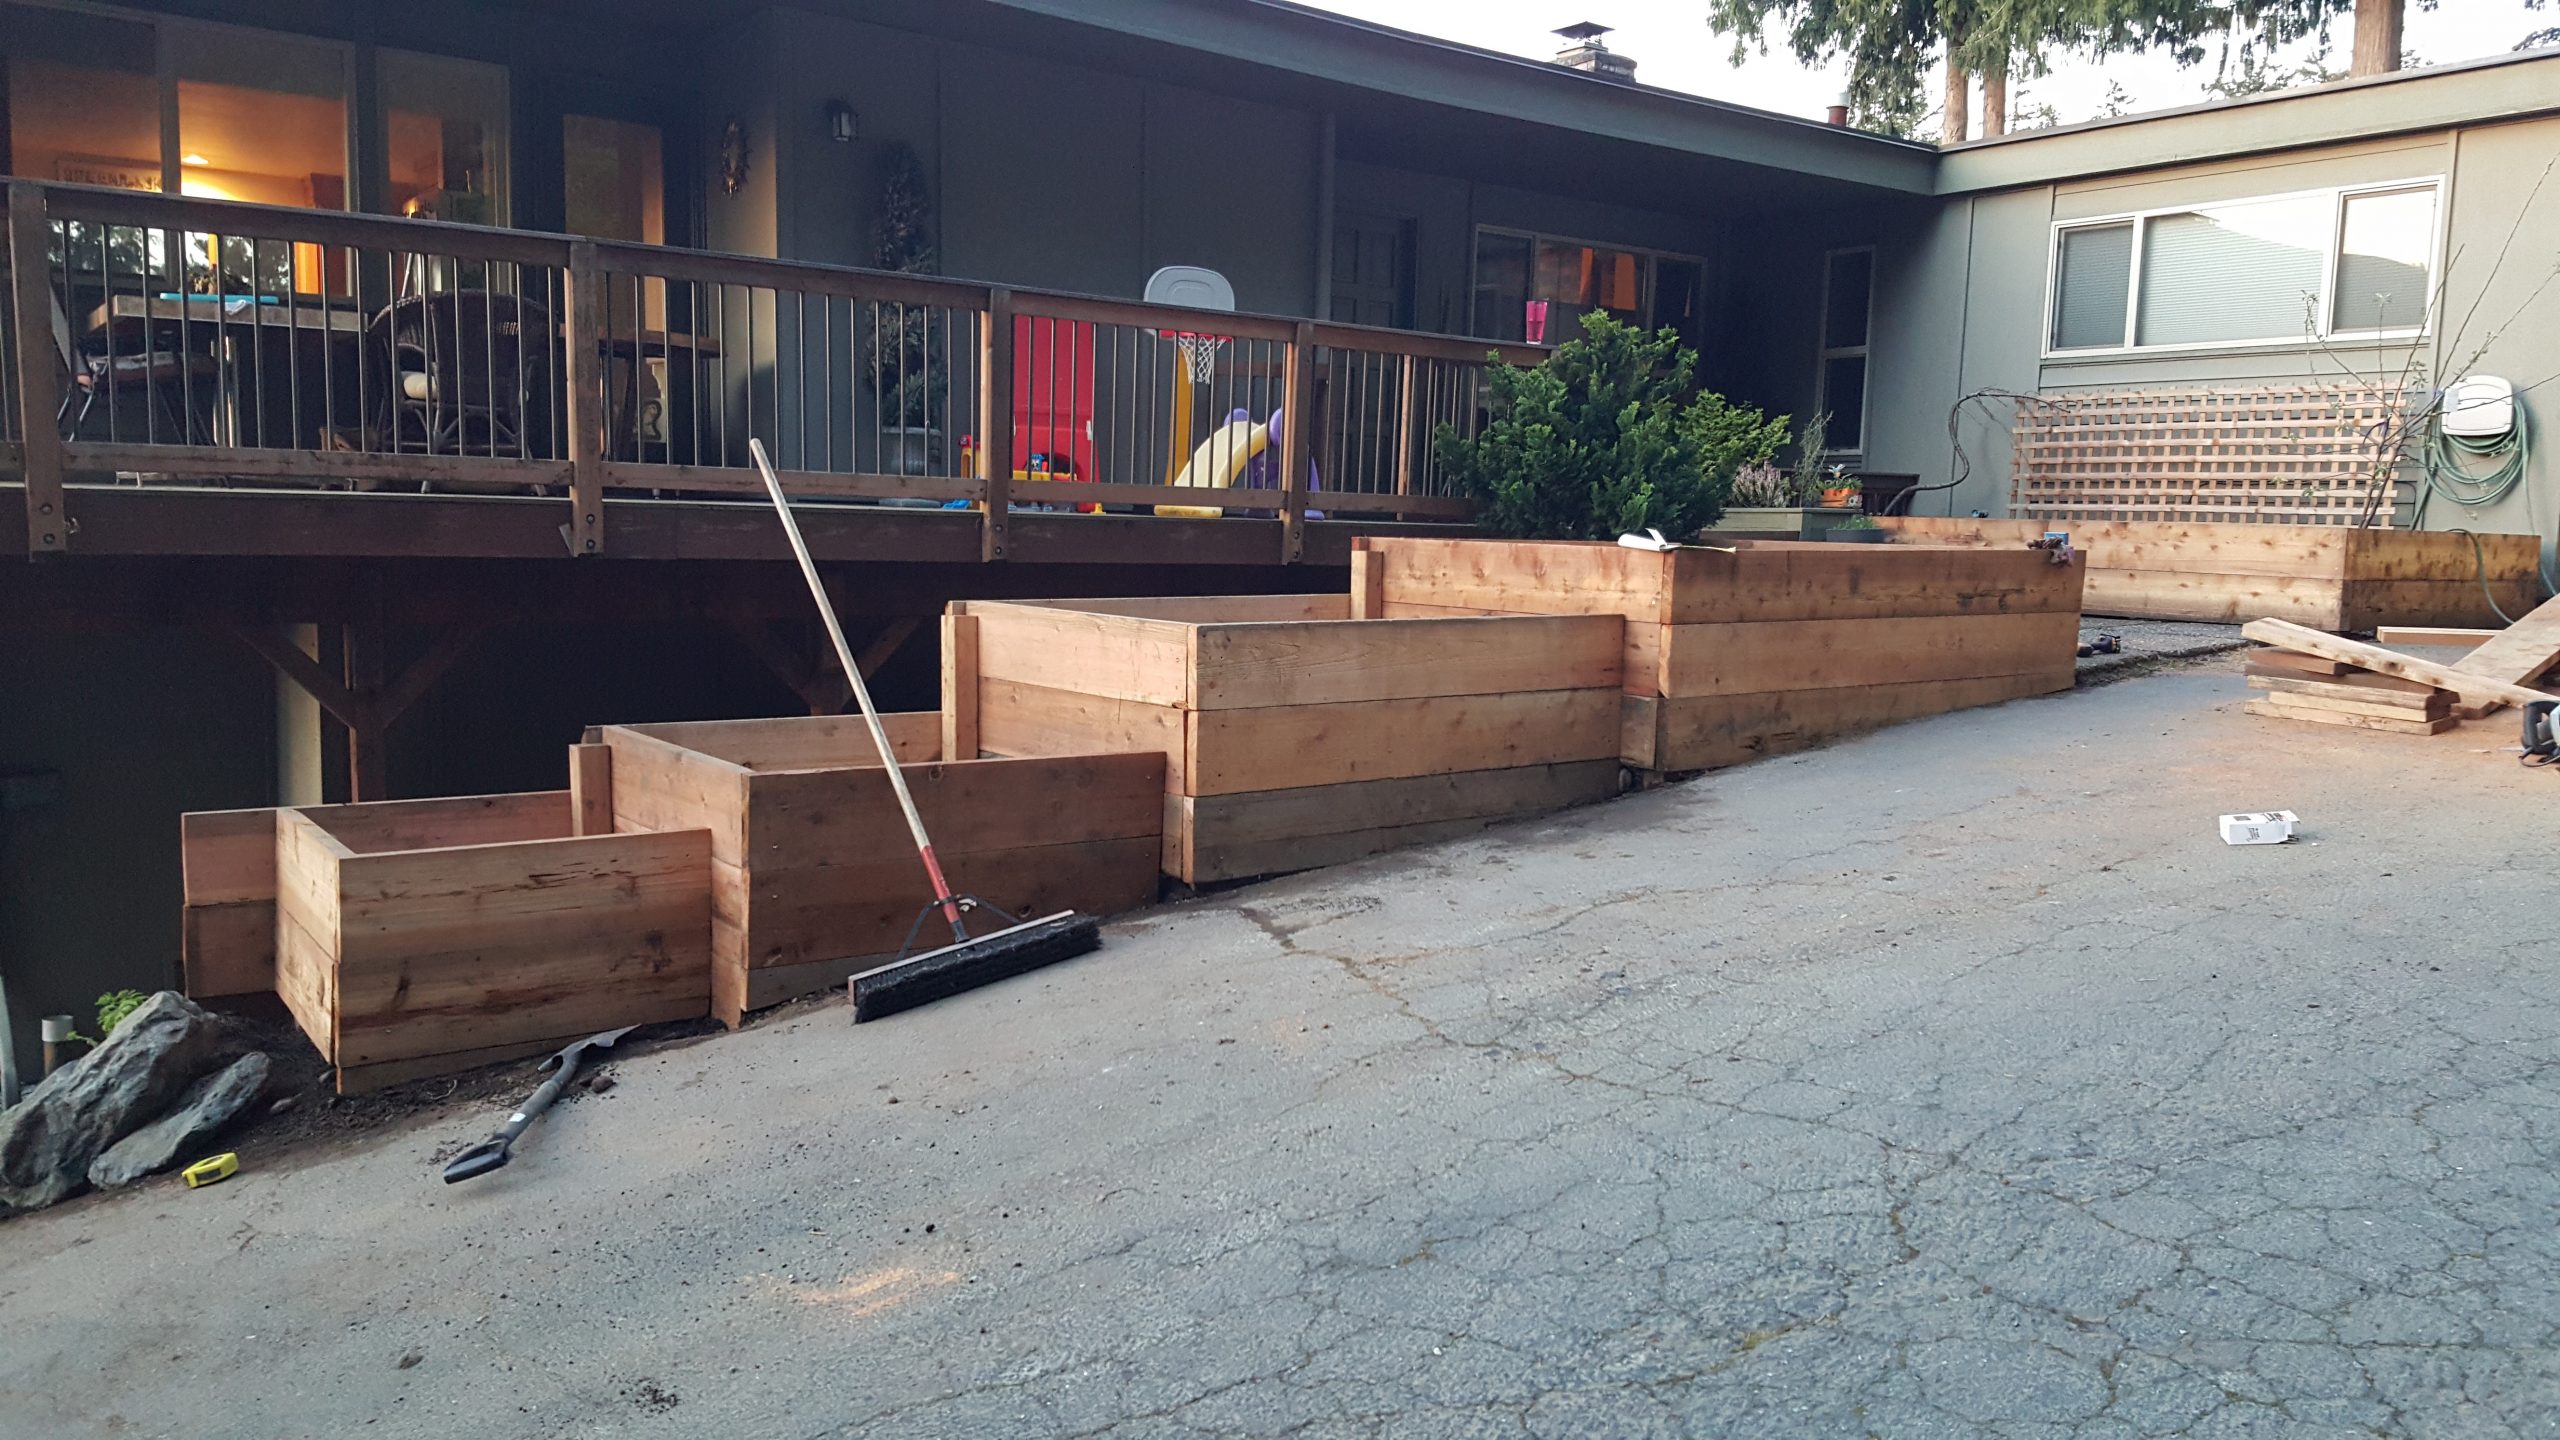
The flat hugelkultur bed is the method I followed. I used the branches from a tree that was removed out of the large garden bed space. I also used the forest behind the house to forage for downed branches.
My first blog post. A little background I guess. I am a mom, wife, artist, wanna-be teacher, and lover of nature and all things naturally made. I started my garden for many reasons: to be creative, to grow my own food, to make meals and store food for the winter months (or the apocalypse, whichever comes first) ;-). This year winter is upon us and I didn’t get the biggest harvest so I will stick to ordering my fruits and vegetables from Klesick Farms. They rock. It is fun and easy to order food online and have it delivered right to the front door. I still need to learn all about canning and storing food but that is for another day.
First food delivery from Klesick Farms.
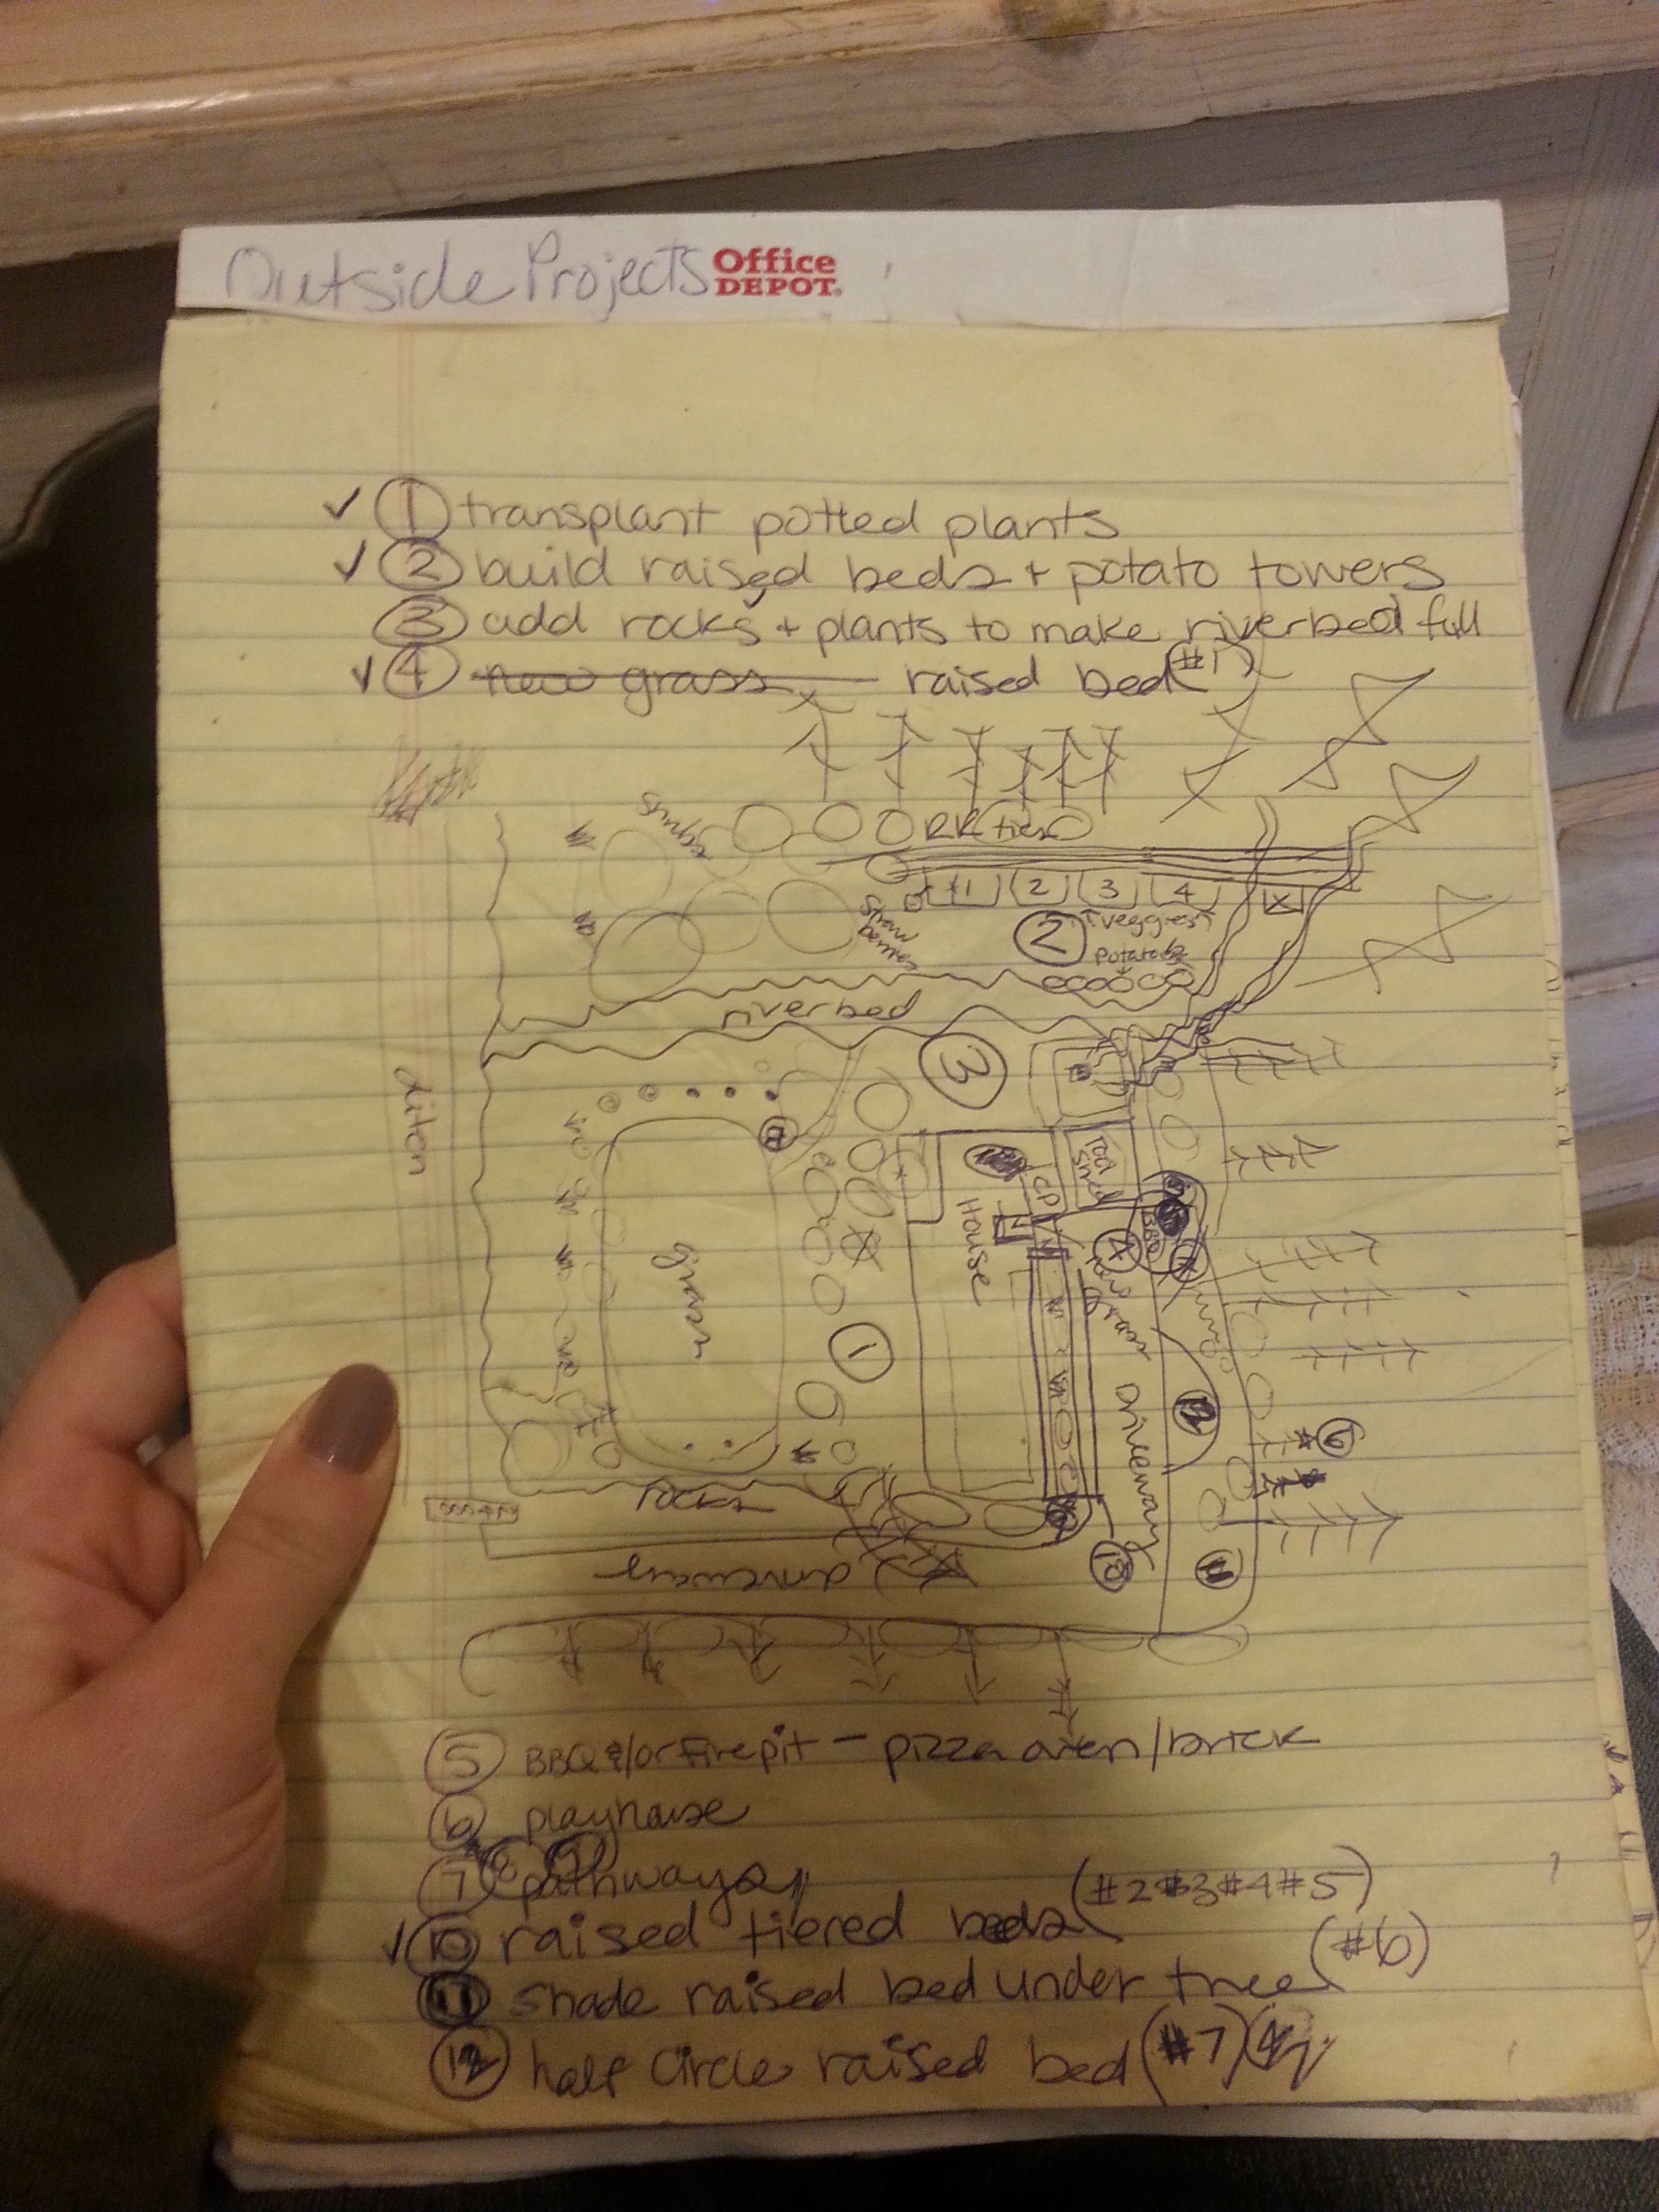
Today I want to go over what I have done so far. This is how I plan to blog, going over what I have done. I started planning and designing my garden in January 2016, in the cold winter months while listening to my husband play guitar. I read, pinned, and created what I wanted to do. I like to use the yellow legal pads to keep all the ideas and information all in one place. It is my old school blog if you will.
One of many sketches in my planner.
Once I had all the plans drawn out and measurements estimated. I bought the supplies from local stores, I like to keep it as local as possible with all my purchases. Vote with your dollars is a good motto of mine. I want to support local companies, employees, and taxes to support the town I live in. I ordered seeds from Osborne Seed Co., soil delivered from Salazar’s Nursery, bought wood at Sound Cedar, screws from Kaptein’s Ace Hardware, had Ollas made by Sauk Mountain Pottery, and collected tools from garage sales or the local pawn shop. With all the supplies in hand then it was time to start moving plants and building the raised beds.
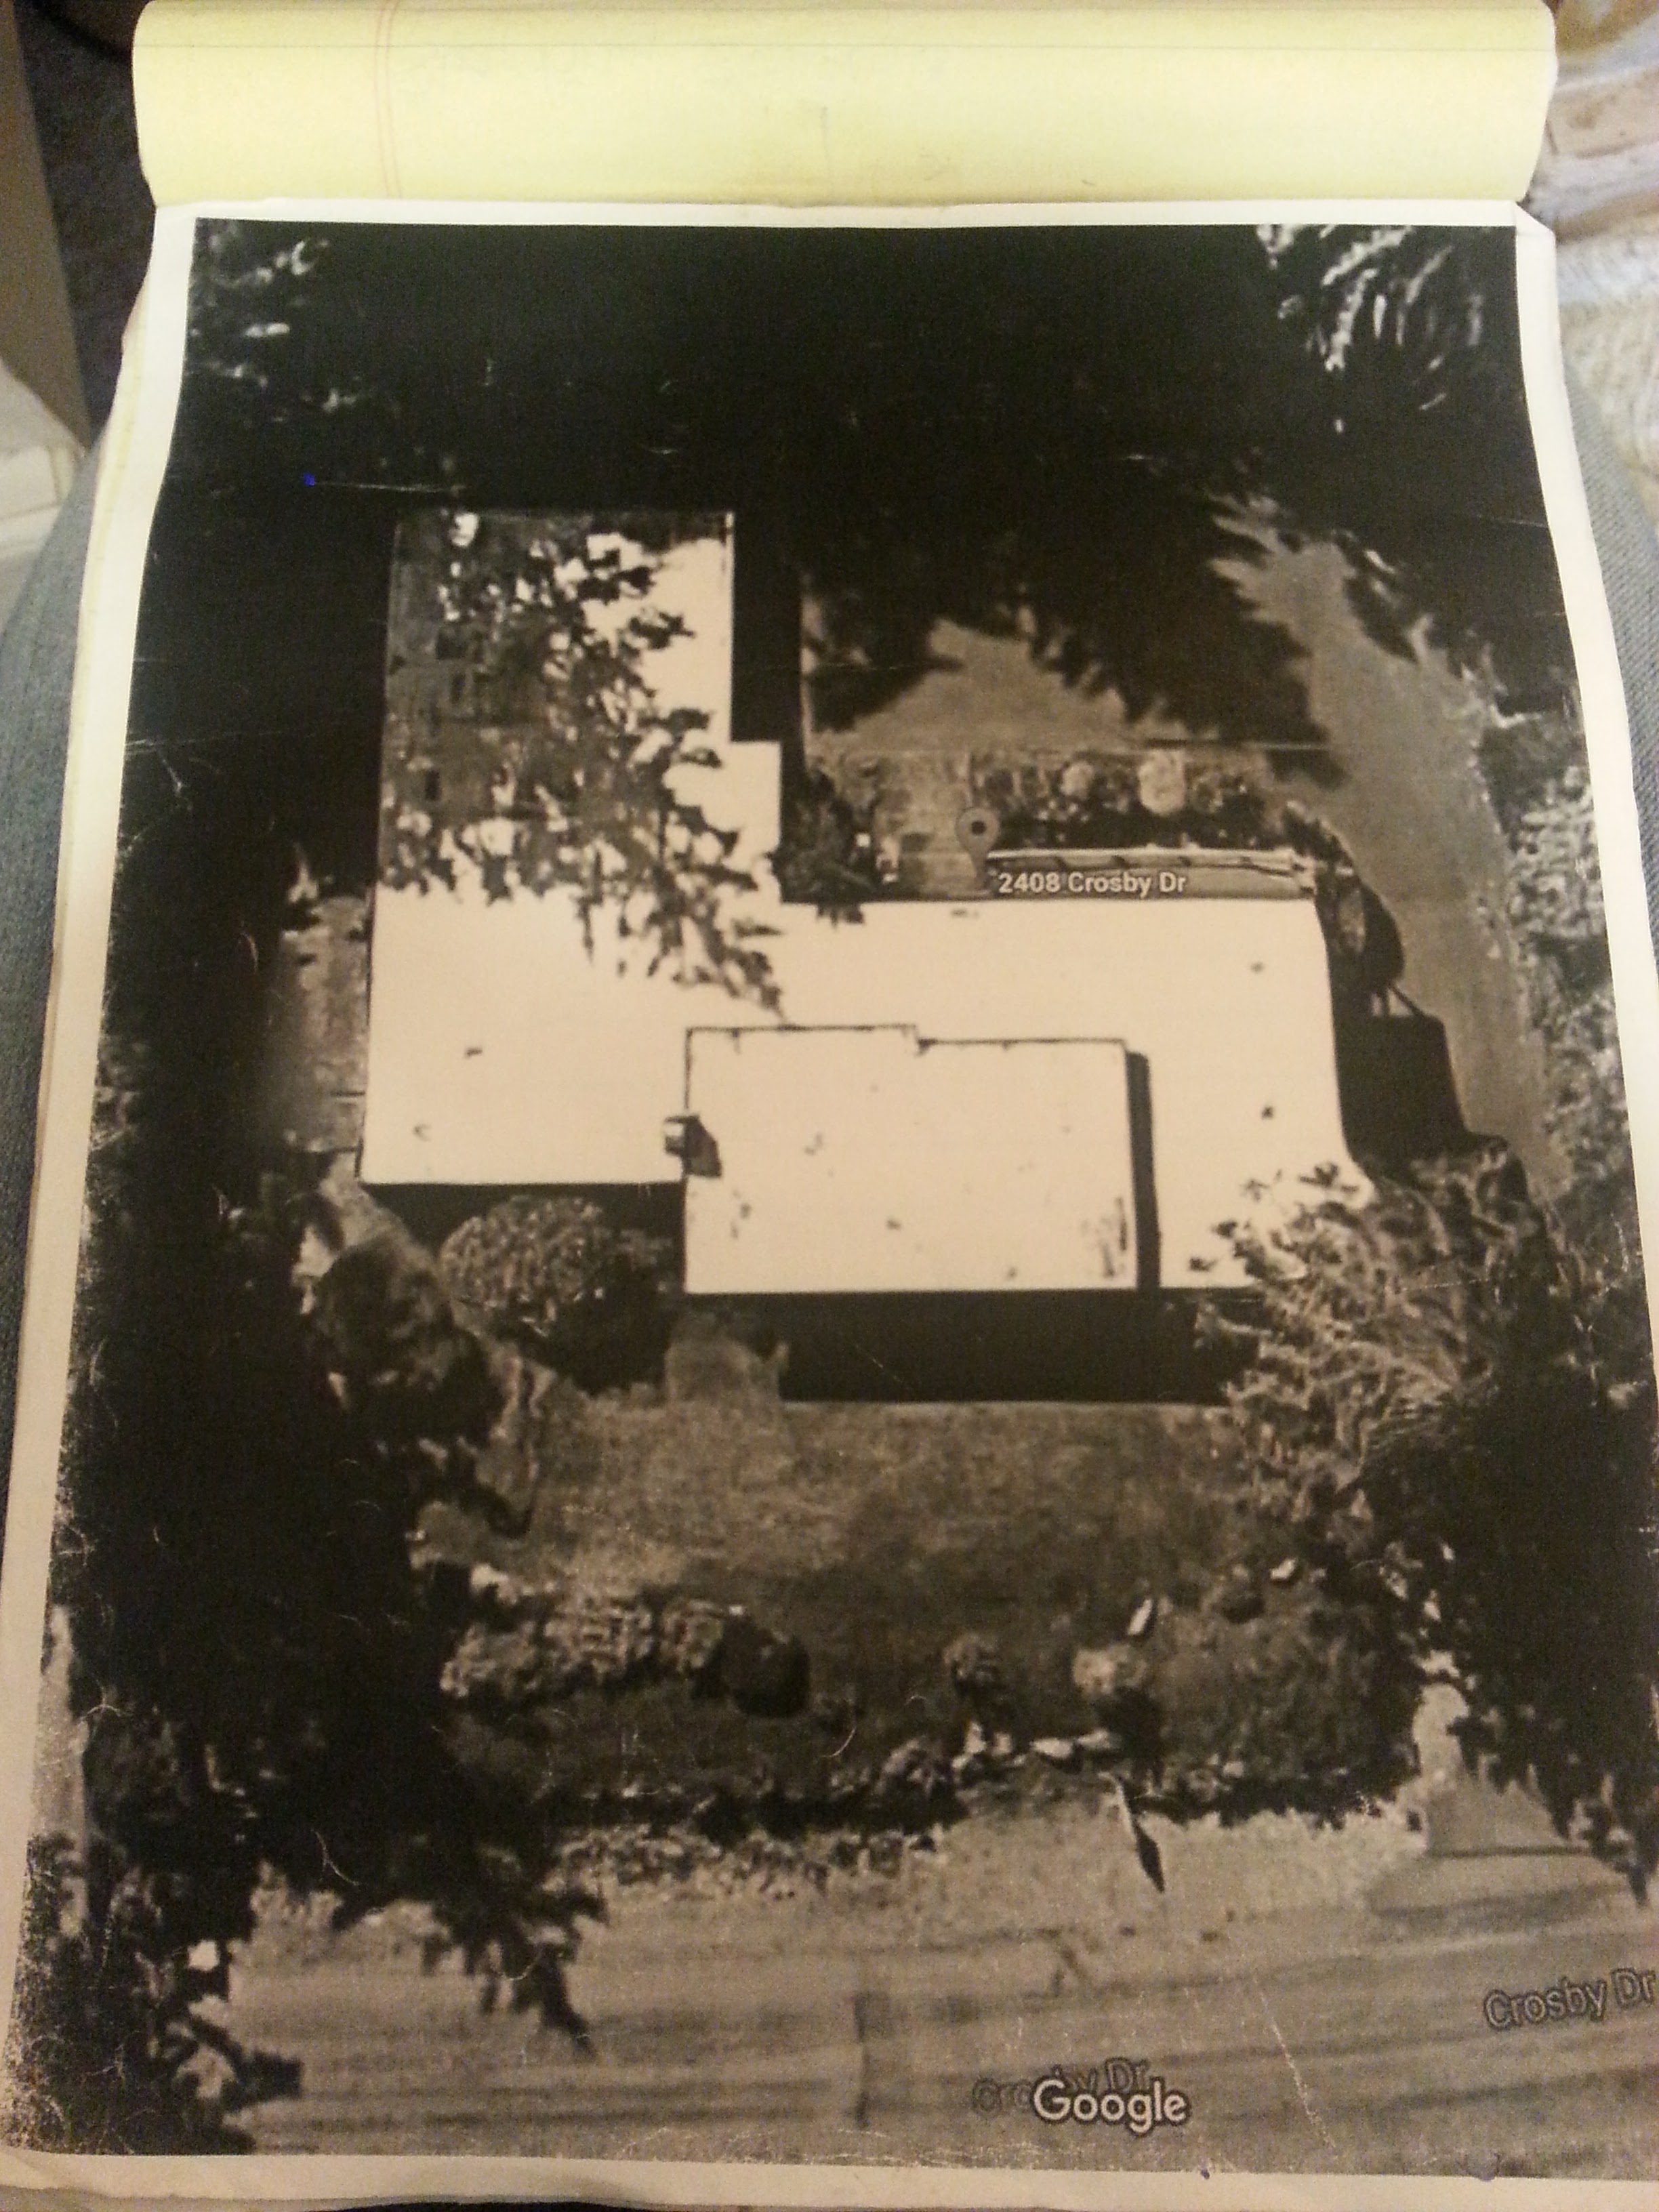
The location of the beds was planned from the aerial photo from Google maps. The image showed the sunniest spots and it was also where we hang out the most, right outside the front door.
Google photo to plan placement of garden beds.
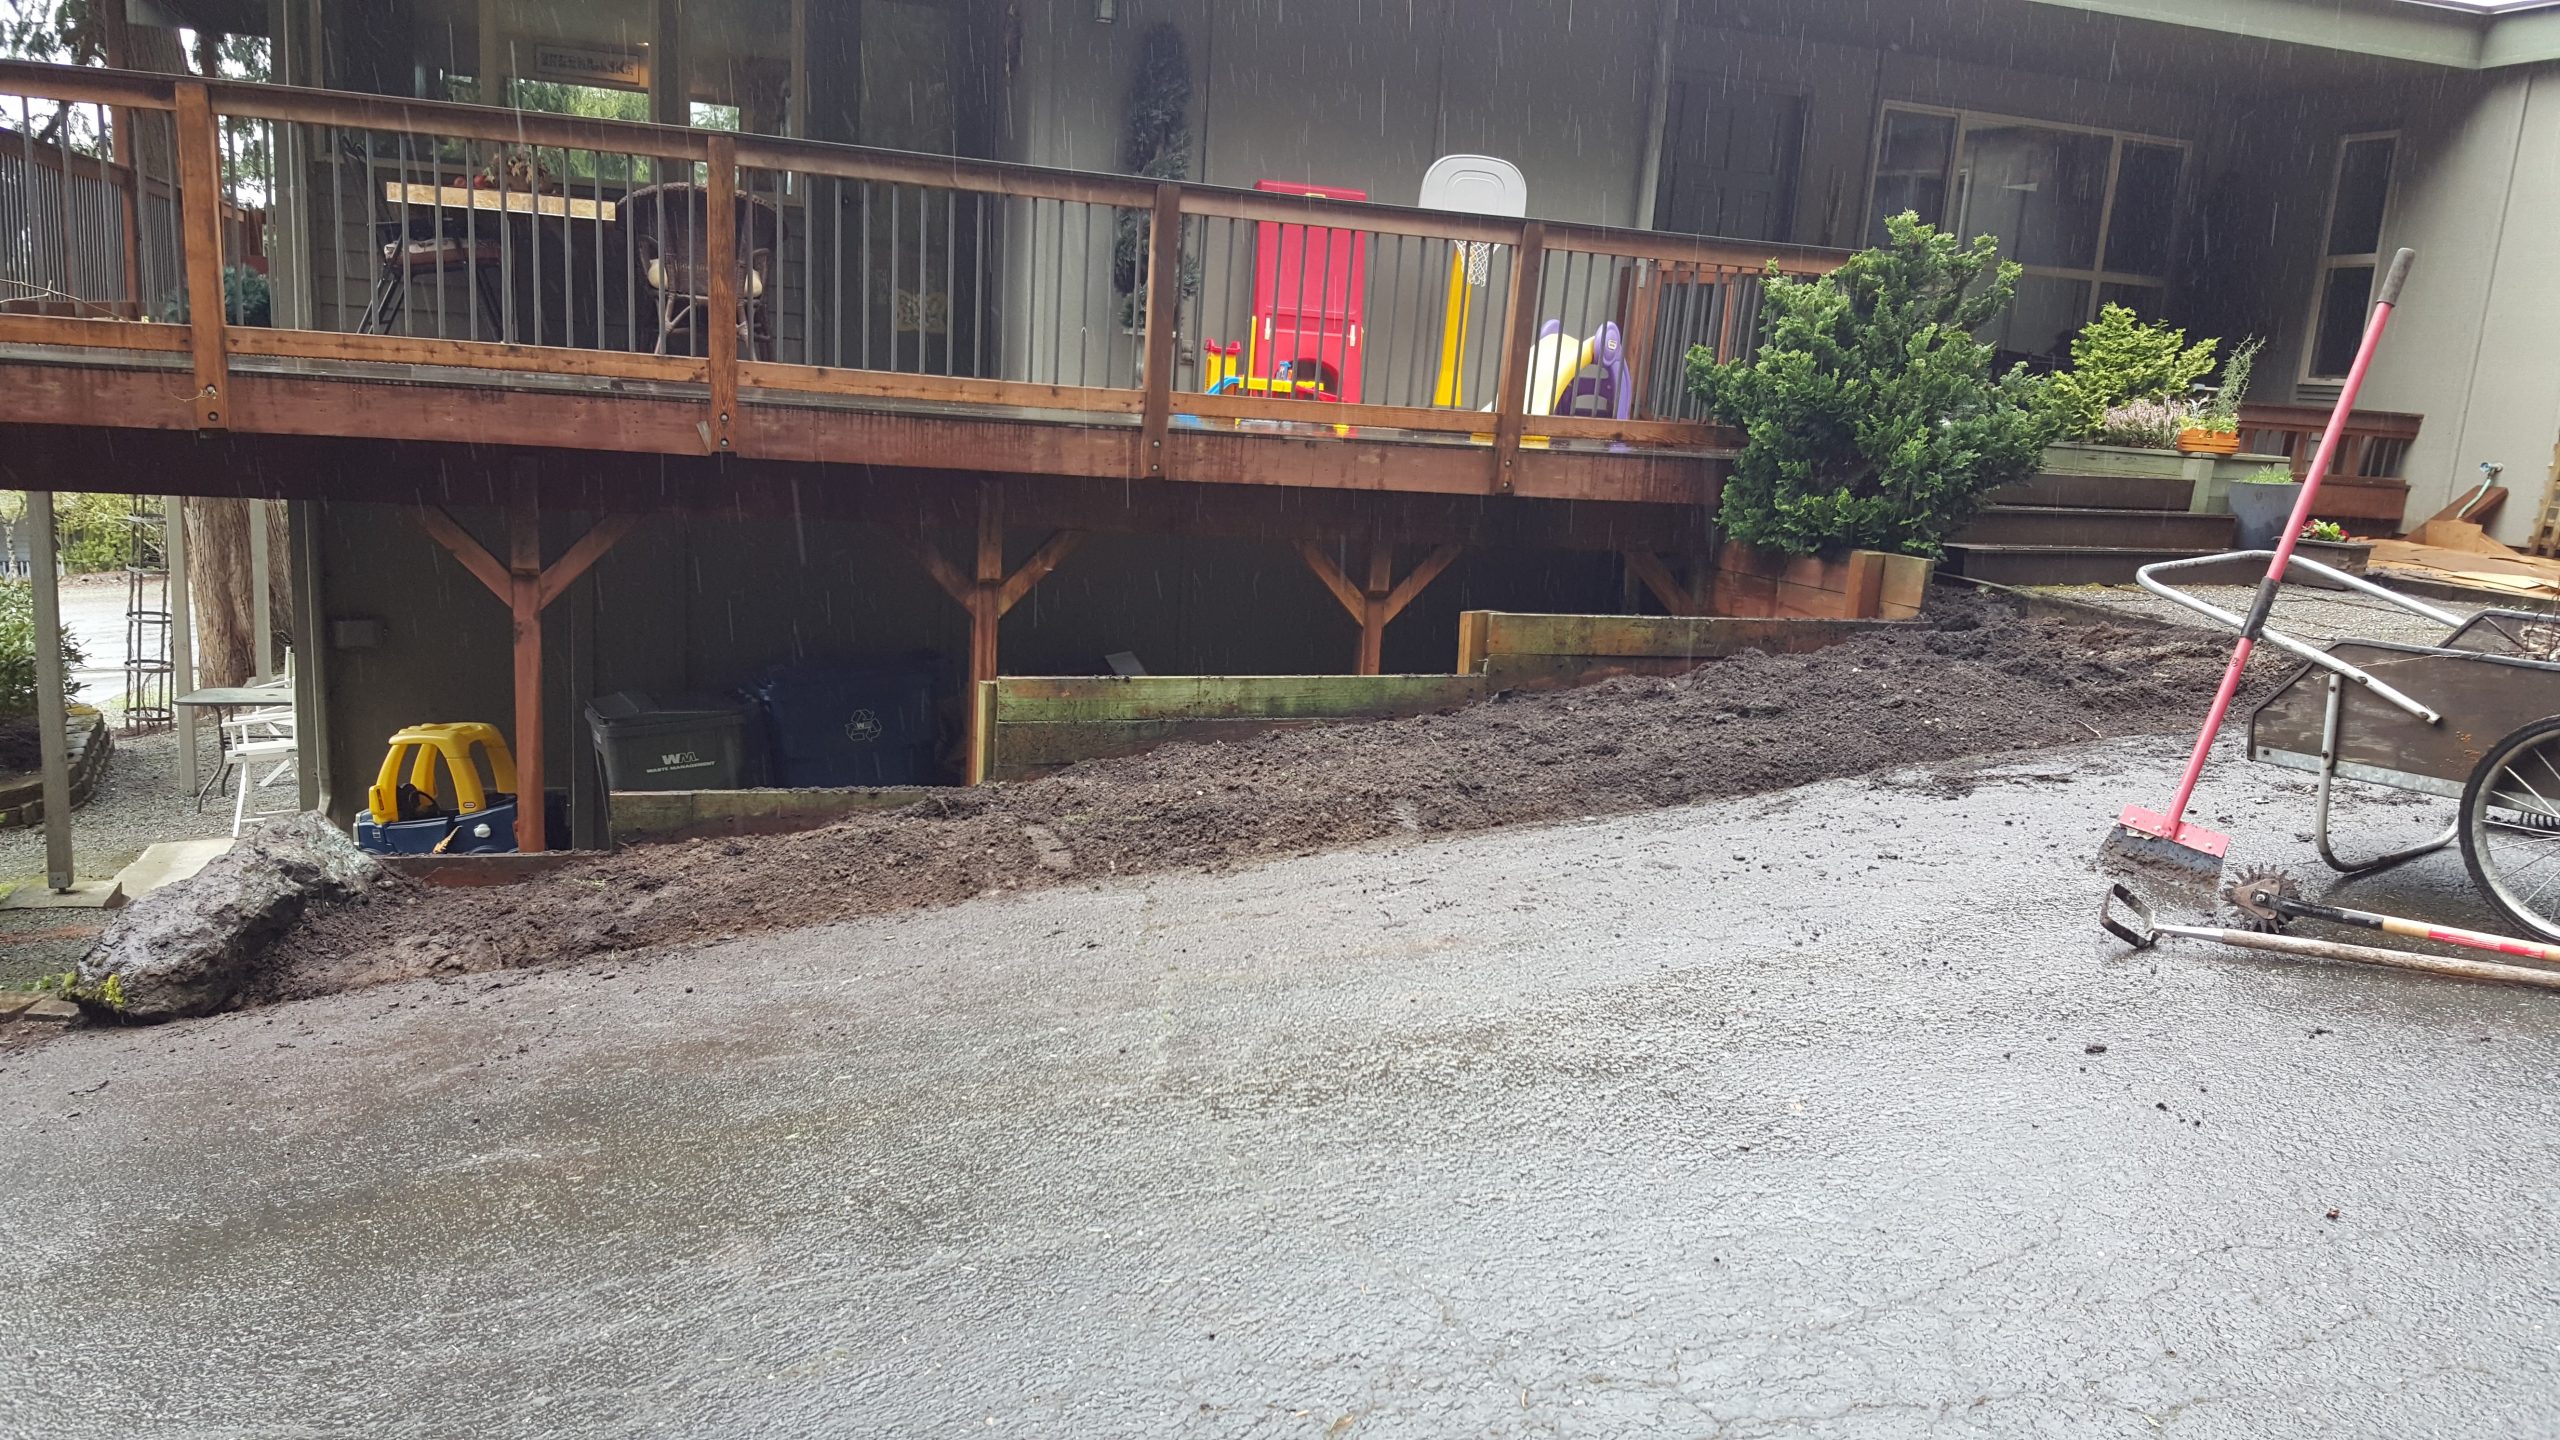
The first step was getting help moving the shrubs to the front yard. The guys from Alison Yard Maintenance (they rock too!) did that part. Thank goodness because that was a lot of heavy moving and digging and I was saving energy for the rest (hindsight is so much clearer). With the design in mind and a rough sketch to go by, the fun began. My hubby showed me how to use the tools and helped when I needed help moving the really long boards or needed help designing when it was not on paper. He helped me along the way but I was determined to do it and help is hard to ask for sometimes. I appreciate all the help that’s for sure.
The photos I took along the way will show the step by step process of building the beds, adding the filler (Hugelkultur is the method I followed and modified), adding in the soil and ollas, growing the seeds, adding the starts to the beds, and finally harvesting and getting the beds ready to sleep for the winter. I will add descriptions along the way to explain what I was doing to accomplish this seasons harvest. This first growing season was an experimental phase. One of many experiments I presume as growing food goes outdoors in the Pacific Northwest. I love the area we live in and wouldn’t trade it for anything. I may run out of growing space if I get really good at it but I can always expand to new areas of the yard. For now I want to make the most out of the spaces I have and eventually grow food year round and can the fruits of my labor. All a labor of love.